Adobe Contribute 4 Supports Office, Blogs

Adobe Contribute 4 Supports Office, Blogs

Adobe has released Contribute 4, the latest version of its WYSYWIG Web publishing tool designed to split the difference between full-featured tools lke Dreamweaver and the hamstrung page-creation tools typically bundled with new systems or integrated ot word processing or page design applications.

“We’re living in an era where rapid information flow is expected,” said Don Walker, Adobe’s senior director of product marketing. “With Adobe Contribute 4 anyone with basic computer skills can easily publish updated information to the Web, offloading Web site administrators from tedious routines and enabling professional Web site designers and developers to spend more time on creative design.”

Contribute 4 enables users to publish content to multiple Web sites and blogs from within a single applications, offeering easy-to-use visual authoring tools and the ability to work offline without losing content due to a dropped connection, crashed browser, or an inadvertent click of that “Back” button. Windows users may like Contribute 4’s newfound ability to publish content and blogs direction from within Microsoft Office applications like Word, Excel, and Outlook; more seasoned Web authors may appreciate that it integrates directly with Macromedia Dreamwaver and Adobe Contribute Publishing Server. Contribute 4 can also tie in with popular blogging services like Blogger, Typepad, and WordPress, and provides the ability for users to rag and drop images, movies, and Flash video files into their pages and blog entries.

Contribute 4 is priced at $149 and is available for Windows 2000/XP and (sans Office integration) for Mac OS X 10.3.9 or later. Upgrades from previous versions are priced at $49.

Editors' Recommendations

Geoff Duncan
Former Digital Trends Contributor
Geoff Duncan writes, programs, edits, plays music, and delights in making software misbehave. He's probably the only member…
How to take a screenshot on a Mac
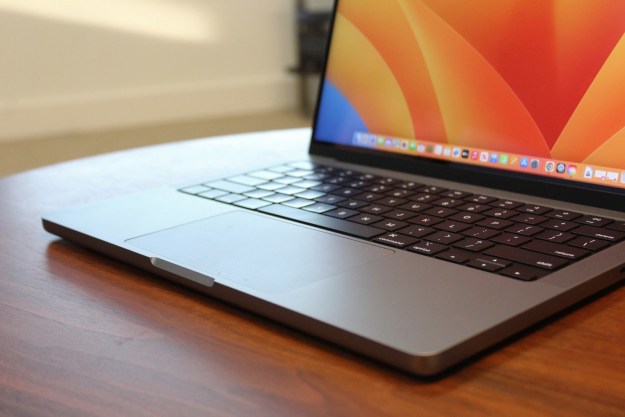
The keyboard and trackpad of the MacBook Pro 14-inch.

For most new Mac users -- especially if they're coming from Windows -- one of the first questions they need to ask is how to take a screenshot on a Mac? There's no dedicated Print Screen key like there is on Windows, but there is keyboard shortcut, and if you want something more akin to Microsoft's Windows Snipping tool, there are some great screenshot apps you can use, too.

Here's how to take a screenshot on a Mac in a few different ways.
How to take a screenshot using keyboard shortcuts
MacOS keyboard shortcuts are the quickest ways to take screenshots, whether you're capturing the entire screen or just a portion. By default, Apple's methods save your screenshot to the desktop, but if you want to copy the screenshot to the clipboard, there's a keyboard shortcut you can use instead.
How to capture a selected area

Read more
Forgot your Mac password? Here’s how to reset it
A person plays Stray using a PlayStation controller on a silver 13-inch MacBook Air.

We all forget a password once in a while. It’s really just a fact of life at this point, but things are a little different when you forget crucial login info for your go-to computer. And if you’ve ever forgotten your MacOS password, you’ll know just how frustrating it is to be locked out of your do-everything PC. But even if one of your Mac or MacBook’s system-stored hints isn’t enough to jog your memory, there’s a couple of ways you’ll be able to reset your MacOS password.

Read more
I was wrong about using Stage Manager on Mac
Stage manager in macOS Ventura.

Stage Manager is one of those software features that has had a rather bumpy road since Apple launched it in 2022. The unique multitasking feature has landed itself in a heap of criticism over its short lifespan.

I, however, was not one of these critics. I was super excited by Stage Manager and the promise it contained. It was something new and shiny, here to shake up macOS in a fresh and different way. Even after using it myself, I foresaw it fundamentally changing the way I used my Mac.

Read more