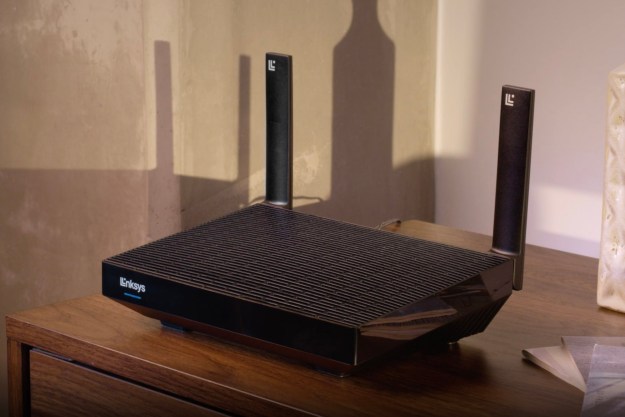
My home has always had a pair of Wi-Fi dead zones that drive me nuts — the basement, and the living room on the first floor. I usually manage a solid 40-80Mbps in all other locations, which is ample for my needs. But in those two trouble spots the signal can drop to a pathetic 130Kbps (yup, slightly faster than the average modem circa 1998) or disappear entirely. That’s a problem when you’re trying to stream Netflix, or do anything. I’ve struggled with this for months, but then our review of Google’s OnHub router gave me an idea. “OnHub is designed to be out in the open, where Wi-Fi works best,” said Google’s marketing copy. At first, I was skeptical. Place a router more centrally? How do you do that when it needs to be connected to your DSL or cable modem and to a power supply? Still, it made me wonder. Can you boost Wi-Fi speeds by simply moving your router around a bit?
At 2,800 square feet, my house isn’t the largest. But it’s narrow (18 feet at its widest point) and includes thick wood beams backed by solid brick walls. Over the years, I tried 9 different routers from companies like Linksys, Buffalo, Apple and Netgear, as well as multiple range extenders from brands like Belkin and TP-Link. Nothing seemed to get those problem areas reliably connected, but one thing has remained the same. The router has always been in the same place, atop a metal filing cabinet in our home office.
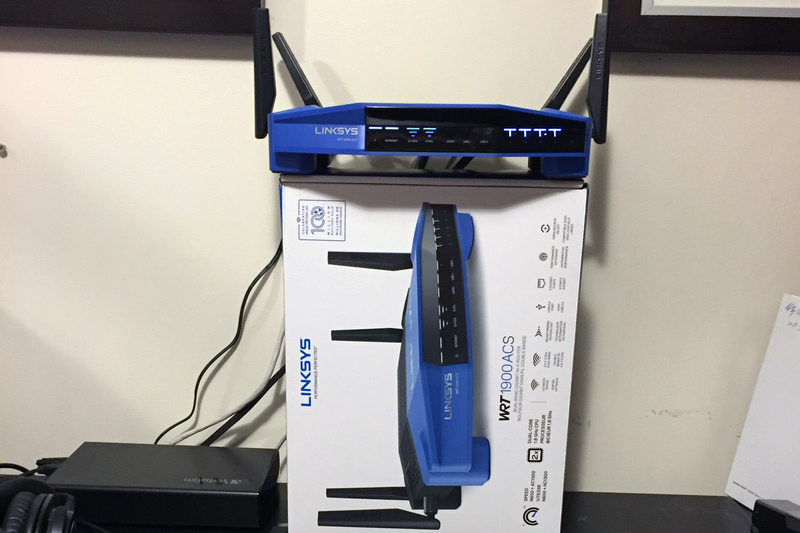
Long story short? I was able to dramatically improve Wi-Fi performance just by moving my router! Specifically, I elevated it with a simple cardboard box and readjusted my antennas to make a big difference. Here’s what I was working with, what I did, and how it can help your router situation, too.
The Router
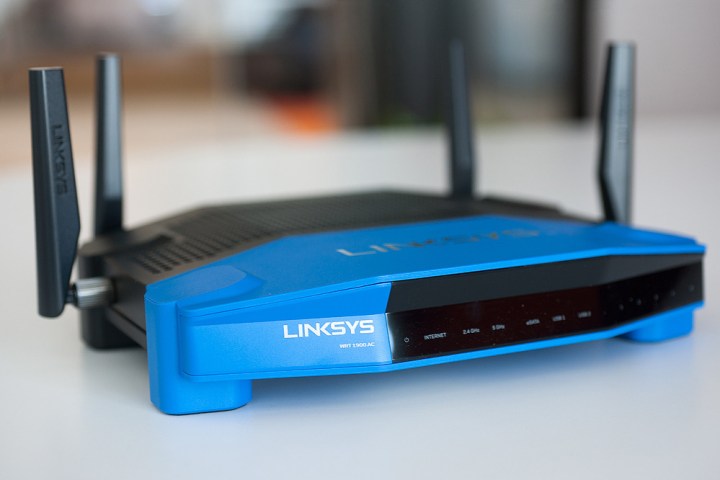
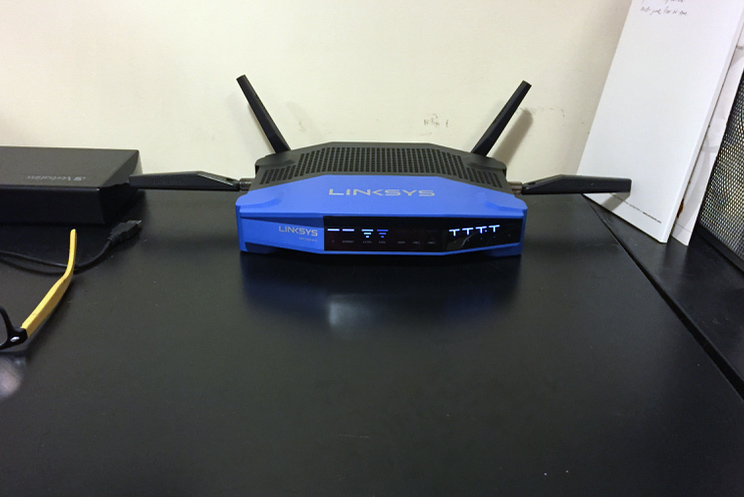
The first step was to make sure that the router itself was not part of the problem. The folks at Linksys kindly offered to loan me one of their latest models for my test, the fabulously retro-styled, and third-party firmware-friendly, WRT 1900 ACS ($220). It’s a dual-band, a/b/g/n/ac router with four external antennas and a dual-core 1.6Ghz processor.
The Test Tool

To figure out what the various changes in position did to my Wi-Fi performance, I used software called iPerf. With iPerf, you set a machine on your network (preferably a computer that’s wired into the router’s ethernet port, like my iMac) as the host, then run an iPerf-compatible app on your wireless device as the client (I used the free HE.NET for iOS running on an iPhone 6). The client pings the host machine with your choice of protocol (TCP or UDP), and package size (in this case, a single megabyte of data), and the host records and relays the result of that ping back to the client. You’ll see the amount of data sent, the speed it was able to achieve, and how long it took to send.
The Configurations
Baseline: Before installing the new WRT 1900 ACS, I took measurements using my existing router, the Linksys WRT 1200 AC, a two-antenna dual-band router.
1) Original Placement, Antenna Position 1: WRT 1900 ACS sitting directly atop of a 2-foot-3-inch metal filing cabinet, about one inch from a drywall wall, which is the same location used for the Baseline. The rear antennas were at a 45-degree outward angle, the side antennas pointing straight up.
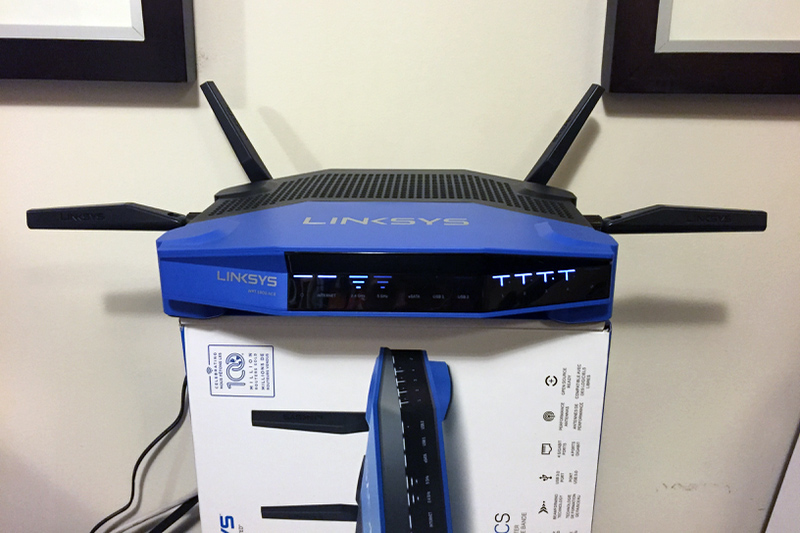
2) Partially Elevated, Antenna Position 1: Identical to (1), but router placed on top of its cardboard package, four-and-a-half inches elevated from the surface of the filing cabinet
3) Fully Elevated, Antenna Position 1: Identical to (1) but with the router placed on top of its cardboard box positioned vertically for a distance of 12.5 inches from the surface of the filing cabinet.
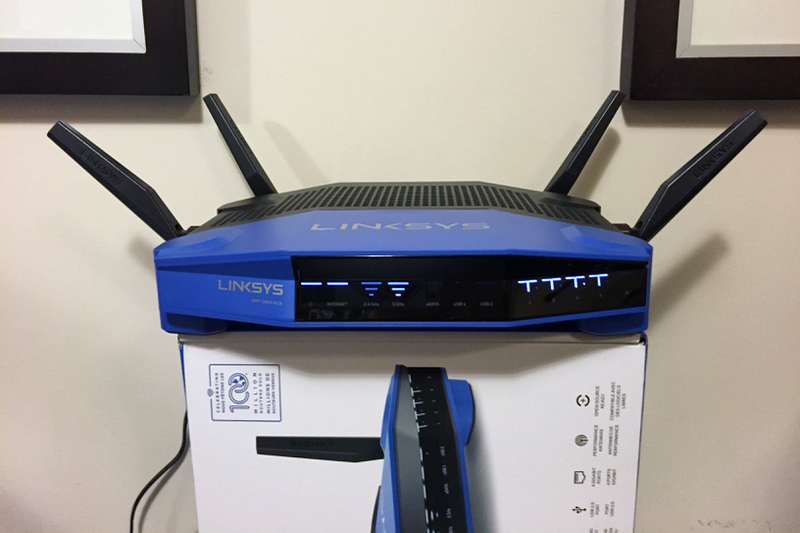
4) Fully Elevated, Antenna Position 2: Identical to (3) but with side antennas set to a matching 45 degree outward angle as the rear antennas.
5) Fully Elevated, Antenna Position 3: Identical to (3) but with side antennas set to a 90 degree outward angle (parallel to the floor).
6) Original Placement, Antenna Position 3: Removed the cardboard box from config (5), but kept everything else the same.
The Test Zones

- Third Floor Bedroom
- Second Floor Bedroom
- Second Floor Office (where router sits)
- First Floor Living Room (front of house)
- First Floor Kitchen (rear of house)
- Basement
The Results
| Configuration/ Zone | Zone A | Zone B | Zone C | Zone D | Zone E | Zone F |
| Baseline | 28.3 Mbit/s | 23.6 Mbit/s | 86.9 Mbit/s | 194 Kbit/s | 8.86 Mbit/s | 130 Kbit/s |
| 1 | 57.0 Mbit/s | 81.8 Mbit/s | 101 Mbit/s | 194 Kbit/s | 10.7 Mbit/s | 77.2 Kbit/s |
| 2 | n/a | n/a | n/a | 290 Kbit/s | n/a | 199 Kbit/s |
| 3 | n/a | n/a | n/a | 457 Kbit/s | n/a | 126 Kbit/s |
| 4 | n/a | n/a | n/a | 1.34 Mbit/s | n/a | 156 Kbit/s |
| 5 | 55.3 Mbit/s | 84.1 Mbit/s | 103 Mbit/s | 20.0 Mbit/s | 69.9 Mbit/s | 10.1 Mbit/s |
| 6 | n/a | n/a | n/a | 266 Kbit/s | n/a | 106 Kbit/s |
The chart requires a bit of explanation. For the baseline test with the original router, I took measurements in all six locations of the house. I then swapped out the WRT 1200 AC for the WRT 1900 ACS, mostly so I could see what (if any) effect using a newer router with 2 additional antennas would have to my overall connectivity. As you can see, speeds in my “good” zones improved considerably, with Zone B seeing the biggest jump in performance. My problem zones (D, F) didn’t improve at all. In fact, Zone F got worse (though I’m not sure how that’s even possible).
Moving the router slightly from the metal surface (Config #2) of the filing cabinet certainly helped, but I was still stuck well under 1 Mbit/s. Elevating the router further (Config #3) produced a similar increase in Zone D, but actually diminished the speed in Zone F. Angling out the side antennas to match the rear antennas’ 45 degree slant (Config #4) finally bumped Zone D above 1Mbit/s, but the basement continued to stagnate.
Then I angled the side antennas down to a 90-degree position (Config #5), and, BINGO! Speeds improved in Zone D by 2,000 percent, and in Zone F by a staggering 64,000 percent, over the previous configuration. Finally, speeds I can live with. But was this massive speed bump simply a matter of angling two antennas?
The last configuration (#6) where I keep the antennas the same but eliminate the cardboard box, tells the tale. No amount of antenna angling can overcome the signal impediment that the metal filing cabinet throws into the mix.
What’s Going On?
To find out why the combination of router height and antenna angles from Config #5 proved so successful, I reached out to Linksys Product Manager, Mathieu Whelan.
“Most external antennas are dipole,” Whelan said. “If you imagine the radiation pattern in 3D space it will look kinda like a fat donut. From the top-down it will look like a perfect circle. When you angle the antenna at 45 degrees, you have to picture that donut tilting at 45 degrees as well.” Moving the donuts around has a direct impact on your coverage area. “If you angle the antenna parallel to the ground, that donut is now sitting vertically instead of horizontally,” Whelan pointed out.
Sure enough, when you look at a diagram of our house — seen head-on so you can visualize these donuts — the starting antenna angles from Configuration #1 (45 degrees on the rear and straight up on the sides) creates a series of donuts that never come in direct contact with my two trouble spots.

Which explains why, when you simply rotate the side antennas down to a 90 degree angle, the donut pattern changes too, resulting in way better overall coverage.

Both the front room (Zone D) and the basement (Zone F) are now within the signal path created by the side antennas. However, this represents an optimal arrangement, without any impediments to the signals as they disperse around the house.
Re-introduce an obstacle (like a metal filing cabinet) and you might as well not have those side antennas at all!

This diagram makes it look like the signals can’t get to the bottom of the house, but in reality it’s more subtle. “Generally, metal [like the filing cabinet] is pretty bad. Metal acts like a reflector [to radio waves] in much the same way that metal reflects light,” Whelan told me. “Light hits the metal of the filing cabinet and then bounces backward. With RF [radio frequencies] some of it will get through, but most of it will bounce back.” That’s why my trouble area had a signal — but only a weak one.
Conclusion
In a perfect world, our best Wi-Fi routers would occupy roughly the same location in our homes as the dining room chandelier — up high, away from any obstacles and roughly centered in the space of the home.
But since that arrangement isn’t likely to look very good (or even be practical from a wiring point of view) your best bet for maximum Wi-Fi coverage is to follow these guidelines as closely as possible.
- Higher is better. Moving the router off the floor or even off the table can help. get as close to the middle of the room’s vertical space as possible.
- Avoid surfaces that reflect RF. Metal is the major culprit here, but not all metal can be seen. If your home was built or renovated recently, there may be metal studs or panels in the walls.
- Play the angles. Remember the donut analogy–try to orient your router and angle your antennas so that the resulting donut patterns hit all of the areas of the house where you need coverage. If your router does not have moveable external antennas, you can still affect the donut pattern by changing the orientation of the router itself.
Updated: Edited to be more concise.
Editors' Recommendations
- How to change your router’s Wi-Fi password
- Best router deals: Save on mesh networks and Wi-Fi 6 routers
- What is Wi-Fi 7: Everything you need to know about 802.11be
- The best budget routers you can buy right now
- The best Wi-Fi 6 routers for 2022

