“The Robomow RS622 is an easy recommendation for those who want to put lawn maintenance on autopilot.”
- Cuts and mulches lawn well
- Programmable
- Quiet
- Environmentally considerate
- Tackles moderately bumpy terrain
- Involved setup process
- Requires accessories for multiple zones
- Difficult to secure
If the Jetsons had a lawn to mow, you can bet they would have mowed it with something like a Robomow robotic lawnmower. Much like a robotic vacuum, Robomow’s products promise to take on a time-sucking, mundane chore so you don’t have to anymore. These things are straight out of the future, so it’s OK if you want a robot lawnmower just for the sheer cool factor. But do you really want to own and use one? We gave the Robomow RS622 a spin to find out if it’s the sort of tech you need in your life.
Out of the box
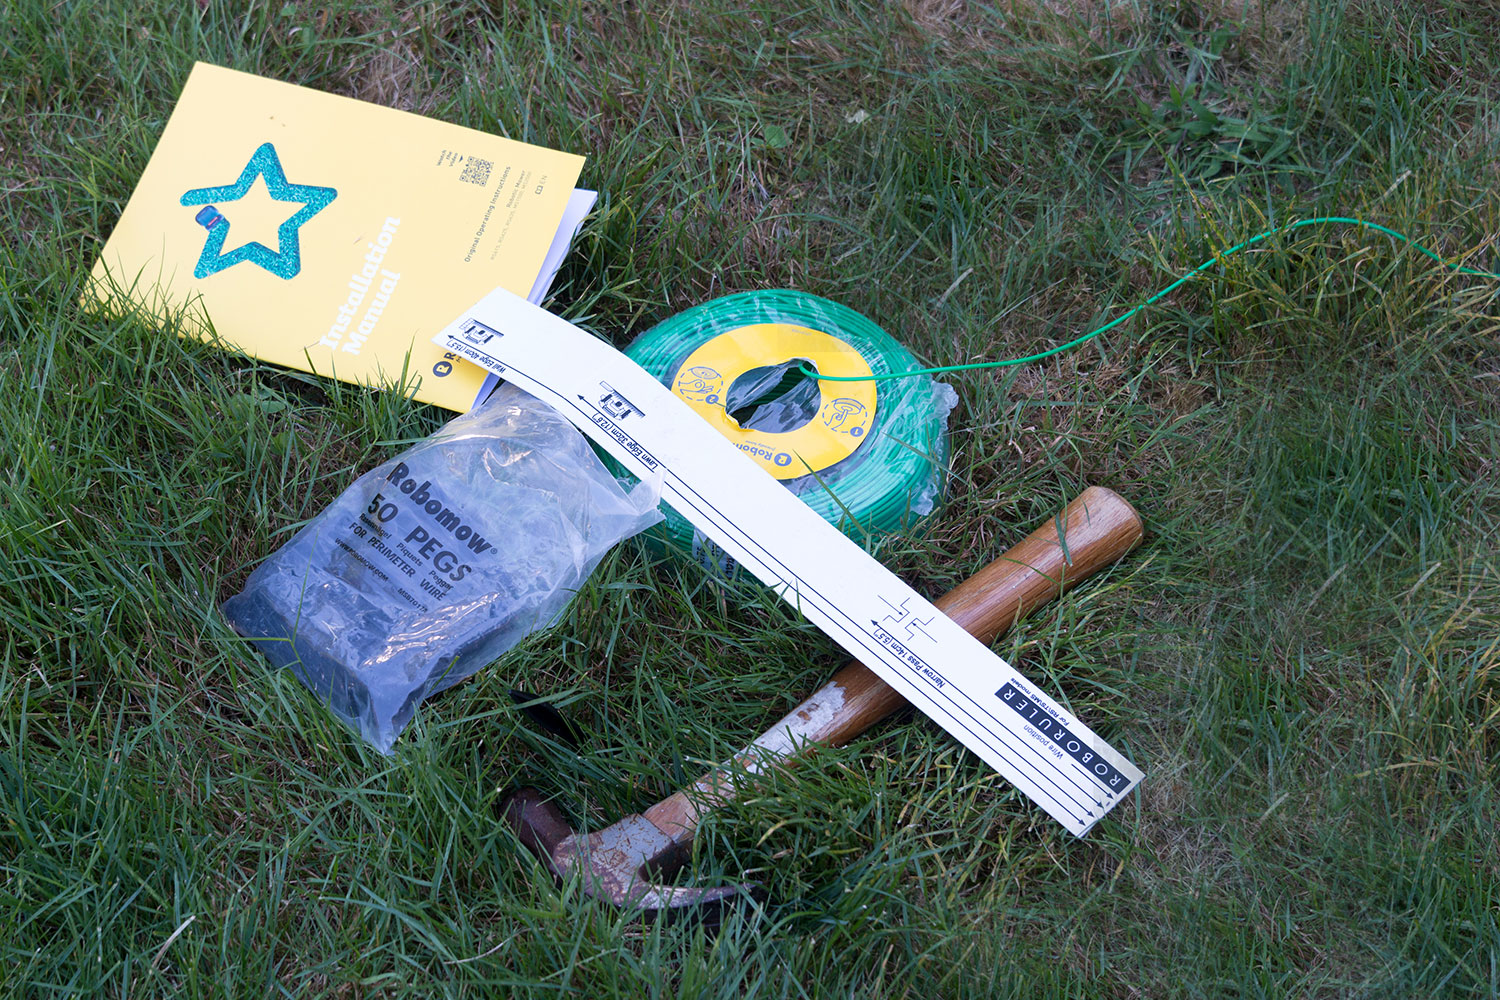
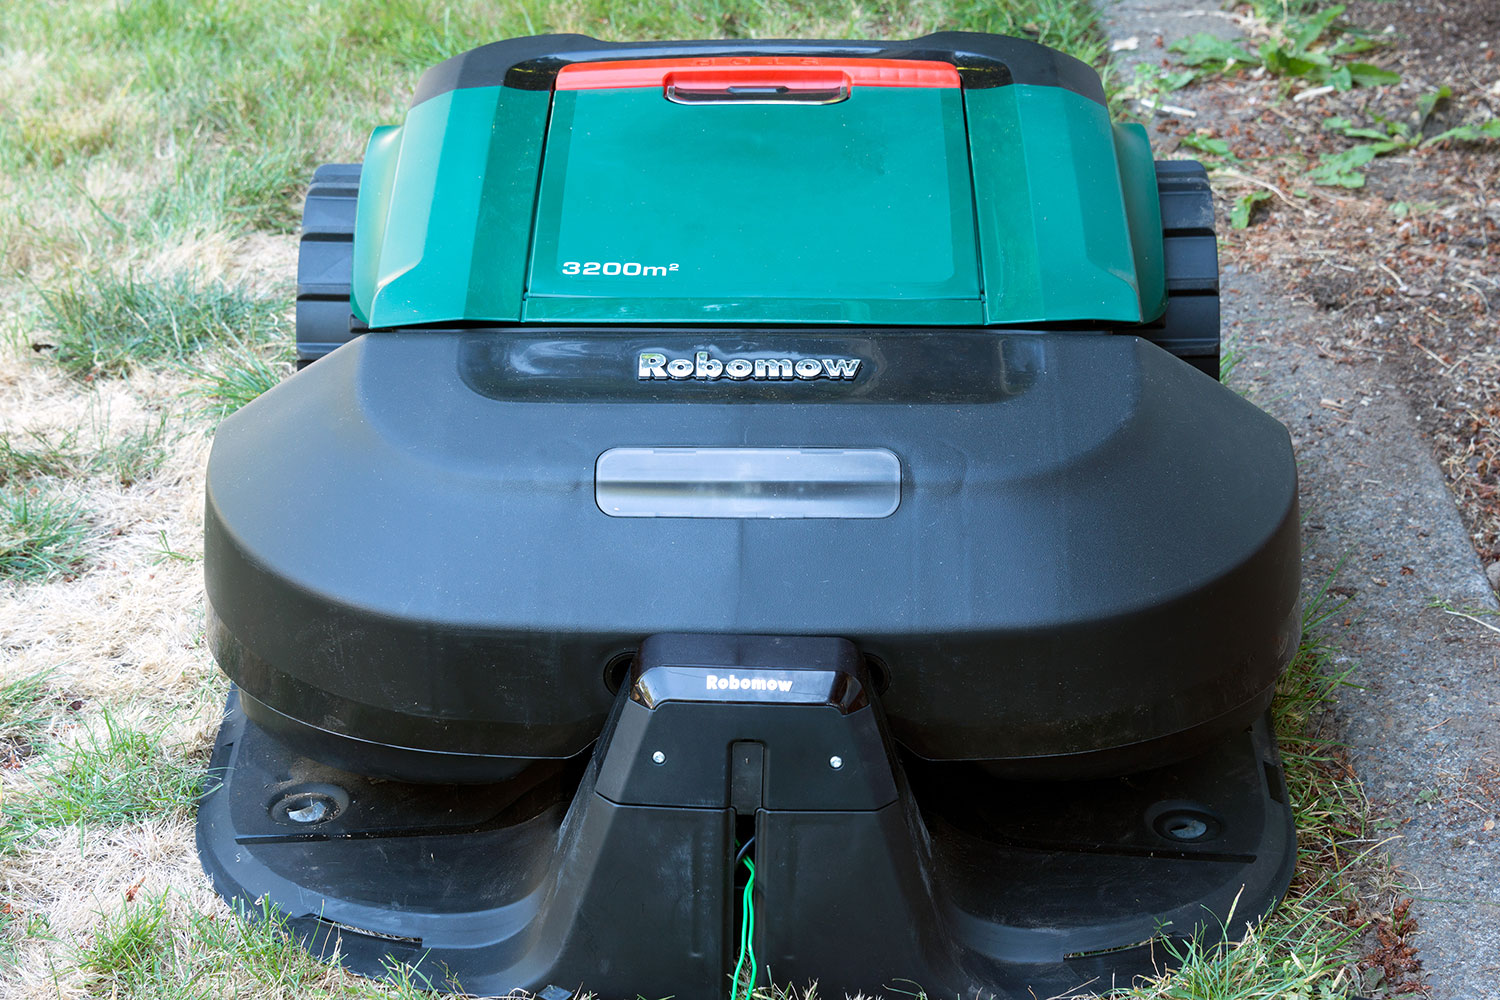
Having never unboxed a robot lawnmower, I went into the process with few expectations, and the Robomow didn’t offer up any surprises. Upon prying open the box, I was greeted by what looked like a big green version of a robotic vacuum, except I knew that underneath, instead of a whirling brush, I’d find two sharp blades ready to tackle the mini forest growing in my front and back yards. Along with the lawnmower I found a black plastic base station, a large power supply with an especially long power cord, two massive rolls of small-gauge wire shielded in a bright green sheath, a seemingly endless supply of small black tacks, and a quick set-up guide, and some setup tools.
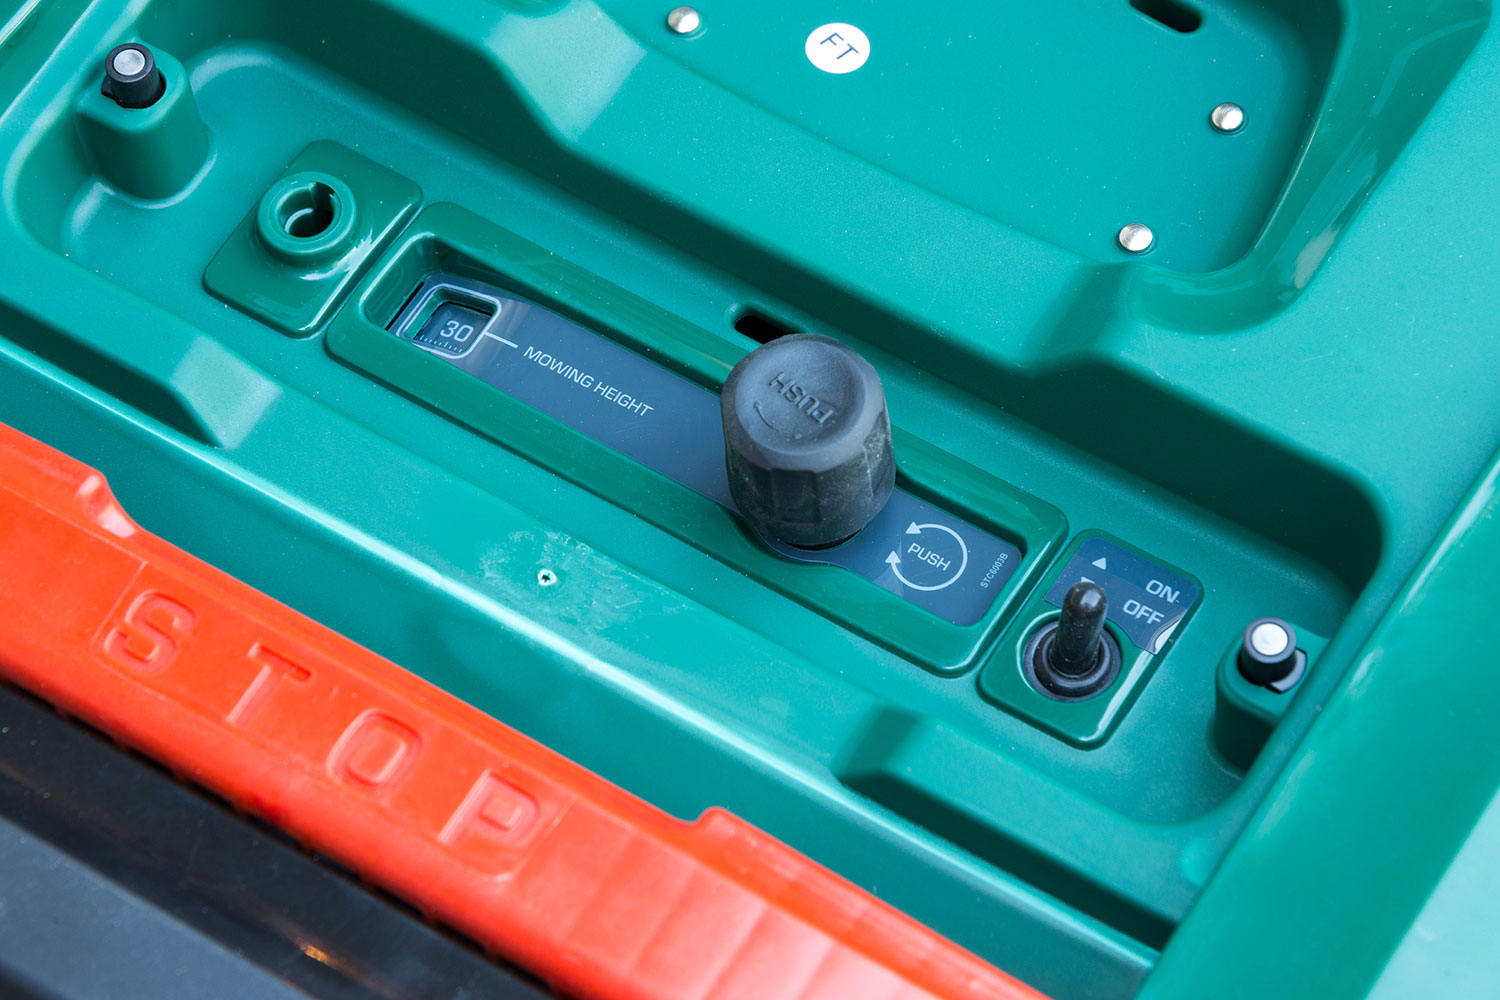
The Robomow RS622 is not as heavy as I’d expected, so moving it around as I went about setting things up was relatively easy. A bright red “STOP” handle which serves as an emergency lever to immediately kill the mower also doubles as a handle. Just behind the stop handle is a simple LCD display with a few buttons for manual setup of time, date, and other basic settings. You can use this interface, but as I soon learned, using the Robomow smartphone app is far easier.
Setup
The bigger your lawn, the more time you’ll spend on setting up the Robomow, and I’m here to tell you it is a tedious process made more complicated depending on how many “zones” you’ll have to set up. I knew setting up the Robomow would involve more than charging it and ushering it out onto my turf, but I did not count on having to spend several hours on the process. I also made the mistake of choosing to launch this project on the first of what would be over two weeks of especially hot days in Portland, OR.
Though the Robomow looks like a super-advanced piece of technology, it’s actually a fairly simple machine. In order to set the lawnmower’s boundaries, one must lay down an electrified perimeter wire around any area the mower will be operated. This wire is the only thing keeping the Robomow from going rogue and hacking away at your garden or, worse your neighbor’s property, and there are rules to follow here.
The bigger your lawn, the more time you’ll spend setting up the Robomow.
First, the perimeter wire needs to be laid down at a specific distance from the boundary of your lawn, and that distance is different based on whether the boundary is soft – as in the lawn simply ends and the sidewalk begins – or hard – as in the side of a house or a fence. Robomow provides a simple ruler in the box with markings for either situation. Second, the Robomow doesn’t do well with hard 90-degree turns, so when taking on corners, the user must lay down the wire using two 45-degree lengths to complete each turn. Finally, the wire must be laid down in a counter-clockwise direction because … that’s just how it is. Don’t test me on this, you’ll only wind up with a migraine.
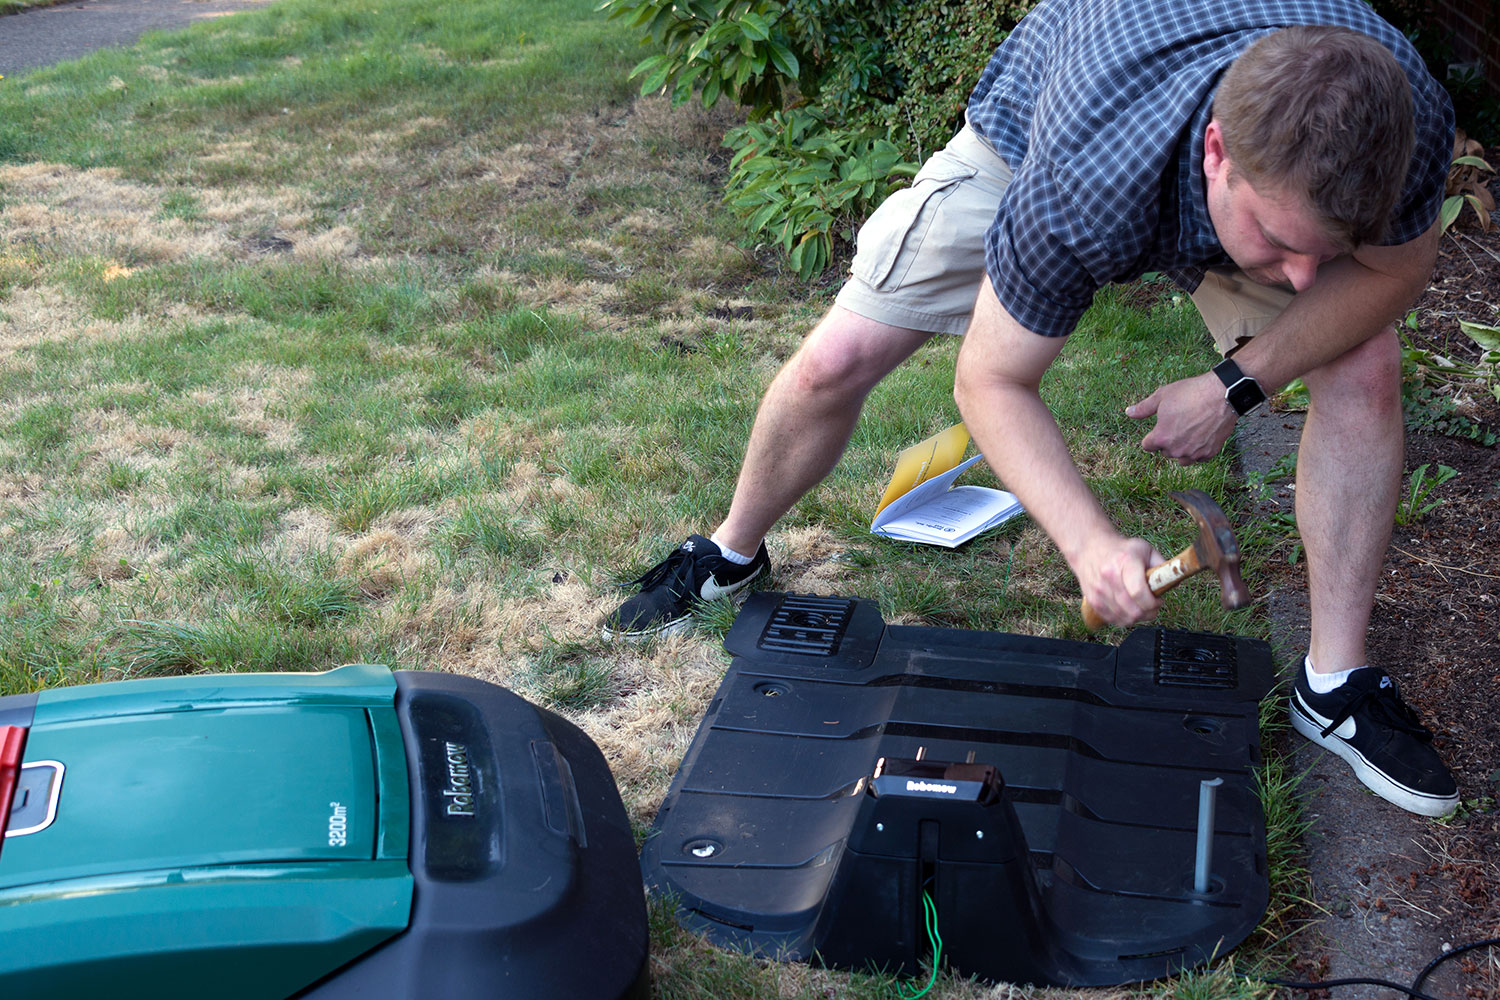
The process of laying down the perimeter wire involves getting down and dirty, so dress accordingly and budget more time than you think you’ll need. You’ll start by leaving about a 1-foot length of wire unsecured so it can reach into the Robomow’s base station. Then comes the tacking down of the wire, which requires pulling the wire taught and plunging a small black tack down into the ground until it can’t be tacked down any longer. You want the wire hugging the soil tightly, so you may find yourself having to yank grass out from beneath the wire as you go along. Rinse and repeat until you come back to where you started. Congratulations, you’re done with zone one.

Now, how many other areas do you want your Robomow to cover? If you have a front and back yard, you’re looking at setting up at least two zones. If you have a garden strip running between your sidewalk and the street, that’s another zone. And if you have a separate little tree patch as I do, that would be four zones. Here’s the kicker: For each zone you need to set up, you’ll need to buy a sort of zone kit from Robomow, which includes a battery-powered pack to juice up the perimeter wire. This is something I think Robomow could do a better job communicating to would-be customers. I was disappointed to learn that, with what came in the box, I was only able to set the Robomow up to attack one zone.
With perimeter wire laid, it’s time to set up the Robomow’s base station, which amounts to little more than a power source for the Robomow to recharge from, and for the perimeter wire. There’s nothing about the base station that secures the Robomow in any way, so we suggest planning ahead to set up the base station in your back yard, or any other out-of-sight area that’s available. Also keep in mind you’ll want about 3 feet of space behind the Robomow, and about 10 feet in front of it, preferably all in a straight line.
This would be a good time to download the Robomow app if you haven’t already. When you launch the app, it will search for your Robomow, which should be sending out a Bluetooth beacon so long as its power switch is set to “on.” Simply allow the app to connect, and you’re all set.
Next, follow Robomow’s included instructions for verifying the base station’s placement and the perimeter wire’s functionality. If you’re lucky, there’s just enough juice in the Robomow’s batteries right out of the box to complete this task, and if you’ve done it right, the Robomow will back straight out of its base station, then return successfully to dock on its recharging prongs. Speaking of those: Don’t grab them while the base station is plugged in, as you’ll be in for an unpleasant shock. Definitely don’t do this multiple times absentmindedly, or you’ll wind up feeling a little bit off for the rest of the day. Trust me on this.
If your base station is in the right place, tack it down with the provided stakes and move on to testing the perimeter wire. The Robomow will back out and make sure the perimeter wire is active by tracing it from beginning to end, ultimately arriving back at the base station … if you’re lucky.
If you’re not, your Robomow will outline what it thinks is the inside of your lawn, when in fact it is getting it all backward. It will ultimately break free of the perimeter and start mowing things you don’t want it to mow … like those tulips you waited so long to come up. No bueno, my friends.
I know this because I screwed up by electing to install the perimeter wire’s little green connector backward. That’s all it takes. There are only two options, so you have a 50 percent chance of getting it wrong. Robomow should add a little section to their set-up guide that covers this. It’s such an easy mistake to make, and apparently it’s made a lot, because it’s the first thing Robomow suggested I check without any knowledge of my problem.
Performance
Once set up correctly, the Robomow does a great job of mowing your lawn. It has a finely adjustable height knob for dialing the perfect cutting depth, and it does a fantastic job mulching your lawn, leaving no clumps behind (bagging is not an option at this time).
As a bonus, the Robomow is also very entertaining to watch while in action – my neighbors nearly wrecked their cars as they drove by while the Robomow was doing its business to my front yard. You don’t get straight lines, as the Robomow just sorts of bobs and weaves its way around in any direction it likes until its covered the entire lawn, but that could be considered a good thing as you’ll never have to worry about changing the pattern or direction of the mower.

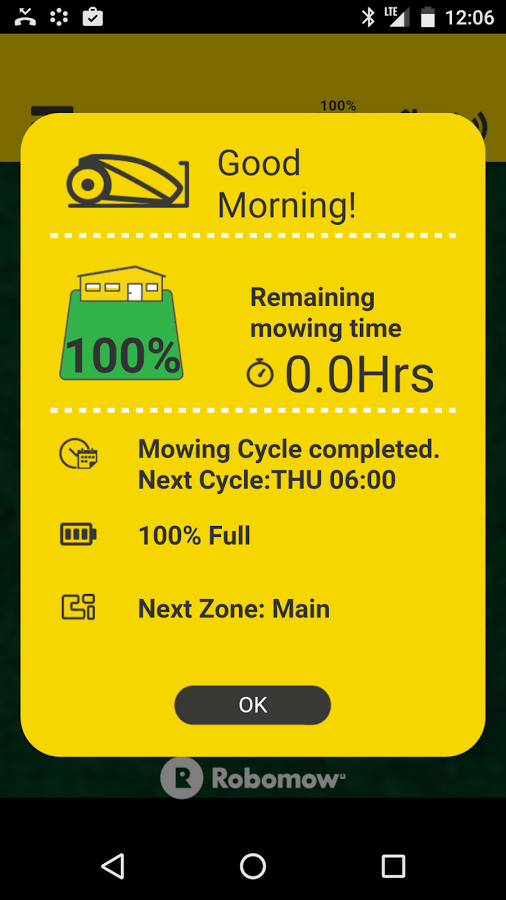
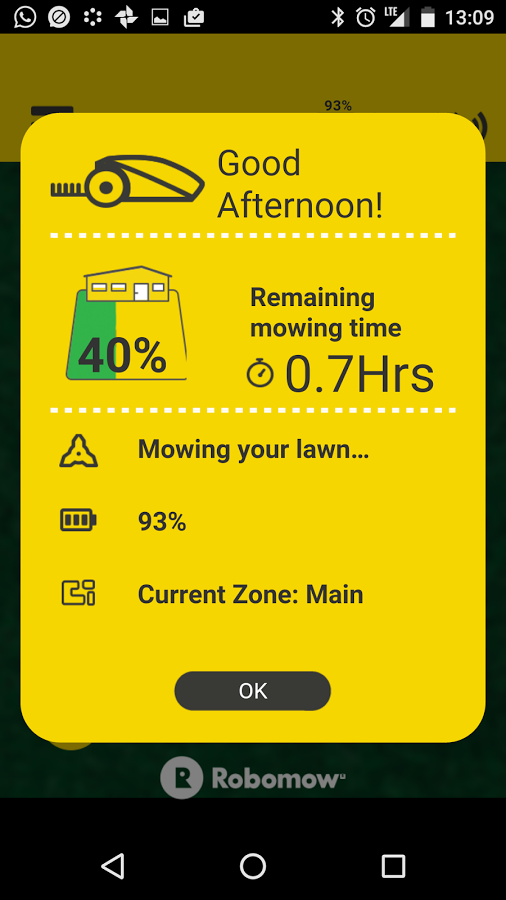
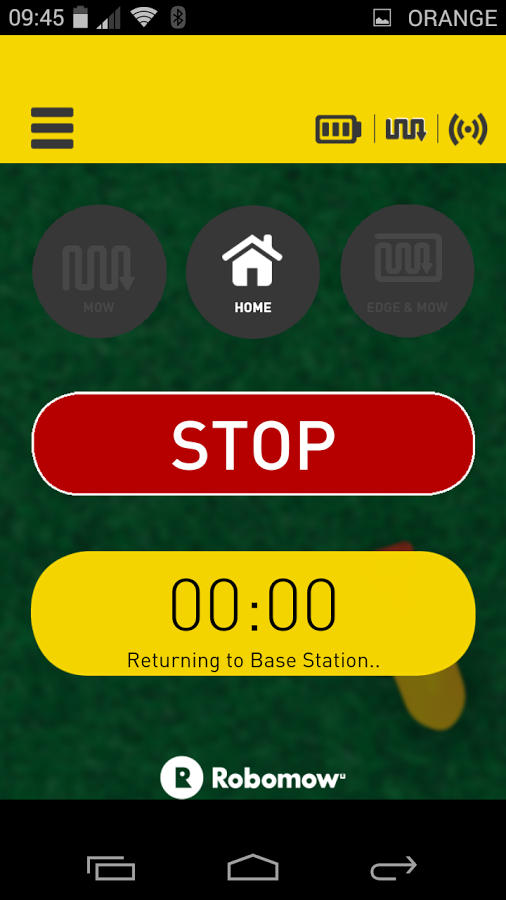

You can program the Robomow to run any time you like. Once a week on Sunday at 11:00 a.m.? You bet. And if it’s ever raining that day, the Robomow will detect it and delay its mission for later. The thing is, Robomow will only ever automatically mow one zone, so, if you have multiples, you’ll have to guide it to those individual zones using your smartphone like a remote control.
I also feel the Robomow is a pretty safe device. I wouldn’t let my toddler out in the yard while it was running, but I wouldn’t worry about it taking the tail off of a curious cat or daredevil squirrel – the critters in my yard wouldn’t come within 10 feet of the thing while it was operating.
Overall, I think the Robomow excels at its intended function, but I do have some criticisms to share.
Once set up correctly, the Robomow does a great job of mowing your lawn.
If someone wants to steal your Robomow, they’re not going to have any real trouble. Sure, there is a function which will ping your smartphone if you happen to be in range, but because this feature relies on Bluetooth, there’s a good chance you won’t be within range when it gets snatched. If Robomow were to enable a feature that turned the lawnmower into a brick unless a code was entered every week or so, this might help. Or just give us a simple lock securing the mower to its base station.
I’d also prefer the Robomow to be fully autonomous. I know I’m asking a lot here, but, hey, if I’m going to lay down some $2,000 on a robot lawnmower, I want it to be able to take care of the job without any help from me. The roadblock to that kind of autonomous operation is the reliance on a perimeter wire, which I’d like to see go away for so many reasons. If the Robomow could be further developed to use imaging sensors, memory, and possibly even GPS, the mower could learn its boundaries, and move itself from point A to point B without the need for electrical boundaries. Not only would this allow the Robomow to take care of your lawn without your involvement, but it would also negate the need for a lengthy, sometimes frustrating setup process. Sure, this would make the product a little more expensive initially, but again, if you’re shelling out big bucks for a robot mower, chances are you’ll shell out a few more to get the best product that offers the best experience.
Conclusion
I love that we live at a time in which the Robomow RS622 is an actual thing, and it helps the Robomow’s appeal that it’s as fun a toy as it is effective a tool. But it has limits. The Robomow makes the most sense for people with sizeable, yet simple lawn layouts. In order for the Robomow to feel like it’s worth the hassle of setting up, it needs to provide a big payoff, and, frankly, after my time with the Robomow, I’d just as soon get some exercise and mow my relatively modest-sized lawn the old fashioned way. Someone with a much larger lawn, and perhaps enough disposable income to have someone else set up the Robomow, would most certainly feel differently. The Robomow is quiet, convenient, environmentally considerate, safe, and effective, making it an easy recommendation for those who want to put lawn maintenance on autopilot.