
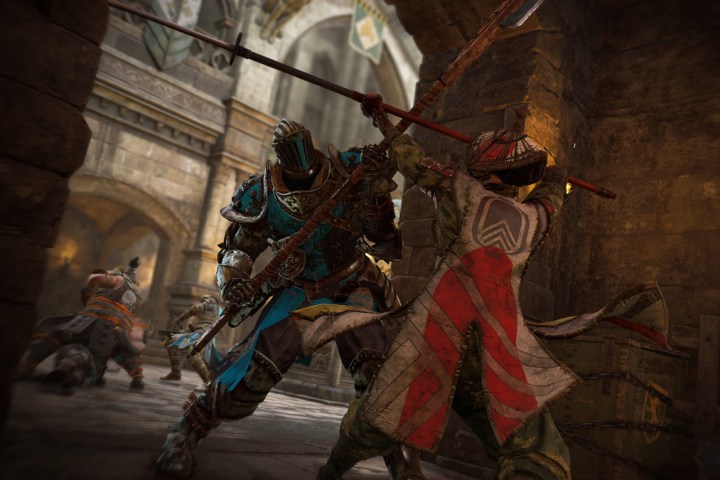
Ubsioft’s For Honor is one of the more interesting experiments to come out this year. The medieval melee simulator can probably best be described as a 3D fighting game that borrows from the formula of popular first-person-shooters. For Honor, as you may have heard, features an innovative combat system called “The Art of Battle,” and with that comes a set of new skills to master. It’s not always the easiest game to get into, however, as its pacing is more methodical than your typical hack-and-slash title. There’s a learning curve for the rock-paper-scissors-style combat that extends all the way down to the game’s seemingly obtuse controls. Once the mechanics start to click, however, it can be immensely satisfying.
Perhaps you participated in one of the betas and you’ve already stepped online to join the Faction War, or maybe you just completed the introductory tutorial and don’t know what to do next to square your footing. Either way, these steps and tips should help you master the game’s elaborate combat system.
Getting your bearings

For Honor is a multiplayer-centric game, and while it definitely helps to test your skills against human opponents, we suggest slowing down a bit and exploring the other parts of the package first. If you jump straight into live battle after the first tutorial, it may be harder to pick up the skills that you need to succeed at first.
Campaign
The single player campaign introduces the three factions — Knights, Vikings, and Samurai — across 18 missions. You will get the chance to play as multiple classes within each faction to get a broad sense of each character’s strengths and weaknesses. While the story is relatively banal, it does an excellent job introducing moves in easily digestible portions. Breaking down the game’s nuanced combat one piece at a time is far more manageable than diving head first into multiplayer warfare.
How to Play
If you absolutely don’t want to get through the campaign, the “How to Play” section of the menu has practice and advanced practice modes. Here, you’ll learn the moves introduced in the campaign, but you won’t get the same feeling of incrementally adding to your skill repertoire. Regardless, it’s still better than jumping in without the proper knowledge.
Learning “The Art of Battle”
While each hero offers a unique array of special moves, the core tenants of the battle system — “The Art of Battle” — remain intact no matter your hero of choice. Before you attempt to master a hero’s personal moveset, getting to know the five central mechanical principles will go a long way toward unfurling your victory banner along the castle walls.
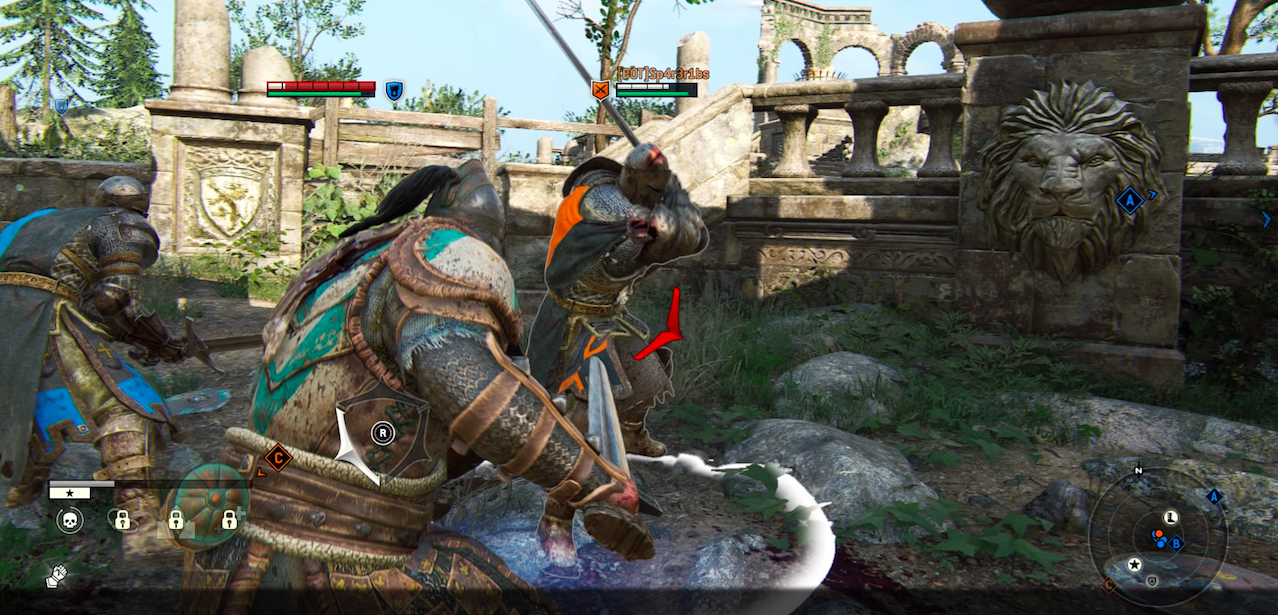
Guarding
You will spend most of combat in the guard stance. Squared to your enemy, you have the choice of steadying your weapon left, right, or above your head. With the goal of blocking incoming enemy attacks, it’s best at first to stay in step with your opponent’s blade. Since you only have a split second to move your weapon to a different guard position, the system relies on anticipation and sometimes even gut instinct. When your opponent attacks, an icon will briefly flash red to reveal the direction of the incoming blow. As odd as it sounds, you may want to pay more attention to the icon in the center of their body rather than the enemy’s weapon if you are having trouble warding off attacks. The longer you hold out on the defensive, the more stamina your opponent will exert in trying to land a strike. Even though this rock-paper-scissors back and forth may be stressful, patience gives you the upper hand. Keep in mind you can also guard attacks from enemies that you aren’t locked onto by blocking in the direction of an adjacent attack.
Parrying
Once you have a knack for guarding, you can throw in a bit off offense with your defense. When your opponent attacks and the directional icon flashes, if you match up the correct direction in combination with a heavy attack, you will perform a parry. Basically, this knocks your opponent back, and leaves them open to a quick counterattack. Be careful, however. If you don’t time it correctly, you will get hit, as your guard lowers when parrying.
Attacks
Yes, in order to win a battle, you must attack your opponents, but we mentioned guarding and parrying first for a reason. You should attack sparingly and with precision. Hasty attacks often lead to defeat, so choose wisely. Attacks can simply be broken down into light and heavy. Light attacks are weaker and harder to block, while heavy attacks are more cumbersome but inflict critical damage. You conserve stamina by primarily sticking with light attacks. Heavy attacks should be reserved for when you catch your opponent off guard or when they are flailing around carelessly. When landing a heavy attack, you can often follow it up with a quick light attack before bracing back to guard mode. Keep in mind that if you initiate an ill-advised heavy attack, you have a moment to cancel it. Since light attacks strike quicker, if you see your opponent winding up a heavy attack, you can usually beat them to the punch with a light attack of your own.
Guard breaks
If you’re opponent consistently blocks or counters all of your attacks, guard breaks can often take down their defensive stance momentarily. A guard break tells your hero to rush your opponent with either a shove or a thrust of your shield, if applicable. With your opponent’s defense compromised, you can easily land a light attack and often land a heavy attack. Be careful, though, as your guard is also down and already in progress attacks from your opponent will still land when executing a guard break. It’s important to not be too far from your opponent when you initiate a guard break, too, as each hero only lunges so far. On the flip side, to defend against a guard break, you must perform one of your own when your opponent’s weapon or shield flashes red. If successful, the area around your character will flash blue, sending your opponent backwards and opening them up for an attack.
Performing an additional guard break at impact will initiate a throw. More often than note, this will send your opponent to the ground, in which case you can unleash a few attacks before your opponent rises again. Since throws exert a fair bit of stamina, however, it’s best to save these for when you can pin your opponent against a wall or send them hurtling to their death off a ledge.
Dodging
If you find yourself getting beat down often, you may be staying too still. Sure, it’s wise to stand your as much as possible, but dodging creates separation that is sometimes needed to confuse your opponent and take the upper hand. If you need to regroup, dodging backwards is a sure fire way to reset, but if you want to turn dodges into simple light or heavy attacks, dodging left or right is a better method as you’ll likely stay within attack range. Use dodges sparingly, though, as it’s a quick way to deplete your stamina.
Factions and heroes
You’ve picked a side in the Faction War, but don’t worry, you are free to play as whichever hero your heart desires. There’s four heroes in each Faction, each with their own strengths and weaknesses.
Warden (Knight – Vanguard): An easy to use, well-rounded hero for beginning players who favor the Knight class.
Conquerer (Knight – Heavy): A great hero for blocks, guard breaks, and heavy attacks, but slow movement makes this Knight a medium difficulty hero to use.
Peacekeeper (Knight – Assassin): An adept dodger, strong at parrying, and prime for flurries of light attacks. Low blocking skills and minimal range make this Knight a medium difficulty hero to use.
Lawbringer (Knight – Hybrid): Specializes in parrying, guard breaking, and blocking, but slow ax attacks make this Knight a challenging hero to use effectively.
Raider (Viking – Vanguard): An easy to use, well-rounded hero for beginning players who favor the Viking class.
Warlord (Viking – Heavy): A great hero for defense, guard breaks, and heavy attacks, but slow movement makes this Viking a medium difficulty hero to master.
Berserker (Viking – Assassin): A speedster who specializes in dodging and chains of light attacks with dual axes, but a short range makes this Viking a hard hero to use with precision.
Valkyrie (Viking – Hybrid): A well-rounded character that fits many play styles, but wielding a spear is challenging, making this Viking a complicated hero to master.
Kensei (Samurai – Vanguard): An easy to use, well-rounded hero with decent range for those favoring the Samurai class.
Shugoki (Samurai – Heavy): An easy to use, brutish hero who specializes in heavy attacks, blocking, and throws.
Orochi (Samurai – Assassin): Quick and nimble, this hero is adept at parrying, dodging, and both attack types, but swiftness makes this Samurai harder to control with precision.
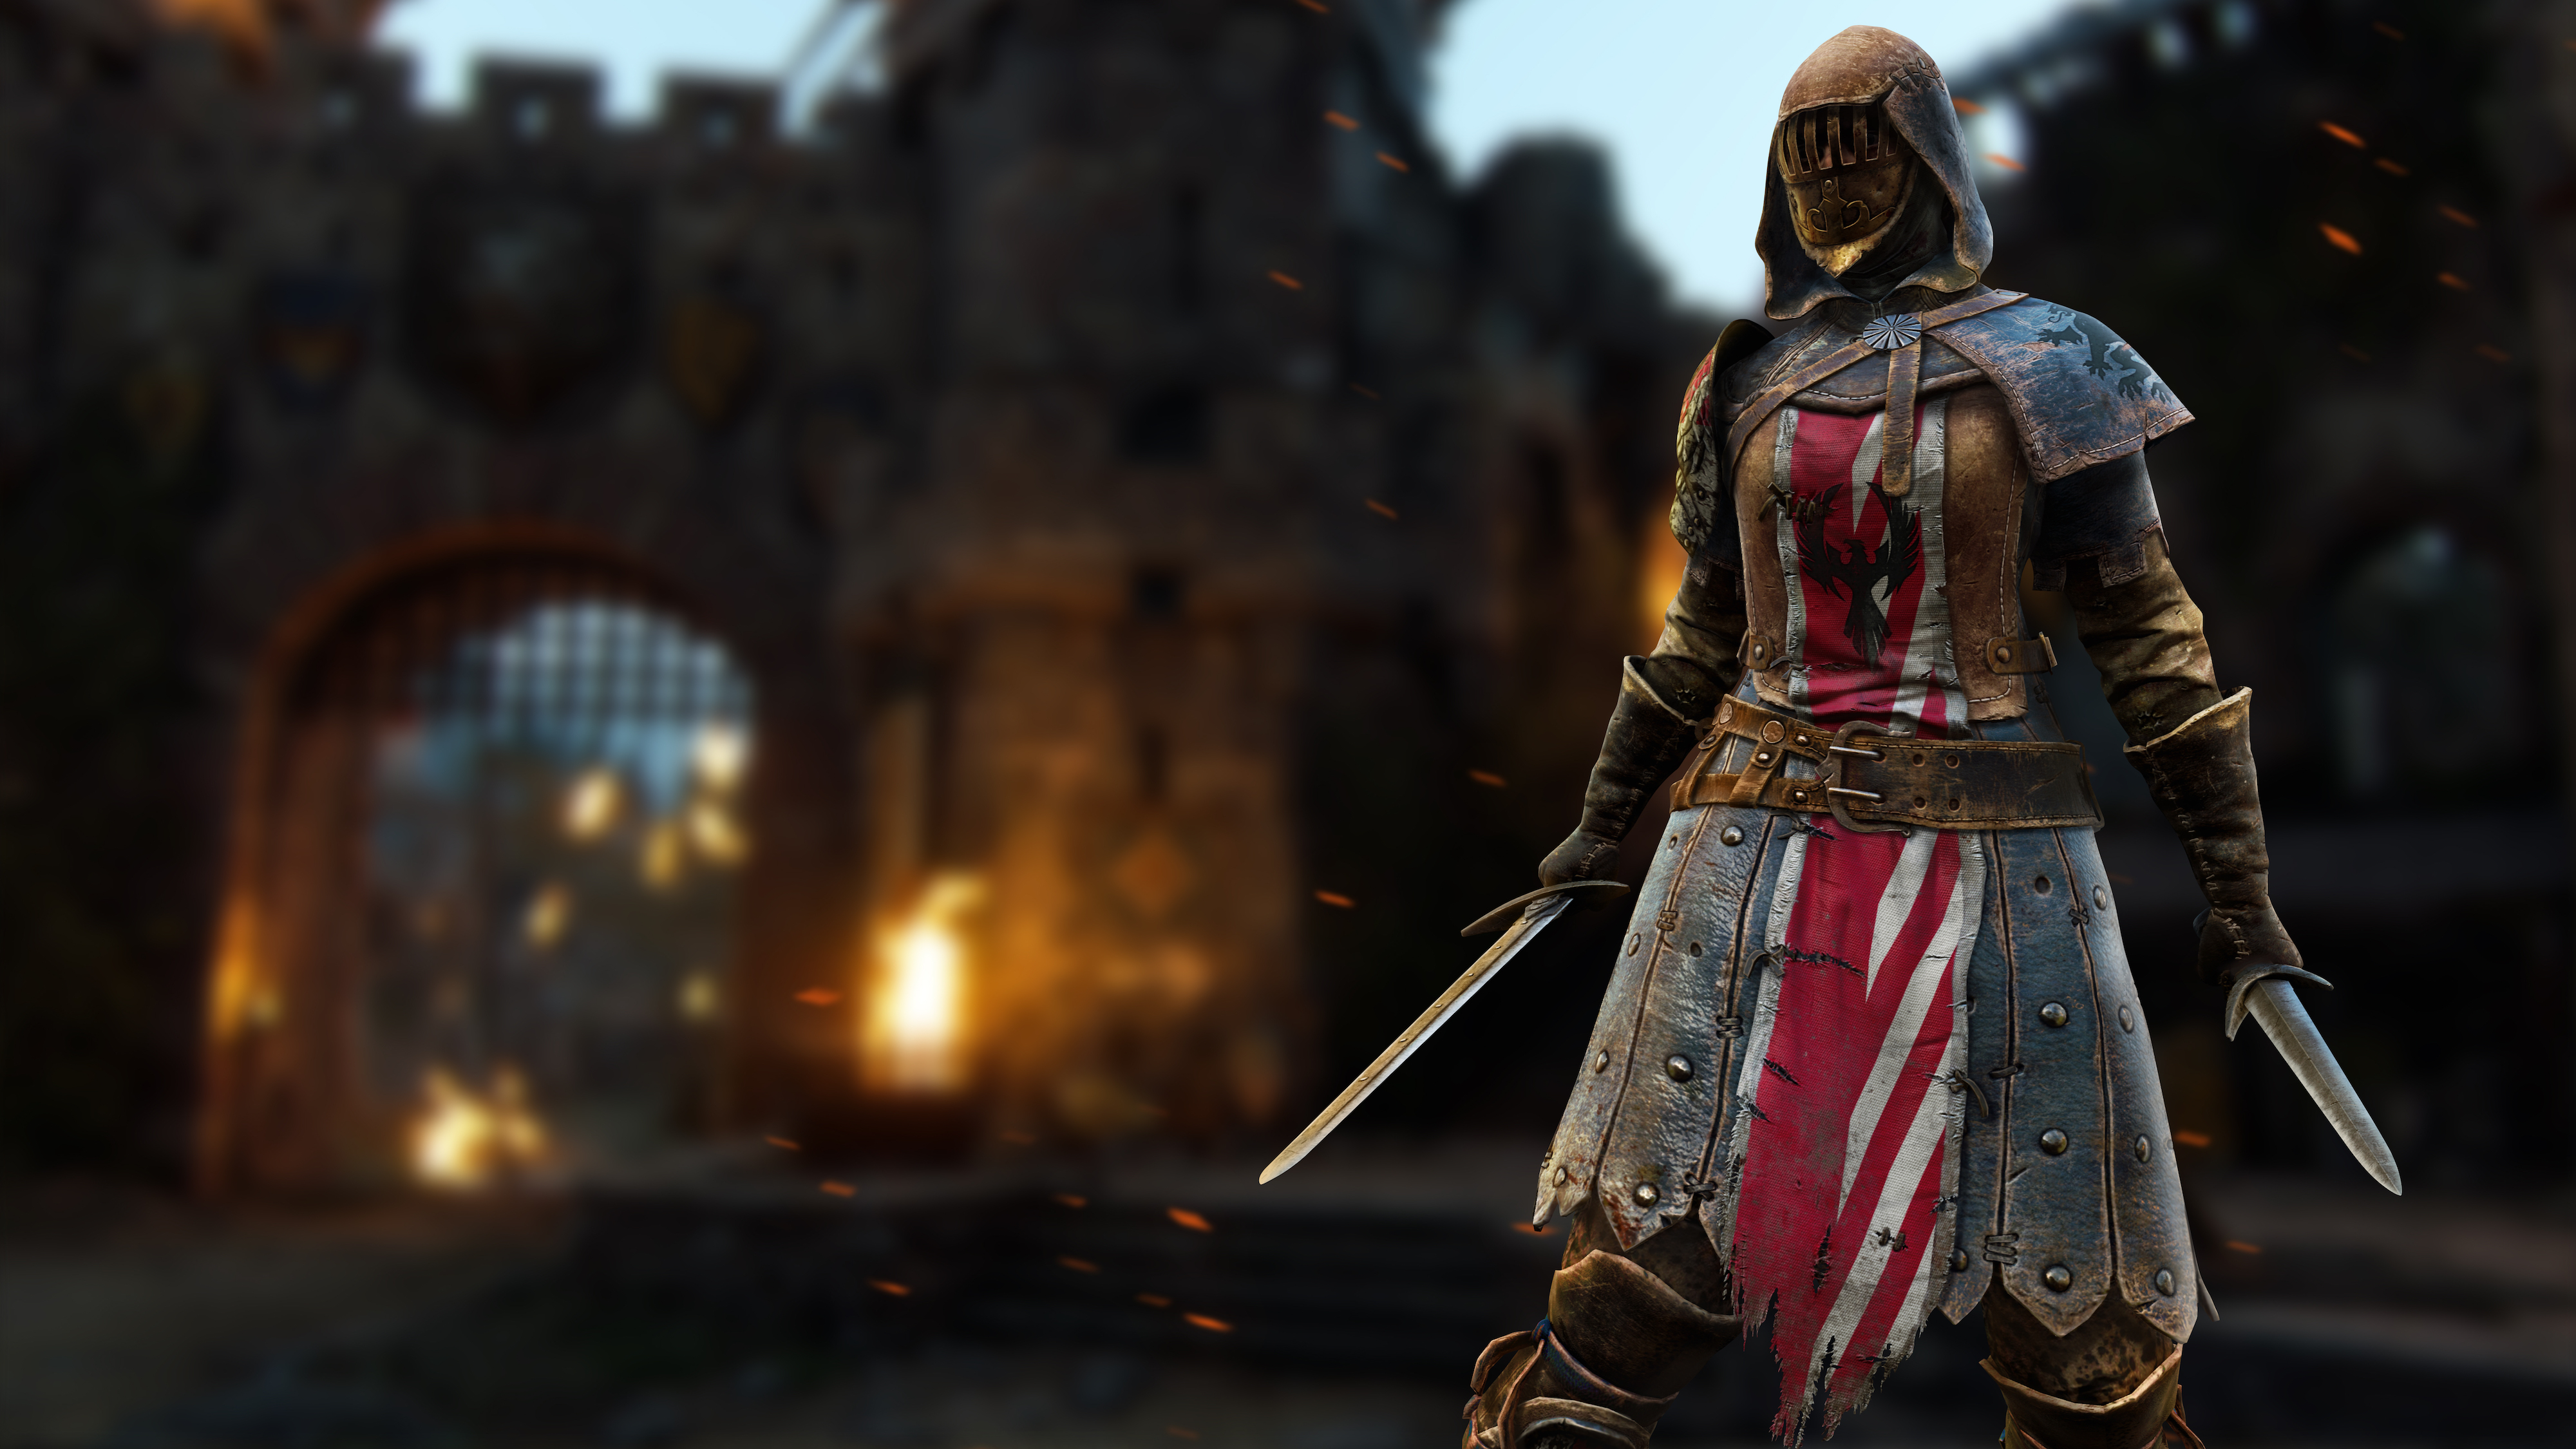
Nobushi (Samurai – Hybrid): A hero with a long range and a penchant to dodging, but weak defense makes this Samurai vulnerable to attacks and, consequently, challenging to use.
What does Steel do?
Steel is For Honor‘s in-game currency. You earn it by playing the campaign and in multiplayer matches. If you’re playing For Honor, you’re likely racking up Steel to enhance your character builds and customization features.
Hero customization
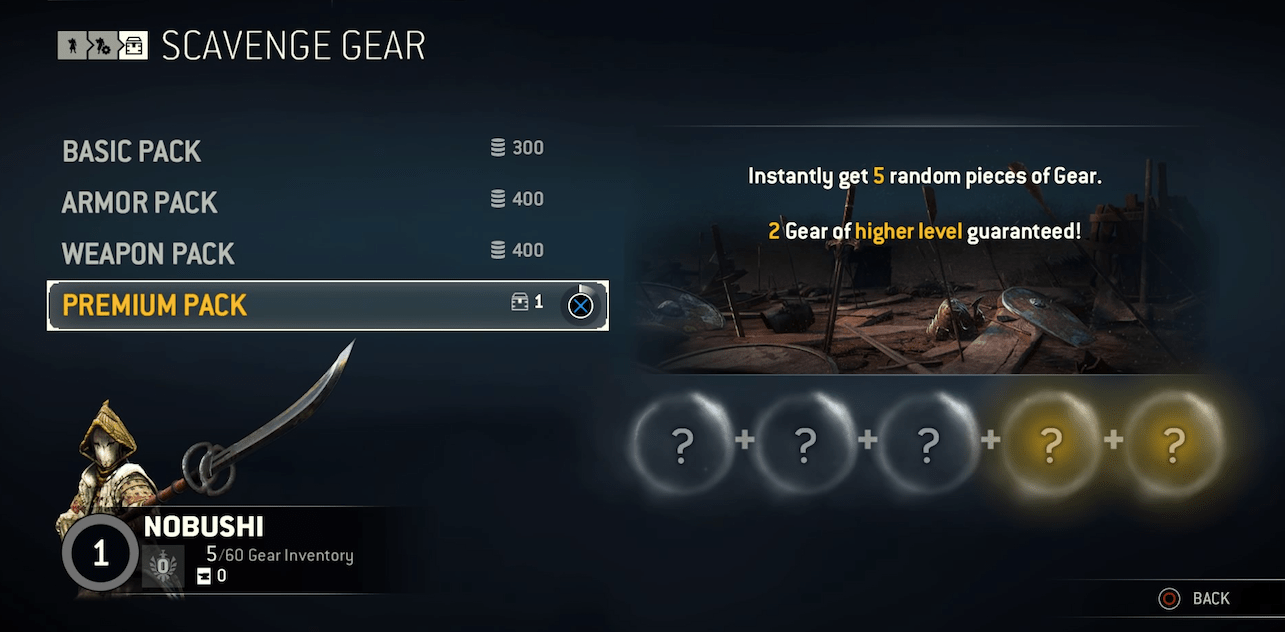
Your first Steel purchases should be spent recruiting all the heroes. You can use any of them in multiplayer combat from the start, but to customize heroes, they need to be recruited. With heroes recruited, you can purchase weapons and armor packs containing three random pieces of upgraded gear for your hero. You can also score premium packs containing five pieces of gear with scavenger crates obtained from Breakables in the single-player campaign.
Feats
Before starting a multiplayer match, you choose four special abilities to use on the battlefield. Feats gradually unlock as you earn points throughout a match. They do things like restore health, rain down a storm of arrows from above, or add passive skills such as the ability to quickly regain stamina. At first, you are locked down to a specific set of Feats in multiplayer, but through the acquisition of Steel, you can unlock two additional feats in each category, bringing the total number of Feats for each hero to 12. It’s always best to have at least one health-related Feat equipped and at least one passive Feat. Besides that, equip the ones that complement your personal play style.
Tips and tricks
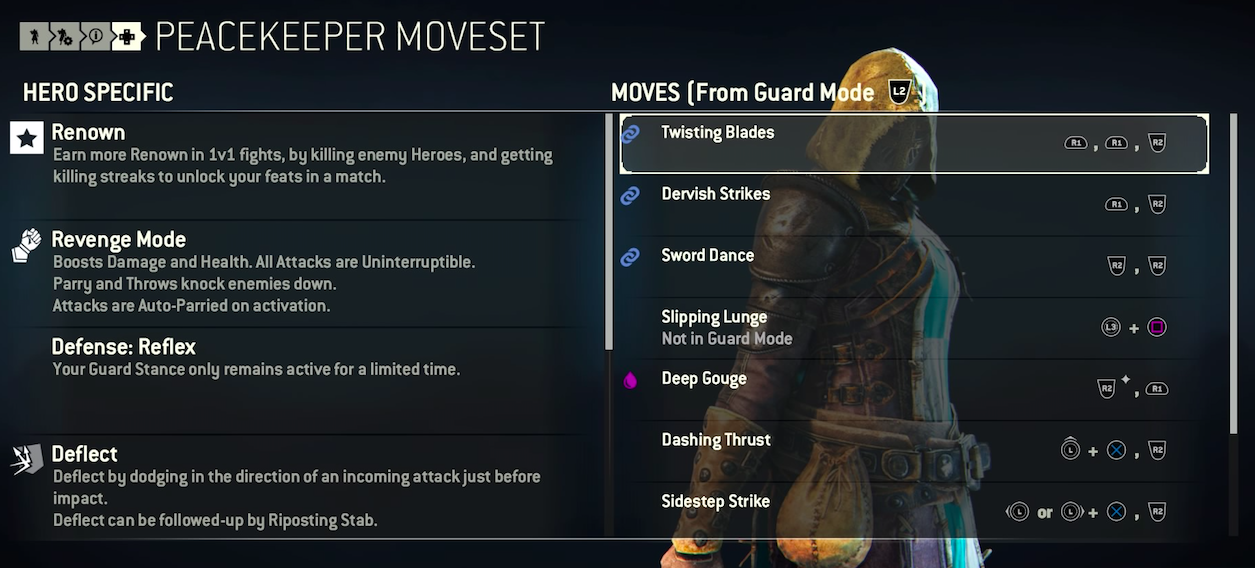
Check your movesets
To really enhance your sword skills, check out your advanced movesets. Each hero has a set of advanced moves and hero-specific traits. To check these, navigate to Customize in the main menu and choose a hero from the Heroes menu. From there, click How to Fight, and then Movesets. You can also check your movesets mid-game, but be quick, as you can’t pause an online fight. Learning at least a few advanced moves spices up your combat and lets you complete combo chains.
Try not entering guard mode
This may sound counter-intuitive to the premise of the game, but sometimes you may want to not enter guard mode. While your defenses are down outside of guard mode, you move faster and you may find that landing the first blow is easier.
Watch your stamina, seriously
We mentioned how stamina depletes with actions, but always keep an eye out for the bar below your health. If it depletes entirely, your screen will turn black and white, and your hero will become incredibly sluggish. Let it drop low, but steady yourself when it does to ensure it repletes without added delay. Good stamina control keeps you in the game.
Switch between enemies
Fighting multiple enemies at once is a struggle, but when you find yourself in this scenario, it’s best to switch back and forth between which one you are locked onto, and preferably attack upon making the switch. This gives you the best chance at defeating both enemies using the rock-paper-scissors combat.
Those enemy minions? Treat them like friends
The minions that populate the battlefields are easy to take out, and turn combat into traditional hack-and-slash gameplay. You should definitely take care of them, as you rack up points for doing so, but you should also use them to your advantage when fighting heroes in “The Art of Battle.” Use throws to propel minions into enemy heroes to create general chaos, and possibly even render their defenses useless for a moment or two.
Amazon
Editors' Recommendations
- The best Power Armor in Fallout 4 and where to find each set
- The best iPhone emulators
- PlayStation Spring Sale: best deals, how long is the sale, and more
- Fortnite performance guide: best settings, fps boost, and more
- The best Dragon’s Dogma 2 mods


