If you’re not controlling Kat at a sky-high level, you’re going to have a tough time during Gravity Rush 2’s hardest fights. Luckily, you can use this guide to hit the ground running. Here’s the scoop on Gravity Rush 2’s combat.
Understanding Stances
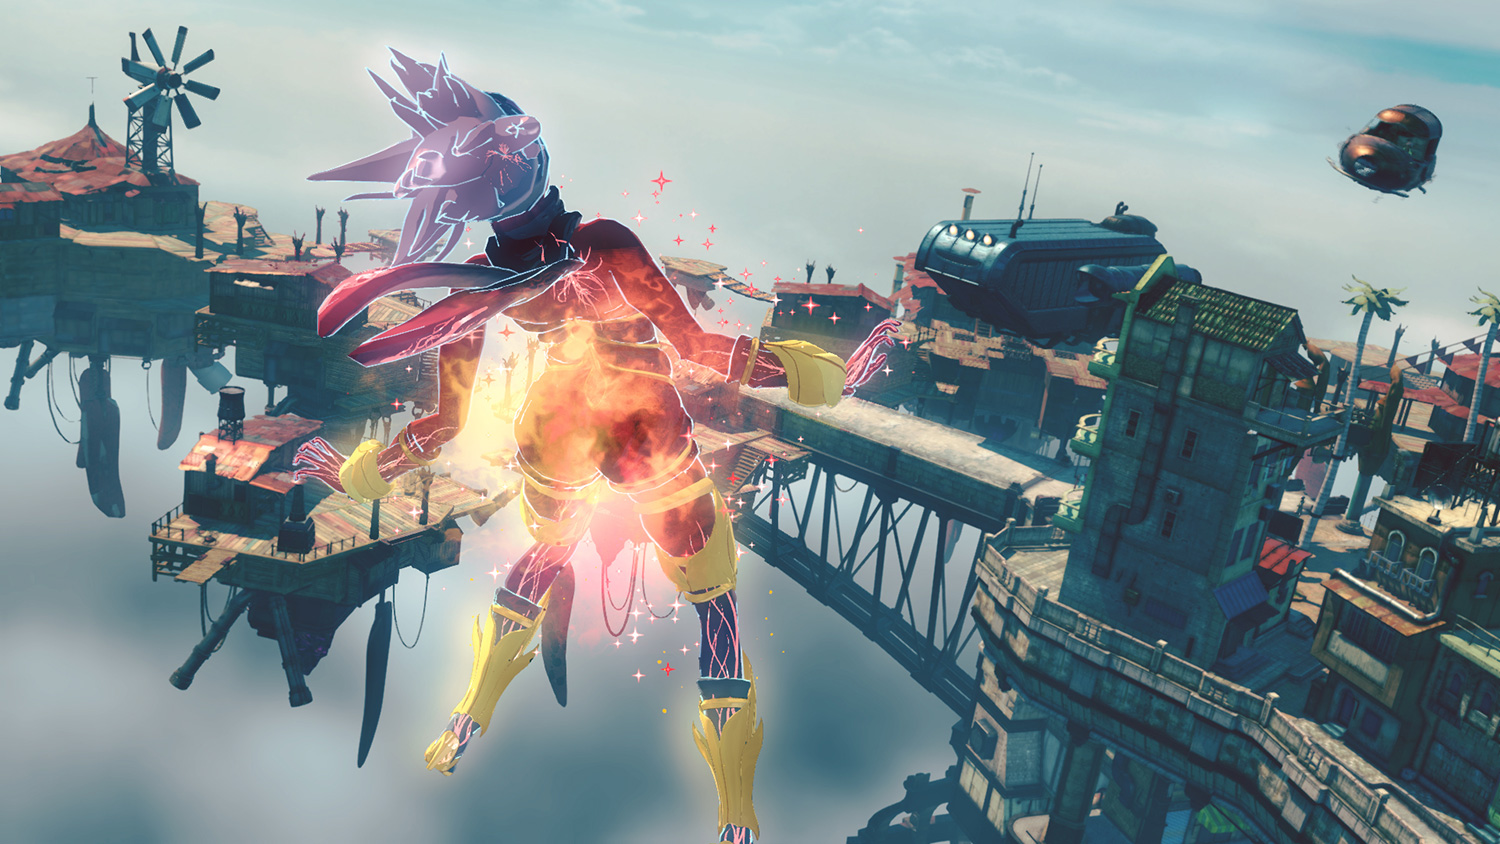
The most important factor for mastering Gravity Rush 2’s combat is mastering movement. Even a simple battle becomes a mess if you can’t move confidently around the game’s massive, 3D environments.
Thankfully, getting to know the basics should be easy. Press R1 to float stationary and tap it again to flip gravity in the direction you’re facing, or use motion controls to fine-tune your aim and press the square button to send gravity kicks at enemies. R2 is for dodging, both in the air and on the ground. And clicking the right stick levels out the camera, helping you stay oriented.
Once you start unlocking Gravity Rush 2’s additional stances — Lunar and Jupiter mode — things get more complicated. One key to mastering the game’s combat is getting good at switching among Lunar, Jupiter, and normal stance using the touchpad on your PlayStation 4 controller. You’ll often need to do this multiple times per battle, depending on the situation.
While Lunar mode makes you lighter and floatier, it also makes you easier to hit since you move more slowly through the air and you’re less maneuverable. You’d think that wouldn’t be great for combat, but there are times when Lunar is more than suitable. It has advantages, like a better gravity kick — aka the “wormhole kick” — that lets you warp toward enemies (even fast-moving ones). It’s also easier to chain attacks together on the ground while in Lunar mode.
More importantly, once you’ve gotten the hang of spring-jumping (both vertically and horizontally) in Lunar mode, you can use that to zip around the battlefield more quickly than you can by shifting gravity. Holding and releasing the “X” button to jump into the air is often easier than needing to tap R1, tilt the camera up, tap R1 again to stop, and level the camera out. Plus, in Lunar mode, you can float at the top of a jump for a some time, letting you get the lay of the land or aim your attacks. Liberally using R2, in addition to dodging attacks, makes Kat even easier to control in Lunar.
Jupiter stance, the second additional mode you get in Gravity Rush 2, isn’t as useful in combat. That said, it’s not without merit. Your ground attacks are much stronger, though in general, the heavy stance makes it more difficult maneuver. However, flicking down on the touch pad for seconds at a time while falling long distances can help you close gaps more easily. And the charge kick — executable by holding the square button — can do tons of damage to an individual or groups of enemies if you can manage to time it right.
Stasis and special attacks
Learn Stasis to fight from afar
Unlike in the original Gravity Rush, Kat’s stasis power is now incredibly useful during combat. Level it up in the menu as soon as you can and remember to equip Talisman, which will increase the number of objects you can pick up simultaneously.
Pressing the circle button in Gravity Rush 2 picks up nearby objects, which then swirl around Kat in a tight circle. Using the camera and motion controls to aim, you can then tap circle again to hurl those items one-by-one at foes. This is especially useful for flying enemies, and those with armor.
Using Lunar and Jupiter stances affects your Stasis power, too. In Lunar mode, objects you throw using Stasis stick around in the air after they hit their target, causing damage and slowing foes like miniature freeze bombs. This can do continuous damage and knock off multiple bits of armor with a single toss — and you can then pick up that armor and hurl it back at your enemies.
In Jupiter stance, any objects you pick up in Stasis coalesce into one giant sphere that does an immense amount of damage. It’s the least useful versions of Stasis, but can be used in a pinch.
Each type of Stasis attack also has a slightly more powerful version that you can use by holding the circle button instead of tapping it, but these attacks use up precious SP energy, which is slow to replenish and better spent on other abilities.
Special attacks topple the toughest foes
SP energy replenishes as you damage your enemies, take damage from enemies, or pick up floating pink crystals in certain battles. You can use it for powerful Stasis attacks, but the precious commodity is more useful for Kat’s special attacks, accessed by tapping the triangle button.
These special attacks vary by stance, however. The default screwdriver attack seeks out enemy weak points and does massive damage, and also lasts longer if you upgrade it. This can be helpful in all kinds of situations, whether you’re dealing with a huge mobs of foes, armored enemies, or bosses that require many hits to defeat.

Jupiter’s special attack is even more impressive. It’s a mini black hole that devours any enemies around you, with the exception of the most difficult foes. It’s clutch when you’re really in a bind and surrounded by a huge mob, especially later in the game.
Lunar mode’s special attack is less useful. It’s a rapid-fire Stasis throw, one that picks up nearby objects and hurls them in the direction of the camera. However, since it utilizes both SP energy and all the objects around you — stuff you could just use for normal Stasis attacks — it’s better to use one of the other special attacks.
Talismans and general tips
The power of Talismans
New to Gravity Rush 2 are Talismans, equippable items that have all kinds of effects both in and out of battle. Although many can be useful, some are just fun. That said, it’s best to swap out the one that makes dogs follow you for something more practical when gearing up for a tough fight.
What Talismans you prefer ultimately comes down to which classes and abilities you use most often. Some of the best increase the number of objects you can hold in Stasis, however, or increase the damage you deal or decrease the damage you take. Others increase the range of certain jumping abilities in Lunar mode, or increase the rate at which your gravity gauge replenishes.
You can also combine Talismans at Aki’s shop in the entertainment district of Hekseville, once you’re far enough in the story. Merging Talismans is invaluable if you want to have the best options in combat.
Final, general tips
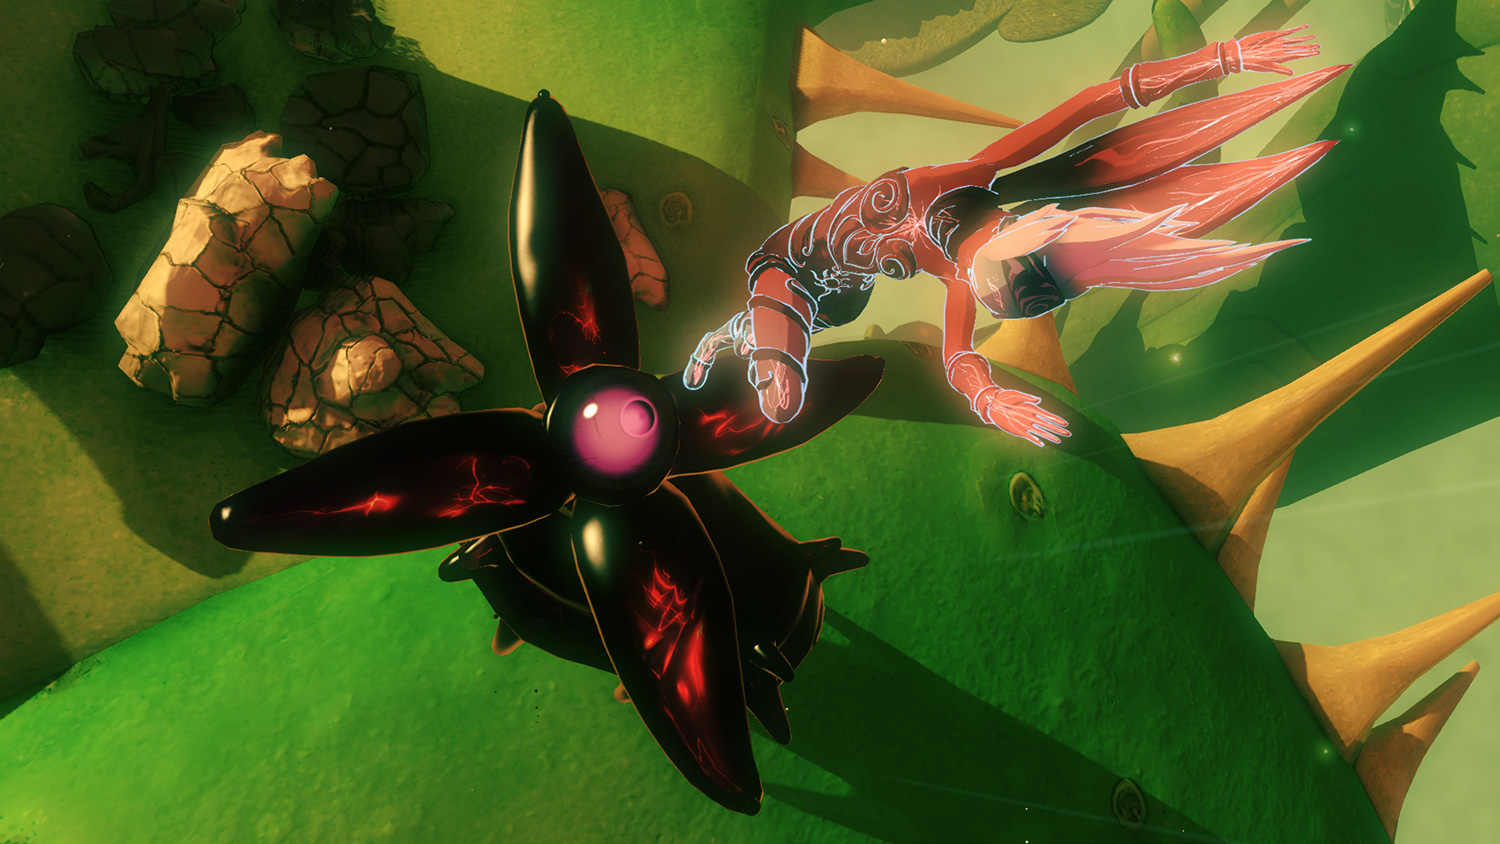
Lastly, here are some general tips to help in your fight against the Nevi and other foes (including the game’s camera).
- Use R3 frequently to level the camera and re-orient your view
- It’s OK to retreat and take a breather when feeling overwhelmed (in most fights)
- Look around for green health gems and remember their location for when you need them
- In some late-game battles, you can use the powerful “Panther mode,” though you can’t rely on it
- Make sure to keep upgrading your skills in the menu
- Learn to flick between stances quickly and reliably
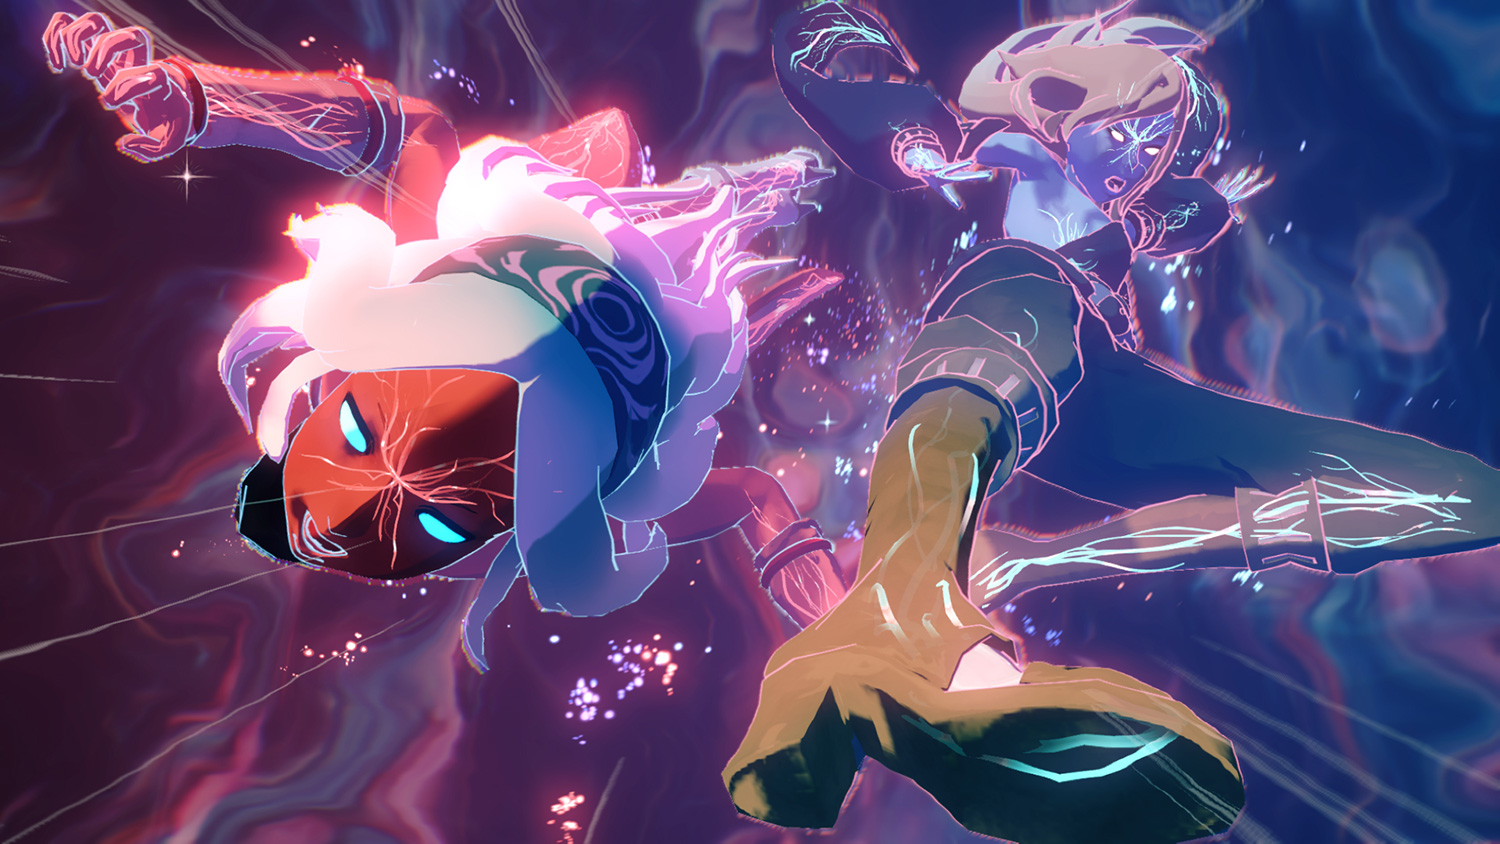
- Whenever Raven is with you, she’ll join for certain attacks, like the Jupiter charge kick
- Upgrade the R2 dodge so you can use it multiple times in a row
- Use stasis all the time
Fighting in Gravity Rush 2 can feel disorienting — especially at first — but keep at it and you’ll be gravity-kicking with the best. And when any fight feels unfair, remember that you’ll be soaring around the beautiful Jirga Para Lhao again in no time with these tips.
Editors' Recommendations
- PlayStation Portal 2: 8 features we want in Sony’s next-gen handheld
- What is dragonsplague in Dragon’s Dogma 2 and how is it cured?
- The best skills for each Vocation in Dragon’s Dogma 2
- All sphinx riddle solutions in Dragon’s Dogma 2
- How long is Dragon’s Dogma 2?