You’ve got the skills
One of the big changes in Dead Rising 3 is a choice-driven skill tree that allows you to spend attribute points you earn with each new level and completed chapter in whichever direction you choose. Previous Dead Rising games offered no choice to how your character’s abilities improved, so this is a big change. Character progression carries over across all games, same as ever, so you always want to think with the big picture in mind when you’re assigning attribute points. Every 10 levels you climb through ups the number of attribute points you get by one; so from levels 1-9 you get one point per level, 10-19 you get two points, and so on.
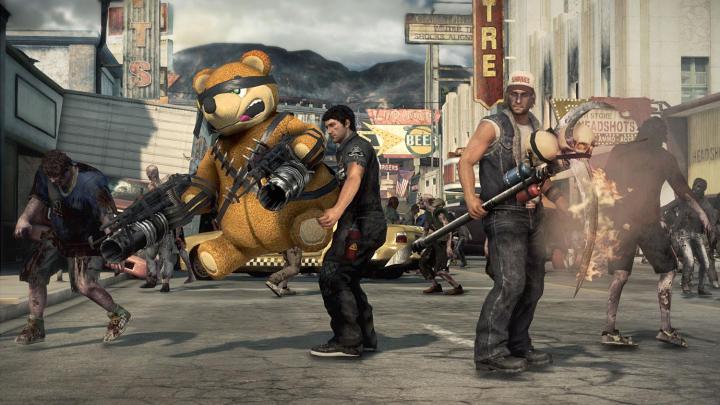
You’ll want to focus primarily on inventory for your first few levels earned (which should come relatively quickly). Try to get yourself up to at least five item slots before you cave to the temptation of assigning points elsewhere. Health and melee are also good ones to boost in the early levels, as is agility. The combo categories at the top of the skill screen relate to the game’s custom-built weapons. Spend a point on any of these categories to make all items in that category usable for combo weapons that use one component from the category. Yes, that’s confusing. Here’s an example: you really like the Pummel Blast, a combo weapon that involves taping grenades to a sledgehammer. You spend a point on the “blunt” weapons combo category, which the sledgehammer falls under. Now, anytime you’re carrying grenades and you happen to pick up a blunt weapon – baseball bat, crowbar, lead pipe, whathaveyou – you can make your Pummel Blast using those blunt weapons in lieu of a sledgehammer.

Avoid spending points in the combo categories until later on in the game, after you’ve amassed a good supply of combo blueprints. It’s just not useful in the early going, and your earned points are better spent elsewhere. The lone exception to this is the food categories option; put a combo point there to unlock the ability to create combo shakes out of any two healing items. It’s still not something you should prioritize immediately, but definitely consider it once you feel you’ve got a comfortable amount of health and inventory slots.
Time is a factor
If you’ve been following Dead Rising 3‘s development, then you might be under the impression that the game’s Normal difficulty ditches the ticking clock that puts a deadline on all of your tasks in the game. Well … that’s just not true. The timer is back in Dead Rising 3, and although you have a very generous amount of time to complete the story and all secondary tasks, if you sit idle for too long and spend too much time smacking zombies with crowbars, you’re going to run out of time and get the dreaded Ending F, where everything explodes, all hope dies, and all puppies everywhere are lost forever. We can’t actually confirm that last point, but it’s probably true given the whole “zombies eating everything” issue inherent to any zombie apocalypse.
Time. You don’t have an infinite amount of it. Remember that. Especially if you’re multitasking on your Xbox One. Make sure you pause your game if you’re not solely focused on playing. Seriously. Ending F is no fun.
Safety in safehouses
Early on in the story you’ll get a mission that introduces you to the concept of Safe Zones. While having a zombie-free hideout isn’t new to Dead Rising, there’s typically just one central hub that you operate out of in the previous games. Not so in Dead Rising 3. Safe Zones are scattered across the city of Los Perdidos, with several in each neighborhood. You can find them easily on your map; they’re the square icons with the image of a house inside them. Green ones are unlocked and deemed “safe” whereas red ones need to be cleaned up. The first time you visit one, you’ll find a small horde of zombies waiting to be eradicated. Do that once and the Save Zone stays clear for the remainder of the game. You can also spot Safe Zones in the open world by looking for very obvious red circles spray painted on nearby walls.

You’ve got a few handy resources available in any given Safe Zone. There’s generally enough random crap lying around to build a combo weapon or two, for starters. If you’re using Dead Rising 3‘s SmartGlass feature, you’ll also have a repeatable quest linked to every Safe Zones that involves dropping four food/healing items into a crate in exchange for a support request (airstrikes and the like) from your anonymous guardian angel. You’ve got the clothes cabinet for switching your wardrobe up using any article of clothing you’ve gathered. A survivor bulletin board that allows you to call in help from those you’ve rescued. And lastly you’ve got the weapons cabinet, which is a beefy enough feature that it gets its own section below.
Zombie world replicator
Ah, the weapons cabinet. Also known as Dead Rising 3‘s most refreshing assault on tedious gameplay. You no longer need to go scrounging for parts every time you want to put together your favorite combo weapon. Instead, just go to a safe house, open the weapons cabinet, go to the “combo weapons” tab, and spawn whichever weapon you want. Any non-food/healing item that you pick up has a copy stored in the weapons cabinet, even if you drop said item immediately (down on the D-pad to drop any item in your hands). This includes combo weapons, so be sure to piece items together whenever you pick up a new blueprint; you’ll always find the parts needed to build a combo weapon right near the blueprint for it.
It’s not a total weapon spawn free-for-all. If you look at the bottom of the weapons cabinet window, you’ll see a blue bar divided into separate chunks. For “standard” item categories – meaning, non-combo weapons – you’ll see eight chunks in the bar. Go to the combo weapon tab and half the chunks combine, leaving four in all. Go to the Super Combo tab – a combo weapon combined with a third item, for added effect – and the number of chunks is reduced to two.
Each chunk of the meter represents one item that can be spawned. That’s why you get eight standard item chunks but only four combo weapon chunks; you could spend two chunks to spawn in the grenades and sledgehammer for your Pummel Blast, or you could just spend the equivalent of two chunks on a pre-built Pummel Blast. It’s the same “price” either way. The meter recharges automatically over time.
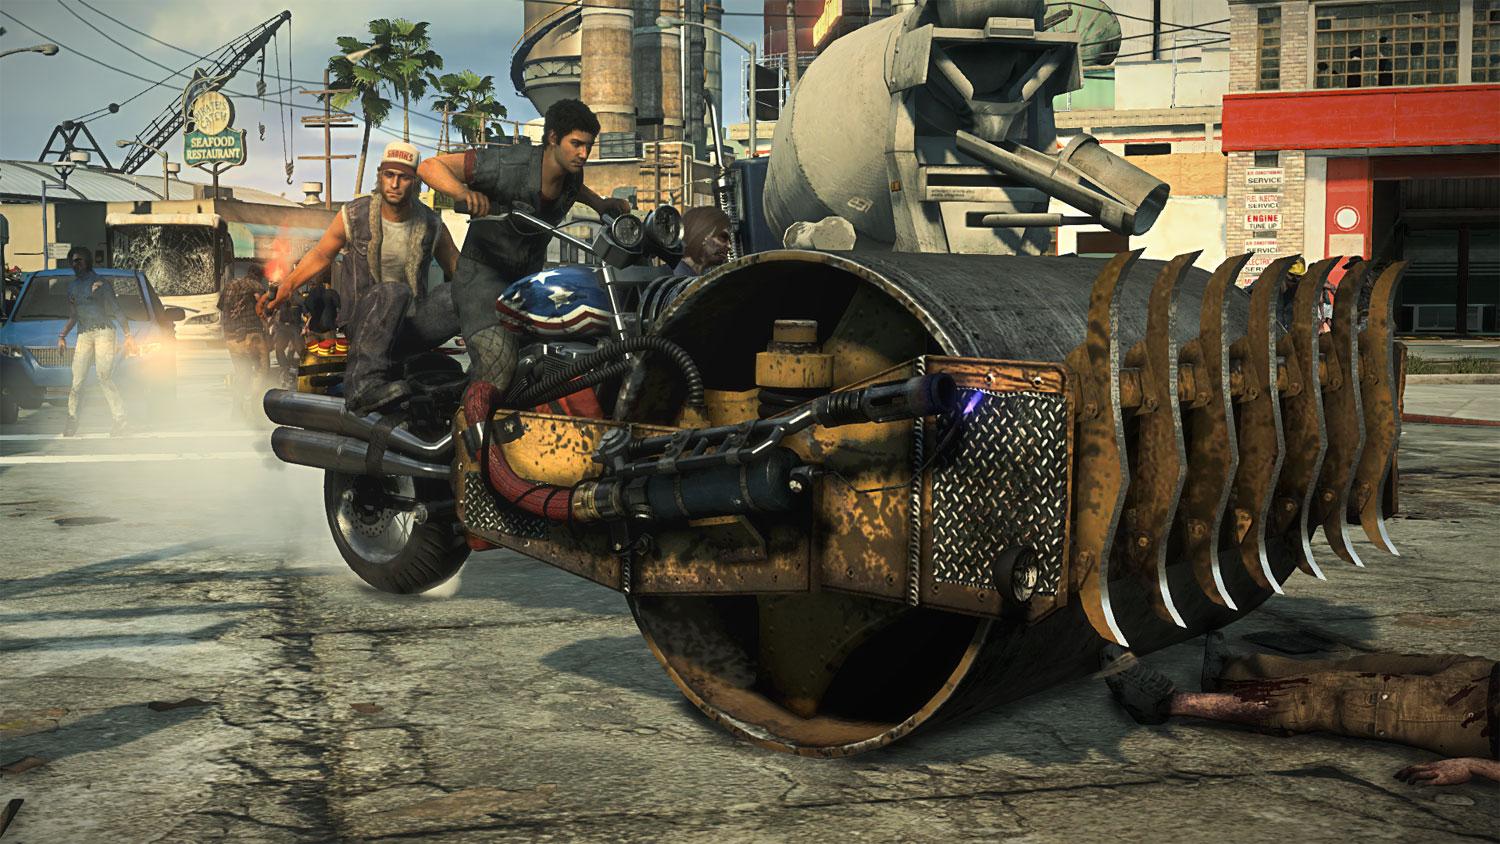
Dead Rising 3 also features combo vehicles (returning from Dead Rising 2) and, much like the weapons cabinet, a vehicle lot accessible from any garage (green car icons on your map) allows you to spawn them in. Much like items, any vehicle you sit behind the wheel of is automatically added to your vehicle lot, regular rides and combos alike. Same idea here, only the meter limiting how many items you can spawn differs for the vehicle lot. You can summon up to four standard vehicles or two combo vehicles.
With all combos, weapons and vehicles alike, you’ll need blueprints. Look for circular blue icons on your minimap. They’re often tucked away in hard to reach places, and they’re occasionally locked behind quest-dependent doors. Many more are freely available, however, so keep an eye out. Blueprints give off a golden glow, so they’re fairly easy to spot.
Numerical advantage

Los Perdidos is a dangerous place, one that is best not explored all alone. You’ve got a few options here. Survivors return from previous games, with some slight rule tweaks. For one, people you rescue aren’t completely helpless nitwits. You don’t have to babysit them on your journey back to the safehouse. Sometimes they’ll join with you right when you save them, but that’s so they can help you slaughter zombies, not die horribly as a decoy when you decide it’s just not worth it to save their useless asses. Whenever you’ve got a survivor following you around, be sure to give them a weapon – firearms works best – and keep their health topped off by handing them food items when needed.
Survivor AI might not be brilliant, but it’s considerably more competent than it’s been in the past. If you decide you’d rather cut straight through a horde as opposed to slaughtering it, your follower is smart enough to realize that it’s probably best to just push through the crowd. They’ll take a little damage along the way, but that’s why you want to keep handing off food. Survivors generally hold their own just fine as long as you’re diligent about keeping them supplied with weapons and health. You can call in any rescued survivor (or dismiss current followers) using the bulletin board at any safehouse, but you can only have one joining you at a time (until you unlock more on the skill tree, that is).
Of course, Dead Rising is also all about the co-op play. Having a second human along to help you is by far the preferable approach, especially since you can both summon in separate followers, effectively creating four-person zombie-smashing teams (or larger, at higher levels). To make co-op happen with a friend, form a party, have one person load their save, and that person can then send an invite from the pause menu once the game loads. Joining a stranger’s game – as Dick, the creepy, mute guy in the background of many story cutscenes – is as simple as choosing “Online” from the main menu and following the prompts from there.
If you don’t want to play with a friend and you’d rather not be paired with strangers, you can set Dead Rising 3 to single player mode from the play styles menu. It pops up whenever you start a new game, but you can also get there at any time from the pause menu. The chosen play style – Completionist, Speed Run, Casual, Hardcore – helps to pair the right players together, but there’s a fifth “Single Player” option as well that sets your game to solo play.
Man on a mission

Missions in Dead Rising 3 work a lot like they did in previous games. The ticking clock that governs the length of the story doesn’t relate to specific story missions; in other words, there’s no timetable for completing any individual story mission, it simply behooves you to get through them all before the clock runs out. Sometimes you’ll get to a point where the game tells you to explore while you wait for one character or another to do something, but you’ll never have a ticking clock on an individual story mission unless the narrative demands it in some way.
Secondary missions, on the other hand, must be completed before a timer runs out. All queued up secondary missions are listed on the left side of the screen, with a meter below the name of the mission that denotes how much time you’ve got left. Blue missions are typically focused on survivor rescue, and they’ve often got some fetch quest attached. Red missions are Dead Rising 3‘s Psychos, deranged lunatics that you fight in exchange for PP (the series’ XP) and unique weapons. Your main story missions are always marked by the yellow objective marker that is visible at all times.
Editors' Recommendations
- How to play split screen in Call of Duty: Modern Warfare 3
- Monster Hunter Rise is coming to PlayStation and Xbox, minus cross-platform saves
- Every announcement from Capcom’s E3 2021 showcase
- Monster Hunter Rise 3.0: How to raise your Hunter Rank fast
- Monster Hunter Rise’s free 3.0 update is coming tomorrow