Updated 9-04-2015 by Will Fulton: More tips
Stay off the beaten path
At first blush the game bears a certain resemblance to The Witcher 3, another recent blockbuster with a huge, open world, crisscrossed by roads for you to traverse by horse. In that fantasy epic you could ride between objectives more or less on autopilot, taking in the vistas as you gallop down convenient roads. Don’t make that mistake in Afghanistan. The hills are an unfriendly place, so take a bit of caution when exploring so you don’t gallop right into the middle of a Soviet guard post. If you want to pass unnoticed, stay off the roads and stick to the hills on either side. This way you’ll get a better vantage of surrounding threats and avoid any convoys or patrols.
Scope out the scene
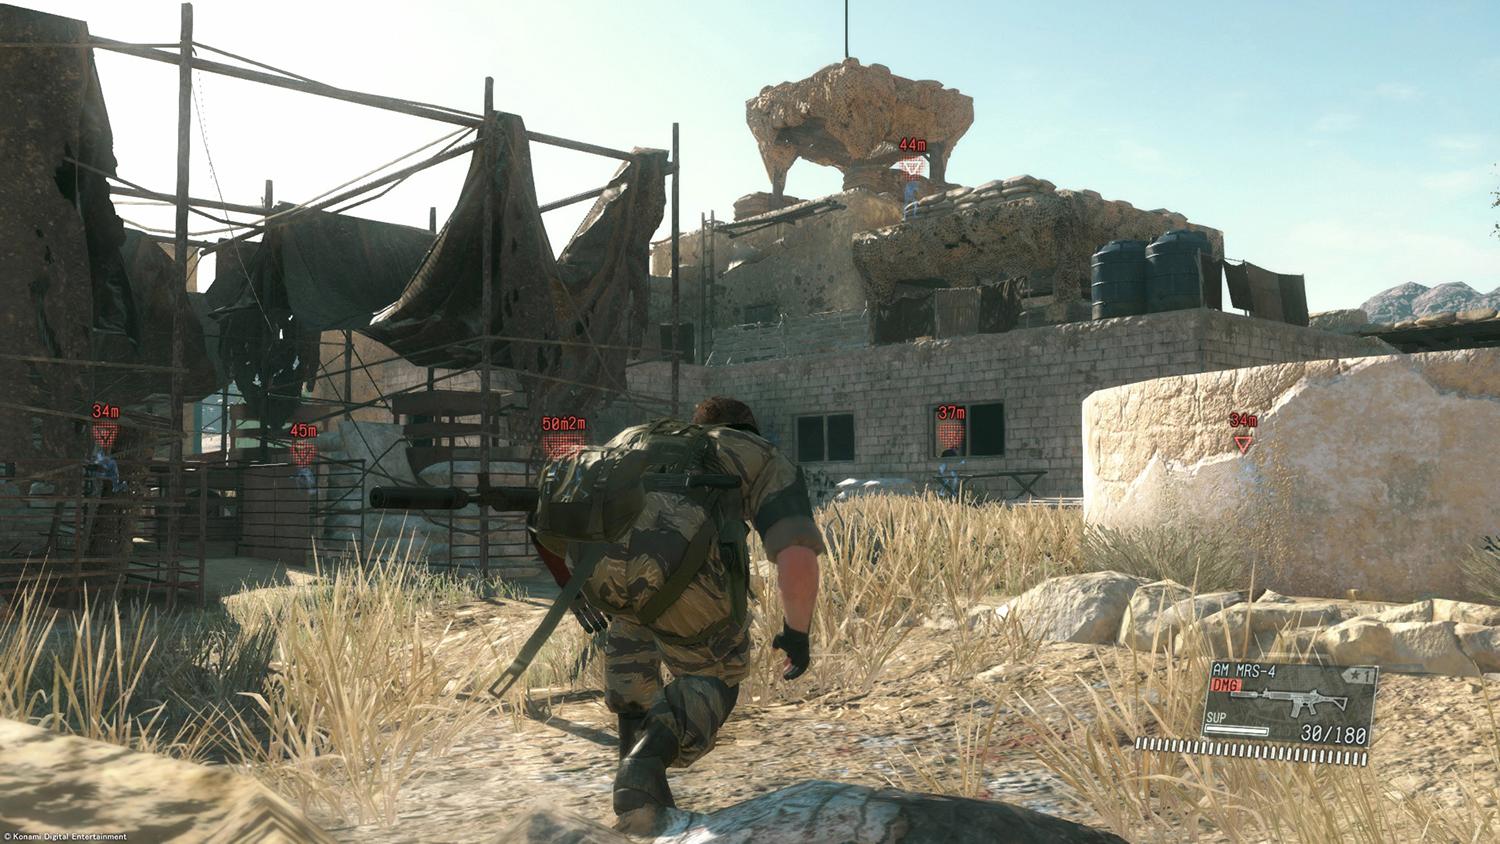
Without a predetermined infiltration route, it’s up to you to determine the best way in to your objective. Your binoculars are one of the most frequently relied-upon and useful tools at your disposal, so once you’re nearing the perimeter of the mission site, find high ground and determine the lay of the land. Focusing on units will tag them indefinitely, revealing their location to you behind obstructions and on the map. This is invaluable information once you’re in the thick of things, so be careful to take your time and tag everyone before you move in. Sometimes you need to observe from multiple vantage points to catch everything. The night vision goggles are especially useful for this, even during the day, when the brightly-colored heat signature helps soldiers stand out against drab desert backdrops.
Nighttime is the right time
When you set out on new missions from the chopper, you have the option to decide whether you want to be dropped off at the current time, dawn, or dusk. Dusk is the obvious best choice in most situations if you’re trying to be stealthy. The darkness makes it much easier for you to slip by guards unnoticed. Fortifications will often have floodlights to combat this, but they only cast light in a limited cone, and the power supply can be cut off.
They came from behind!
Most enemy facilities have an obvious backside, where they are pressed against a cliff or hills, with defenses focused on the other sides. This is often the best place to slip in unnoticed and start picking off guards from the shadows. Keep your eyes peeled in particular for nearby cracks in cliffs, since these usually indicate a good stealthy route in from above and behind.
Go low and slow
Take your time and stay close to the ground when sneaking around. Move too quickly and you’ll make noise, attracting attention. Grass and shadows are your friends here. If guards start to get unnervingly close, don’t panic. Press Y/Triangle while lying down to lay especially still and wait for them to pass. At night guards might stand right next to you and not notice if you’re lucky.
Stay cool and keep your tranquilizer cocked
When you’re sneaking around, be sure to keep your tranquilizer gun equipped. If a guard catches you, there are a few seconds of slow motion for you to respond before the alarm is raised. Resist the impulse to panic and start shooting. Instead stay calm, and line up a single shot to the face. Tranquilizer headshots instantly knock the target out, so it’s often possible to maintain your cover and carry on. With a bit of practice you can take out multiple guard this way before everything goes pear-shaped. You can also shoot while holding onto someone else: while you’re grappling someone, pull the left trigger to aim your gun and you can release the right trigger to prepare a shot without letting go of your cover. If you can’t separate two guards, try sneaking up from behind and grabbing one, then knock out the other with a tranq to the face.
Time waits for no man
While you can of course always pause the game at any time if you need to step away, note that using your iDroid computer does not pause the action. That means you can’t stop to check the map or call in a helicopter if you’re on the run in a hail of gunfire. The flare grenade is a useful tool for this once it’s available early in the game to research. This lets you call down a helicopter without stopping to dig through menus.
Plan your exit
Getting in is only half of the fun. You also need to have an exit strategy in mind for once you’ve reached your target. This is especially important when you’re rescuing a prisoner that can’t handle being whisked away by Fulton. Once you’ve settled on a quiet route out, you might want to set a marker on the map so you can keep track of it without stopping to check. Guards periodically look in on prisoners, so there’s a chance that the base will go into alert before you’re entirely in the clear, making every second count. If you need a helicopter extraction, call for it early if you have the chance, so it’s there waiting for you to take off as quickly as possible. You don’t want to get caught waiting for your ride.
Learn to talk the talk
Some of the first few side missions are to rescue specialist translators. Prioritize these to do as soon as possible, since they enable interrogating soldiers, which is an invaluable addition to your arsenal. A great way to start any mission is to isolate and grab a soldier for interrogation. They can tell you extremely useful intel such as where to find prisoners, resource caches, blueprints, and other guards. This is especially useful when you need help finding a specific mission target such as a skilled prisoner or assassination target, but in general it’s a great practice to interrogate everyone if you have the time and space. After you’ve milked them for everything they know, you can choke them out, or slit their throat if you’re feeling sinister.
Stay stocked
It may feel like you against the world out there in the field, but remember that you have a fully-staffed support team back at Mother Base to help you. You don’t want to have to rely on dropped weapons from your enemies if your run out of ammo in the middle of a firefight, so call for a resupply mid-mission if you start to run low on anything. On the missions tab of your iDroid you can call for a restock of all your ammo and Fulton parachutes, in addition to swapping in new gear if you want to upgrade or change tactics. If you’re moving between sites for a multi-step mission, call the drop down ahead of you along your planned route to save time.
Scavenge
In addition to avoiding notice, another important reason to go slowly is so you can find all of the valuable resources and send them back to base. Check all of the shelves and tables as you pass by, poking your head into every hut. These resources like metals and fuel are the necessary raw materials for developing all of your fancy gear and pimping out your base of operations, so every bit counts. Early in the game you’ll start getting missions in locations you’ve already been to. Knowing the lay of the land gives you a great leg up for improvising, but also proves extremely useful because resources respawn in the same locations.
Send everyone and everything into the sky
If you can resist the temptation to kill everyone, you can make much better use of them alive. Knock enemy combatants out (either with tranquilizer darts or by sneaking up from behind) and, if they aren’t already, carry them out under a patch of open sky. Send unconscious captives back to base with the Fulton surface to air recovery balloons and they will be persuaded to change sides and work for you with the Diamond Dogs. More personnel means better support and faster research, so the more the merrier. The upgraded binoculars will tell you the stats and skills of enemy combatants, and interrogating guards will often tell you where their specialists and elite soldiers are stationed, so you know Upgrading your Fulton allows you to send back heavier items, like stationary weapons or vehicles. Even if you can’t make immediate use out of these, they can be sold for a profit, so if you have the chance send anything and everything back home. Be careful not to do it too close to other guards, though — they tend to notice if one of their comrades is sent hurtling up into the sky by balloon, so be sure no one is watching when you do it.
Call your mom
The Mother Base metagame is beautifully integrated into the moment-to-moment action of your missions, so you will be well-served if you take the time early in the game to manage it properly. Only spend money and resources on developments that you actually need, or you might find yourself quickly strapped for cash. Focus on deep upgrades for a few pieces of favorite gear, rather than trying to unlock everything. Over the first part of the game new platforms will steadily unlock, requiring staff to get the most out of them. New recruits are automatically sorted into the division that matches their highest stat at the time of their hiring, but that doesn’t move them to a newly-available job for which they might be better suited. For instance, Lascivious Leopard might have a C in R&D and a B in Medicine, and so will be assigned to R&D if you hire him before the Medical platform is added to the base. That means that when you add a new division, browse through your current pool to see if anyone is better suited for it than their current job.

Prioritize upgrading R&D and Base Development
They are among the more expensive and time-consuming development projects available to you, but prioritize upgrading your facilities as early as possible. Expanding your platforms for R&D and Base Development are especially key, and will save you a lot of time in the long run if you upgrade early.
Solid Pup
On mission #5 (Over the Hill), there is a wolf pup near your first objective marker on the hill. It’s easy to miss if you’re just barreling on to your objective, but if you stop and catch it, you can send it back to base via Fulton. Ocelot offers to raise it for you, and eventually it will grow into a useful companion, the formidable Diamond Dog, that can come on missions with you in the place of Quiet or your horse.
Editors' Recommendations
- Metal Gear Solid Delta: Snake Eater: release date window, developer, trailers, and more
- Metal Gear Solid: Master Collection contains first 2 Metal Gear games, Konami confirms
- Delisted Metal Gear games are returning to digital storefronts
- From Escape mode to story, here’s everything we know about Gears 5
- Gears 5 Escape hands-on: If the entire game is this good, get hyped