Unfortunately, there’s not a whole lot of hand-holding in this mode, and the learning curve is rather steep in the sense that success is measured by progress rather than completion. Read on to learn all about that and more in this helpful guide to get you started on Inquisition‘s rewarding multiplayer grind.
Here’s how it works
Every run-through of an Inquisition multiplayer match is different, due to the way that all the maps and enemy/loot placements change from game to game, but there’s a basic pattern that they all follow. A typical match on one of the three themed maps unfolds across five “Zones” in which there are different sets of objectives to complete, ranging from “Kill everything in sight” to “Protect this dude (while also killing everything in sight)” to “Take out this target (while also killing everything in sight).” Evil enemy murder is the only constant.
Clearing a zone of enemies gets you a key that opens a door into the next area, while completing an objective gets you some extra gold as a reward. A match follows that basic pattern through the first four zones, all of which follow a mazelike-but-ultimately-linear path. And it’s a path that always changes from play-through to play-through; you visit the same zones on each map again and again, but the layout is completely randomized.
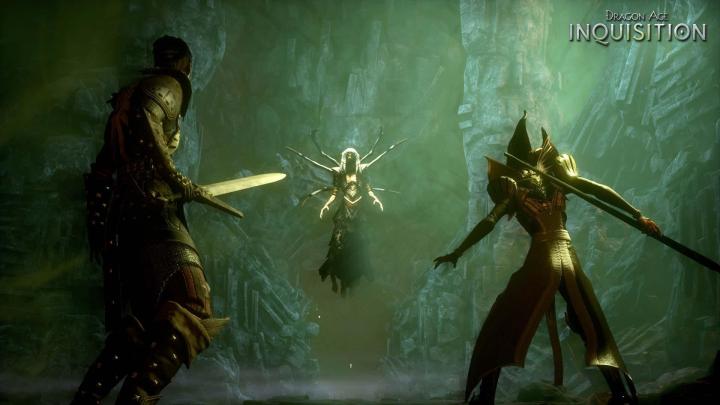
The fifth and final zone in a match is essentially a boss wave. The environment is more open than it is in the other zones, and it’s completely devoid of enemies when you first enter. The enemies don’t spawn until you plant a flag in the marked location; once that’s down, your group has to survive against a large group of enemies that are supported by a boss. In each match, there’s only ever one type of enemy — either Red Templars, Demons, or Venatori — and that enemy type dictates the boss you face in the final wave.
Simple to understand, challenging to master. The balance doesn’t scale based on the number of players in your group, so regardless of the difficulty setting (there are three), the game always assumes that four players are in your group. Much like the single-player game, there’s also no healing outside of potions, with one notable exception. There’s a room at the start of every new zone where a magical power source that you can interact with automatically heals everyone before the next zone begins.
Next page: Gold and other loot rewards
What are you fighting for?
The gameplay loop in Inquisition‘s multiplayer is simple, basically a distillation of RPG play that cuts out all the story, to focus instead on action, progression, and loot. You play through a match and, win or lose, you come out of it with some more XP earned and a varying amount of gold. The XP is applied to whichever character class you have equipped — there are 12 in all, but only three unlocked at the start — and every level earned gets you another ability point to spend in either of each class’s two skill trees.
Gold is spent in the multiplayer mode’s store, though you’re not buying individual pieces of gear off a list. It falls much closer to the loot drops of Mass Effect 3‘s co-op Galaxy at War mode, with gold buying you chests — small, medium, or large — that spit out a random assortment of gear along with potions, tonics, and grenades. There’s also a separate option for purchasing potion bundles, either healing-specific or a more random selection. Your personal potion inventory is stored at the profile level and shared between all your characters, so there’s frequently a need to restock.
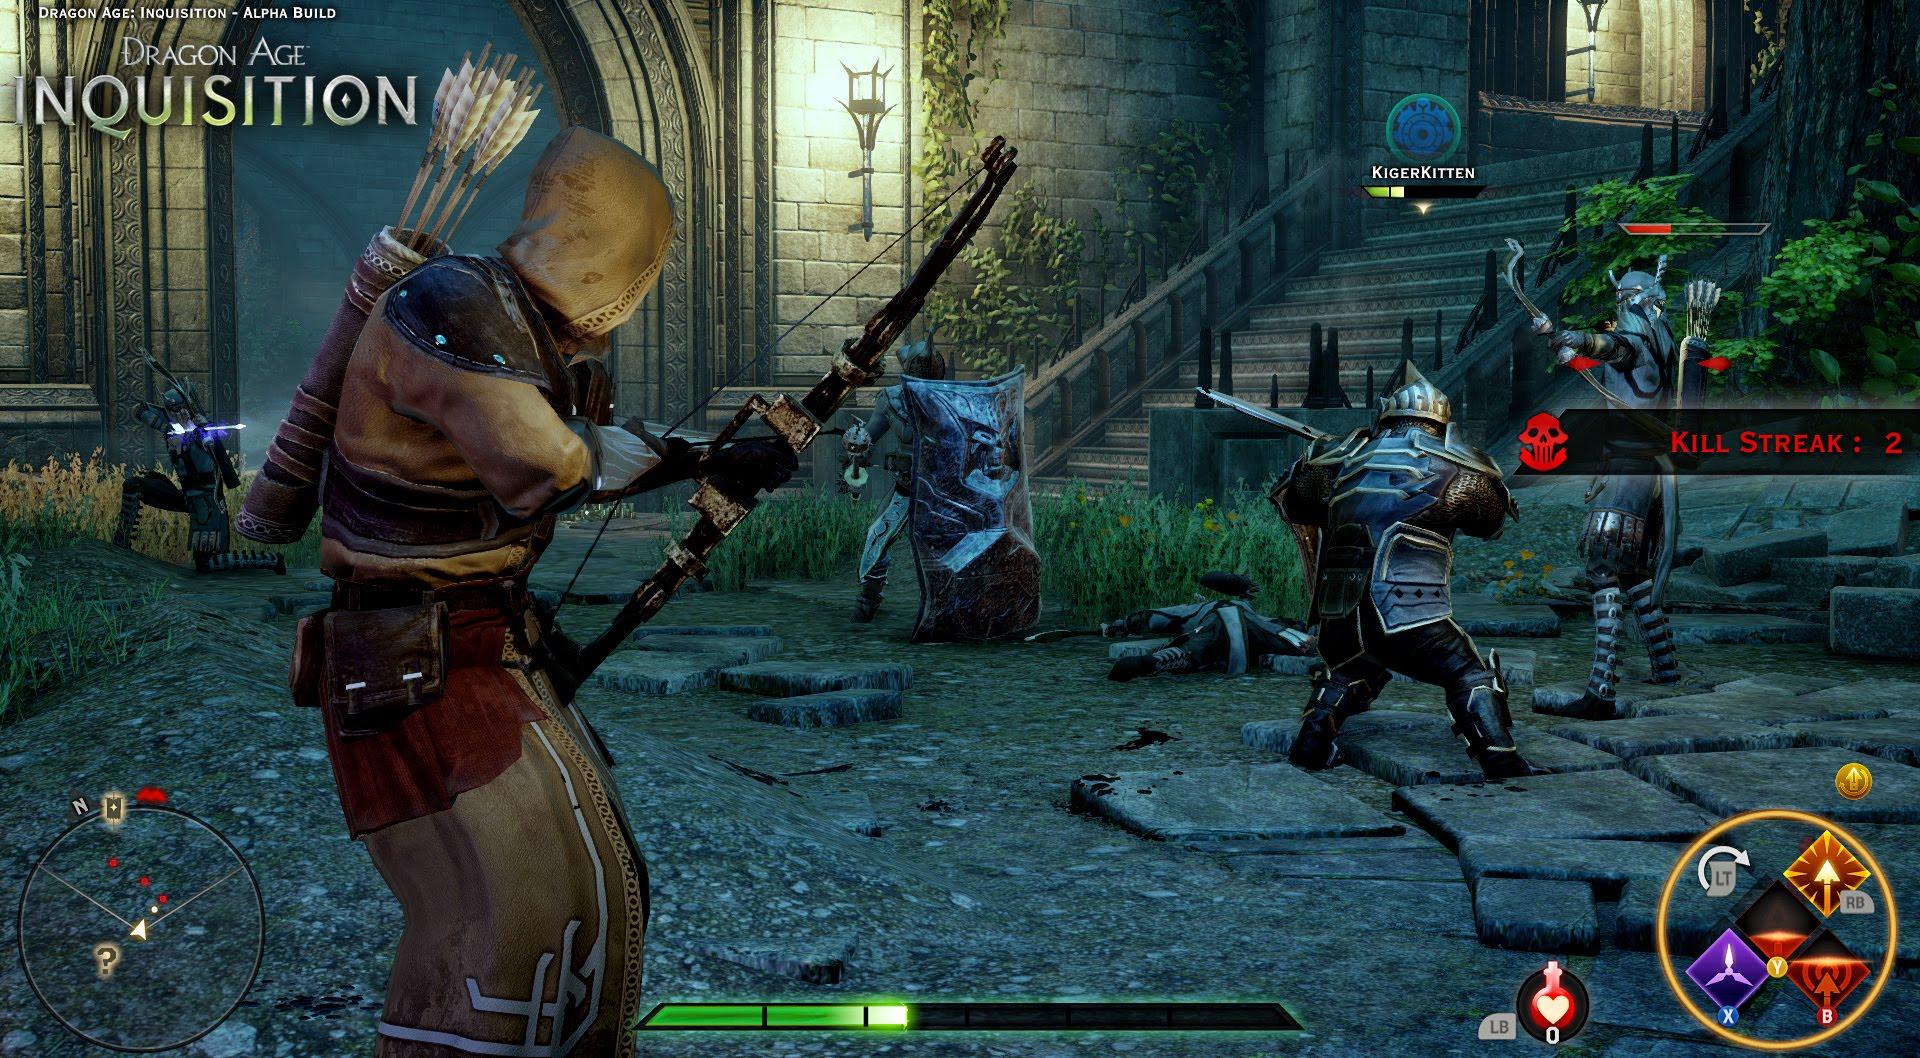
Gear works in much the same way that it does in the single-player game. The different classes — Warrior, Rogue, and Mage — each come in four different variants, but the class category determines which weapons and armor they can use. So the starting Legionnaire, a Warrior class, can only make use of a one-handed weapon/shield combo and the starting Archer, a Rogue class, can only use bows. Two-handed weapons, daggers, and other weapons factor into the multiplayer as well, but you need to unlock other class variants — such as the Assassin, for daggers — to make use of them.
Class unlocks happen in one of two ways. Sometimes, you can get one when you crack open a new chest and a piece of armor pops out for a class you hadn’t unlocked yet. You can also craft armor for the different classes to unlock them, with crafting materials obtained by breaking down unneeded gear that you get from chests.
Next page: Character classes and party-building
Building the best party
Regardless of class variants, you always want to have at least one Warrior, one Rogue, and one Mage in your party when you set out into a dungeon. The Warrior/Rogue/Mage split boils down to tank, damage per second (DPS), and support roles.
It’s not a strict separation — you can spec a warrior out to excel at dealing damage, for example — but you generally want a Warrior on the front lines to soak up the damage (since it’s the only class that builds up a renewable “Guard” health bar when blocking); a Rogue dishing out big damage, either from a steady stream of arrow fire or from nuke-style backstabs and the like from dual daggers; and a Mage to provide support, whether it’s offensive debuffs or defensive buffs.

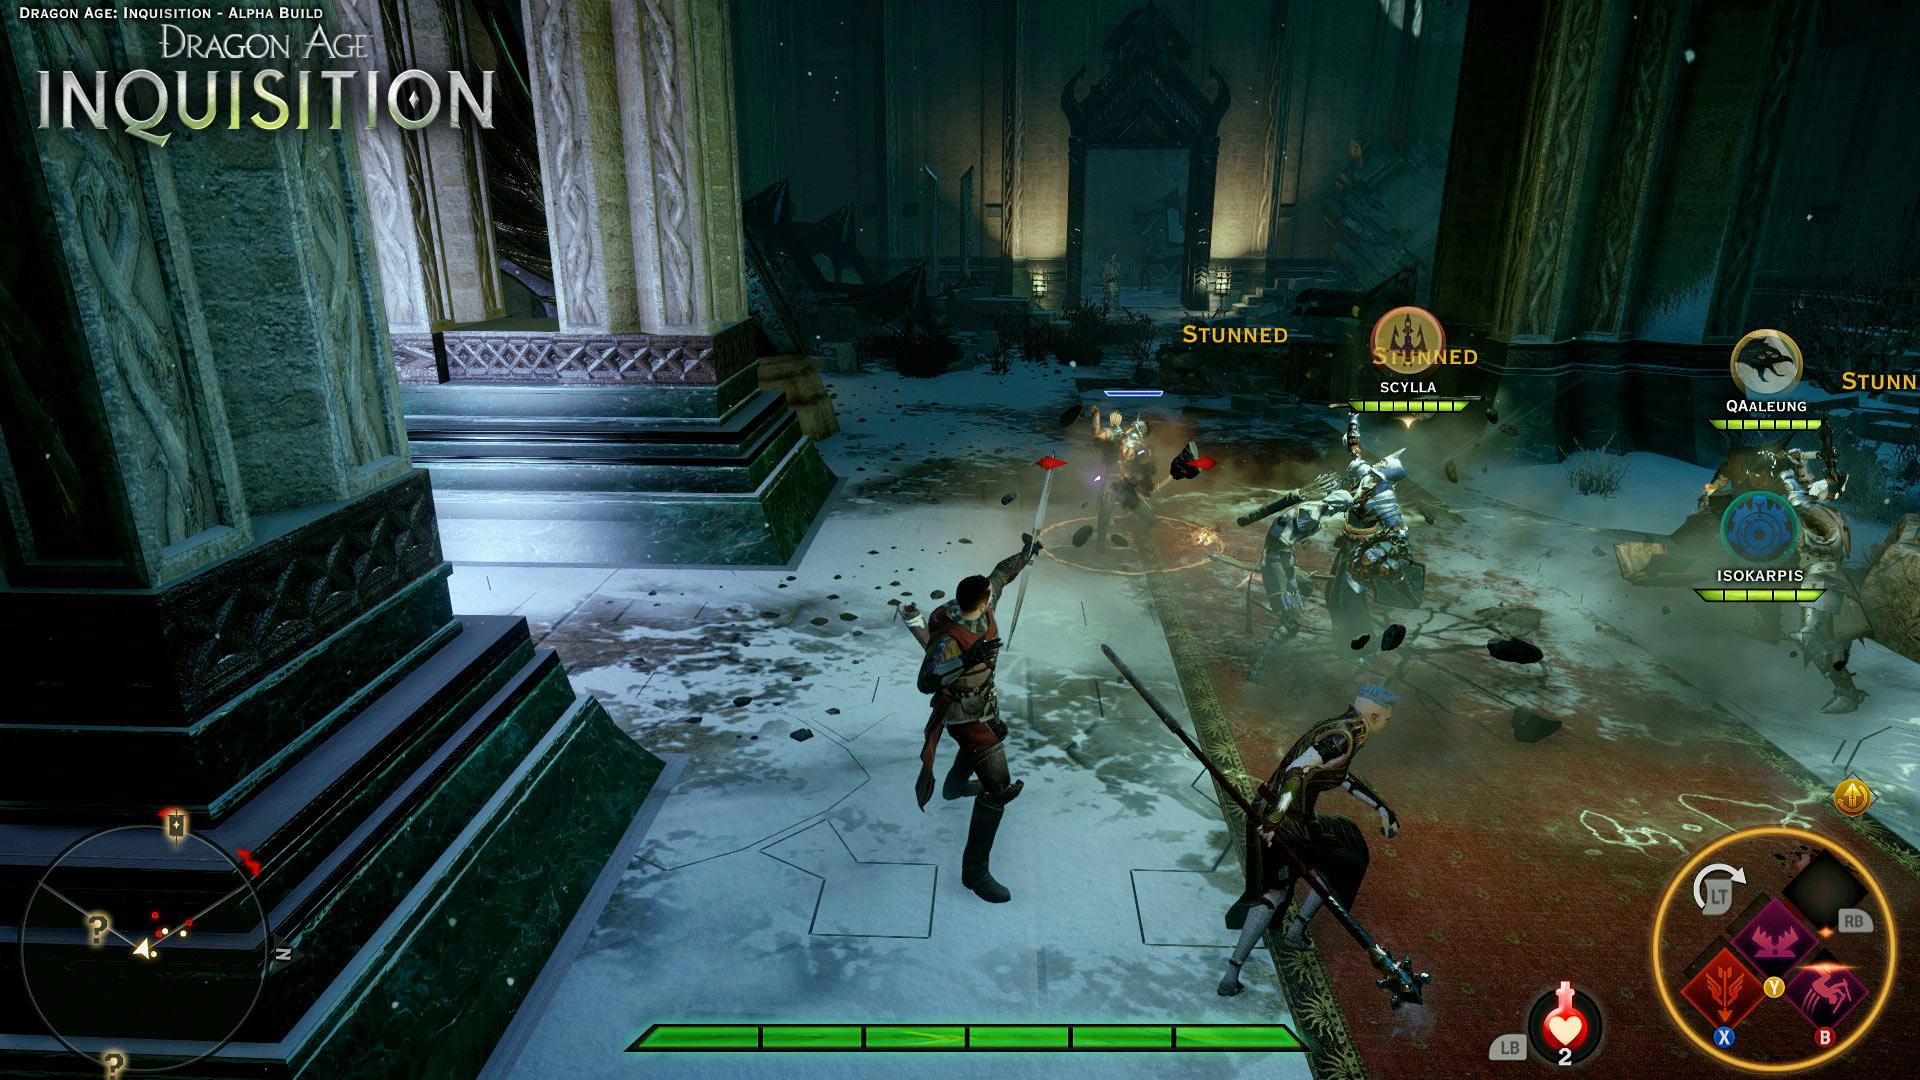
As you level up and assign skill points, pay close attention to the passive abilities as well as the active ones. Unlike the campaign mode, you can only equip four active abilities at a time in multiplayer. The second page where the campaign’s other four abilities would normally live is the multiplayer mode’s home for potions, tonics and grenades, with the exception of basic healing potions (which are always mapped to LB on an Xbox controller). It’s important to have the right mix of active abilities equipped, but unlocking the right passives makes a huge difference.
Once you have a few variant classes unlocked, try not to double up on any one variant in a given party. Bring a second Warrior, Rogue, or Mage — your choice — but avoid two Legionnaires, or two Archers, and the like. The class variants all have complementary abilities. Yes, two Archers can deliver more DPS than one, but an Archer and an Assassin sets you up for slow and steady DPS at range and more damaging single attacks in close-quarters.
What’s really important is that you mix things up and try different setups. Find a lineup that works well with your group.
Next page: How to survive a match
Crawling through dungeons
You’ve got your party together and you know how everything works. It’s time to dungeon crawl! There’s no specific strategy for tackling a given match since the layouts always change, but we’ve got a few things that you ought to keep in mind.
First, and most importantly: All loot is shared. If one person grabs some gold off the ground or opens a chest, everyone gets the goodies. So there’s no need to fight over grabbing something or, worse, rush away from a battle so you can get to a chest before anyone else. Cooperation is important in this mode, and everyone needs to work together.

Also, be sure to watch for treasure rooms (identified by a question mark icon on your minimap). They’re always locked in some fashion, and this is yet another reason why you should have at least one of each class represented in every group. The way into every treasure room is barred by an obstacle that can only be circumvented by one of the classes. Warriors knock down a decrepit brick wall, Rogues pick a lock, and Mages banish a magical energy field.
Inside every treasure room is a chest that either sits directly on the ground or rests on top of a low pedestal. The former chests can be opened with no fear, immediately rewarding the group with a gold bonus or an item once the loot is collected. The pedestal chests, on the other hand, summon a “guardian” when you try to open them. One or more enemies spawn in and must be defeated before the loot can be collected.
Inside and outside of treasure rooms, also be sure to keep an eye out for vases that emit a soft, white glow. These can be destroyed with a basic attack, and they always contain a little bit of gold. Just know that the vases are a little glitchy at the time of this writing. Sometimes you can auto-target them but not break them, other times you break them and they reappear, and still other times you just can’t target them at all. Just give a shout for help to the rest of your group whenever this comes up, and someone should be able to step in and break it.

Let’s not forget about the enemies. Every zone you visit is flooded with them, and they usually show up in small-ish groups on a room-per-room basis. While there’s no one strategy that always works, it’s a good idea to proceed cautiously and slowly, always with your group. Try to make sure your ranged attackers focus on the enemy’s ranged attacks; much like your own party setup, the heavier, tank-style enemies wade into the front lines to keep your people busy while the archers and mages dish out real damage at range.
Beyond that, just prepare to fail a lot. Even the lowest difficulty setting isn’t kind to new players. There’s a good chance that a group of level 1 characters won’t even get past zone 3 or 4 on their first runthrough. Just be patient, keep hoarding treasure (always save gold to buy the large chests; skip the smaller ones), and keep assigning ability points as you unlock them.
For more Dragon Age: Inquisition help, check out our getting started and mid-game guides.
Editors' Recommendations
- Dragon Age: Dreadwolf teaser reintroduces the world of Thedas
- Lots of Mass Effect and Dragon Age DLC is now free for PC players
- Dragon Age 4 is in production, but nowhere close to release