
The camera on the LG G4 may not be stacked with multiple shooting modes, but the integrated Manual mode does offer the kind of DSLR-level controls and features that any budding amateur or pro photographer can appreciate. That said, manual controls aren’t unusual for smartphones, but they’re typically buried underneath a litany of automatic shooting modes that are far easier to use.
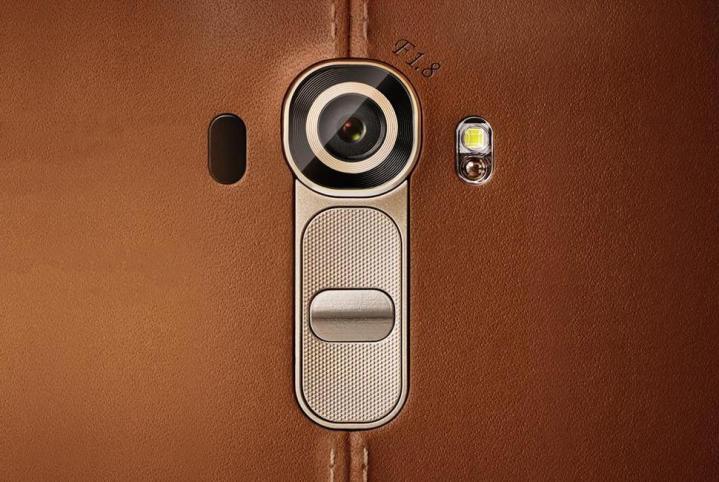
The G4’s Manual mode is one of only a handful of dedicated modes on the phone, yet, it also happens to be the best. The camera’s wide f/1.8 aperture, optical image stabilization 2.0, and unique color spectrum sensor work to bolster its performance, allowing the rear camera’s 16-megapixel sensor to take in more light for better contrast and color reproduction in low-light scenarios. Getting those results isn’t all that difficult, either, and understanding the manual controls doesn’t have to be intimidating.
Below are some of the cool ways you can be creative and capture great images when going manual with the G4.
Click on a link to jump to a topic:
See changes in real-time
The Manual mode’s interface may seem daunting at first, especially if you’re new to all the features it offers, but it’s not as complicated as it seems. The bottom row controls (from left to right) include: white balance, manual focus, exposure, ISO, shutter speed, and auto-exposure lock. Toggling each of those controls using the onscreen vertical gauge also shows what the resulting image would look like in real time.

The ability to see the changes in real time is critical for users who may not understand what each setting does. White balance adjusts color to look more natural. Manual focus helps the camera better focus on objects that are further away or close up. Exposure adjusts the brightness and contrast. ISO is the camera’s level of sensitivity to available light. Shutter speed dictates how fast or how long light is exposed into the sensor. Auto-exposure lock negates the manual exposure controls and tries to figure it out for you.
Not every photo requires tinkering with all of these settings. Sometimes, simply setting the shutter speed or white balance is enough to frame a color-corrected and properly exposed image. For close-up macro shots, you may need to push the manual focus bar closer to the macro position (where the plant icon is). It’s easy to see what works and what doesn’t by watching the results shift in real time.
Shoot with depth of field
One of the best aspects of shooting with a DSLR or solid mirrorless camera is depth of field (DOF), where a sharp foreground subject stands out in front of a blurred background. Smartphones haven’t been able to properly replicate this effect very easily, because they don’t have optical zoom that can shorten the range and tighten focusing. Software trickery has made it possible on some phones with varying results, and the G4 uses some of that digital magic to make it work.

To do this with the phone’s manual mode, move close to an object or person you want in the foreground, adjust the manual focus to a point where the subject is clearly sharper than the background and snap the photo. Try to also keep a steady hand, especially when shooting in low-light conditions or at night. If it’s a challenge to avoid the kind of jitter that leads to blurry images, try to make use of a tripod or flat surface that stabilizes the phone.
If you want to turn manual focus off, tap Auto above the gauge so you can tap to focus instead. Play around with the shutter speed and ISO to tinker with how much light comes in, so you can get interesting ambient lighting conditions to go with the DOF effect in your shot.
Shoot at night or when the lights dim
The level of control and enhanced OIS 2.0 mean you can take excellent images in low-light or nighttime conditions without the images looking underexposed, blurry, or noisy. Naturally, there is no dedicated “night” or “low-light” mode here, so it’s all about finding the right balance in Manual mode. Usually, the white balance will saturate darker settings with a lot of yellow and orange. These colors can make some cityscapes look serene and other locations look more intimate.

Using the white balance slider is a good way to adjust color and reflections at night and in low-light settings. Sometimes, you may prefer a night shot or dark indoor setting that looks a little more natural, so you might slide white balance more to the middle. If it seems a little too dark, lower the shutter speed and raise the ISO. Note that the higher the ISO, the noisier the image may turn out. Low shutter speeds are also more prone to hand shake, so if you are taking a photo of a cityscape, vista, architecture, or object in darker situations, try to rest your phone on a flat surface or use a tripod or mount to keep it steady.
The OIS does help mitigate some of the blurriness that might otherwise happen when shooting a really low shutter speed, but to help the camera focus, use auto focus to help guide it on what it should be looking for. If you have the luxury of a flat surface, try using the three-second or 10-second timer to take the shot without touching the phone. If you have auto-exposure lock turned on, try turning it off and adjusting exposure manually. You may end up getting better composition that way.
Shoot action scenes
Photographers know that faster shutter speeds make it easier to capture action shots, and the manual controls the G4 offers do make that possible. The caveat, however, is that going too high on the shutter darkens the overall picture considerably. That’s why this setup is a little easier to pull off in bright daylight settings, but even if you want to do it indoors, there are some adjustments that can make it happen, too.
Since it’s hard to tap to focus on a moving person or object, you may want to turn Auto off and adjust the manual focus for distance. If you’re far away, say, on the sidelines of your child’s soccer game, pushing the focus slider all the way up should keep you in focus. If you’re in a setting where you’re closer, then adjust the slider until you see the subject sharpen into focus.
Indoors, you may need to ramp up the ISO or exposure to allow more light to seep into the sensor. Also try using the auto-exposure lock to find the right balance for you, and then play around with the ISO and shutter to get the right mix. Once you’re confident the lighting is sufficient, then you can concentrate on capturing the action. Remember, the higher the shutter speed, the easier it is to “freeze” the action.
Shoot in RAW for more detail
It’s rare to find a smartphone that can also shoot in RAW, but photographers of all stripes could easily appreciate what that brings to the table. RAW is basically an uncompressed and unprocessed image that retains more of the detail than a JPEG does. The reason for shooting in RAW is to maintain more visual information and make it easier to edit more specific elements of the image before processing. As a result, a RAW file is considerably larger than a JPEG.

The G4 can shoot the same image in both RAW and JPEG simultaneously, ensuring there’s always a processed image based on what you shot. The phone doesn’t process the RAW images itself, but photo-editing software on a computer that can handle RAW files enables you to be able to manipulate or adjust them. At first, a RAW image might seem washed out or unsaturated, but fiddle with the edits, and you will have a much higher level of control over specific elements than you would with a more compressed JPEG.
Naturally, you don’t have to shoot absolutely everything in RAW, but scenes that you really want to maximize are ideal scenarios in which you would do so. Also, if there’s a scene or subject that is a bit further away and may require cropping later on, shooting in RAW can raise the amount of detail you capture for easier cropping. The G4 makes shooting this way easy with a simple tap of the JPEG-RAW button on the left side of the camera interface.
That’s all of our LG G4 camera tips for now, but if you have any others, add them in the comments.
Editors' Recommendations
- How to use Android Recovery Mode to fix your phone or tablet
- LTE vs. 4G: The differences explained
- Google discontinues Pixel 5, Pixel 4a 5G after Pixel 5a launch
- Samsung Galaxy A52 5G vs. Pixel 4a 5G
- Nokia 5.4 vs. Motorola Moto G Power (2021): Budget battleground


