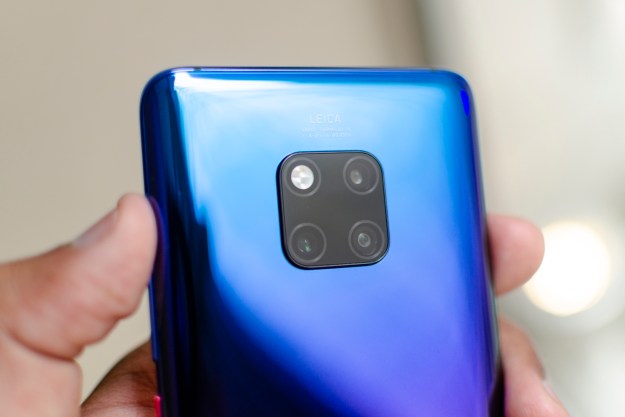
The new Huawei P9 has not just one, but two very special cameras, and for once they’re both on the back of the phone. Huawei has concentrated on selfies before, but for this stylish flagship Android phone, it’s going all out to attract photography aficionados, who care more about tripods and low-light ability than they do selfie sticks and funky filters.
It’s not the first phone to target shutterbugs, but the P9 has some compelling hardware to tempt people away from a DSLR, at least when you want to travel light. Actually, it’s with the help of camera experts Leica that Huawei has delivered the goods on the P9. The company co-designed the dual-lens cameras with the help of the famous firm, and the resulting smartphone camera promises to take some very special pictures.
Here’s what you need to know about the Huawei P9’s camera setup, including how to get the best out if its many features.
Two lenses, and the P9’s camera tech
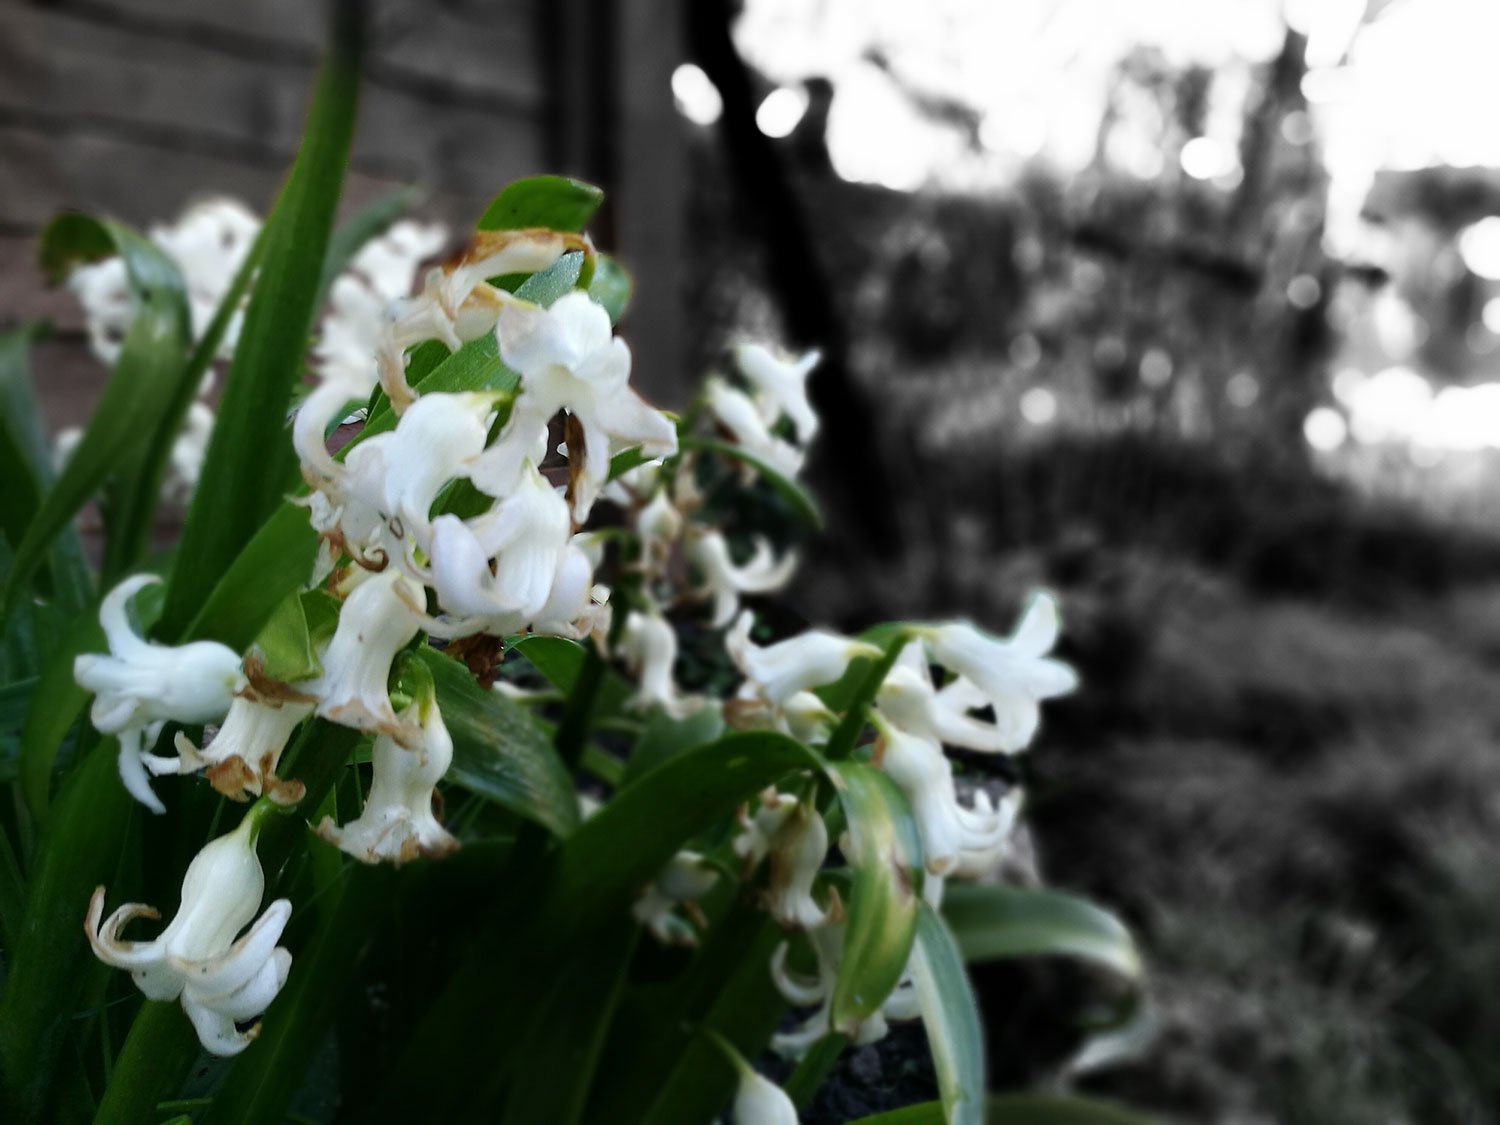

The two lenses may look the same, but they have very different functions. One shoots in RGB to produce a color image, while the other takes care of the monochrome images. Huawei’s clever software puts the two together to create a single, high-quality image. Huawei says the monochrome lens brings out the detail, and lets in 200 percent more light than the RGB lens, which takes care of the colors. Leica supplies the Summarit lenses, while Sony handles the 1.25-micron IMX286 sensors, resulting in a twin 12-megapixel setup with an f/2.2 aperture.
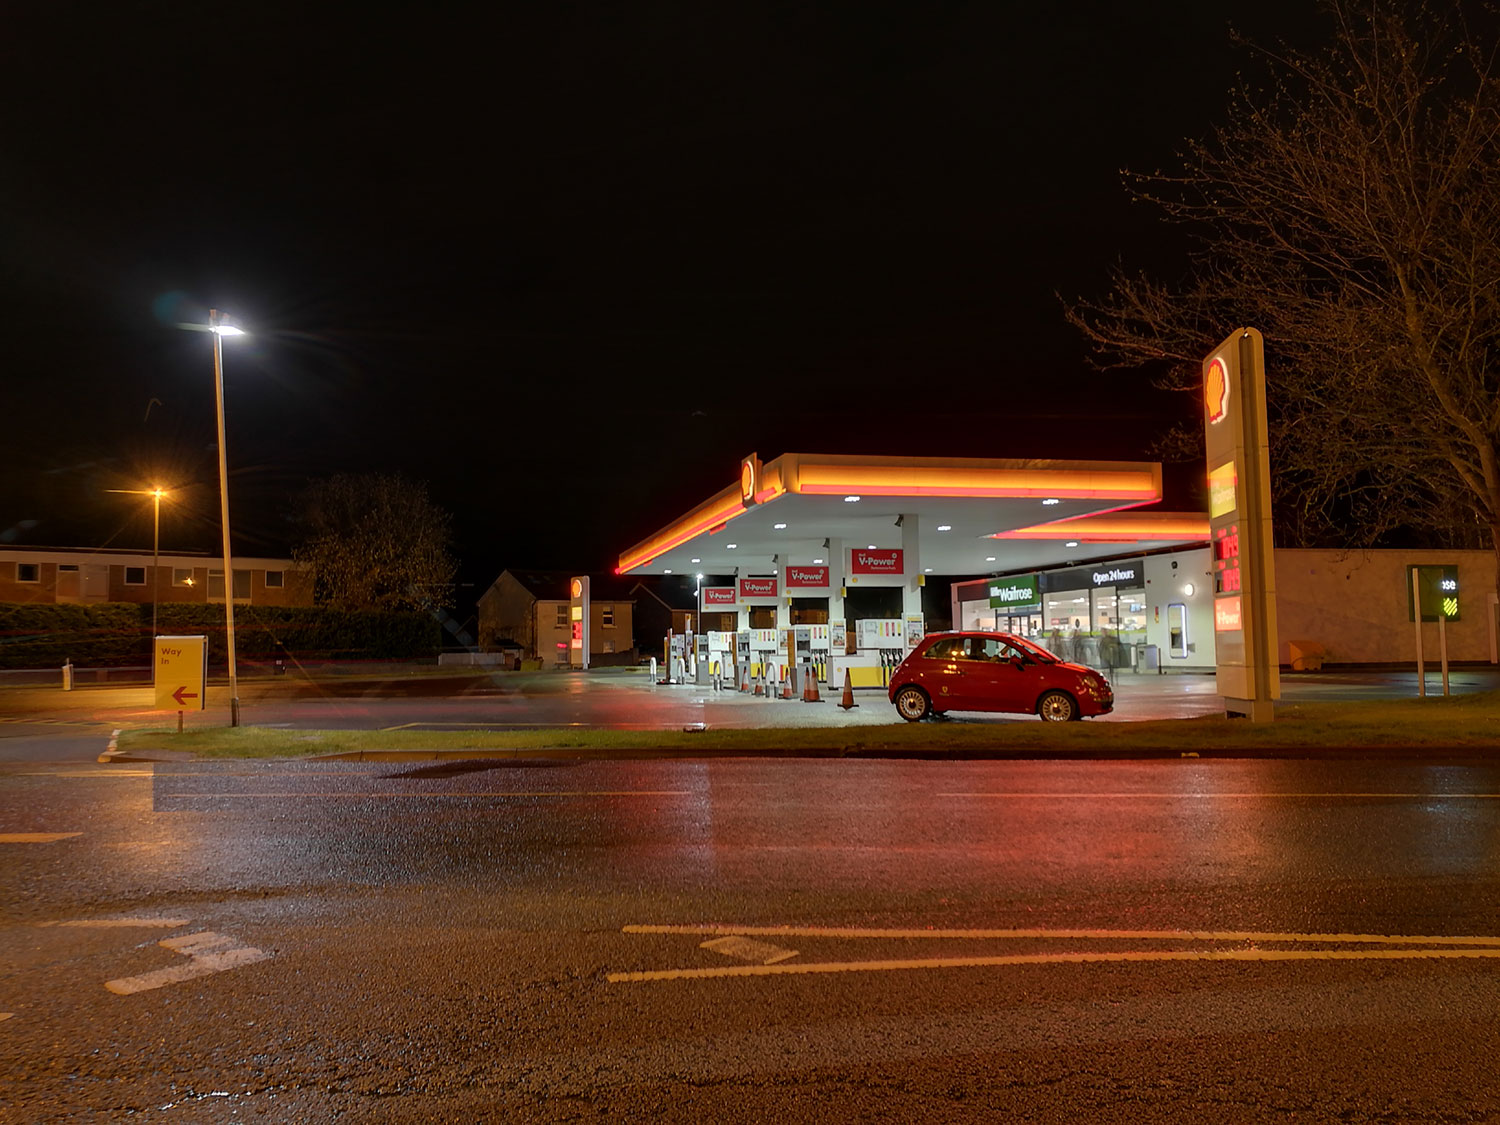
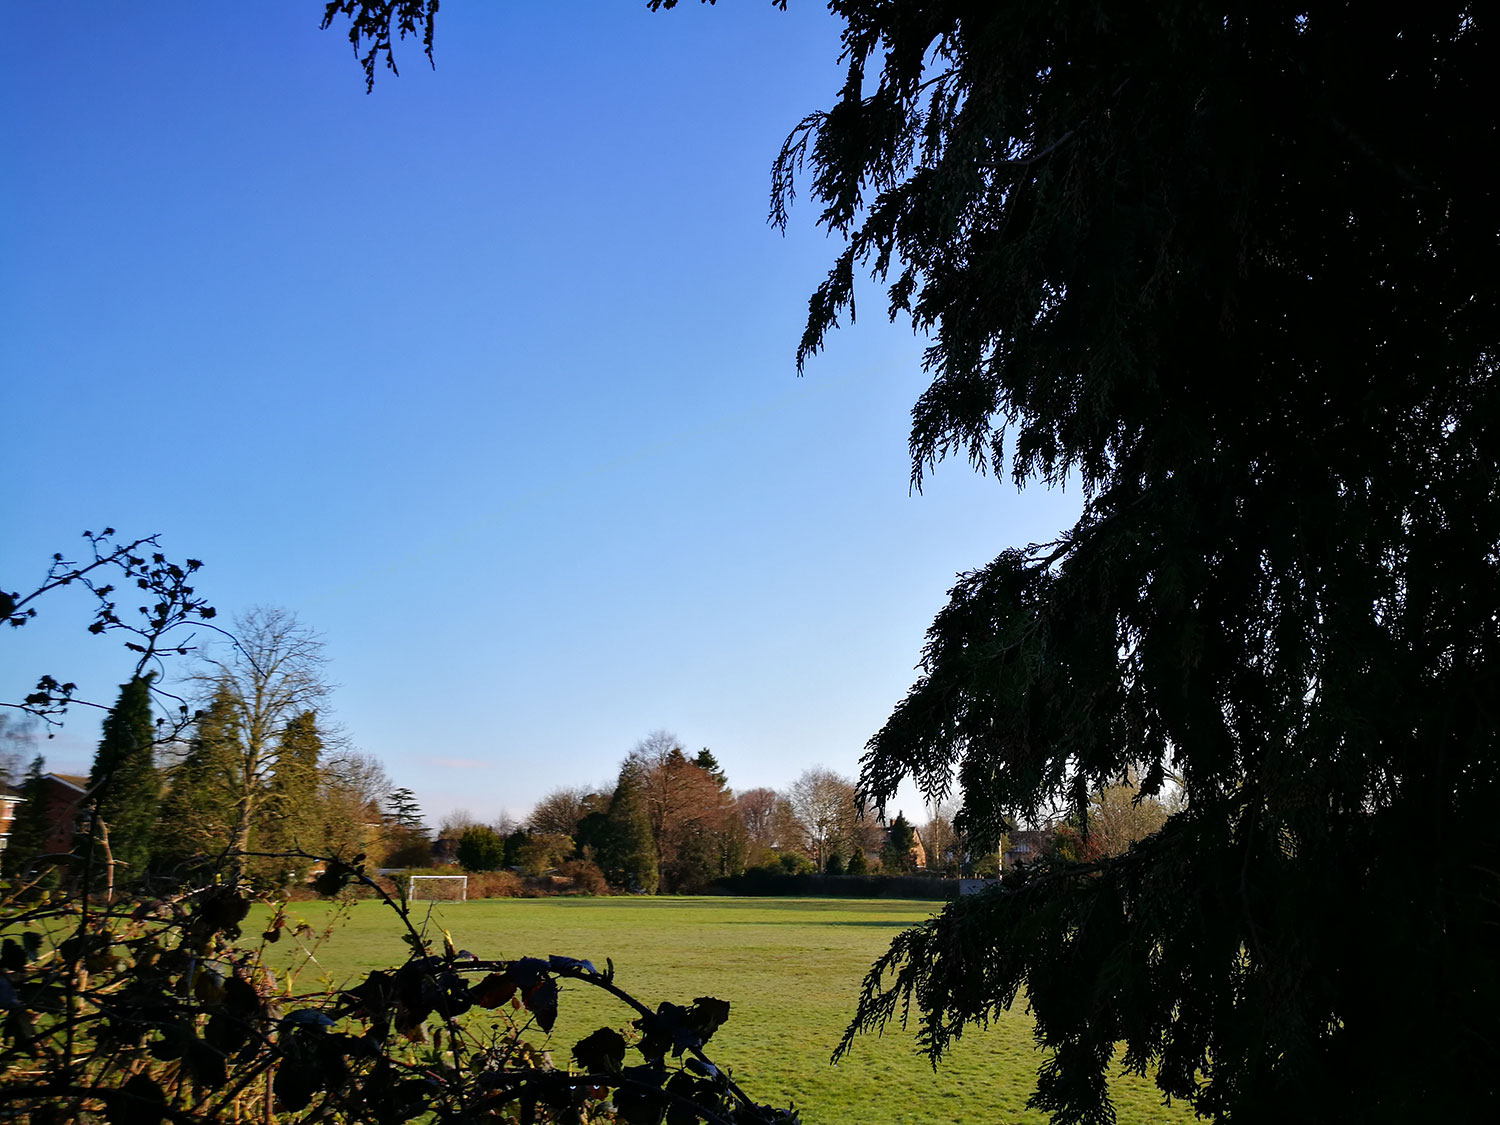
Huawei claims the P9’s cameras let in a whole lot more light than competing phone cameras, saying the figure is a massive 270 percent more than the iPhone 6S and 90 percent more than the Galaxy S7. That means shots taken in low light — whether that’s at dusk, in a dark room, or outside at night — should look great. It’s a considerable selling point, as we use our smartphones to take photos with our friends when we’re out in bars and clubs, or at gatherings in homes, where lighting can often be poor.
The two lenses are accompanied by a hybrid flash unit, where a laser works out focal distances, or through contrast detection. It’s all done automatically, and Huawei says it’s the best system for multiple focus conditions, from close-up photography to complex scenes, and situations in challenging light.
Inside the P9 is the Kirin 955 processor, which also comes with a dedicated depth image signal processor (ISP) — a world first in a smartphone — and a dedication digital signal processor (DSP). These two processors ensure the camera is fast, capable, and smooth, while still producing pictures of which you’ll be proud.
Bokeh effect
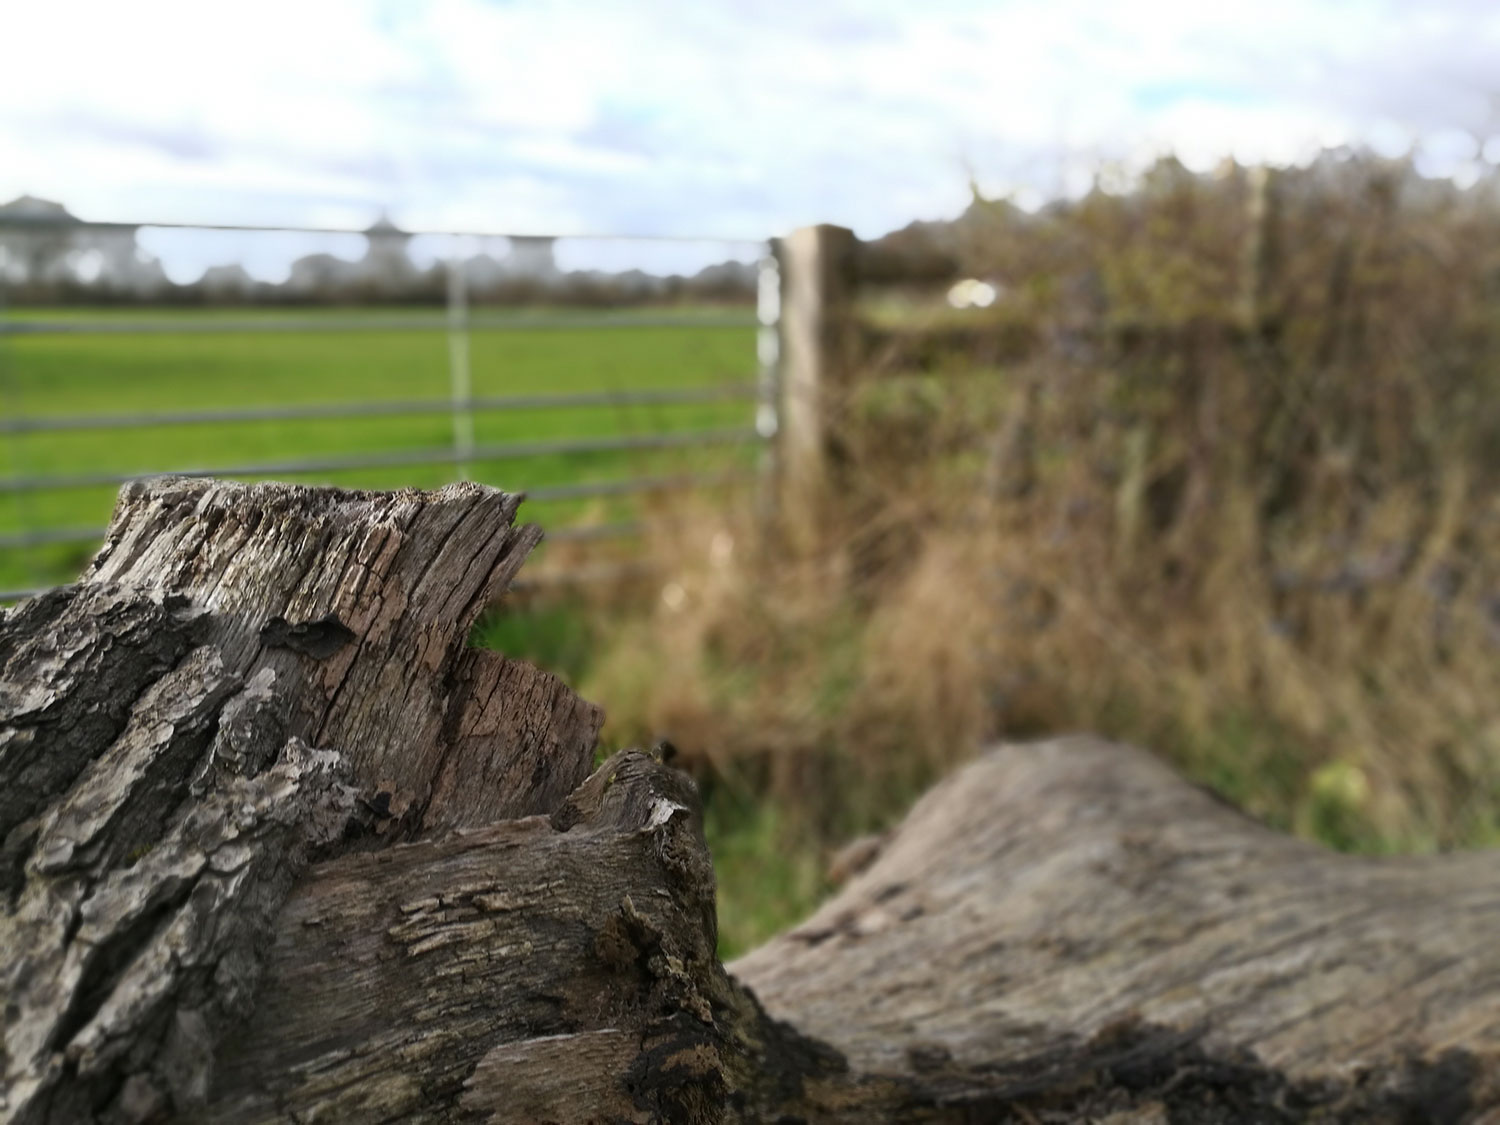
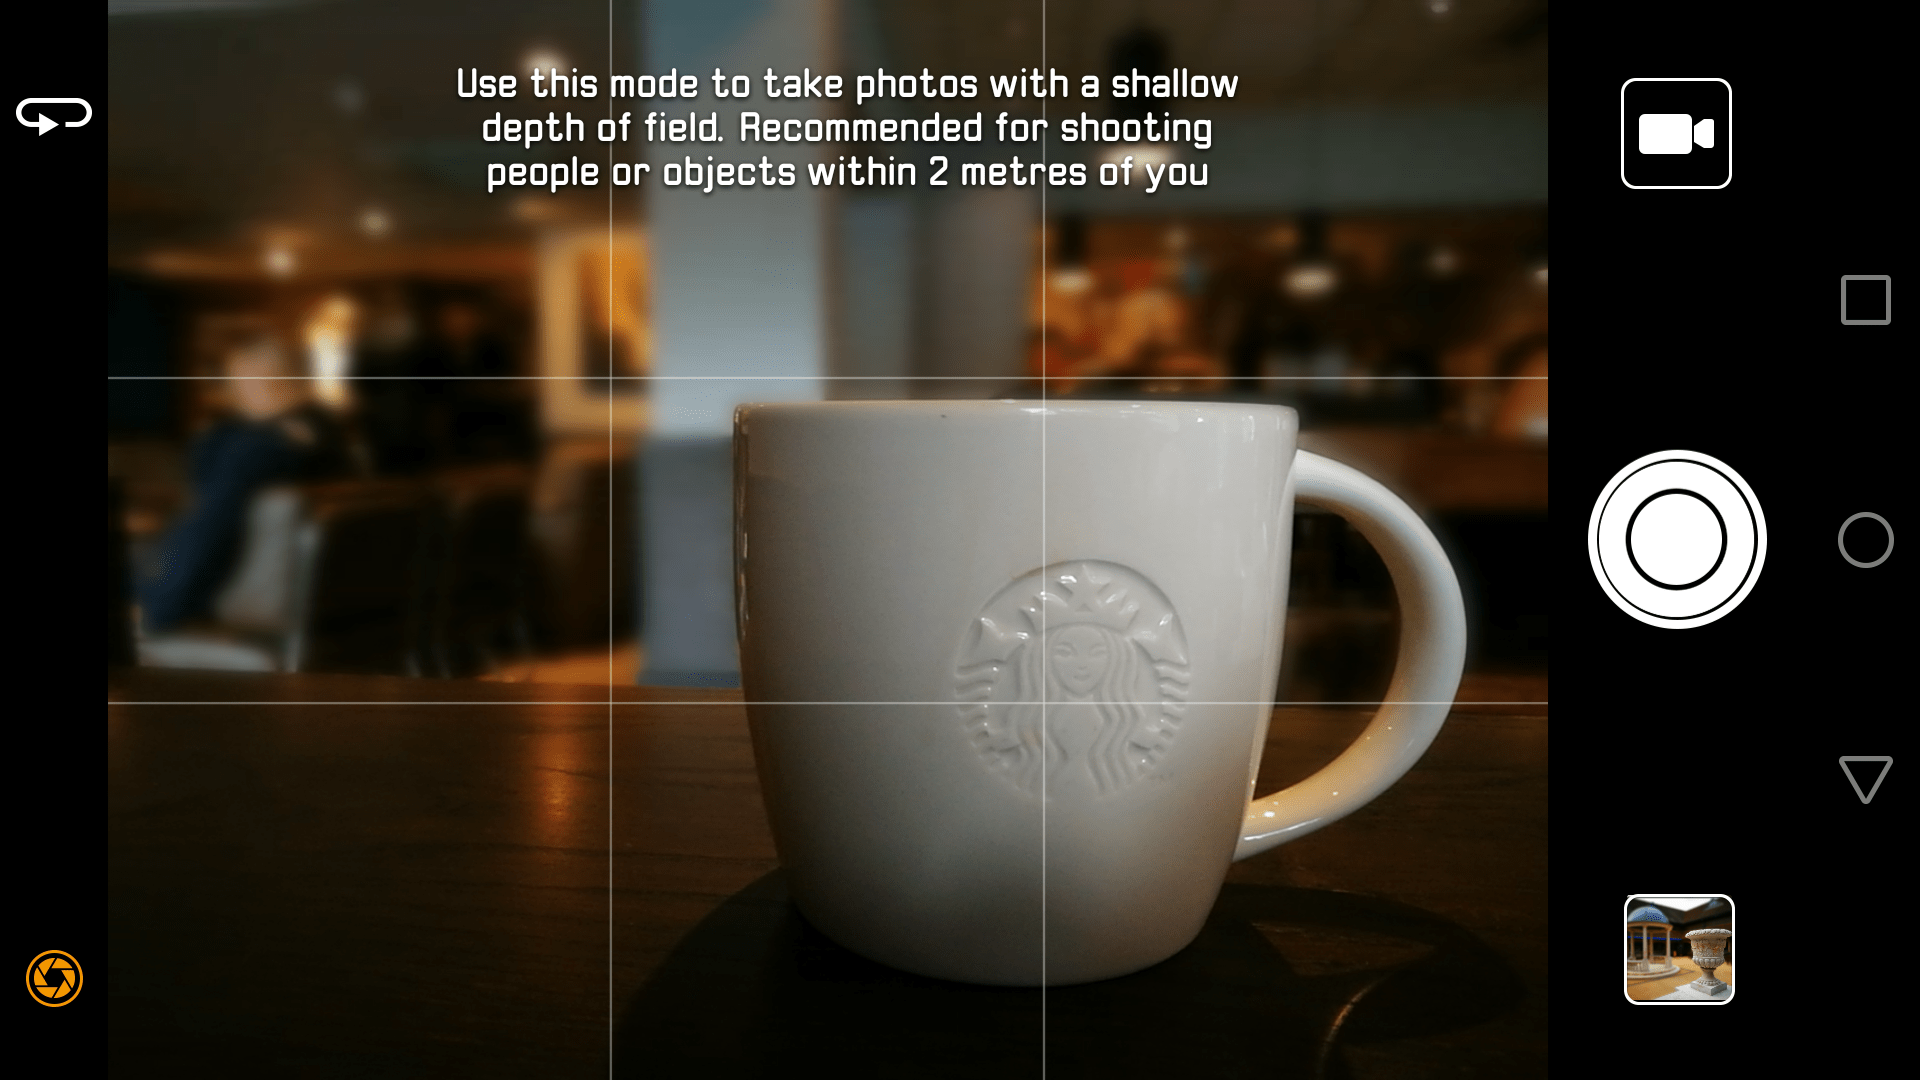
By using the the two lenses together, you can create the popular bokeh effect — where parts of your photo are artistically blurred out — on your pictures, after you’ve taken them. Bokeh effects are usually only achieved using expensive cameras and special lenses, plus a considerable amount of talent. On the P9, taking the perfect shot requires only few button taps.
Open up the camera app, and look at the screen in portrait — there’s a camera-lens style indicator in the top left. Tap it to activate the bokeh mode. From here, position your camera with a subject relatively close to the lens — less than two meters is recommended — tap to focus, and then take the photo.
Tap on the preview in the bottom corner of the screen, or find the picture in your phone’s gallery app. A larger version of the camera-lens icon singles it out, and you should tap on it to enter into the editing mode. Now, tap on the area or object you’d like to have in focus. A slider will appear, so you can adjust the level of blur around the area.
You can apply several filters, which can be found by tapping the three-circle icon. Finally, save the picture using the disc icon once you’re happy with the changes. The edited image is saved as a copy, so you can create multiple images from the original. Remember, the bokeh mode only works when the P9 is in Photo mode, and not when it’s in HDR, Night Mode, Monochrome, or Pro mode. If you can’t see the icon, you may be using the wrong mode.
P9 camera modes
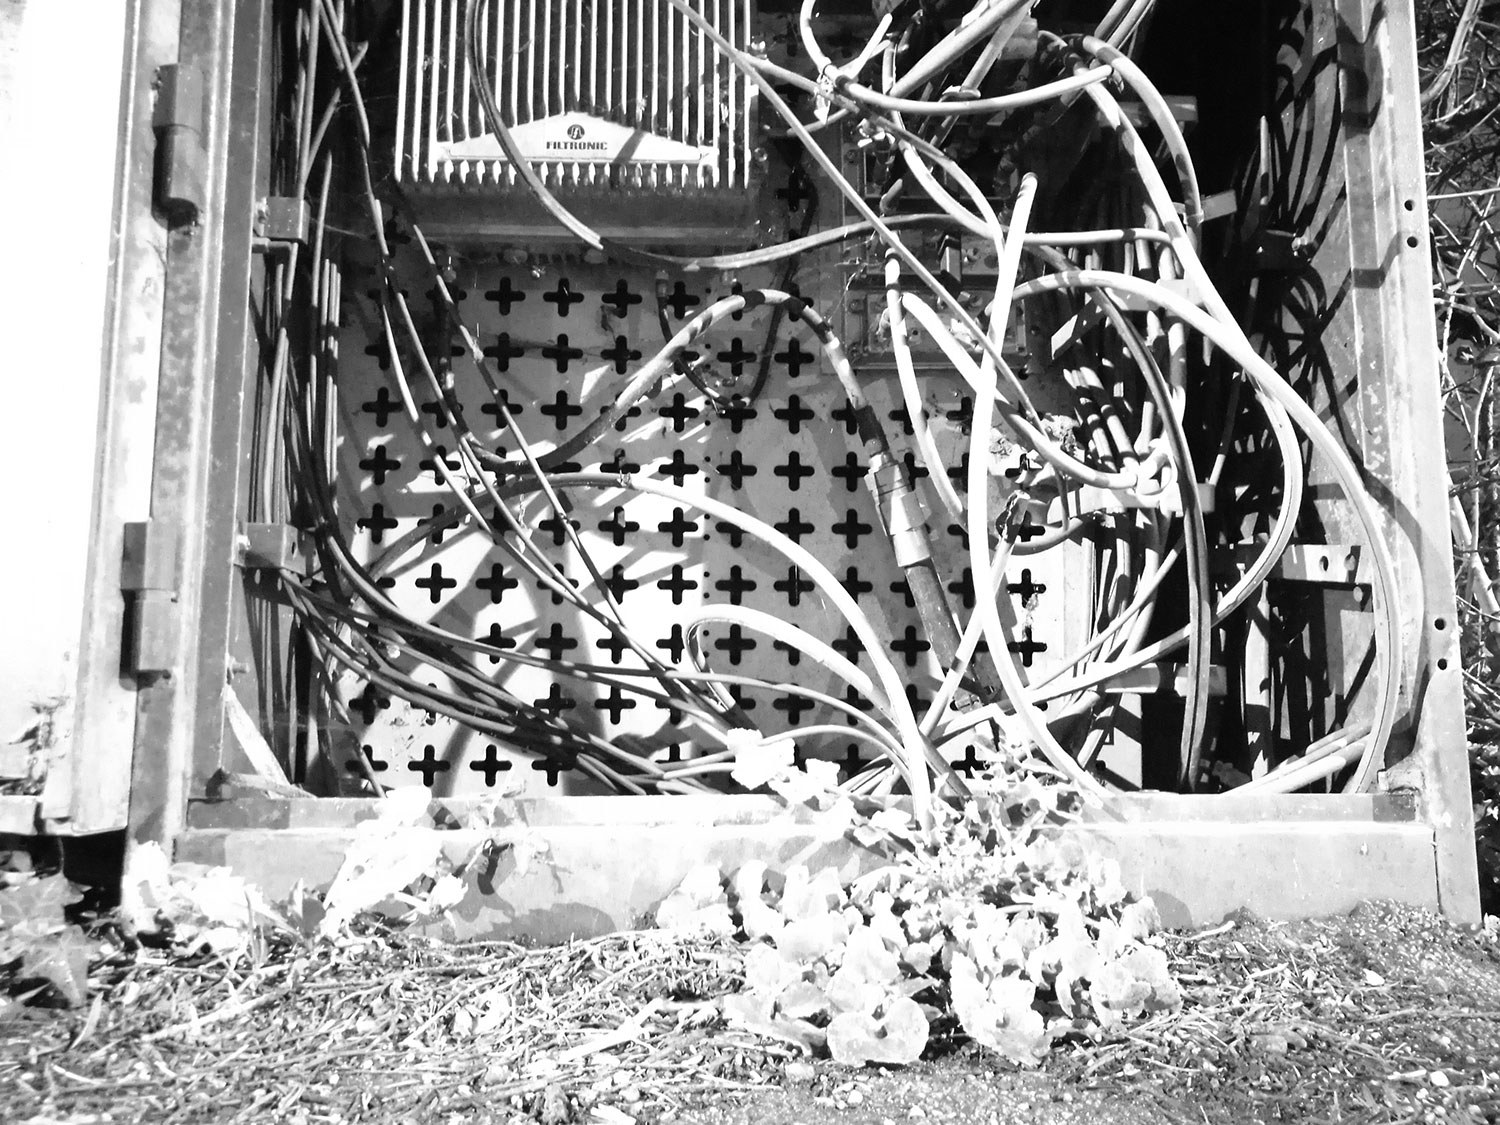
The P9 has a wide variety of available camera modes, which are all selected by swiping to the right from the camera app’s main screen. Photo is the primary setting, and it’s from here the bokeh mode operates. To shoot only with the P9’s monochrome camera lens, select the Monochrome mode next to it. There’s also an HDR mode, and a panorama setting.

On the latter, tap the arrow in the top left to change the orientation, so you can take vertical panoramas instead of horizontal ones. Tap Night Shot to gain control over the ISO and the camera exposure time. While the auto mode is adequate, tap the word Auto to manually adjust both settings. It’s a handy option, if you don’t want to use the full manual mode to take an effective low-light photo.
Continuing on with camera features, the Light Painting mode from the P8 makes a return, providing easy settings to take specific photo types, such as car headlight trails, smooth water shots, and star tracks in the sky. If you’re taking video, the P9 has a slow-motion and a time-lapse mode.
Finally, there’s Beauty mode for both stills and video. Although it works for both front and rear cameras, it’s ideal for selfies. There’s a slider to adjust the degree Beauty mode enhances the image, and the results won’t please everyone.
Selfies, and Perfect Selfie mode
The Huawei P9 has an 8-megapixel front camera with an f/2.4 aperture. It’s not quite up to the standard of the rear cameras, but still takes decent pictures. If you’re a selfie fiend, then make sure you activate Perfect Selfie, a hidden feature if you dismiss the early notification.
To find it, swipe left from the main camera app screen and find the Perfect Selfie switch part way down the list that appears. Follow the on-screen instructions to take a series of selfies from different angles, to which you apply your desired level of beautification. From then on the P9 will recognize your face in subsequent selfies and apply those enhancements automatically, even in group photos.
Leica Film Mode
Whether Leica’s Film Modes are glorified filters will be for you to decide after playing with them for a while. Leica replicated the same modes it adds to cameras including the MP240, so you have Standard, Vivid, and Smooth — all of which subtly adjust the look of your picture.
To change the mode, swipe left from the main camera screen and tap Film Mode. The same action applies to most camera modes, including HDR and panoramas. It’s a permanent change, so if you don’t like the effect, make sure to remember to change it back to standard.
P9 Pro Mode
Huawei’s Pro mode gives you complete control over the camera’s main functions. It’s very easy to activate, simple to use, but does require a degree of knowledge (or extensive experimentation) to use properly. However, get it right and the P9 will take photos that have a highly professional look.
On the main screen in most major camera modes (Photo, HDR, and Monochrome), there’s a line just above the shutter button. Swipe up on this to enter Pro mode. From left to right, the controls adjust focal point, ISO, shutter speed, exposure value, auto/manual focus, and white balance. Tap each one and move the slider to adjust the value.
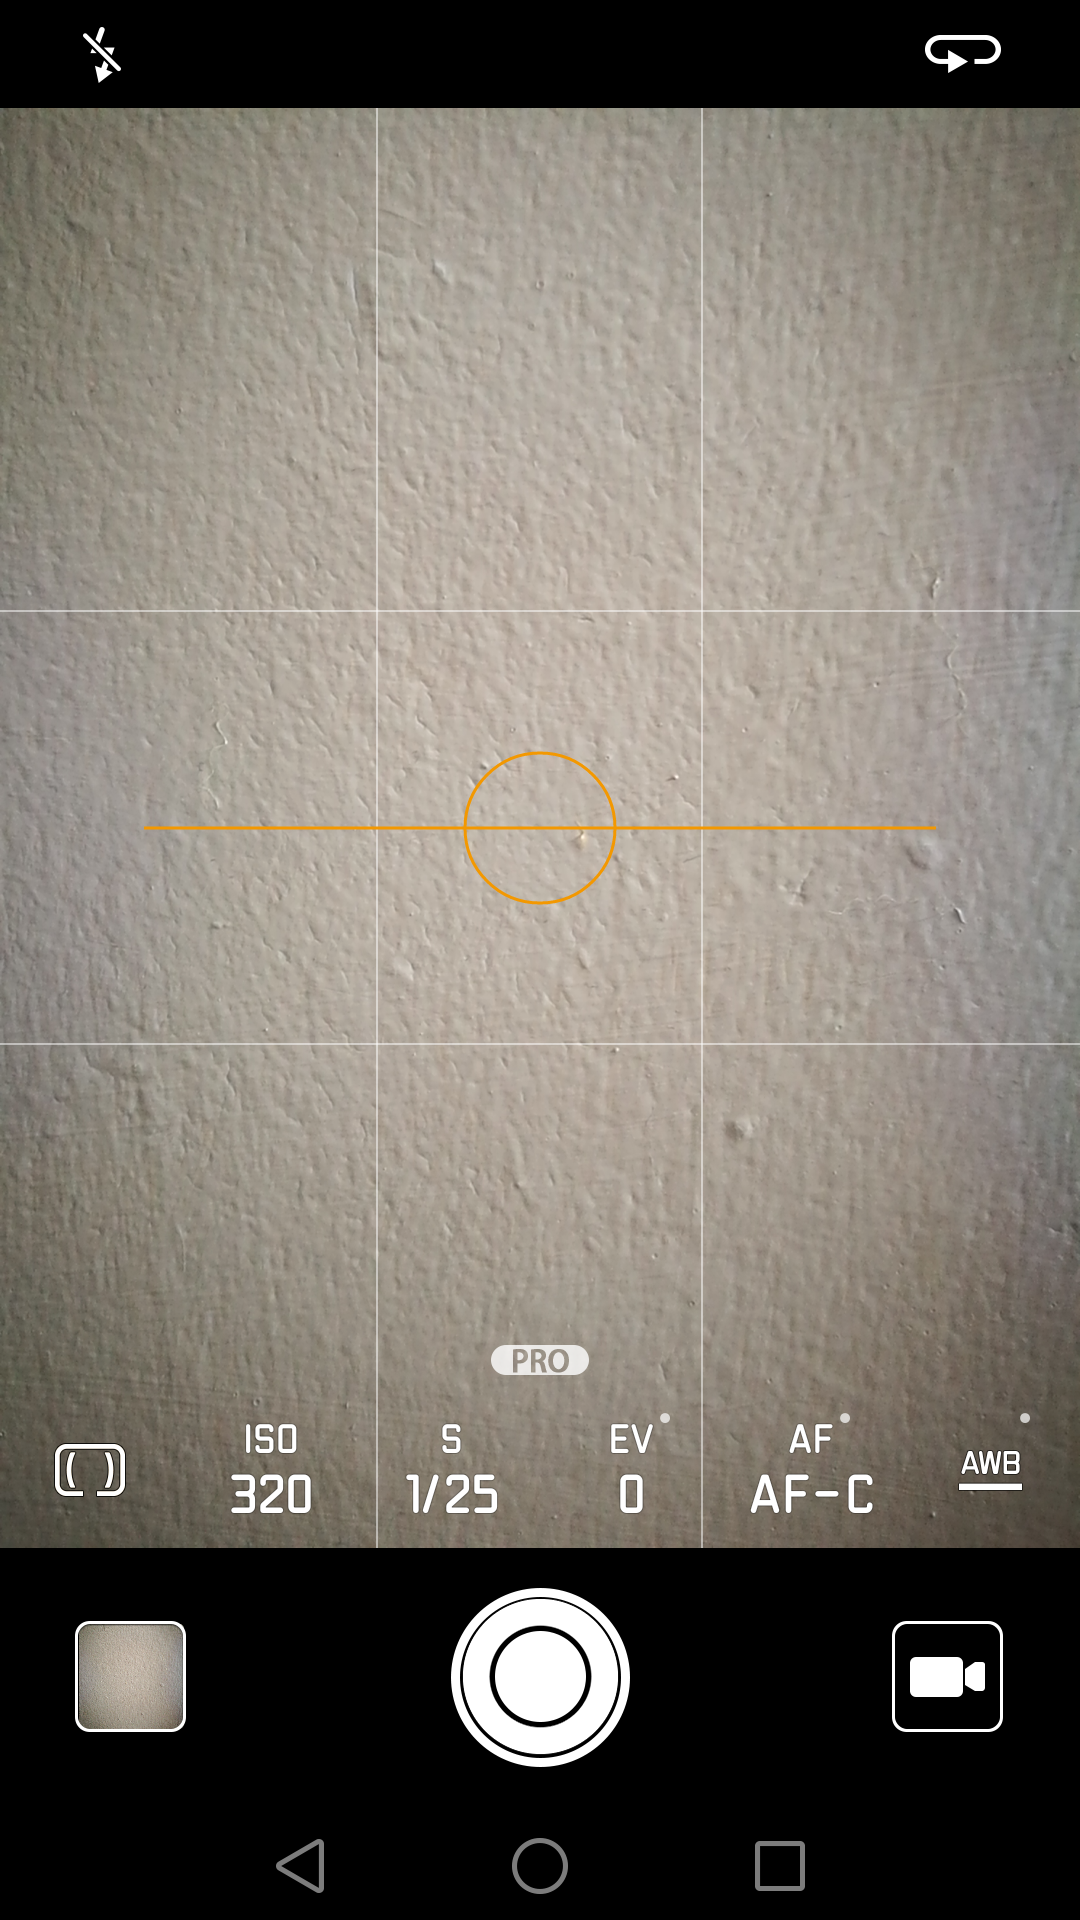

- 1. Slide up the Pro mode menu using the line above the shutter button.
- 2. Use the sliders to adjust each setting.
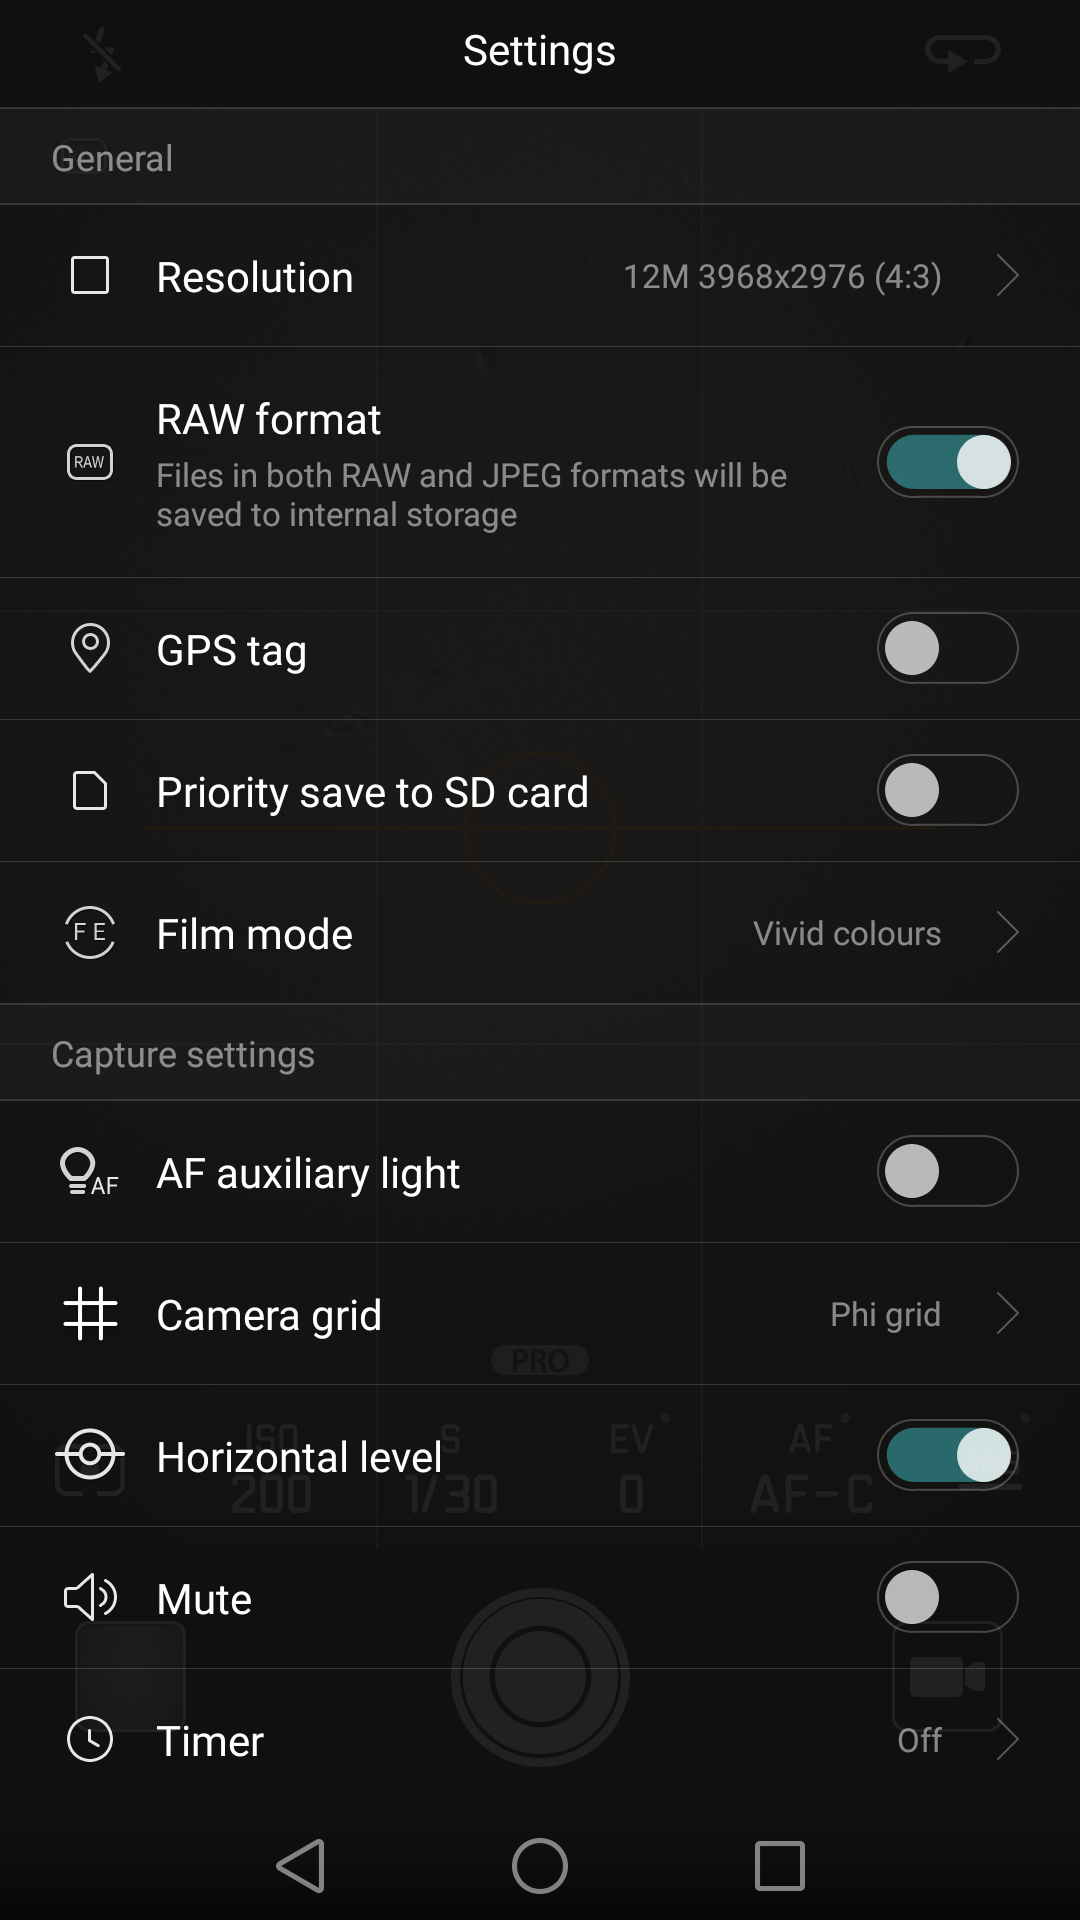
- 3. Save files in RAW, and activate a horizontal guide line under Settings.
A feature that complements the Pro mode can be found under the settings menus with a left swipe. Tap Camera Grid to select your preference, ranging from a regular grid, to a Phi grid, and even a Fibonacci Spiral. No, they won’t mean much to the newcomer, but to experienced photographers, they can be helpful in composing pictures. The same goes for the Horizontal level meter, which is also found under the settings menu, so you can make sure pictures are level.
Another feature that will be of more interest to experienced camera fans using the P9 will be its ability to save images in the RAW format, which is ripe for editing in software like Photoshop. To activate this, swipe left to show the settings menu while in Pro mode, and flip the switch next to the RAW format option.
Editing and filters
The Leica Film Modes aren’t the only way to alter your photos on the P9. Huawei added a set of its own live filters, which are accessible by tapping the three overlapping discs icon along the top of the screen.


- 1. There are several live filters available on the P9.
- 2. Apply filters to existing pictures in the gallery’s edit menu.
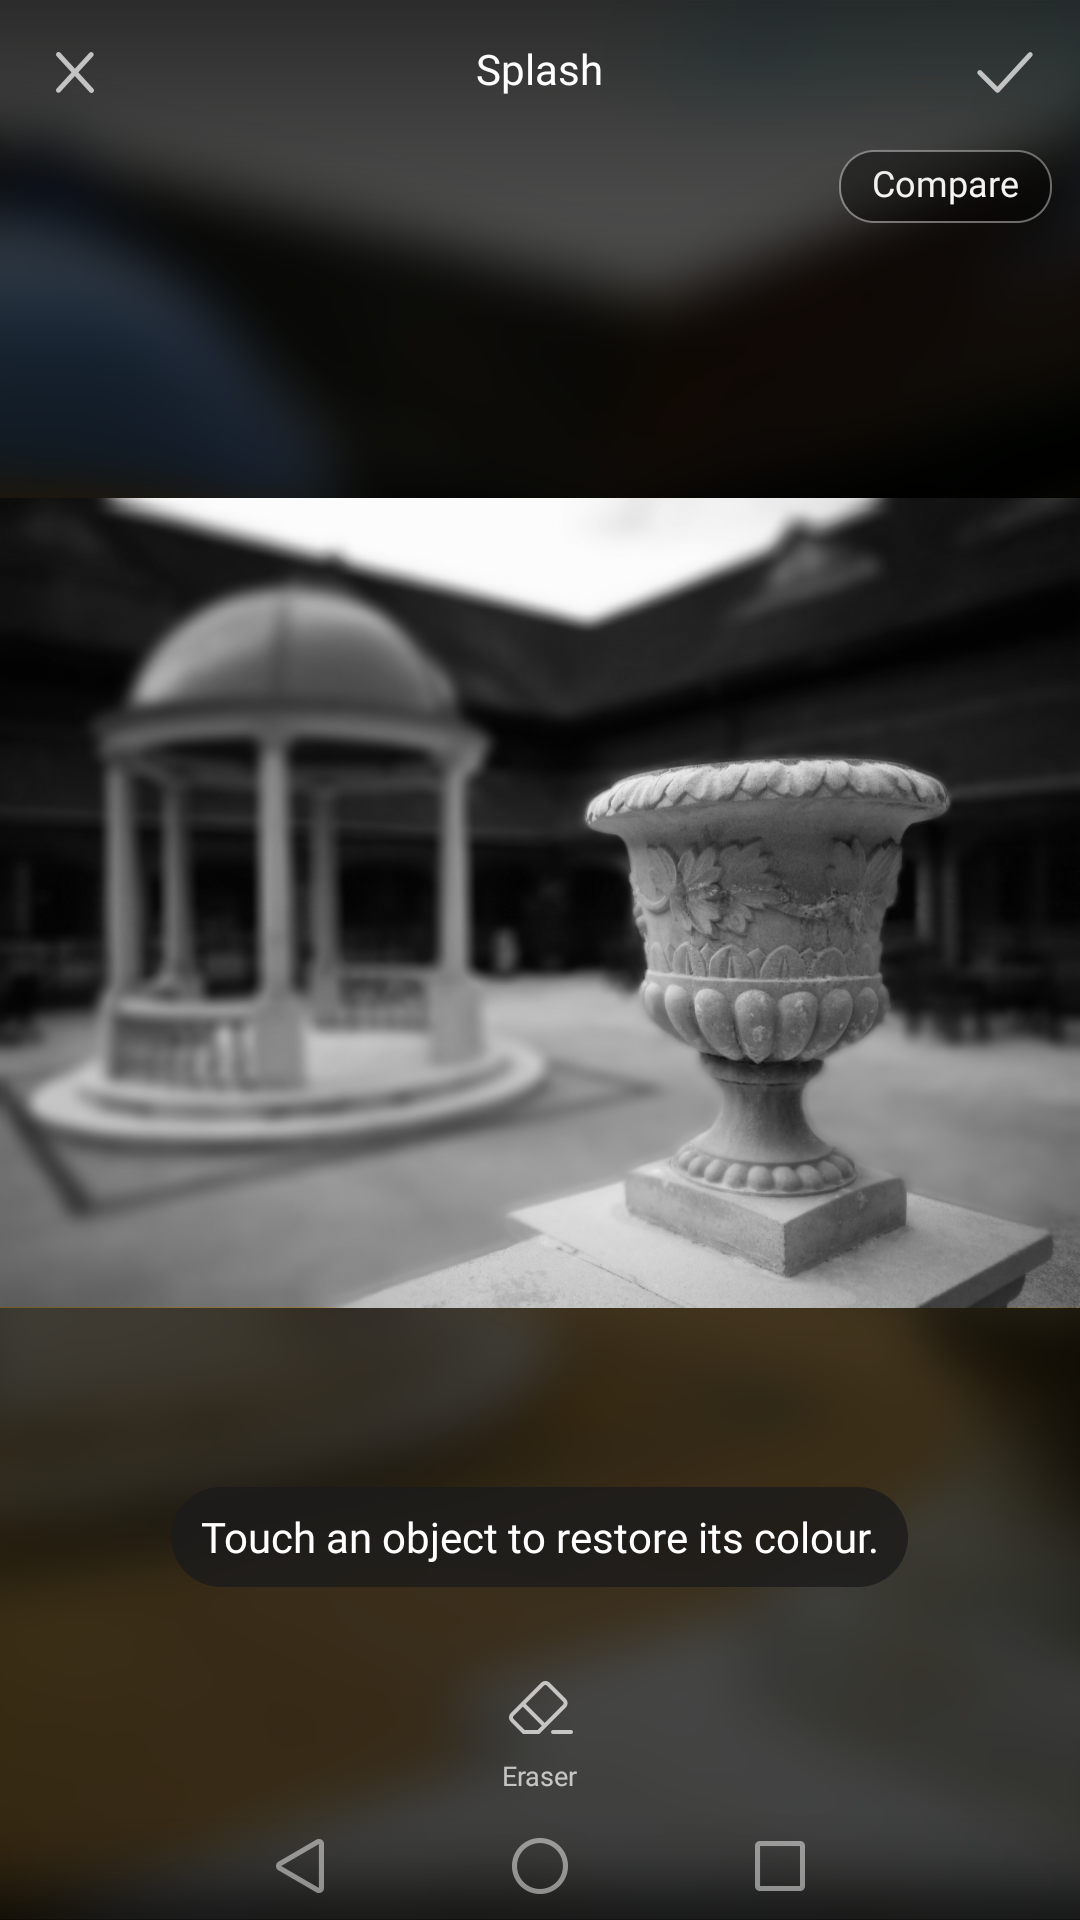
- 3. Use the Edit tools in the gallery to access special effects.
To edit photos using Huawei’s own suite of tools, go to the gallery or tap the preview picture from the camera app, then select Edit from the options at the bottom of the screen. It’s a relatively comprehensive set, and includes tools for cropping, making image attribute adjustments, and adding various special effects.
Get a tripod, and get inspired
Understanding how the P9 camera’s features work is only the start. Get creative, learn a little more about the way Pro mode can alter pictures and what the settings mean, and you’ll open up a world of potential. One last thing — get yourself a tripod that can be used with a smartphone. You’ll need it to take awesome night photos using manual mode or Night Shot.
Huawei’s so keen to show what can be shot with the P9, it has teamed up with 15 different world-renowned photographers, who used the P9 to take some extraordinary pictures. Many are displayed on the EyeEm photo-sharing app, which comes pre-installed on the P9, and if you need some inspiration, check out a few examples here.
Editors' Recommendations
- How to use Google Maps
- Common Galaxy Note 9 problems and how to fix them
- Huawei P40 Pro vs. Huawei P30 Pro: Which is more Pro?
- Huawei’s P50 Pro Plus has an even more unusual camera bump than we expected
- The most common Huawei P20 Pro problems, and how to fix them