
The night sky is one of the toughest subjects to capture on camera, and photographing the moon poses particular technical challenges that you just won’t encounter in day-to-day photography. Yet, it’s often the more challenging shots that produce the most striking results, and that’s certainly true in detailed close-ups of the lunar surface. Fortunately, getting high quality results doesn’t necessarily mean investing in expensive professional gear (although, having a good tripod certainly helps). Here’s how to photograph the moon.
The preparation
Good moon photographs start well before the moon even rises. The time, location, and weather can all play a significant role on the final image. Start by identifying just where in the sky the moon will appear and when. During its 28-day orbit, the moon rises at different times and in different phases every day. When and where you see it depends on your location on Earth, so you’ll need to plan ahead. If you are thinking of a particular landscape you want in the photo, make sure the moon will actually be in the right position to be included with the rest of the scene. You can check where the moon will rise in your area with an online search or by using an app like the Photographer’s Emphemeris or SkyView.
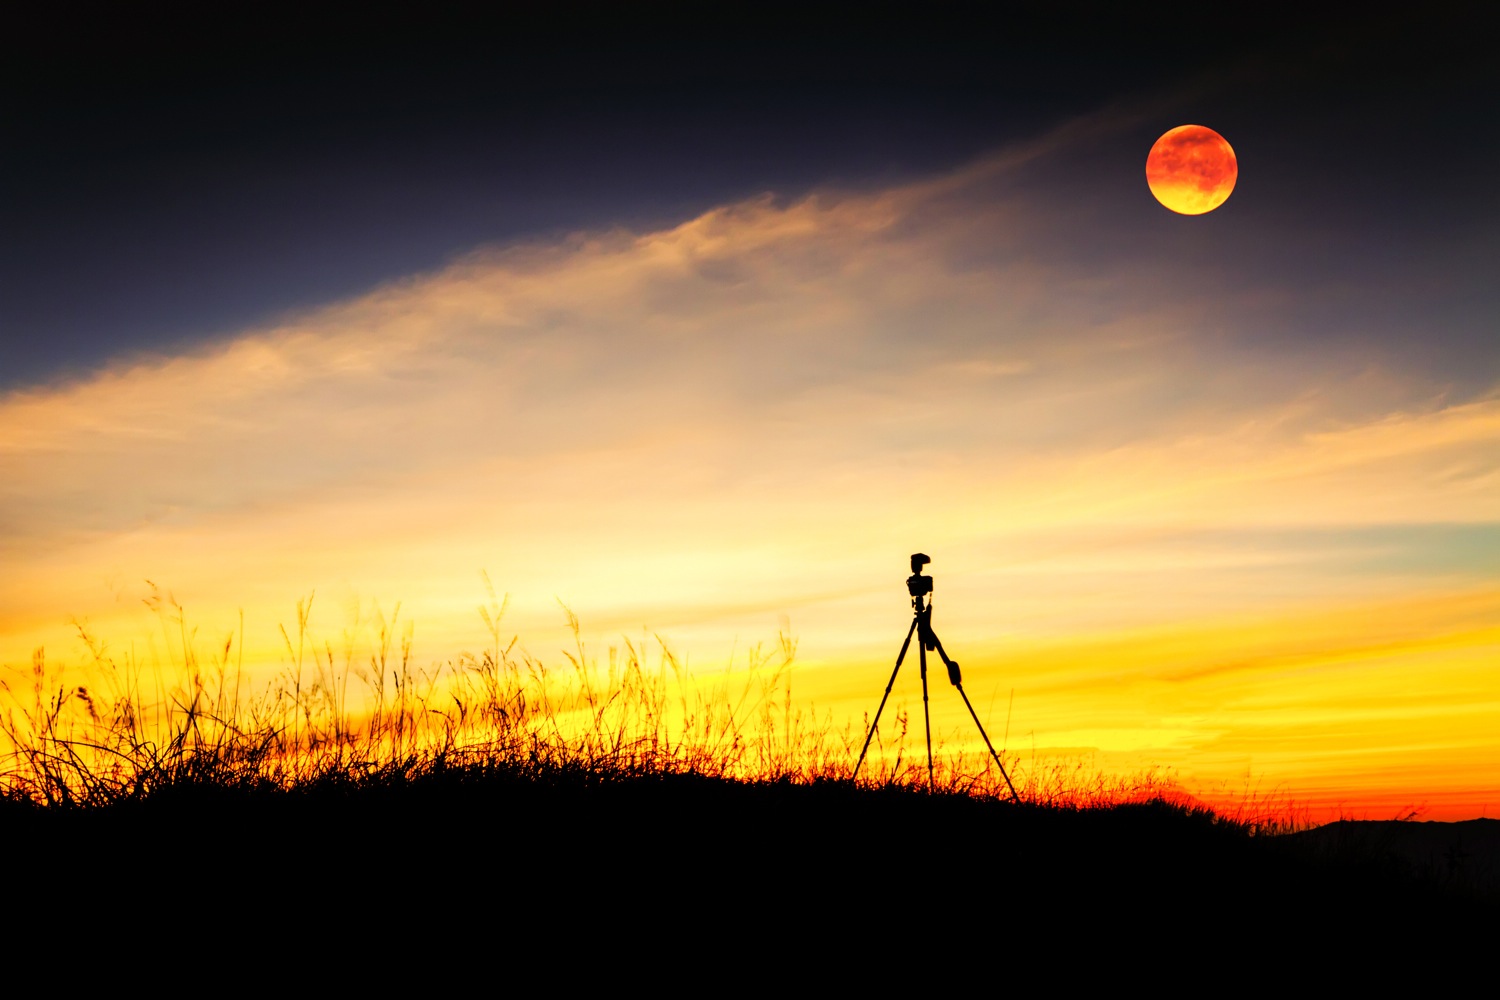
You don’t need the priciest equipment to get good shots of the moon.
Timing also plays a big role. While lunar events increase the apparent size of the moon, the moon always appears largest when it’s closest to the horizon because of the other visual cues the landscape offers. Look up the time of the moonrise online before you head out (the Photographer’s Emphemeris app will also detail the time of the moonrise). Arrive early and plan your composition before the moon begins to rise; since moon rise is fairly quick, you likely won’t get the chance to move to multiple spots, at least not while the moon is at the horizon.
Of course, you need a clear sky to get a good shot of the moon, so check the weather before you head out to shoot a moon that’s completely covered by clouds. While clear skies are ideal, partial cloud cover can create a somber mood if you’re patient enough to wait for the moon to peek through.
Gear also plays a significant role, but you don’t need the priciest equipment to get good shots of the moon. The most essential thing? A tripod. Shooting a moving moon from a rotating earth already adds plenty of movement to combat, so skipping out on the handheld camera shake will help prevent details from blurring.
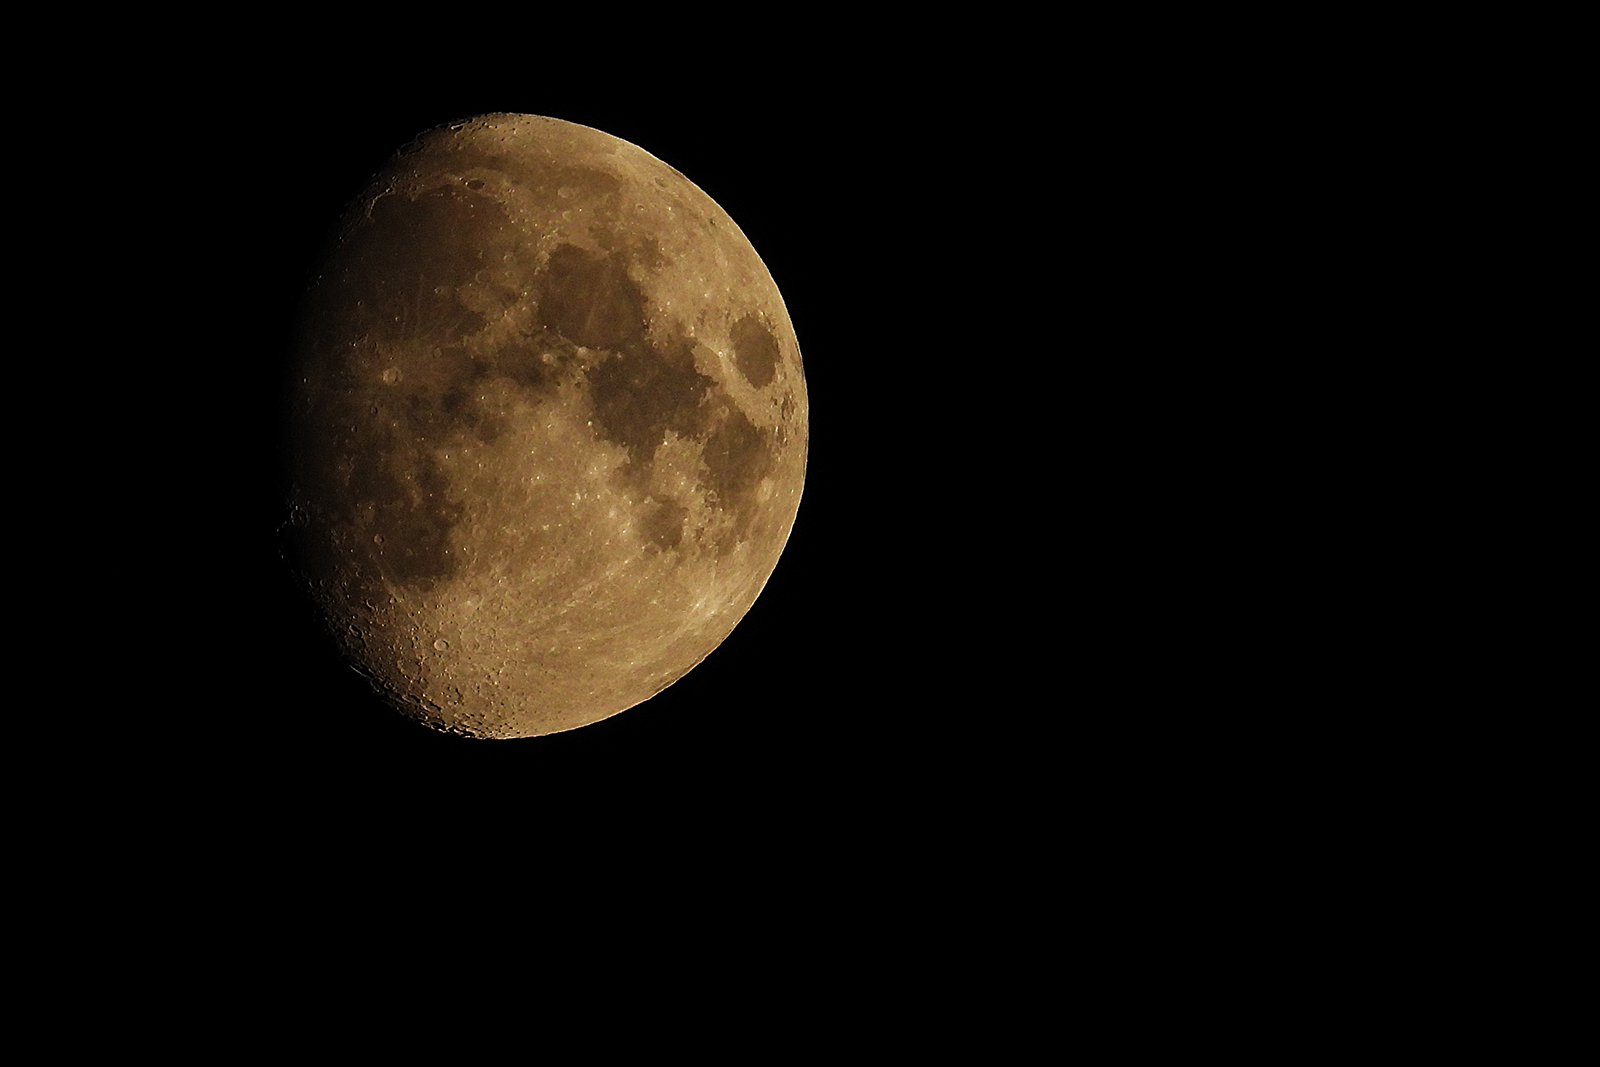
For the camera, you’ll need something with manual focus and a decent zoom. A DSLR or mirrorless camera with a zoom lens works well, but so can a fixed lens superzoom camera. The image above, for example, was shot with the 125x zoom (a 3,000mm equivalent) on the Nikon P1000. DSLRs and mirrorless cameras can work great, too, but you’ll need a long lens. Something in the range of 300mm (full frame equivalent) is a good place to start, but longer is probably better. Be sure to check your camera’s crop factor to know what focal length you’ll need.
The setup
Photographing the night sky is a job for manual exposure mode, as autoexposure will likely try to compensate for the dark sky by completely overexposing the moon. Mounted on a tripod, you can use long shutter speeds to get a good exposure without worrying about shake, right? Actually, no. The moon rises rather quickly, and paired with the rotation of the earth, if you use a slow enough shutter speed, you will blur away the detail in the craters that make up the man in the moon.
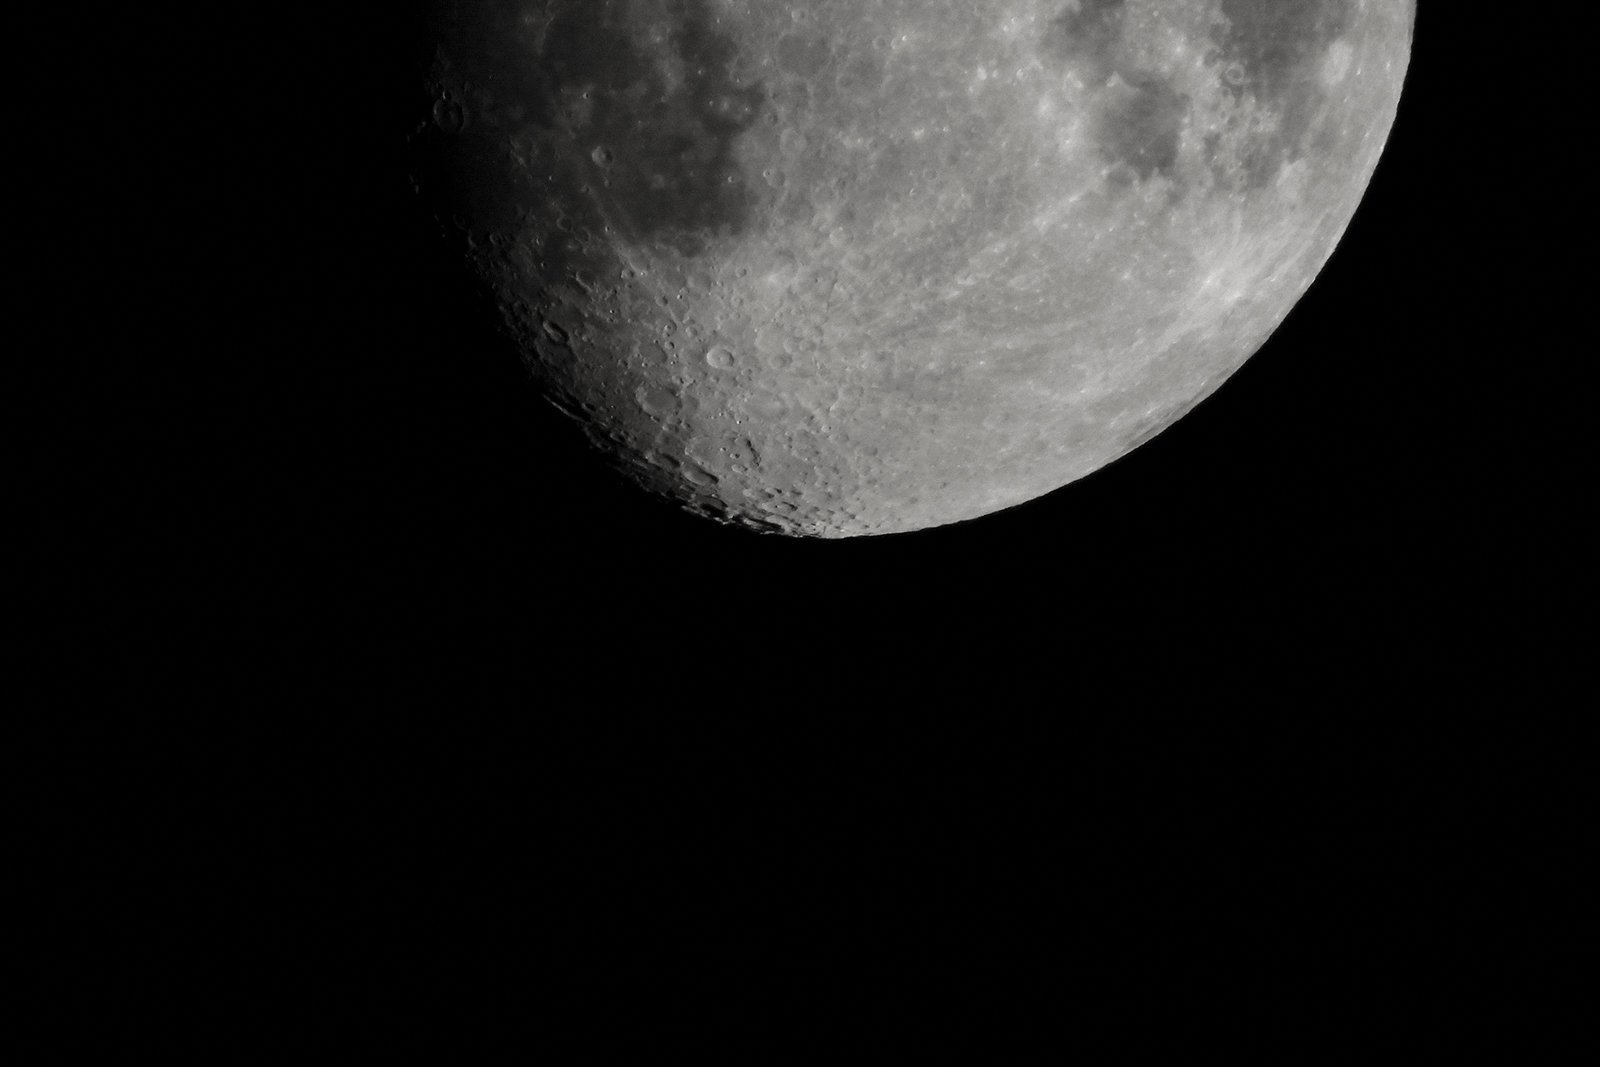
Getting a good image of the night sky requires much more than a quick smartphone snap.
The exact exposure settings will vary based on a number of different scenarios, including the time of day that you shoot. Mark Gee, a photographer that has earned several awards for his astrophotography, says he usually shoots with a shutter speed of around 1/125, give or take. For photographers using full manual mode, using a narrower aperture, like f/8, keeps the possibility of manual focus errors down by increasing the amount of the image in focus. The ISO can be set to balance out the exposure — keep it as low as possible, but prioritize that shutter speed to keep from blurring those details in the moon.
Photographers also have to decide what part of the image to expose for. Exposing for the moon by using spot metering keeps all the details intact since overexposure will turn the moon into a white sphere. Anything in front of the moon will be in silhouette, so you can adjust exposure slightly if you want to let in more light to the clouds, trees, or other objects in the frame — however, take caution not to let in too much light.
It’s also a good idea to shoot in RAW to get more control in post-production, which may be necessary to recover detail from the highlights.
The shot
With your tripod placed and exposure set, it’s time to focus on the moon. Cameras need light to use autofocus, however, which means manual focus might be easier. Thankfully, using manual focus on the night sky is fairly simple. Turn the camera to manual focus, then twist the focus ring all the way to infinity. Check the viewfinder or screen and rotate the focus ring back a bit until you see a sharp image of the moon. (Using a narrower aperture in full manual mode will also help make it easier to get a sharply focused shot).
If you have a camera with an electronic viewfinder, like a mirrorless camera or a superzoom like the P1000, turn on focus peaking — in this mode, the electronic viewfinder will highlight everything that’s in focus in a different color, making it easy to see what’s sharp. Some DSLRs also have this option in Live View mode on the LCD screen.
The moon typically only spends a few minutes at the horizon before embarking on its path across the sky, so shoot quickly, but check your shots to correct any exposure, focus, or composition errors. The moon looks largest at the horizon, but grabbing some shots as it continues to rise is fine too, particularly if you have a good zoom.
The finale
With a good exposure and focus in-camera, touch-up should be minimal, but most moon shots can usually benefit from a few tweaks. Using the blacks slider in Lightroom or another RAW editor will help darken the sky and bring out more of the details in the moon. Tweaking the white balance may be necessary for more accurate color — or for mimicking a harvest moon glow or creating a mood by giving the moon a hint of blue.
Just remember: When you plan the shot, use a tripod, and expose and focus manually, you’re much more likely to snap a share-worthy image of the moon.
Editors' Recommendations
- How to photograph April’s solar eclipse, according to NASA
- Apple shows how to shoot ‘otherworldly’ night mode shots on the iPhone
- How to transfer photos from an iPhone to a computer
- How to take great photos with your Pixel 4 or 4 XL
- Leaf peeping: How to photograph fall’s changing leaves


