

Taking a self portrait might seem like a straightforward process, but the truth is, getting the lighting, composition, and mood just right can be a challenge, as is the case with any photograph.
To ensure your Snapchat post is up to snuff or your Tinder photo is as smooth as your pickup line (which will inevitably fail after you match with someone), we’re here to offer a few tips to improve your selfie game.
There are three components to any self-portrait: lighting, composition/framing, and stance. Each of these aspects intertwine with one another to ultimately determine what the resulting image will look like. Below, we’ll dive into each to help you better understand how to make the most of the selfie trinity.
The Best Lighting for Selfies
Lighting plays the most important role in the overall quality of your selfie. After all, the word photography literally means “painting with light.”
More often than not, you’ll want a soft, even light for selfies. Harsh light can accentuate unwanted features and overall tends to yield a less attractive aesthetic, although, as with anything in the world of photography, there are exceptions to this rule.
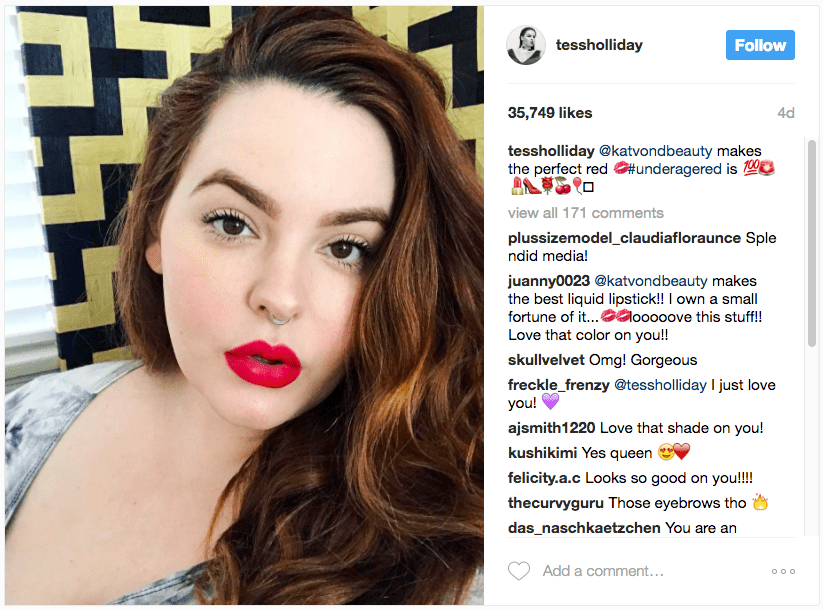
The easiest way to achieve soft, even lighting is to capture your selfie by a window during the day. Depending on what direction the window is facing, you might need to adjust where it is you’re standing. But overall, natural light is far more likely to yield a better image than the usual artificial lighting you’ll find in your house or while out and about. Below is an example selfie, taken by model Tess Holliday, showing the benefits of soft, even light from a window.
In the event you’re outside and there’s no shade to take cover under, your best bet is to shoot with the sun at your back and expose the image for your face. Better yet, use your body or head to block out the sun in the frame to minimize flares. This should yield a far more usable image than shooting with the sun at your face – not to mention it’ll save you from squinting your entire way through the selfie-shooting process.
If natural light isn’t a possibility, try to find an area that offers a large, diffused source of light, preferably a light source that isn’t facing straight down from the ceiling either, as it will cast unnatural and unappealing shadows, most notably under your eyes and nose. Play around with fill flash, which helps to illuminate the face in backlit situations.
Selfie Composition and Framing
A selfie might not have the significance of Ansel Adam’s iconic “Moon over Hernandez,” but that doesn’t mean composition and framing is any less important.
There are more “rules” of composition to follow than there are ways to break them, but each is valid in its own way, and some are more worthwhile to remember than others. The most repeated is the “rule of thirds.”
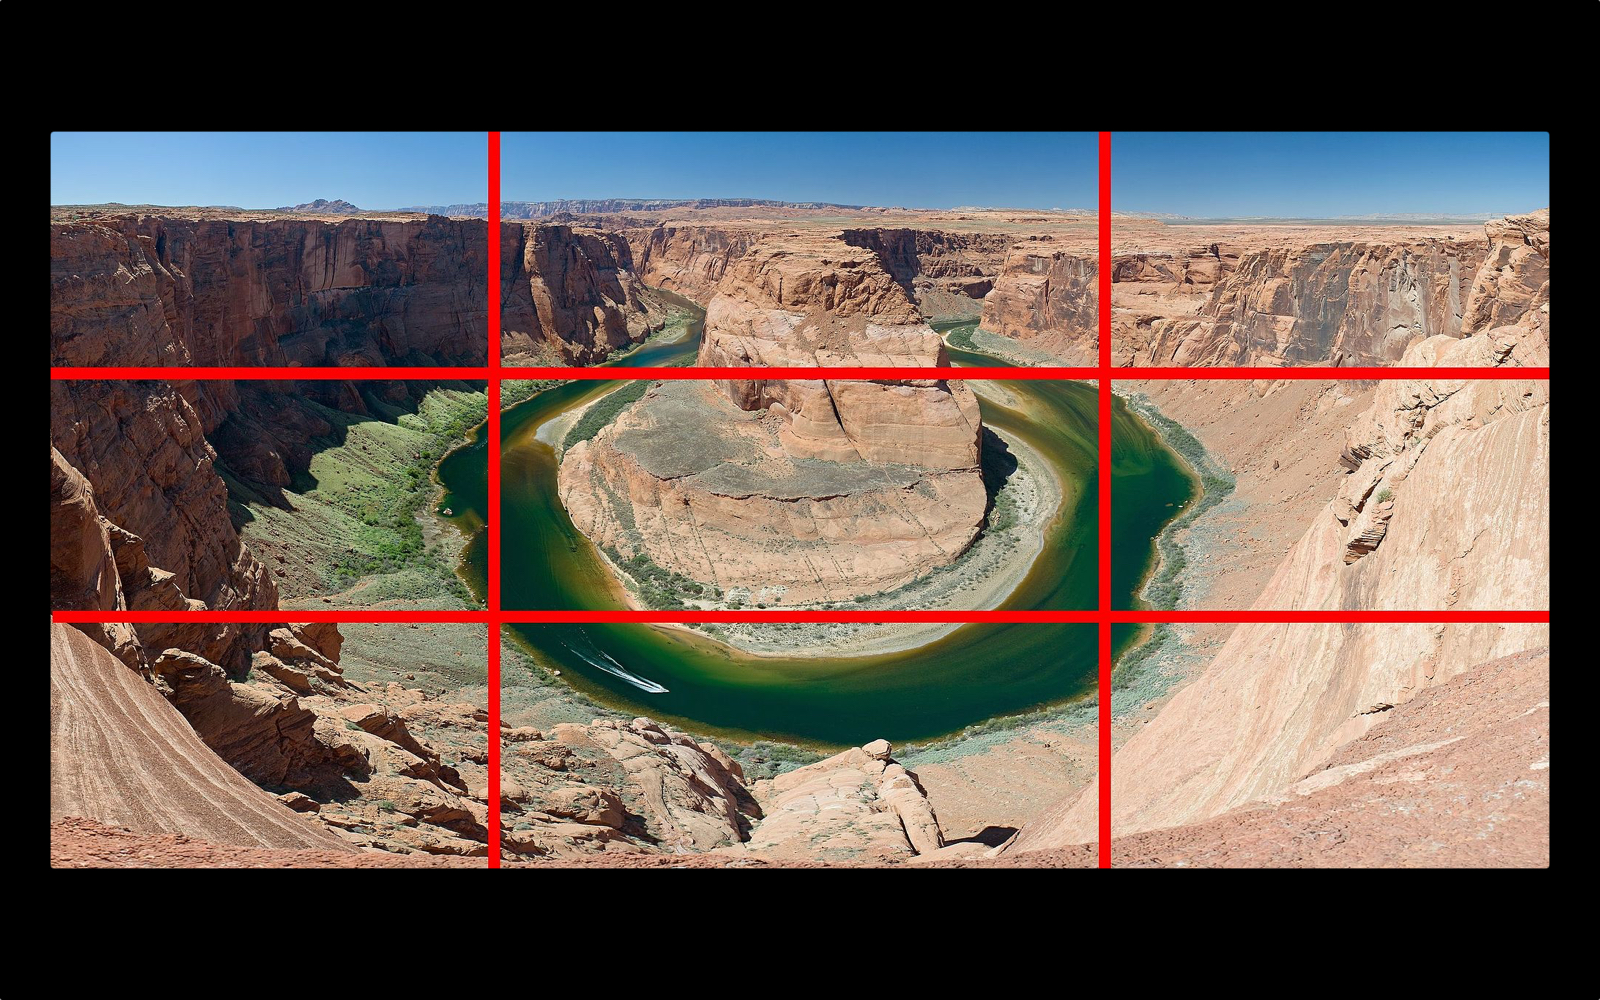
Simply put, the rule of thirds states that if you are to divide up an image into three sections, both horizontally and vertically, the subject matter of the image should fall on one of the four intersections where the lines meet. For example, in the photo above, if you were to photograph a person in it, you should position him or her at one of the intersections. Most phones and apps nowadays offer gridded overlays, almost all of which are based on the rules of thirds, making the process even easier if you have a difficult time picturing the composition otherwise.
Another key element of composition is recognizing where you are in the frame. A good rule of thumb is to avoid cropping the image off at various joints, including but not limited to elbows, hips, knees, and shoulders. This illustration from Digital Camera World is a good guide to follow.
Likewise, be conscious of the background when composing a selfie. Don’t let any tree branches or street lamps get in the way. Having a pole sticking out of your head can make it look like you’re impaled. That’s not the look you’re going for, unless you’re taking a glamour shot for your audition for The Walking Dead.
Posing for Selfies
Getting the correct posture for a selfie might seem obvious, but there are a few small tricks that help take your selfie game from zero to 100 real quick.
It’s believed by many that taking a portrait from a high angle can minimize the appearance of “chubby chins.” While partially true, this guideline doesn’t apply so much for selfies. Keep your phone’s camera eye-level and instead of raising your camera, tilt your head up and stick your chin and forehead toward your camera. This should lengthen your neck and keep the focus on your facial features.
When there’s food involved in your selfie, there’s a clever tip that comes from aforementioned model Tess Holliday, who’s all but a pro when it comes to taking selfies. Rather than chomping down on the food in your selfie, simply hold whatever it is you’re eating and “flick your wrist” out. It better shows off the food you’re about to munch on, and lets you smile for the photo, which is a whole lot better than looking like Cookie Monster going to town on a snickerdoodle.
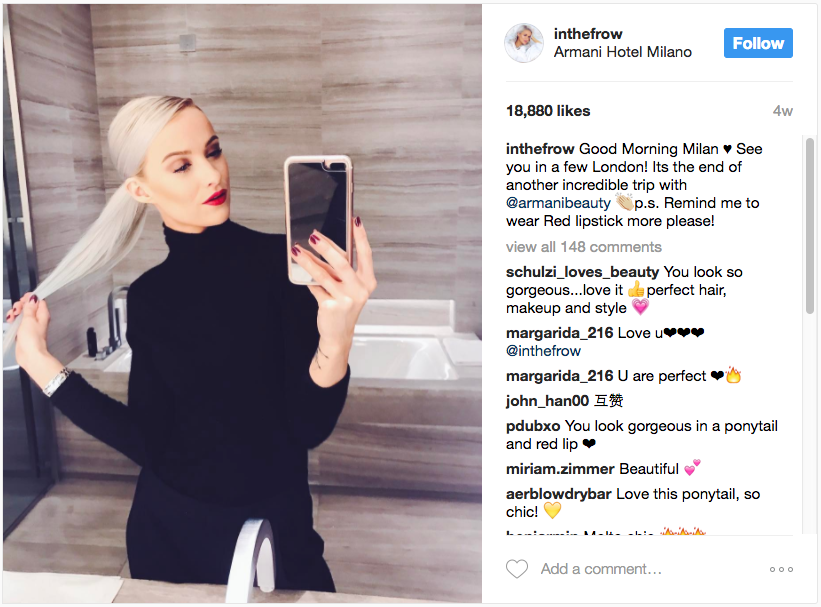
For mirror selfies, it’s best to avoid straight-on shots. Instead, turn your waist a bit, and bend your front knee. If you don’t know what to do with your free hand, put it on your hip and “pop” out your hip a little. The pose might feel unnatural, but it should make for a much better image that does your figure justice. A good example of this is the below selfie from fashion, beauty, and travel blogger Victoria. Although her black outfit hides much of her frame, she keeps her hands busy, her head slightly tilted, and her hip popped out.
Wrapping up
Next time you whip out your phone to take a selfie, remember the various components you learned in this article: lighting, composition, and posing – LCP, for those of you who remember better with the help of anagrams.
Editors' Recommendations
- How to photograph fireworks and capture the colors of Independence Day
- How to make a background transparent in Photoshop
- How to transfer photos from an iPhone to a computer
- How to take great photos with your Pixel 4 or 4 XL
- How to add and edit text in Adobe Photoshop


