Laptop screens will attract dirt, dust, and grime — that’s just a fact of life. Whether you’re using one of the best 2-in-1 laptops and want to clean off your fingerprints from the touchscreen or you use a notebook laptop and have somehow gotten food or dirt on it, the cleaning process isn’t necessarily intuitive. You’ll likely have lots of questions about it. Do you need a special cleaning fluid? How hard should you rub? What do you rub the screen with? Even using water to clean a laptop screen isn’t necessarily completely safe, due to minerals. So join us as we list our favorite tools for each type of yuck removal and teach you how to clean a laptop screen without inflicting damage.
For dust: Microfiber cloth
People who wear glasses or own a camera know about this little tool all too well. After all, it’s the best way to clean a camera lens or eyeglasses.
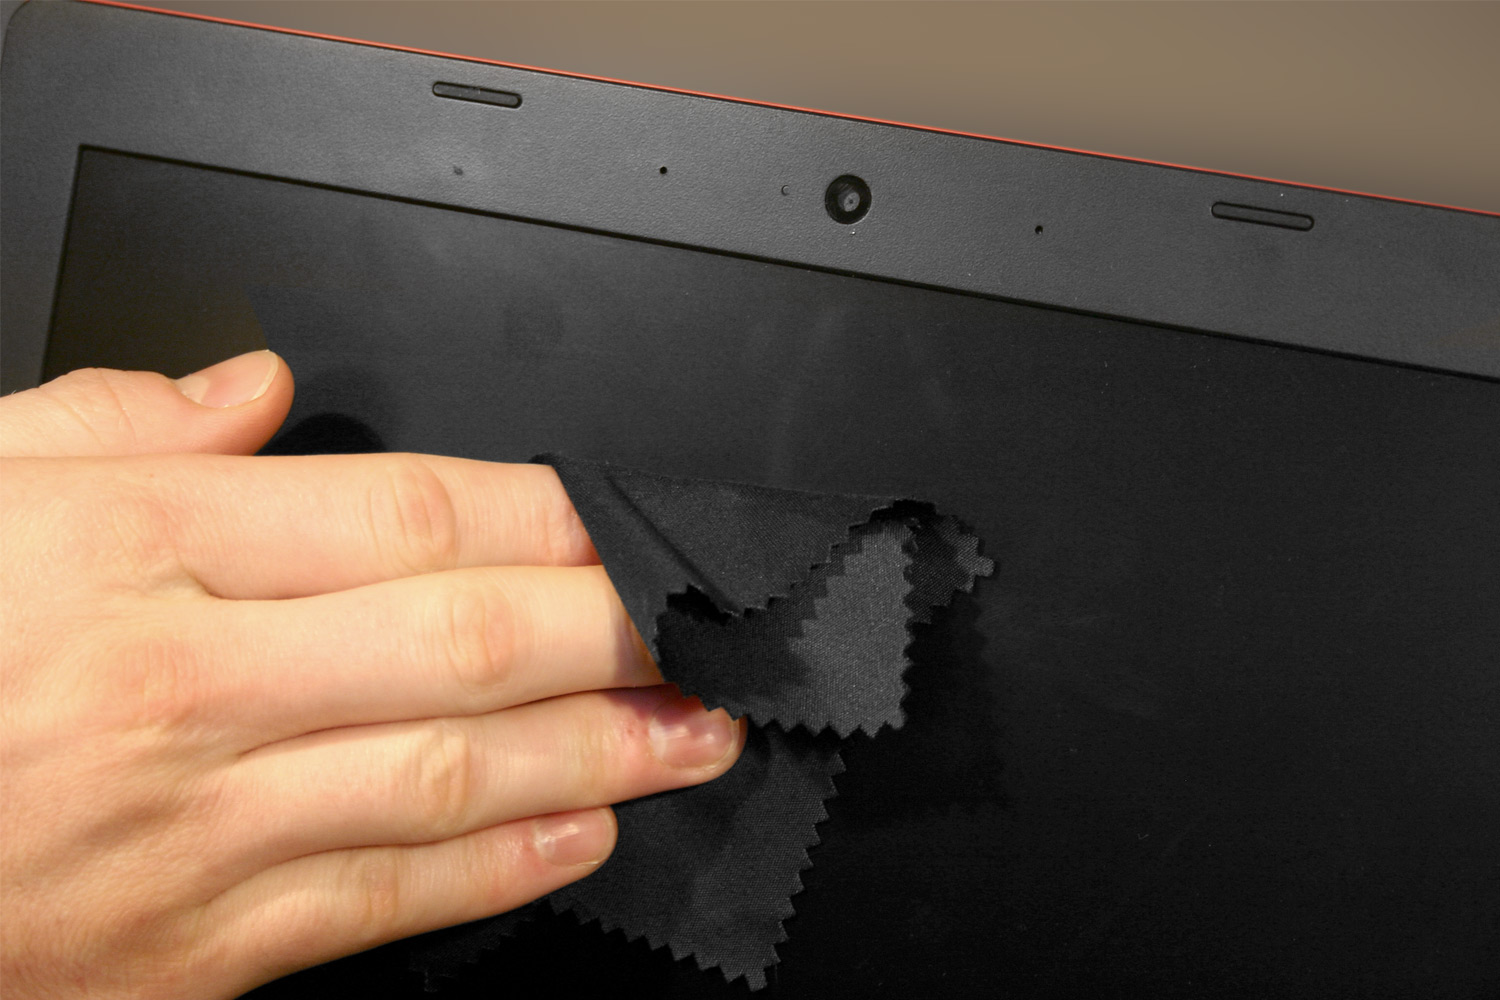
Designed to remove dust and debris without producing lint or scratching delicate surfaces, microfiber cloths are the best place to start when cleaning a laptop screen.
Warning: Absolutely do not use a paper towel or tissue. They might seem soft when blowing your nose, but they are extremely rough on scratch-prone displays.
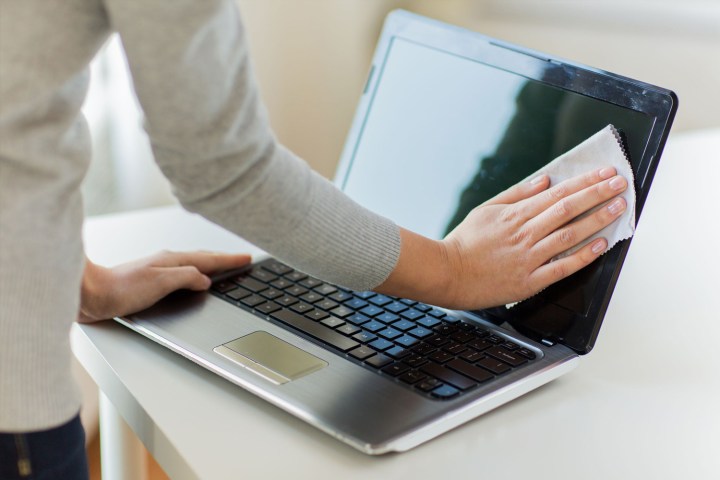
Step 1: Shut down your laptop. Not only is it safer, but having a blank screen can help you see dust.
Step 2: Pressing gently on the display, use a microfiber cloth to wipe in one direction. Don’t scrub or wipe in circles, as this could damage the display or just move the dust particles around.
Step 3: Continue wiping across the display until it’s dust-free.
What about using a duster? This is also a safe way to remove dust if the coating is extremely light. Avoid feather-style products, which simply push dust into a cloud. Instead, find one that collects dust, like the dusters made by Swiffer. If using a Swiffer duster, remember to turn off your laptop before using it.
There’s no set method for removing dust, though you may want to move in an X pattern from top to bottom.
For dirt and grime: Damp sponge

Sometimes you’ll end up with more than dust on your display. Instead of rubbing at it with your microfiber cloth to no avail — and potentially dirtying the cloth in the process — you can use a damp sponge instead.
What you need:
- A brand new household sponge.
- Distilled, deionized, or filtered water.
Warning: Absolutely avoid standard tap water. Unseen minerals can scratch your display.
Step 1: Shut down your laptop and unplug it from its power source. If possible, remove the battery.
Note: If you’re worried about potential drips falling onto your keyboard, place something light over the keys that won’t absorb liquid.
Step 2: Wet the sponge with water and wring it out to eliminate drips.
Step 3: Use the sponge to gently wipe the screen’s affected area. Watch for drips and clean them up immediately.
Step 4: Once the area is clean, wait for the display to completely dry before closing the lid or using your machine.
For oils and sticky stuff: Cleaning solutions
If the cloth and sponge methods failed to clean your laptop’s screen, it’s time for a safe screen-cleaning spray. However, you can’t use just any substance. Specific chemicals scratch the surface even if you’re using a microfiber cloth.
Avoid these substances at all cost:
- Acetone
- Ammonia
- Ethyl acid
- Ethyl alcohol
- Methyl alcohol
- Methyl chloride
- Surface cleaners
- Toluene
- Window cleaners
- Any other corrosive substance
You can still purchase third-party cleaners, but they absolutely must not include the chemicals listed above. Alternatively, you can create a cleaner using the following:
- 50% distilled water and 50% white vinegar
- 50% distilled water and 50% isopropyl alcohol
- 100% distilled water and a drop of dish detergent
Notice: As you can see, you can use alcohol to clean a laptop screen, but it must be isopropyl alcohol, not methyl or ethyl.
Step 1: Turn your laptop off and unplug it from its charger. If you’re able, also remove the battery to prevent any electrical issues.
Note: If you’re worried about potential drips falling onto your keyboard, place something light over the keys. A material that won’t absorb liquid is your best bet.
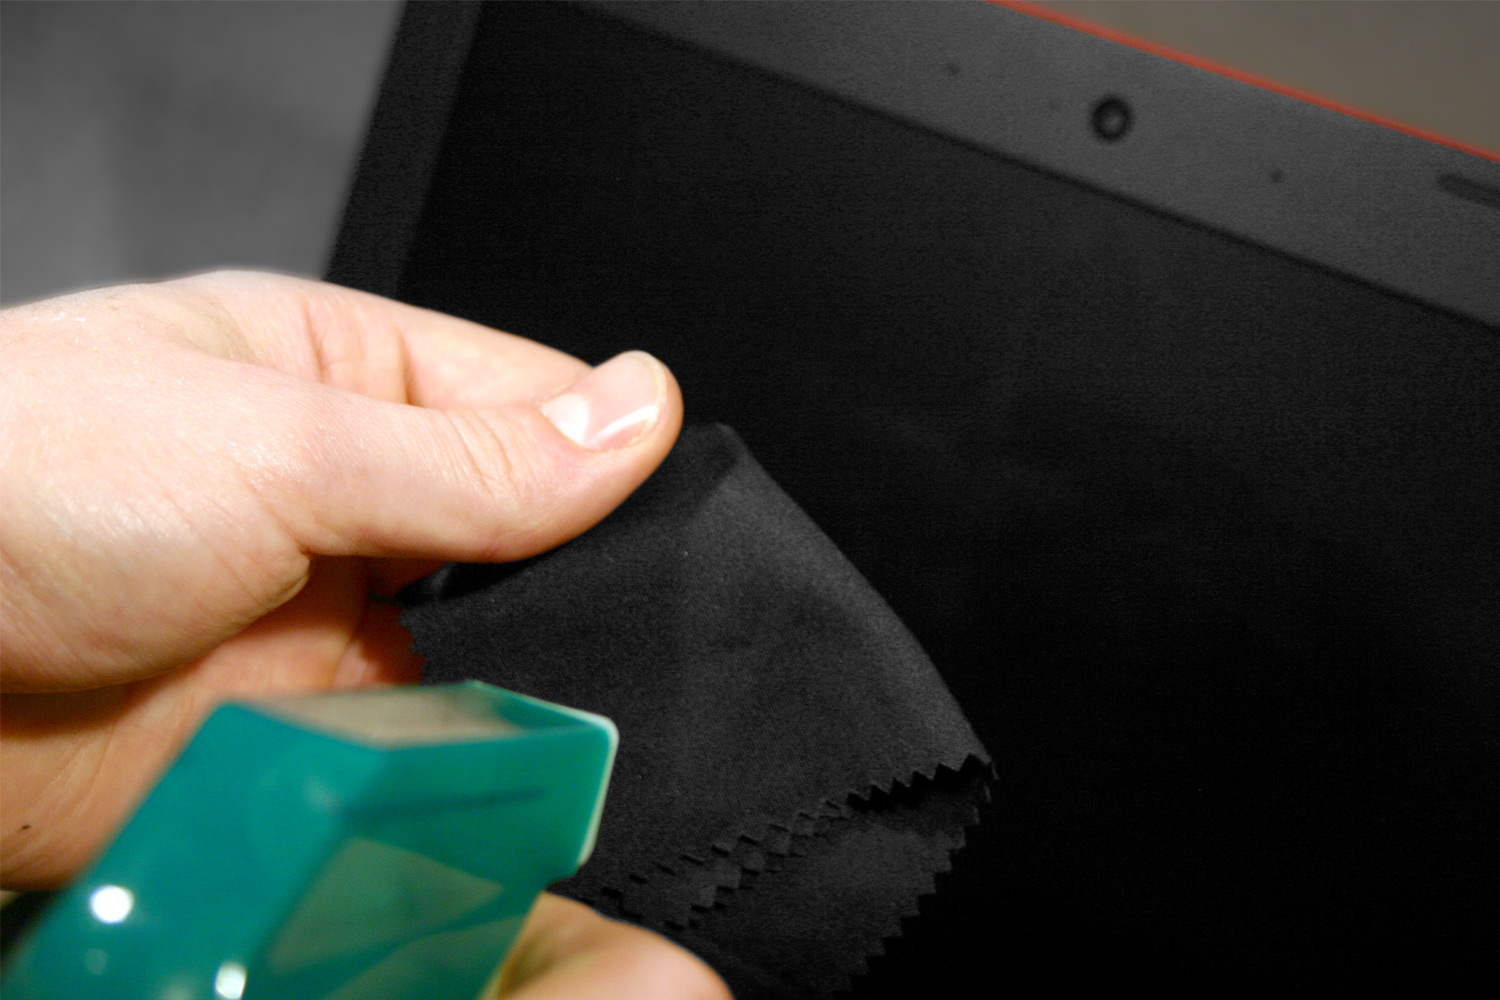
Step 2: Pour or spray your chosen cleaning fluid onto a microfiber cloth. Be sure the fabric isn’t wet, just damp. Never spray cleaning fluid directly onto your screen. Even though they evaporate quickly, applying liquid to your screen is a sure way to damage it.
Step 3: Gently rub the cloth over the affected area. Rub in small circles to avoid streaks. Don’t press too hard; otherwise, you could displace the liquid crystal molecules and permanently distort the screen.
Step 4: Repeat this process until the screen is completely free of moisture. Also check the keyboard and any attached hardware, like a mouse or anything connected to the USB ports, to make sure there is no liquid pooling on them.
Step 5: As an additional precaution, leave the screen to air dry for half an hour. Once it’s dry, you can close it and turn it on.
We put our laptops through a lot on a day-to-day basis. If you eat and drink while you’re working, you’re more than likely leaving little bits of your food behind on the screen, keyboard, and in any other crevices. We owe it to our computers to keep them clean. Following all the steps outlined in this guide should help make your laptop look a little less homely.
Editors' Recommendations
- The most common Microsoft Teams problems and how to fix them
- The most common GoTo Meeting problems and how to solve them
- The most common Zoom problems and how to fix them
- Best HP laptop deals: Get a 17-inch workhorse for $270 and more
- How to clean a laptop keyboard without damaging the keys