Photo-editing applications can be intimidating, especially if you don’t use them often. But with the tools available in the MacOS Photos app, making adjustments and corrections to improve photos is much easier than you might realize.
With options to correct red-eye and remove marks, you can fix minor blemishes, as well as crop, straighten, or rotate a photo. If you’d like to go further, you can adjust the white balance, light, and color to enhance your picture. And best of all, many of these tools have an Auto feature that makes the improvements for you.

Prepare your photo for editing
Before you start making changes to your picture, you may want to make a copy of it. This allows you to hold onto the original, because all changes you make will be saved and then appear on all devices where you sync the Photos app.
Step 1: If the image was taken on your iPhone or iPad, you may need to transfer the photo to your Mac first. Right-click the photo and choose Import. Then, head to the Imports section of the sidebar to select the photo.
Step 2: To copy the image, right-click the photo or select Image from the menu bar and choose Duplicate 1 photo.
Step 3: You can then make adjustments to the copy if you’d rather keep the original image as is.

Use Photos to edit the image
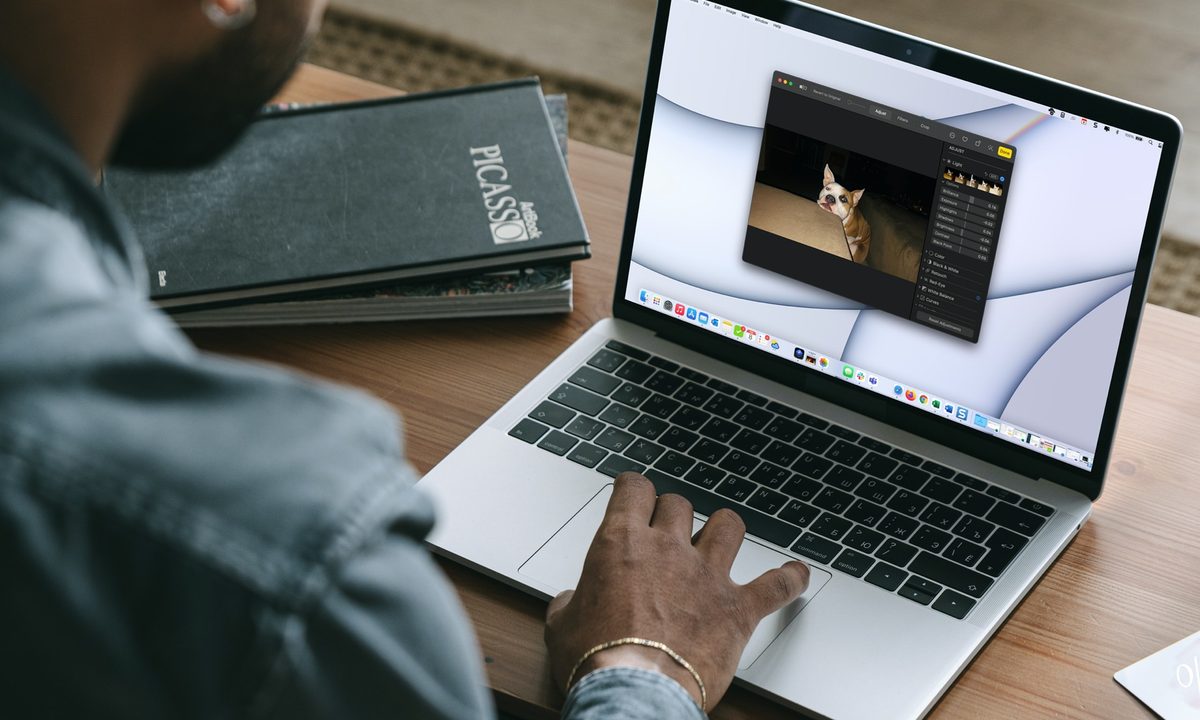
To open the editing tools in Photos, either select the image and press Return or double-click the image and choose Edit in the toolbar. Your photo will open in a separate window.
Zoom: On the top left of the toolbar, you can use the slider to zoom in on the photo if needed. This is handy when using certain tools like Retouch and Red-Eye.
Auto Enhance: If you’d like to let the Photos app automatically improve the entire photo, you can use the Auto Enhance feature. Select the button in the toolbar that looks like a magic wand to enable Auto Enhance. To remove those enhancements, deselect the button.
You also have the option to use Auto Enhance for individual elements, which we’ll describe below.

Adjust a picture in Photos on Mac
You don't need to know how to edit images in Photoshop to make basic tweaks. Photos has plenty of adjustment tools you can use to improve the image.
Step 1: At the top of the Photos editing window, select the Adjust tab.
Step 2: Choose an Arrow to expand an option and use the tools within it.
Step 3: Depending on the tool you select, you may see a slider or brush. For example, to adjust the Light, you have sliders for Brilliance, Exposure, Highlights, and more. As another example, to remove red-eye, you have a brush to select each eye in the photo.
Step 4: Many of the tools also offer an individual Auto Enhance option. If you prefer to have Photos automatically improve specific elements rather than the entire photo, choose Auto to the right of the tool.
Step 5: To undo a change you make with one of the tools, select the Undo icon to the right. Alternatively, you can undo all adjustments by choosing Reset adjustments at the bottom.
Apply a filter to a photo
Sometimes adding a filter can give a photo a whole new perspective.
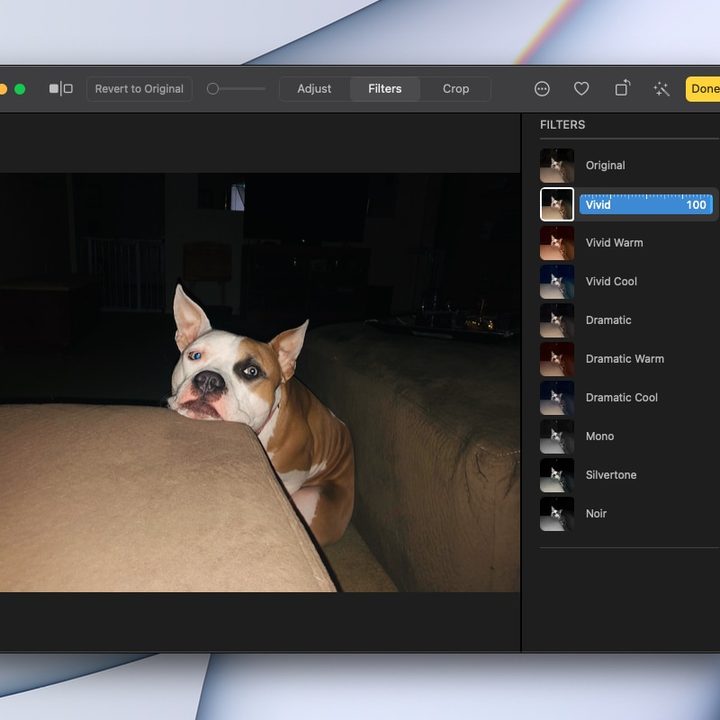
Step 1: Select the Filter tab in the toolbar to see the options on the right.
Step 2: Pick a filter like Vivid, Dramatic, or Silvertone.
Step 3: Use the slider that appears to adjust the amount of filter you want to apply.

Flip or crop a photo
If you want to flip or crop the photo, this takes only a minute.
Step 1: Select the Crop tab in the toolbar.
Step 2: On the right, you’ll see an option to Flip the photo right at the top. This will flip your image horizontally. To flip it vertically, hold the Option key as you select the button.
Step 3: Expand the Aspect section to crop the image to a certain size. You can pick a square, select one of the preset ratios, or enter a custom size. You can also select Freeform and drag the edges or corners of the image to crop it to the exact size you want.
At the bottom of the crop options, you can quickly crop the image as Portrait or Landscape using the icons.
Step 4: To undo a flip or crop, choose Reset at the bottom.

Rotate a photo
You have a couple of ways to rotate an image in the Photos app.
Step 1: First, you can select the Rotate button in the toolbar. This will turn the photo counterclockwise 90 degrees each time you select the button.
Step 2: To turn the image clockwise instead, hold the Option key and then select the Rotate button.
Step 3: You can also rotate your image freely by going to the Crop tab in the toolbar. Then, drag the dial on the right side of the image up or down to adjust the exact angle of rotation.

Compare or revert the changes
The Photos app on Mac offers a handy feature for seeing your changes compared to the original image. In the top toolbar, select and hold the Show photo without adjustments icon, which is on the far left. This lets you see a nice before-and-after comparison of your photo.
If you decide you don’t like any of the changes you’ve made to an image, choose Revert to original in the toolbar.
Editing images in Photos on Mac is a convenient option for simple to advanced enhancements to your photo. Got lots of images to edit? Perhaps its time to learn how to edit multiple photos at once.