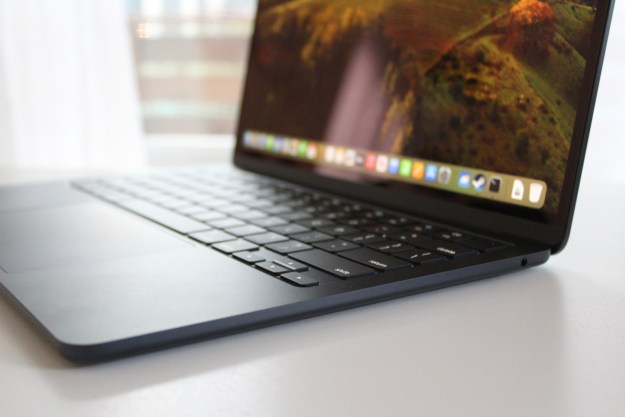
Apple officially unveiled MacOS Mojave at WWDC 2018. After several months of beta testing by developers and the public, MacOS Mojave was made available to everyone as a free download, bringing new features such as a dark mode, an improved workflow for markups, a Continuity camera, new apps, enhanced privacy while surfing in Safari, and more.
Before you begin, you should make sure your Mac is compatible with Mojave. MacOS Mojave is a free software update for Macs that were introduced in mid-2012 or later, plus 2010 and 2012 Mac Pro models with recommended Metal-capable graphics cards, Apple stated.
Here’s a complete list of supported Mac models that can be upgraded to MacOS Mojave:
- Mid-2012 or newer MacBook Pro
- Mid-2012 or newer MacBook Air
- 2015 or newer MacBook
- Late 2012 or newer iMac
- All iMac Pro models
- Late 2013 or newer Mac Pro, and mid-2010 and mid-2012 models with Metal GPU.
- Late 2012 or newer Mac Mini
Backup first!

Before we go any further, make sure you back up your files. For anything important that absolutely cannot be replaced, be sure you send it off to the cloud — Dropbox, iCloud, and OneDrive are great for this — or create a hard copy on a flash drive or external hard drive. Every major release brings with it the risk of bugs that don’t show up until it’s widely installed, so backing up is a vital first step.
Download and install

Once the important data on your compatible Mac is backed up, you can proceed to the Mac App Store to begin downloading and installing Mojave. You should be prepared to wait as it’s a lengthy installation procedure. You need to take all the standard precautions like properly saving documents and closing open windows to make sure nothing is lost because you will have to restart your device as part of the process.
Step 1: Launch the Mac App Store. You can open the Mac App Store by clicking on the Apple icon in the upper left corner of your screen and then selecting App Store. Alternatively, you can also click on the Mac App Store icon on your Mac’s dock or navigating to your Applications folder.
Step 2: Search for MacOS Mojave in the Mac App Store. You can do this by typing in “MacOS Mojave” in the search bar in the App Store.
Step 3: Clicking on the download button and Mojave will start downloading. It will automatically be sent to your Applications folder. While Mojave is downloading, be sure to check out some of the new features that you’ll soon be able to experience by checking out our initial impressions of the OS.
Step 4: When the download is complete, the installer will automatically open so you can take the next steps. Click Continue, accept the terms and conditions, and follow the on-screen wizard to install and update your Mac to MacOS Mojave.
Step 5: When Mojave is finished installing, you’ll have to restart your computer. Once it powers back on, you’ve officially entered the dunes of MacOS Mojave.
Now you have time to check out that sweet, sweet night mode—and more. Apple was sure to make this latest model of Mojave worth the hassle of the installation process, endowing it with all the new features.
Check out our complete review of MacOS Catalina to get the details on what comes in the package.
You can download MacOS Big Sur to acquire the newest MacOS version.
Editors' Recommendations
- Don’t download the latest macOS Ventura update just yet
- The best MacBook to buy in 2024
- How to clean a laptop keyboard without damaging the keys
- How to clean a laptop screen without scratching it
- 10 Mac trackpad gestures that everyone should be using


