Macs may not be quite as friendly for gaming as PCs — but don’t let that stop you! Today’s Macs have plenty of power to play the latest popular games; they’re just a bit less hands-on and customizable compared to their PC counterparts. With our guide, you can make several important changes to help prep your Mac for games and make sure you can play them without a hitch.
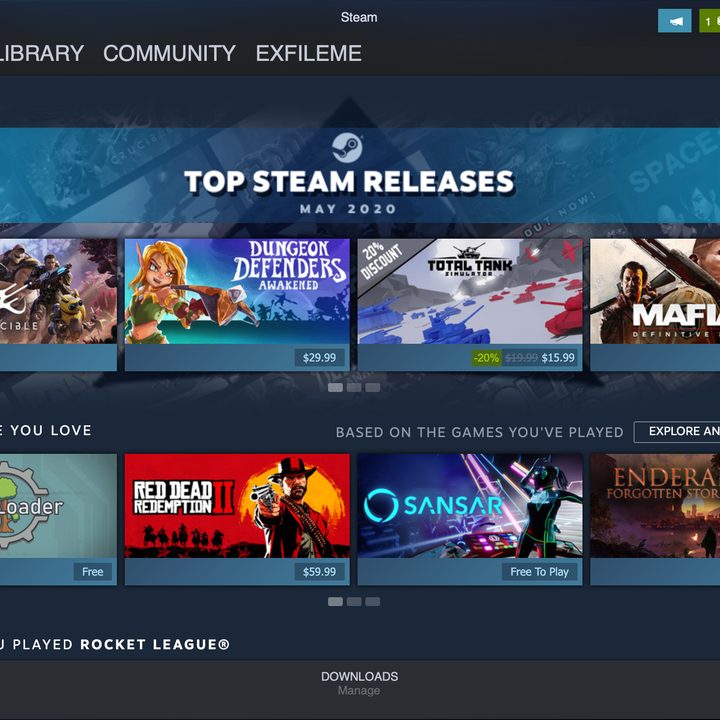
Note: There’s also the question of where to get your games from when you’re on a Mac. We have had good results with Steam. Although it’s not quite as optimized for MacOS as it is for Windows, Steam still works well enough to be your primary gaming hub.

Consider upgrading your Mac
The newest Macs are much more gaming-friendly than older models. If your iMac or MacBook Pro (we don’t suggest gaming on anything less) is several years old, you may want to upgrade to a new model before tackling your favorite games.
The latest iMac and the MacBook Pro include built-in Apple silicon graphics, although older models sport integrated and discrete AMD Radeon graphics cards. If you have older Macs, you can potentially dedicate the discrete card to gaming, a much better outcome than using the GPUs of previous models
Not sure what graphics you have? Head to the Apple menu in the upper-left corner, and select About This Mac. In the Overview section, you’ll see a label for Graphics that will show exactly what GPU is in your Mac.
You also have the option to buy an external GPU, or eGPU, that works with your Mac. These will only work with Macs that have Intel processors, but it’s a strong alternative if you have an older Mac and don’t want to buy a new computer right now. Apple has more information on how to manage eGPUs if you are interested.
Start with a system cleanup and update
You want your Mac as clean and speedy as possible for the best gaming experience. Start by making sure the latest updates have been applied, then take a look at your storage. Delete any apps and download that you don’t use or don’t provide much value for you to make sure your Mac has as much free storage space as possible. Clear out your Trash when you are finished.
If you want a little help with this project, you can also download a cleaner app like MacKeeper, which will automate this process and help identify junk files.
Disable background processes to improve performance
Macs tend to have background apps that are always running, collecting information or constantly updating. But for gaming, you don’t want anything that’s going to take up your precious RAM, so it’s a good idea to disable some unnecessary background processes. If you don’t use your Notification Center, for example, we suggest starting there.
Step 1: Open your Terminal. You can find Terminal in the Utilities folder, which is in Applications.

Step 2: Paste or type in this Terminal command to get started:
launchctl unload -w /System/Library/LaunchAgents/com.apple.notificationcenterui.plist
Step 3: Now paste this command to kill Notifications:
killall NotificationCenter
Step 4: The Notification Center should now be disabled (you may get an alert telling you something is wrong, but that just means it worked). If you ever decide you need the Notification Center again, you can bring it back with this command:
launchctl load -w /System/Library/LaunchAgents/com.apple.notificationcenterui.plist
You can now launch the Notification Center again. You can also use the Mac Activity Monitor to see if there are other background apps that you don’t need and can disable.

Download gfxCardStatus
This isn’t strictly necessary, but if you have a discrete GPU in your Mac, you’ll really want this app to make your gaming easier. GfxCardStatus is a simple, free app that allows for some basic GPU monitoring in Macs with both separate and discrete graphics cards.
When you open gfxCardStatus, you can get notifications about which GPU you are using, what apps are using it, and more. You can also manually switch to a Discrete Only mode, which is a good idea when you are ready to start gaming.
Close your apps and start up a game
Take a final look at any open apps and close down all nonessential ones, especially memory-hungry browsers. You can use the Activity Monitor or gfxCardStatus to see what apps, if any, are using your discrete GPU. You want your game to be the only thing using your discrete GPU when you begin.
Now open up your game and get started! You’ll want to spend at least a few minutes messing around so you can look for ways to make the game run as smoothly as possible. If you are using Steam, make sure all updates and patches have been applied before you begin.

Look for ways to improve game performance as you play
Take a look at game settings and see if making tweaks can improve your performance even more. Lowering some graphics settings, for example, may help if your game is running a little rough. You should also try both windowed and full-screen modes to see which runs betters — as with PC, this can really make a difference on Macs, too. If there’s a sudden slowdown while gaming, bring up your Activity Monitor and see if any program suddenly started. That’s another target you should disable for the best gaming results.
Use a second screen if you need to
If you play games where having a second window open is important to consult additional programs, chat with teammates, or more, then consider using a laptop or other second screen. This way, you can still get the information that you need, but you won’t have to worry about resizing windows on your Mac or taking precious resources away from your game.
Check our list of the best monitors to help you get started.