
Are you looking for the best way to record your Chromebook screen for tutorials, explanations, schoolwork, or business projects? You’re already off to a good start: Chromebooks have one of the easiest screen-recording processes thanks to accessible extensions that add recording capabilities you can use whenever you need them.
There are a few different methods you can use, but Screencastify is our favorite. Here’s how to record the screen on your Chromebook.
Only need a quick picture of what’s on your screen? Check out our guide on how to take a screenshot on a Chromebook.
Step 1: Download Screencastify
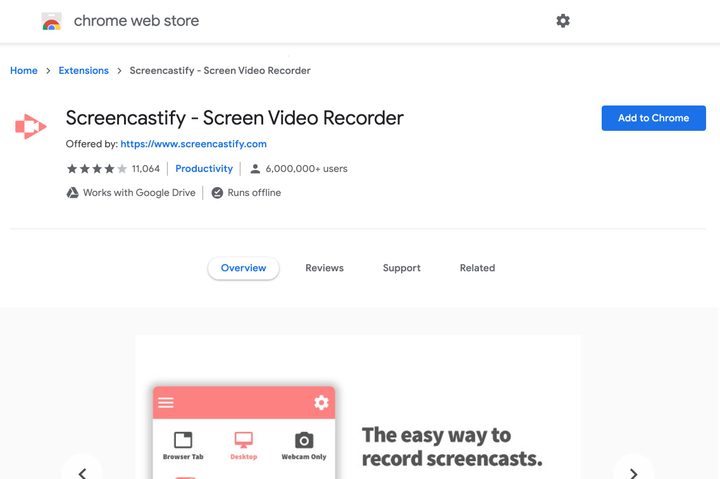
You can find it on the Chrome web store, or you can visit Screencastify’s own website to learn more. When you are ready, choose Add to Chrome to download the extension. This will add a Screencastify arrow icon to your extensions toolbar, ready to use any time you’re ready. Connecting or creating an account is usually required before the extension is installed: If you use Google Drive a lot, you can sign in with that account to make it easy to share videos immediately to Drive.
Step 2: Choose your recording preferences
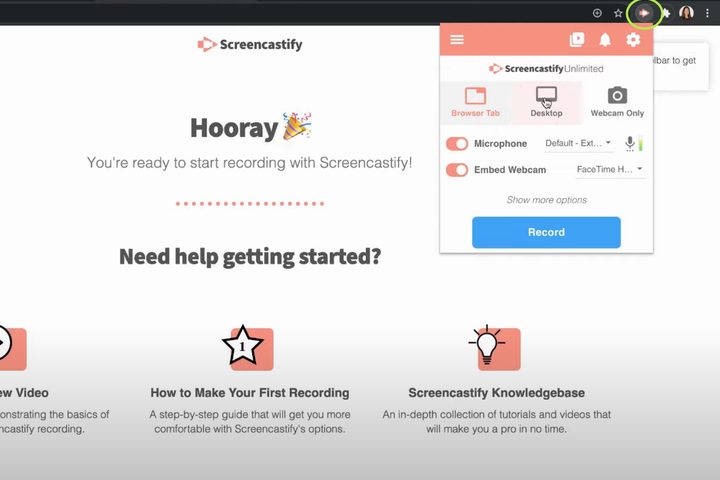
Select the arrow icon when you are ready to start recording. Screencastify will pop open a small window with the primary tools for creating a video. At the top, you will see options to choose Browser Tab, Desktop, or Webcam Only. Since we are recording your Chromebook screen, you will want to choose either Browser Tab or Desktop before you begin.
If you are planning on speaking during your recording to share more info, look at the section for Microphone and make sure the correct working mic is connected and ready for action. That little bouncing bar in this section indicates that the mic is picking up audio and you’re good to go. Streamers may also be interested in the option to embed a webcam view so their audience can see them during the video.
Step 3: Set countdown options and begin recording
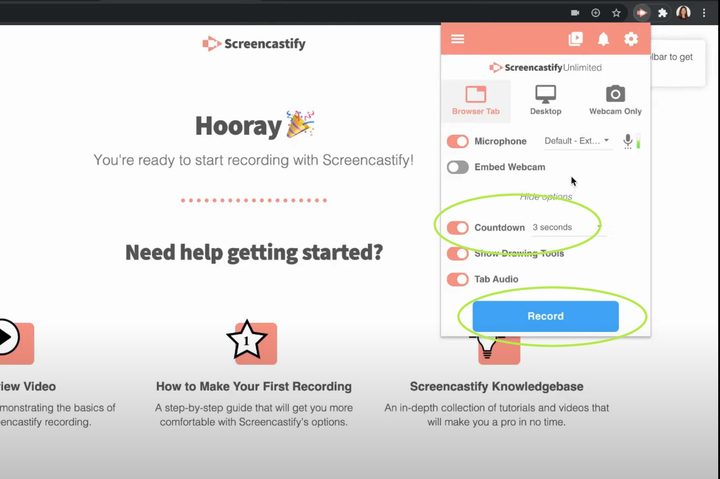
In the Screencastify window, you will also see an option to Show more options. Select this, and you will be able to set a countdown (3 to 10 seconds) before the video will start recording — or you turn this feature off. Set whatever countdown you prefer here. Other tools in this section let you enable drawing while recording, but these aren’t as important when first learning how to use the extension.
With your countdown set, select Record and start recording your screen.
Step 4: End recording and edit
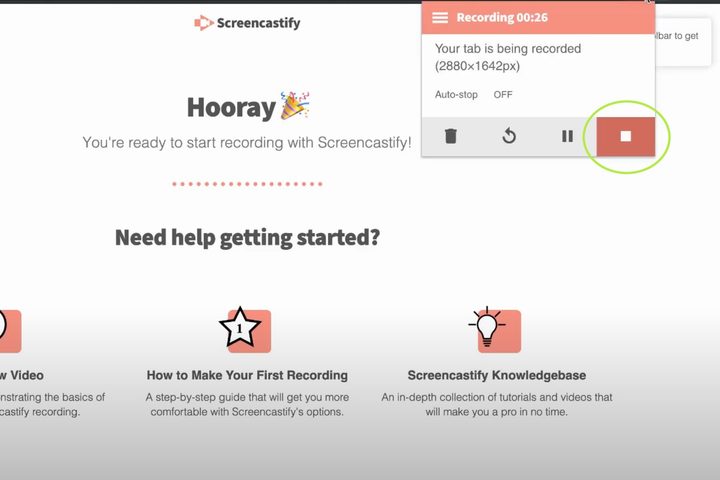
Whenever you are ready to finish the video, select the Screencastify extension icon again. This will now pop open a different window letting you know the recording is proceeding. Using the tools at the bottom, you can pause your video, roll it back, or delete altogether and start over. When you have a video you like, press the square Stop button to end the recording.
Screencastify will immediately take you to its own page for editing your video. You don’t have to edit anything if you don’t want to, but it’s a good idea to at least trim the ending and beginning a little to help out viewers. You also have options to draw on the video, merge and crop videos, and add text. All videos naturally save in full HD.
Step 5: Save and share your video
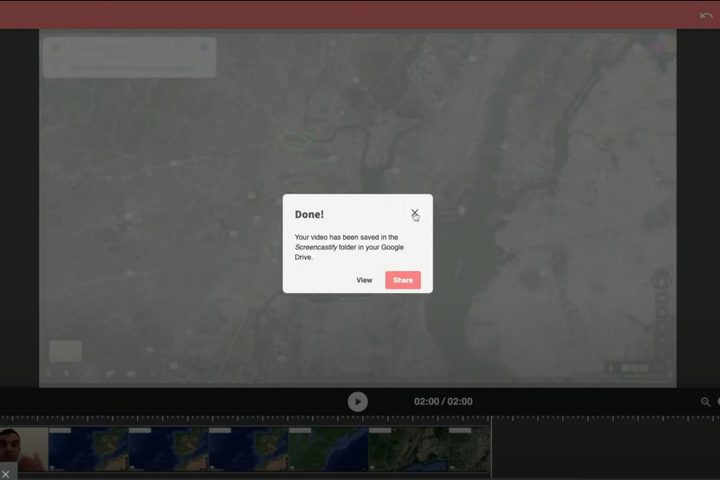
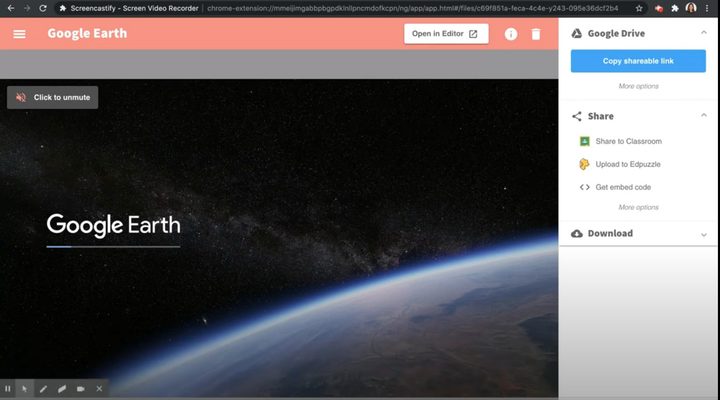
When you are finished editing, your video will be autosaved to Google Drive (if you signed in with you Google Account), and you’ll be given a Drive link you can share with others. You also have the option to download locally to your hard drive, publish immediately on YouTube, or share to Google Classroom. When exporting, you can choose between MP4 and MP3 formats, as well as an option to make the video a GIF.
Once your video is saved as you prefer, you can leave this page. You’re done! Repeat as needed.
Professional alternative: Nimbus
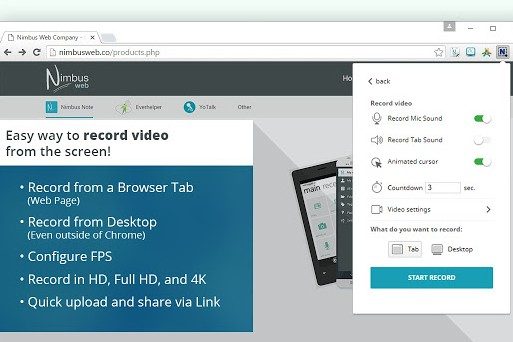
Screencastify is an excellent capture tool, but it’s not the best choice for everyone. If you’re looking for a tool with a bit more customization and versatility, take a look at Nimbus Capture instead. It has a broader set of features for recording and sharing screencasts and annotating or drawing on your video, plus a premium option that allows for cropping, publishing directly to YouTube, adding your own watermark, and converting WebM files to MP4 (among other things). The interface is a little smoother than Screencastify, and the extra options make it easy to add in screenshots and record other types of video as you work to put together a master production.
If you are planning more professional screen recording for creating classwork or developing advanced tutorials that you intend to sell or use to further your personal brand, Nimbus Capture is certainly worth your consideration. It may take a little longer to learn, but having a priced tier of extra features is great if you’re serious.


