
Apple’s iCloud Drive is a feature that demonstrates one of the key advantages of the company’s iOS and MacOS ecosystem: Connectivity between all Apple-powered devices. iCloud Drive synchronizes documents, files, folders, etc. to your Mac, iPhone, and iPad and gives you access to them at any time between any of these platforms.
Let’s take a look at how to use iCloud Drive and sync documents to all your devices.
Using iCloud Drive for a Mac and iPhone
iCloud Drive is compatible with Mac systems that have MacOS X 10.10 or later installed, while iOS devices require iOS 8 or later. iCloud for Windows, meanwhile, will work with Windows 7 or later versions.
For demonstration purposes, I will be syncing files and documents between a MacBook Air and iPhone.
Step 1: iCloud Drive will only work when you're signed in to your devices with your Apple ID. Sign in via System Preferences on a Mac and then select the Sign in button.

Step 2: In a Finder window, iCloud Drive will now show up below the Favorites section. In this example, I will be syncing two documents (Microsoft Word and PDF files). I’ve copied and pasted them into the iCloud Drive folder.
If you drag and paste it, it will remove it from its original location such as your desktop, so if you want it to remain there, copy and paste it instead.
Wait for the cloud symbol to disappear. While the symbol is still present, the file is still in the process of being synced.

Step 3: On your iPhone, open the Files app, and then select Browse. If the feature is not turned on, select the Turn on iCloud Drive button, and then select the grey iCloud Drive button.

Step 4: On the Files app, select iCloud Drive within the Locations section. The two documents I copied and pasted to the iCloud Drive folder on my Mac are now showing up on my iPhone.
You’ll need to select the iCloud download button when these files are synced in order to view them on your iOS devices. For example, the second file, a Word document, has a blue cloud icon adjacent to its name.

Step 5: There’s a range of customization options you can use to optimize and manage your documents/files within the iPhone’s iCloud Drive. For example, you can create a new folder, sort by name, date, size, tags, and more.

Syncing desktop and documents files to iCloud Drive
If you prefer to use a method where document files are synchronized automatically between your Apple devices, there’s an option to enable such a feature.
Step 1: Select System Preferences on your Mac, select Apple ID, and then select the options button within the iCloud Drive field. Choose Desktop & documents folders.
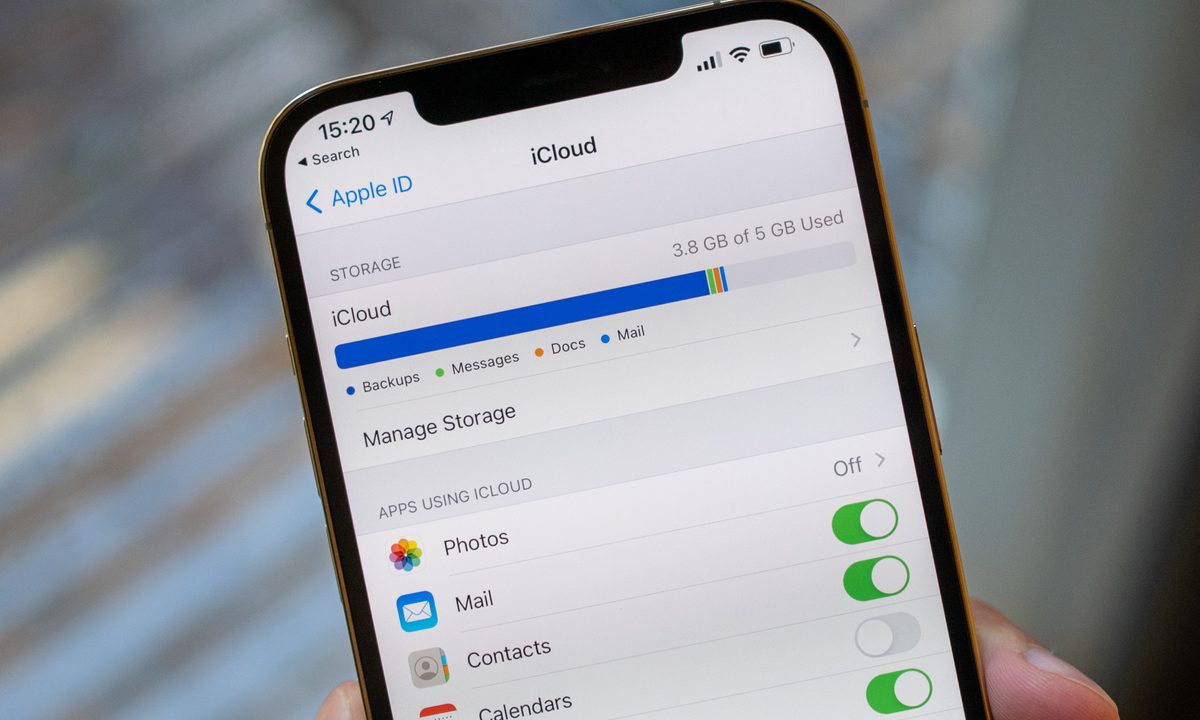
If you’re required to upgrade your iCloud account to a tier beyond the 5GB free option to accommodate the files within your desktop and Documents folder, then Apple will notify you as such.

Step 2: Select Done, after which all your files within your desktop and Documents folder on your Mac will begin synchronizing.
iCloud Drive tips
Step 1: Within the Apple ID section, select the Optimize Mac storage button if you want everything within your iCloud Drive account to be saved on your Mac.

Step 2: You can also have access to your iCloud Drive files even if your device(s) are offline. For example, you could want to view and edit certain files when you’re, say, traveling or simply don’t have access to Wi-Fi or a hot spot.
If you’ve synced files/documents from your iPhone, then on a Mac, click the iCloud Drive folder, select the file with the Control key, and then choose the Download now option.
Similarly, if you’ve synced documents via your Mac, then open the Files app on your iPhone, and then finally select the file to download it. If you do happen to modify a file in any way while you’re offline, your iCloud Drive will update that document with the changes once you’re connected to the internet again.
For more on iCloud, check out our guide on how to use iCloud for backups on your iPhone, iPad, or Mac.


