If you’re new to Battlefield games, Battlefield 1 is a solid place to start. It tweaks the class-based, big-team formula of previous games with its new setting and close-combat-oriented weapons. Any Battlefield game can appear a bit daunting, though, if you’re unfamiliar with how these games work — what with vehicles, horseback troops, giant zeppelins, and squad deployments.
There’s a lot to learn in Battlefield 1, but if you’re just starting out, these nine tips can help you get up to fighting strength in a hurry, while you get used to some of the nuances of the classes, the weapons, and the vehicles.
1. Play the campaign
Jumping right into a Battlefield 1 multiplayer battle, especially if you’re new to the series, throws you into the middle of battles with a bunch of unfamiliar weapons, and much more importantly, unfamiliar vehicles. Luckily, the single-player campaign for Battlefield 1 basically acts as a series of tutorials for different situations you’ll experience in multiplayer. Conquering the campaign will help you get acquainted with lots of the stuff you’ll find when you head into multiplayer, and let you cut your teeth on things you’ve never seen before.
You can play the campaign in any order, so hop in and get a feel for the aspects of the game that are most useful to you. One level is all about driving a tank, and another is largely about flying in a biplane — both of which are great for avoiding being the guy who immediately crashes a vehicle with teammates in it into a mountainside or a big muddy deathtrap. Other levels include a ride in an armored train that can show up in “Operations” matches, and a chance to try out the armored Sentry elite class that pops up in multiplayer. It’s worth your time to learn the ropes of these things in single-player, which can be so you’re ready to do some damage in multiplayer.
2. Learn how to use the four core classes
Most first-person shooters send you out into the fray to blast enemies, die, respawn, and blast enemies again, with little regard to what’s going on in the big picture of a battle beyond rushing to the next control point or backing up your teammates. Battlefield 1, on the other hand, leans into its class system pretty hard by making a few elements essential to certain battles.
For instance, in Operations fights, attacking teams have a limited number of respawns as they try to hold territory and advance across maps. So while Medics are useful all the time for keeping teammates in the fight by reviving them on the spot, they can be much more important for attacking teams to actually win the day. Every time a Medic revives a player instead of letting them respawn, it’s one fewer step toward defeat. Healing, too, is essential in these situations, especially as teams push up to take territory.
The same is true for the Assault, Support, and Scout classes — they’re extremely useful in a variety of situations. It can be tempting to focus on a single class and get very good with it, but Battlefield 1 is often about long-term, team-based victories. Players who can’t switch between the classes to meet their team’s needs are a liability, no matter how skilled they are. Pick the class that’s best for helping the team achieve victory, and if something’s not working, try switching and taking a different approach.
3. Choose your class based on where you’ll be fighting
Character classes are nothing new to the Battlefield series, but the classes in Battlefield 1 have been tweaked to make them distinct from one another than in previous games. Each one has a pretty specific job, and particular circumstances in which they are most effective.
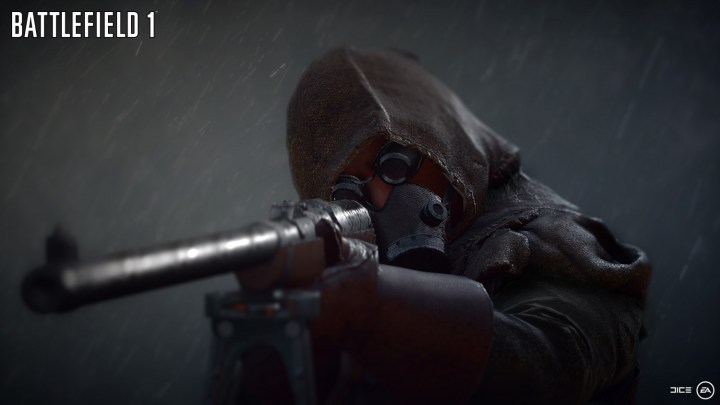
When you need a vehicle-buster, for instance, you want to go with the Assault class, which can carry anti-tank mines, dynamite, and a rocket gun that can thrash irritating tanks. But the Assault class has a relatively short range for fighting, so choose it will leave you vulnerable in big maps with long sightlines. For that kind of terrain, you might want a Medic, who carries longer-range rifles, or the Scout, which is “Battlefield 1” for sniper.
In any case, you’ll want to know how to best use these classes in all scenarios, and which loadout weapons work best for you. That takes practice, and the presence of mind to assess what went right (and wrong) in certain situations. The game also provides plenty of information about its weapons and where they’re effective, including how far bullets will travel before they lose speed or start to drop. Applying that knowledge to actually playing the game will help you figure out how best to beat lazy players who haven’t done their homework.
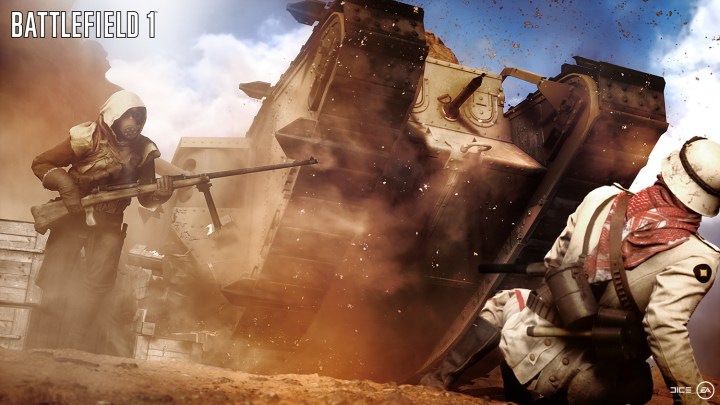
4. Grab a tank and bring some pals
Vehicles are a game-changer in some Battlefield games. Used effectively, they can hassle the other team to the point of frustration. Similarly, they can seriously screw up your ability to defend territory and, if left unchecked, can ravage your team and cost you a match.
The biggest problem with vehicles, though, is that players often run to grab them without thinking about how to use them effectively. Tanks, for instance, are not solo vehicles. Drivers will often hop in the driver’s seat and set off — without really considering the fact that, in Battlefield 1, tanks have two guns on each side and one gun in the rear. You can pack tanks full of players to turn them into bullet-spraying death machines, provided you have the players for it.
Once you’ve packed your tank with a few friends, make sure to use it in a way that takes advantage of all four guns. Tank drivers will often roll up into a control point and stop — leaving all their buddies on the side guns unable to target anybody while they fire the main gun into the crowd. Roll forward, park at angles, and think about how your teammates can be effective in the situation too. Otherwise, they might abandon the tank out of boredom and leave you vulnerable. When driving vehicles, don’t be selfish: think about how to help the team out. You’ll wreck other players much more easily.
5. Find the elite class drops and help teammates
Through the course of multiplayer battles, you’ll often hear the announcer say something like “There’s a Sentinel kit near your position.” It’s easy to ignore that information, but you shouldn’t — it means there’s an elite class loadout near you, and you should grab it if you can.

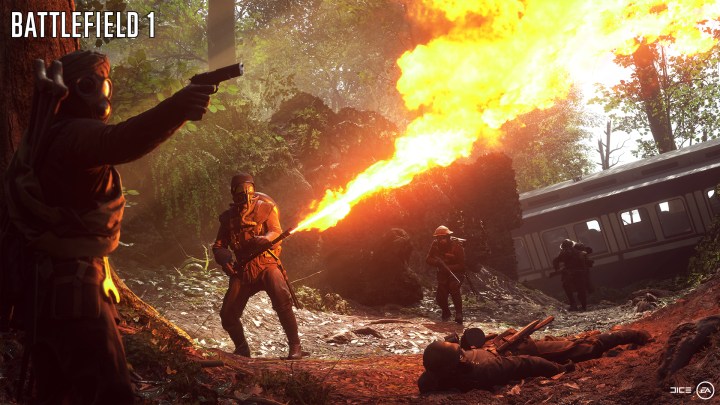
Elite classes offer advanced gear like flamethrowers, armor and submachine guns, and anti-tank weaponry. They’re pretty situationally specific, but can devastate your opponent if used at the right moment. Finding and equipping these classes make you extra hard to kill thanks to body armor, and if you know how to use them well, you can simply steamroll enemy players who are unequipped to deal with your particular brand of destruction.
For instance, in one match we saw a player on the other team rack up 69 kills with the Sentinel kit, which gives you extra armor and a double-barrel submachine gun that’s hyper-effective in close quarters. The secret: he forced us to engage him in a tight hallway at a bottleneck. Sentinels still take damage, but their body armor means bullets are much less effective against them, and their SMGs mow people down. The elite classes can ravage the battlefield, and are especially good for backing up your team in the right spots, like holding a control point with the flamethrower. When you hear the announcer advising you of an elite class loadout, don’t ignore it — and try not to waste it.
6. Stick close to teammates
More than most shooters, Battlefield 1 is not made for “lone wolf” players. Each multiplayer map starts with the ability to join a “squad” of other players, which allows you to spawn near specific teammates and marks them on your map. You get extra points for helping out your squad with heals and ammo as well. But the overall point of squads is to encourage you to avoid fighting alone, and with huge battles raging that have tons of players in them, you’re always going to be much, much more effective if you’ve got backup.

It can be tempting to run off on your own to try to capture a control point or to cut off an enemy path, but it’s essential to curtail that desire. Players die fast in Battlefield 1, and being alone makes you more likely to get picked off by someone you didn’t see, but who saw you. Meanwhile, much of the multiplayer experience in Battlefield 1 is about attacking and defending locations. You’re wasting your time in most instances if you try to go up against several enemy players. Worse, you’re hurting your team.
It seems obvious, but lots of players head into online battles never speaking to their teammates or really interacting with them. Try to avoid that, too. You don’t have to be barking orders to your teammates, but it’s essential to support them if you want to win. Stick with your squad, back up your teammates, and think about how you can achieve victory as a group.
7. ‘Spot’ enemies all the time
If you center your crosshairs on an enemy, there’s a button you can hit — RB on Xbox One, R1 on Playstation 4 and Q on PC — to “spot” the enemy. This is basically your character calling out the enemy to your teammates. Spotting an enemy marks them with an indicator that makes them easier to see, but more importantly, it grants that indicator to the rest of your teammates in the vicinity. Suddenly, everyone sees the guy you just watched climb up into a sniper position or who is sprinting across the battlefield to hit an unprotected control point.

Spotting is be an essential addition to your multiplayer repertoire and you should use it constantly. Enemies killed after you spot them award you extra points even if you had nothing else to do with their death. More than that, making other players more visible to your team heightens their awareness of the field, potentially allowing them to make better informed decisions.
In games where defending or attacking positions are important, pointing out the location of the soldier camping in a hard-to-spot corner will probably save some of your teammates from bumbling into an ambush. When you mark enemies coming in to flank, you get people to notice what they haven’t seen yet.
If your spotted target slips off, the indicator helps make them easier to pick up again, and that means more kills for you in general.
8. Check for Medics before respawning
This is another obvious one, but for players not used to class-based shooters, it’s easily overlooked. When you get dropped in the middle of a multiplayer match, you’ll have a few seconds to wait until you can respawn. During this time, you’re able to skip straight back to the map where you choose your next spawn point, but don’t do it — instead, check the indicators at the bottom of the screen that tell you if there is a Medic is nearby. If so, you’ll see a distance indicator that will tell you whether they’re approaching you or not. If they are, you want to be there, ready to go, when they arrive.

Hanging on for Medics can be very useful for winning team battles. Getting back into the fight after a death usually takes a pretty long time in Battlefield 1. If you can get back on your feet immediately, you give your team an advantage in a firefight, and in modes like Operations it can be useful to your team to avoid running out of respawns.
On the other hand, if you’ve got a Medic trying to come save you and you tap out, you basically leave that player exposed. Medics are usually risking their safety to save other players, and there’s nothing more irritating than trucking over the battlefield through gunfire to save a squaddie, only to have the whole endeavor turn out to be futile. If you’re killed in an unsafe place, you might want to tap out immediately to avoid encouraging some do-gooder to save you.
Whatever you do, don’t head back to the map just as an eager Medic arrives at your corpse. Do that and you probably just got a teammate killed for no reason, which is just plain rude.
9. Focus fire on the behemoths
In some game types, giant death machines called “behemoths” can appear to wreak havoc on your team. These include a huge flying zeppelin, an armored train, and a dreadnought battleship. While these vehicles seem indestructible, they’re definitely not — provided you put enough effort into bringing them down.

There’s a right way (or two) to take down each behemoth. Zeppelins, for instance, are tough to deal with because of their height, but with planes in the air you can ravage their capabilities by shooting at their gun-covered gondolas. Zeppelins are also seriously vulnerable to anti-aircraft guns, many of which are just mounted machine guns on the ground any infantry soldier can use. Figure out where they are and you can fire away, doing some serious damage.
Ignoring a behemoth because it seems out of your reach as an infantry player will only make your life harder. These things will bomb you, shell you, and blast you when you’re not paying attention. When and if one shows up, try switching classes and searching for weapons on the battlefield like field guns and mortars to strike back at them. It might take some time, but bringing down a behemoth can save your team from defeat.
Editors' Recommendations
- The next Battlefield game is in development with help from Dead Space studio
- How to unlock all Kameo Fighters in Mortal Kombat 1
- BattleBit Remastered: tips and tricks for winning the 245-player shooter
- FIFA 23 beginners’ guide: Tips and tricks to level up your soccer skills
- The Last of Us Part 1: best skill upgrades