
Mojang has continued to churn out Minecraft updates at a regular pace, allowing its community to thrive for over a decade. Along with Mojang, modders are constantly launching their own updates to the game -- the most exciting of which might be shaders.
Shaders don't add new gameplay elements or new mobs to fight. Instead, they give the blocky world of Minecraft a fresh coat of paint. And for a game that's not particularly known for its next-gen graphics, these shaders do wonders to modernize the experience.
Interested in checking out shaders? Here's a look at the best Minecraft shaders of 2024, along with how to install shaders using Optifine or via direct downloads.
How to install Minecraft shaders
As with any Minecraft mod, you’ll need to do a little work to get prepared before you start installing shaders. To install most Minecraft mods, you can use a mod manager called Forge, but for shaders and texture packs, you’ll want to use a tool called Optifine. On its own, Optifine introduces some handy fixes to Minecraft, including increasing its frame rate, but it’s also an easy way to get shaders to work. It's no longer strictly necessary in 2024, but it's still worth checking out.
Here's what you need to know before installing Minecraft shaders:
Step 1: To install Optifine, head over to its official website and download the latest version.
Step 2: Run the installer, which will add a new version of Minecraft to the Minecraft Launcher.
Step 3: Run the new version of Optifine Minecraft and you'll be able to play the game using any installed shaders.
Step 4: Shaders can easily be installed by:
Downloading a shader from your preferred source.
Dragging the installed file to the Shaderpacks folder in your Minecraft installation. This can be found by going to the Options section of your Optifine version of Minecraft, then clicking Video settings > Shaders > Shaders folder.
Once the shader is placed there, you’re good to go!
Step 5: Note that some shaders no longer require Optifine. That means you can simply download your preferred shader, load it on your PC, and have it automatically appear in your Resource Packs menu while playing Minecraft.
The best Minecraft shaders
Need some help finding the coolest shaders on the market? Here are a few of our favorites, ranging from dark and moody to colorful and vibrant.
Sonic Ether’s Unbelievable Shaders
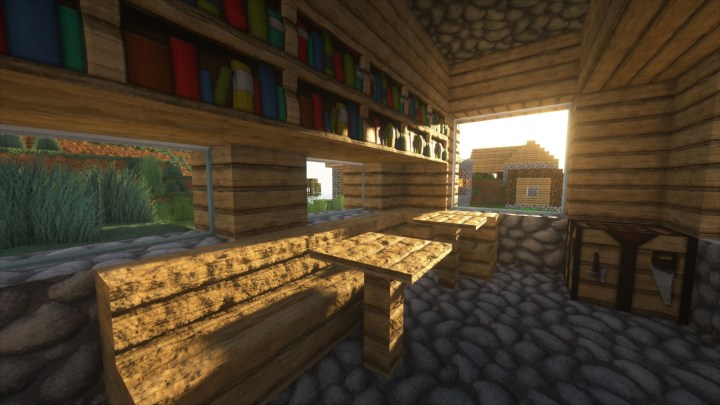
Minecraft players who have any experience with shaders have almost certainly heard of Sonic Ether’s Unbelievable Shaders already. SEUS was one of the earliest shaders to hit the Minecraft modding community, and it’s remained one of the most popular visual overhauls ever since for good reason. SEUS focuses on realistic lighting, favoring subtle effects over the wild colors and contrast some other shaders produce. There’s even a new experimental version that supports ray tracing on any Nvidia graphics card and another one designed to run without as much of a performance hit.
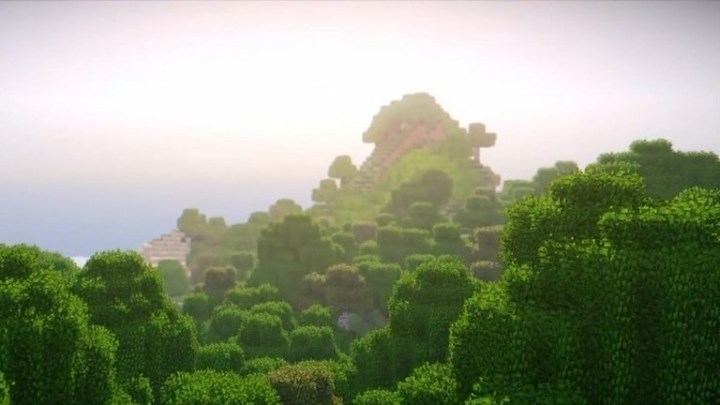
Continuum Shaders
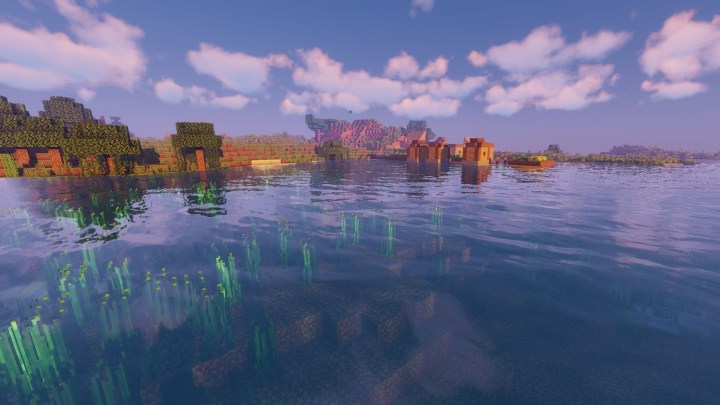
When it comes to photorealistic shaders for Minecraft, there’s really no way around it: Continuum Shaders are the best of the bunch. It packs every top-of-the-line visual enhancement out there into a single mod while keeping everything nicely balanced so it doesn’t just end up as a mishmash of pretty effects. With pristine water, realistic fog and clouds, unbelievable shadows, and vibrant but realistic colors, Continuum does everything right and is worth checking out even just to see how incredible Minecraft can look under the right circumstances. The downside — because there has to be one — is that it’s also one of the most resource-intensive mods around and is only really suitable for high-end machines. If you’ve got the gear for it, though, there’s even a fully ray-traced version of Continuum and a custom high-resolution texture pack built specifically for use with these shaders.
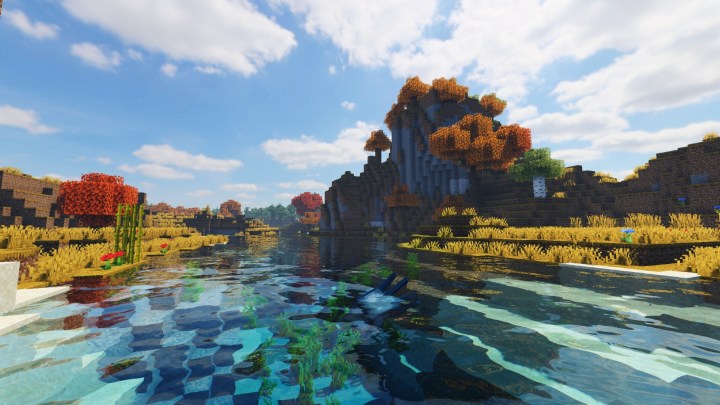
BSL Shaders
If you’re aiming for the most realistic graphics in Minecraft but your computer shrinks at the sight of Continuum, BSL Shaders might be the mod for you. Like Continuum, BSL Shaders offer the total package, adding depth of field, volumetric lighting, bloom, and pretty much any other fancy visual effect you can think of to completely overhaul Minecraft’s look. BSL Shaders would be easy to recommend in any case, but what really makes them stand out is that they do all that while still running remarkably well, so you can enjoy one of the most beautiful versions of Minecraft out there on a less powerful computer. BSL Shaders are so good that they should basically be the default shader choice for most players.
Sildur’s Vibrant Shaders
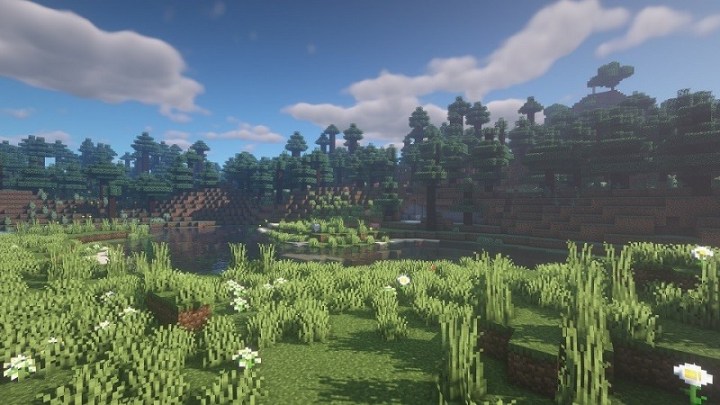
Many of the best Minecraft shaders aim for a natural look that enhances the game’s visual style without totally transforming it. Sildur’s Vibrant Shaders takes another route, loading Minecraft up with incredible effects until it almost looks like a different game. With blown-out lighting and saturated colors, Sildur’s Vibrant Shaders is one of the most intense graphics mods out there for Minecraft, so it may not be for everyone, but it’s also highly configurable for those who like the idea behind it but want to change things up.
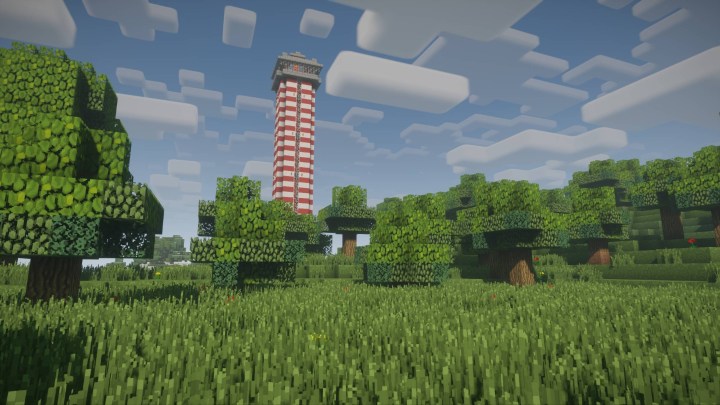
KUDA Shaders
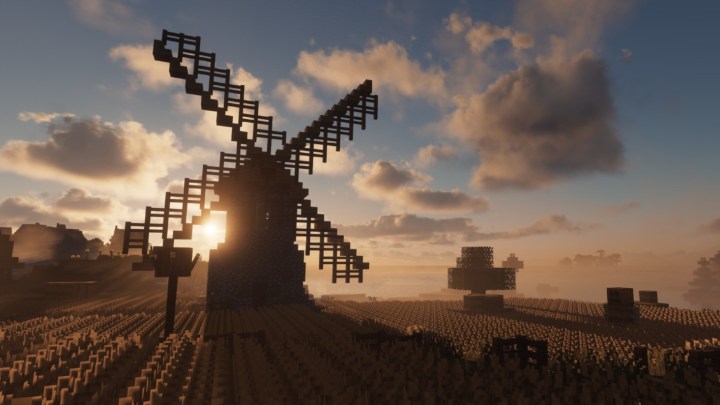
Another extremely popular choice, KUDA Shaders aim for a mostly realistic look, but there are a couple of areas where the mod really shines. This shader gives Minecraft’s colors a noticeable but not over-the-top boost, makes shadows more dramatic, and adds great water reflections, though there are other shaders that do that better. Where few mods can match KUDA Shaders is in the sky, thanks to the incredible clouds and atmosphere effects that make everything from sunrise to the full moon look absolutely incredible.
ProjectLUMA
If you notice some similarities between ProjectLUMA and the previous entry, KUDA Shaders, there’s a good reason for that. ProjectLUMA is officially the successor to KUDA Shaders, made by the same developer, so the mod shares a lot of the same aesthetic. It’s designed to provide the best-looking game with a minimal performance hit and without the visual effects being too overwhelming. It’s safe to say that ProjectLUMA succeeds on all fronts, delivering an incredible-looking game (including KUDA Shader’s signature skies) without dragging performance down too much.
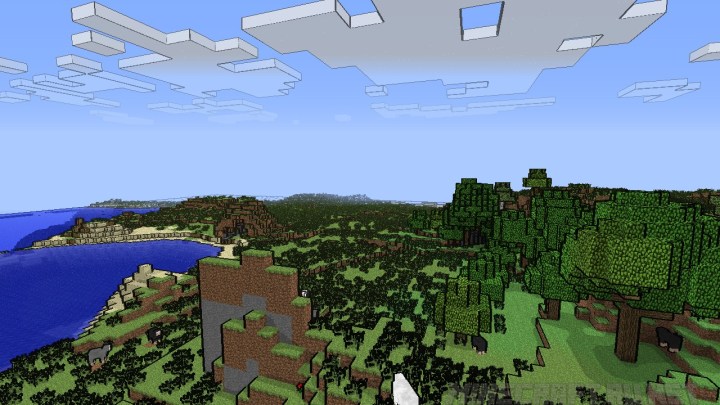
Nostalgia Shader
The Nostalgia Shader gives Minecraft its own unique signature style rather than portraying a realistic look. It does this by emphasizing its trademark blocky appearance and mimicking widely used decade-old shaders. It can be hard to add mods to Minecraft because it has such a distinct look, so the Nostalgia Shader is a great way to slightly change your game’s interface without totally altering it. It also has the benefit of being compatible with most machines because it lacks top-notch quality.

Chocapic13's Shader
While plenty of other shaders attempt to make the world look more realistic, Chocapic13 achieves this through much more subtle tweaks to lighting, shadow, clouds, and fog. This mod is especially popular with other modders because of how easily customizable it is. Even if you're not a modder, the simple ability to adjust the quality to match your PC's performance is a fantastic option to make sure you never drop frames.
Naelego’s Cel Shaders
Naelego’s Cel Shaders mod is different from the others on this list because it doesn’t just alter the look of Minecraft — it makes it look like a completely different game altogether. Instead of just livening Minecraft’s visuals, it provides cel-shaded effects with exaggerated, animated outlines around every piece of the game, similar to Borderlands. You may not always be in the mood to use Naelego’s Cel Shaders when playing Minecraft, but with the unique, truly individual appearance, you’ll want to keep it on hand just in case.
Editors' Recommendations
- The best iPhone emulators
- The best weapons in Fallout 4 and where to find them
- PlayStation Spring Sale: best deals, how long is the sale, and more
- How to get pets in Sea of Thieves
- How to get Ancient Coins in Sea of Thieves


