

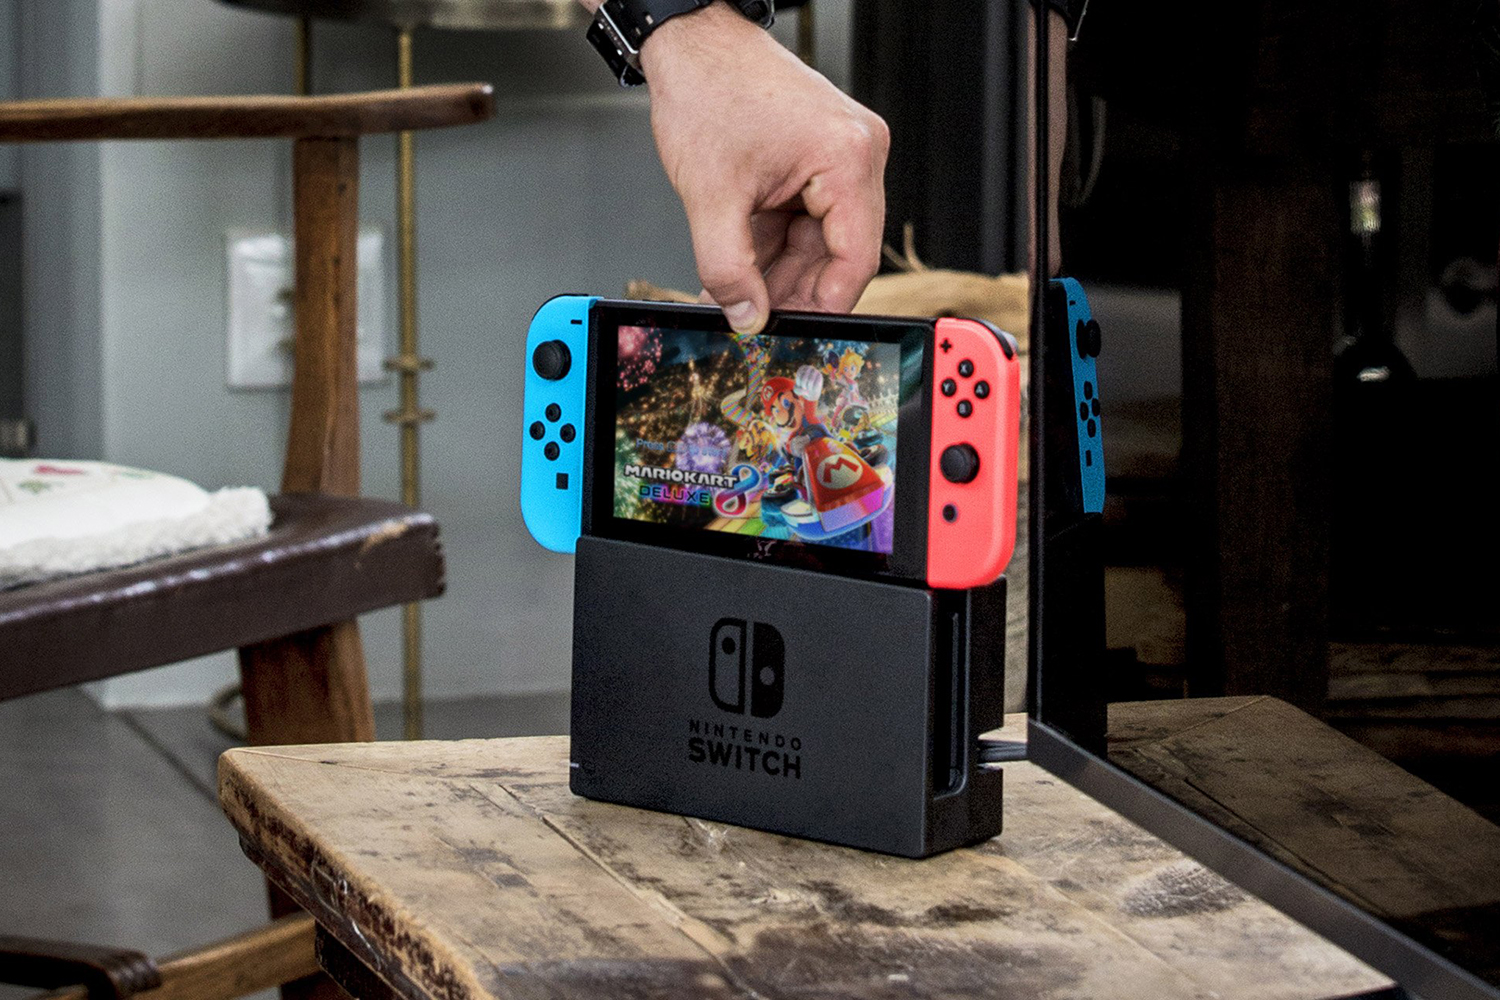
Nintendo’s newest console, the Switch, is the company’s most powerful device yet. With great power, however, comes great battery drainage. On the go, the Switch can provide between two and a half and six hours of play time (and slightly longer if you get the new Switch model that comes in a red box), with intensive titles such as The Legend of Zelda: Breath of the Wild hovering around three hours. The Switch’s battery can probably handle your daily commute, but for times when you’re away from an outlet for an extended period of time, you may want to pick up an external battery pack, which will extend your playtime.
- How battery packs work… most of the time
- Switch specifications
- Voltage, amperage, and wattage
- Charging while playing
- Capacity and physical size
- Connecting a pack to the Switch
- It’s hard to go wrong
- Recommendations
- GuliKit Power Bank
- RAVPower PD Power Bank
- Aukey USB C Power Bank
- Newdery Battery Charger Case — Switch Lite
Since the Switch hit stores, we’ve been testing external battery packs of all shapes, sizes, and specifications to find out which works best with the console. What we found was very strange. Battery packs that theoretically should have charged the Switch efficiently didn’t end up delivering impressive performance. Even veteran, tech-savvy shoppers may need a little extra help reading between the lines and finding a quality battery pack for keeping their Switches alive. Luckily, we’re here to help.
Here’s what we’ve learned, along with a few recommendations.
Further reading
- How to connect AirPods to your Nintendo Switch
- Everything you need to know about Nintendo Switch Online
- How to choose a MicroSD card for the Nintendo Switch
How battery packs work… most of the time

Battery pack efficiency is measured by voltage and amperage. Voltage is the amount of electrical force a pack outputs. Amperage, or amps, measures the strength at which the electrical force travels to the device. Multiply voltage and amperage, and you find the wattage, or power, of the battery pack. During our tests, however, the total power of a battery pack didn’t necessarily correlate with quicker charge times in sleep mode or while playing the Switch. Even though the results weren’t expected, we were able to find a baseline voltage/amperage to look out for when shopping for a battery pack specifically for your Switch.
Switch specifications
On the back panel of the console, the Switch’s power supply is marked as 15V/2.6A, which, when combined, equal up to 39 watts. The dock, however, said the console has an “input power” of 15V/2.6A, and an output power of 15V/1.2A (18 watts) is actually what we should be concerned with. What does this mean? It’s safe to say that the Switch draws the extra juice to power the display on your TV screen when docked, but that the battery repletes with the 15V/1.2A when docked. That’s what the console is using to charge the console when its docked in sleep mode, which charges the Switch in roughly three hours.
Voltage, amperage, and wattage
When picking a battery pack, the Switch’s on-board specifications matter — but not as much as you may think. Some battery packs feature a “quick charge” feature, which can be useful for smartphones and certain tablets. Typically, a quick charge designation features double-digit voltages. From our tests, the Switch is not quick-charge compatible, so a high-level voltage doesn’t necessarily guarantee faster charging.
There’s been a bit of confusion about what specifications will actually work with the Switch. Shortly before launch, Ars Technica tested the 5V/3A Jackery Titan S, and received only a percentage of juice every six minutes, and not enough to sustain the system’s life while playing. We also tested the Jackery Titan S and it worked fine for us, charging the pack fully in roughly three hours. We aren’t sure what factors, if any, could have contributed to the change in performance. For now, it’s conceivable that you and your friend could buy the same pack and see different results.
We recommend battery packs that output at least 5V/2.1A (10.5 watts). Our tests revealed this as the the baseline wattage necessary to charge your Switch, and can do so in 3-4 hours while the console is in sleep mode. Why 10.5 watts? We found that many packs outputting below that threshold, particularly those with multiple outputs, did not charge the console effectively.
As it turns out, hitting that charging threshold is really the only thing you need to worry about. Packs outputting above 5V/2.1A — thus greater than 10.5-watt — did not boost charging speed or efficiency, so buying a better, more powerful battery pack won’t make an impact for the Switch.
Bottom line: Any pack that supports 5V/2.1A should fully charge your Switch in under four hours while in sleep mode.
Charging while playing
In general, the Switch uses a lot of power in portable mode, so much so that charging the system while playing never yields perfect results. Thankfully, if you buy a battery pack with the recommended voltage/amperage, it should offer just enough power to keep the system chugging along. We found that, when plugged into a battery pack while playing, the Switch should gain between 1 and 2 percent charge every 10 minutes, even when playing a game as demanding as Breath of the Wild. Results will vary slightly from game-to-game, and if you have the display brightness cranked up, don’t expect the same charge rate.
It’s important to keep in mind, however, that using a battery pack while playing will limit the pack’s efficiency. Your Switch will use the energy from your battery more efficiently if you let your Switch take a nap while charging.
Capacity and physical size
The Switch has an internal, 4,310mAh (4,360mAh on the newer model) lithium ion battery. In order to fully charge your Switch with a battery pack, it’s a good idea to purchase a battery pack that can store a bit more than 4,310mAh, though. For instance, during our tests, multiple battery packs with 6,000mAh were able to fully charge the Switch, but the remaining charge that they provided was not exactly equal to what should’ve technically been left in the pack. While some battery packs may come very close to delivering the advertised mAh, actual usable capacity can fluctuate from pack-to-pack.
We don’t think you should worry too much about this, as we even tested a pack with 5,000mAh and it fully charged the Switch. Naturally, the bigger the battery, the more times over you can fully charge your Switch on a single battery pack charge. Still, to get a broad idea of how many times any given battery pack can charge the Switch, just divide the battery pack’s storage capacity by 4,310. For example, if you purchase a 10,000mAh battery, you can charge your Switch roughly twice.
Generally speaking, the larger the capacity, the bulkier the battery pack. You’ll have to decide which is more important — compactness or capacity.
Connecting a pack to the Switch

The Switch can be charged using its USB-C input. While some battery packs come with USB-C cables, many come with a microUSB cord or none at all. The easiest method of charging your Switch with a battery pack is with a standard USB-A to USB-C cord. It’s hard to find a battery pack that doesn’t come with at least one standard USB input. The Switch will also charge USB-C to USB-C if the battery pack has USB-C output, like the Jackery Titan S. Keep in mind that we didn’t find any noticeable difference in charging efficiency between USB-A to USB-C and USB-C to USB-C. Unless you buy a pack that comes with a USB-C charging cable, you’ll need to buy one separately.
It’s hard to go wrong
If you follow the aforementioned guidelines, it’s difficult to go wrong when choosing a battery pack for your Switch. Since charge efficiency remained similar across all the packs we tested with at least 5V/2.1A, the biggest factors to consider are mAh, physical size, and, naturally, price. A battery pack with extra inputs and quick-charge abilities isn’t worth paying extra for unless you plan on using it with other devices. If it has 5V/2.1A, and the appropriate mAh, you’re good to go.
Recommendations
While there are many packs that will work very well with the Switch, we’ve also provided a few specific recommendations from our tests: One small, one medium, and one high-capacity pack, as well as a pack for the Switch Lite. All of these products are currently priced well below their retail value on Amazon, so now is as good a time as any to scoop one up.
GuliKit Power Bank

- Capacity — 10,000mAh
- Output — 5V/3A
- Weight — 250 grams (8.8 ounces)
- Price — $39
- Time to fully charge — four to six hours
When the Switch first launched in 2017, it was harder to find battery packs with a capacity more than 6,000mAh. Now that technology has evolved, the standard seems to have shifted to around 10,000mAh for battery pack capacity. The one listed above is the GuliKit Power Bank, which can charge your Switch in six hours and can extend the system’s battery life by up to 12 hours. What’s great about this pack is that it’s designed with the Switch in mind and can clip onto the back of it for ease of use. You can use it on other devices, too.
RAVPower PD Power Bank

- Capacity — 15,000mAh
- Output — 5V/3A
- Weight — 278. 5 grams (9.8 ounces)
- Price — $33
- Time to fully charge — three to four hours
For our mid-range choice, we have to recommend the RAVPower PD Power Bank. It’s compact, universal, and will charge your Switch in around four hours. This model includes 15,000mAh, giving you nearly four full charges of your Nintendo Switch. It’s also affordable, coming in at around $33. What’s great is its LED screen shows you its battery percentage, so you never have to guess how much longer it’ll last.
Aukey USB C Power Bank

- Capacity — 20,000mAh
- Output — 5V/3A
- Weight — 435 grams (15.3 ounces)
- Price — $40
- Time to fully charge — up to 10 hours (typically around six)
This power bank is essentially a beefier version of the one listed above. The Aukey USB-C Power Bank offers a capacity of 20,000mAh, giving you nearly five full charges for your Nintendo Switch. It’s flat and compact as well, and it offers an LED indicator to show the battery level. You can plug USB-C or USB-A into this pack, making it fairly universal for most modern electronics, not just the Switch.
Newdery Battery Charger Case — Switch Lite
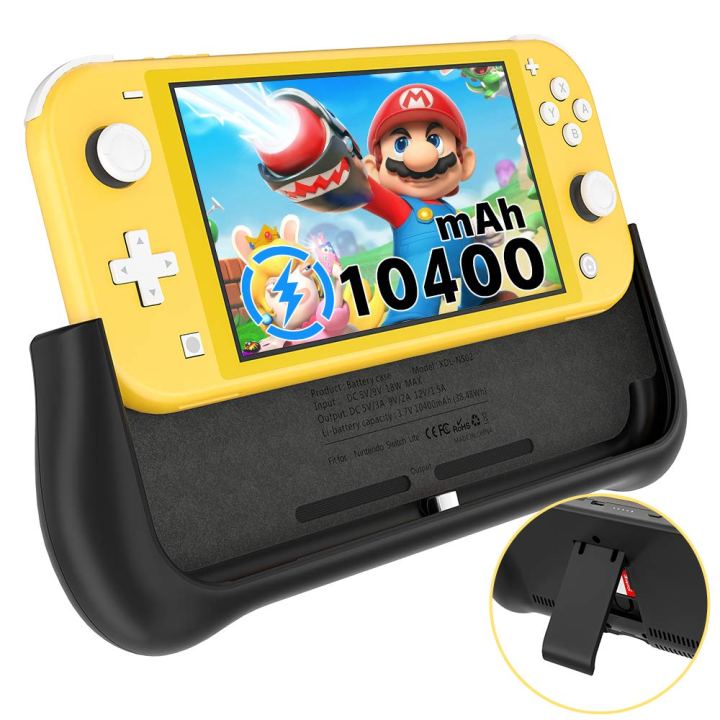
- Capacity — 10,400mAh
- Output — 5V/3A
- Weight — 198 grams (7 ounces)
- Price — $40
- Time to fully charge — around two hours
The Switch Lite launched last year and has found its way into the homes of many. If you’re looking for an extra boost in battery life, we recommend Newdry’s Battery Charger Case, which can double your playtime depending on the game. This not only serves as a battery pack, but will moderately protect your Switch Lite, too. Keep in mind, this battery only works for the Switch Lite.
Editors' Recommendations
- The best cozy games
- Nintendo Switch 2: release date rumors, features we want, and more
- Best Nintendo Switch deals: consoles, games, and accessories
- All upcoming Switch games: 2024, and beyond
- These are the 10 best gaming PCs I’d recommend to anyone


