Diablo III is not the same game that it was when it launched in 2012. The new Reaper of Souls expansion adds a healthy amount of content, but it’s not just that. There’s also Blizzard’s Loot 2.0 update, which amounts to a foundational change on multiple levels. For one, the Auction House in the PC version of the game is gone. More than that, the game’s approach to difficulty settings has been completely re-engineered, as have the under-the-hood mechanisms that handle loot drops.
Reaper of Souls is a paid add-on, but Loot 2.0 – which is arguably even more vital to the shifted flow of the game – is completely free. We’re going to take a look at both in this guide, to help you re-acclimate to the new face of Diablo III while taking advantage of the nifty new features that the expansion pack introduces. This is still a fresh release, and we’re still getting the hang of some of the systems. Expect this guide to change and evolve over time. If you’ve got any tips, please do share them in the comments below!
Note: This guide focuses specifically on the PC version of the game. The Reaper of Souls expansion will be coming to consoles eventually, but the console version of Diablo III has its own re-worked loot system and difficulty settings. Those changes set the stage for the PC’s Loot 2.0 update, but there’s been no confirmation of plans to integrate them on the console side.
Dealing with the new difficulty settings
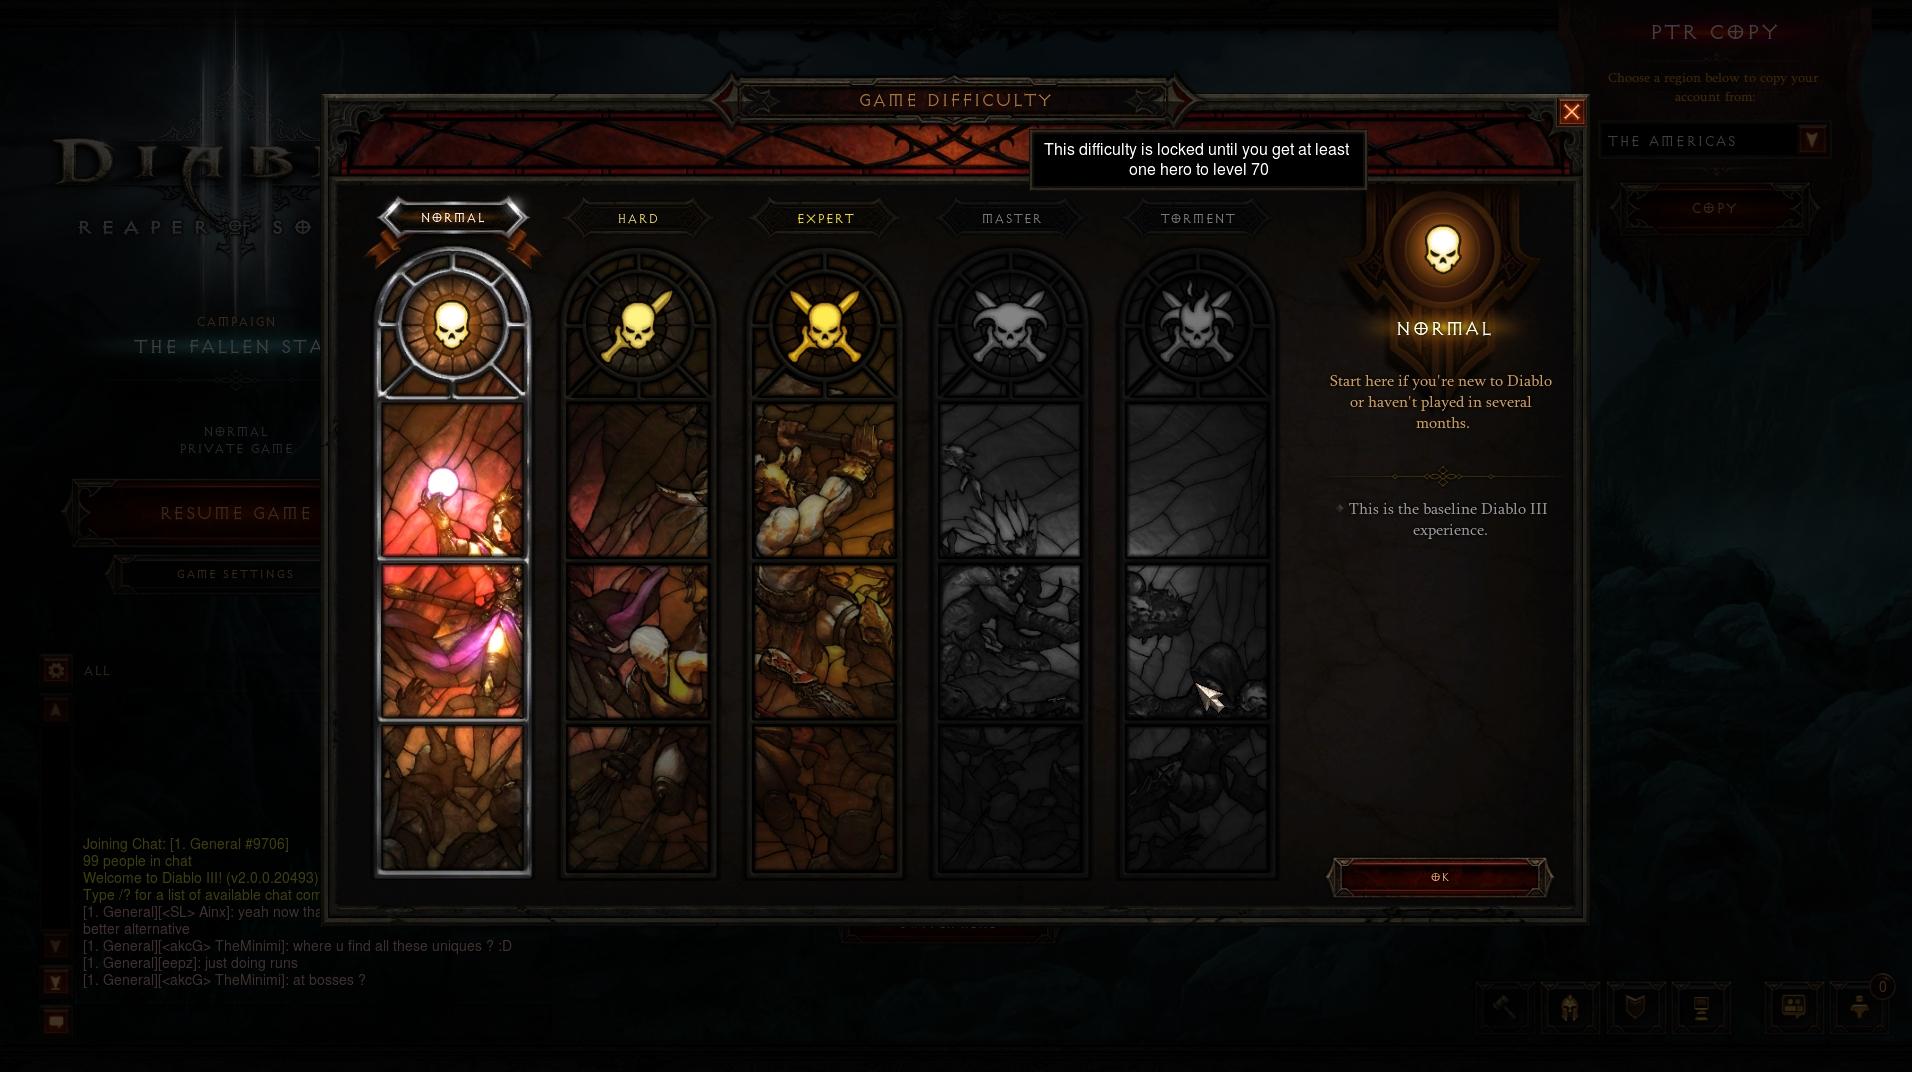
The days of Nightmare, Hell, and Inferno difficulty settings are over. The pre-Reaper update to Diablo III replaced the familiar old-style settings with a completely new set that falls closer in some ways to what Blizzard did with the console version of the game. The lowest setting is now Normal, and it’s followed (in order) by Hard, Expert, Master, and six levels of the new Torment setting.
Every difficulty after Normal boosts both the total health and damage dealt by enemies, while also improving your XP gains and gold drops. The higher settings also carry the promise of better gear, with certain Legendary items that only drop when you’re playing on the Torment difficulty. Here’s a full rundown of the challenges and bonuses that await at each difficulty (per Blizzard):
| Normal | Enemies have 100% health, do 100% damage. No XP or gold drop bonuses. |
| Hard | Enemies have 200% health, do 130% damage. XP gains and gold drops both boosted by 75%. |
| Expert | Enemies have 320% health, do 189% damage. XP gains and gold drops both boosted by 100%. |
| Master | Enemies have 512% health, do 273% damage. XP gains and gold drops both boosted by 200%. |
| Torment I | Enemies have 819% health, do 396% damage. XP gains and gold drops both boosted by 300%. |
| Torment II | Enemies have 1,311% health, do 575% damage. XP gains and gold drops both boosted by 400%. |
| Torment III | Enemies have 2,097% health, do 833% damage. XP gains and gold drops both boosted by 550%. |
| Torment IV | Enemies have 3,355% health, do 1,208% damage. XP gains and gold drops both boosted by 800%. |
| Torment V | Enemies have 5,369% health, do 1,752% damage. XP gains and gold drops both boosted by 1,150%. |
| Torment VI | Enemies have 8,590% health, do 2,540% damage. XP gains and gold drops both boosted by 1,600%. |
Generally speaking, you’ll want to feel out the difficulty based on where your character is at. The higher settings feel much more forgiving than Nightmare/Hell/Inferno were, meaning even a low-level player might want to consider Hard or even Expert to speed up the leveling. You’ll need to play a little more carefully of course, but the new difficulty system is designed to help players maximize the time they spend grinding. Experiment to find your own sweet spot, and don’t be afraid to raise or lower. You can notch the difficulty up or down one level from where you started when you’re in-game, but changing it any more than that needs to be done from the main menu.
Understanding Loot 2.0
The term “Loot 2.0” refers to a vast number of changes made to the underlying systems in Diablo III that govern equipment drops. It’s meant to re-balance the game in the absence of the Auction House, which allowed players to buy and sell gear they’d collected. The most dramatic change is the introduction of smart drops, which tailors loot to the class you’re playing as. You won’t always see wands and staves falling if you’re playing as a Wizard, but you’ll see a lot more of them, and a lot fewer class-specific items for others with the new update.
Drop rates have also been tweaked; you’ll see fewer item drops, but what does drop will be of greater value. That means higher stat gains in general, a new breakdown between Primary and Secondary effects (which essentially means magical gear with more enhancements attached), and a bumped up drop rate on Legendary items specifically. The cost of crafting and upgrading gems is also much cheaper than it was before.
 With Legendary items, there’s another new feature the significantly enhances the value of these rare and powerful items. A whole new set of Secondary effects appears on some – though not all – Legendary gear to make it feel unique in some way. So you might find boots that increase your movement speed proportionately as your health dips lower. Or you might find a mace that causes enemies to explode when killed, doing damage equivalent to some multiplier applied to what you’d normally earn from “Life Per Kill” bonuses. We’ve encountered both of these, and a handful of others, and they really help your form attachment with some of that hard-earned gear.
While it’s not strictly part of the “Loot 2.0” heading, the same patch that tweaked Diablo III‘s gear distribution also added a new feature: Pools of Reflection. They look just like the red liquid-filled healing pools that you find in boss arenas, only they’re filled with yellow liquid. Interact with one and you get a 25-percent XP gain boost until you’ve earned a certain amount, marked on your XP meter. Look for the little orange dot on the XP meter, which is just below the hotkey bar, to see how much more experience you’ll earn with bonuses before your gains return to a regular rate. Note that these pools can stack multiple times, so don’t be afraid to use one if you’ve still got boost left from a previous one.
To Diablo and back with the Crusader
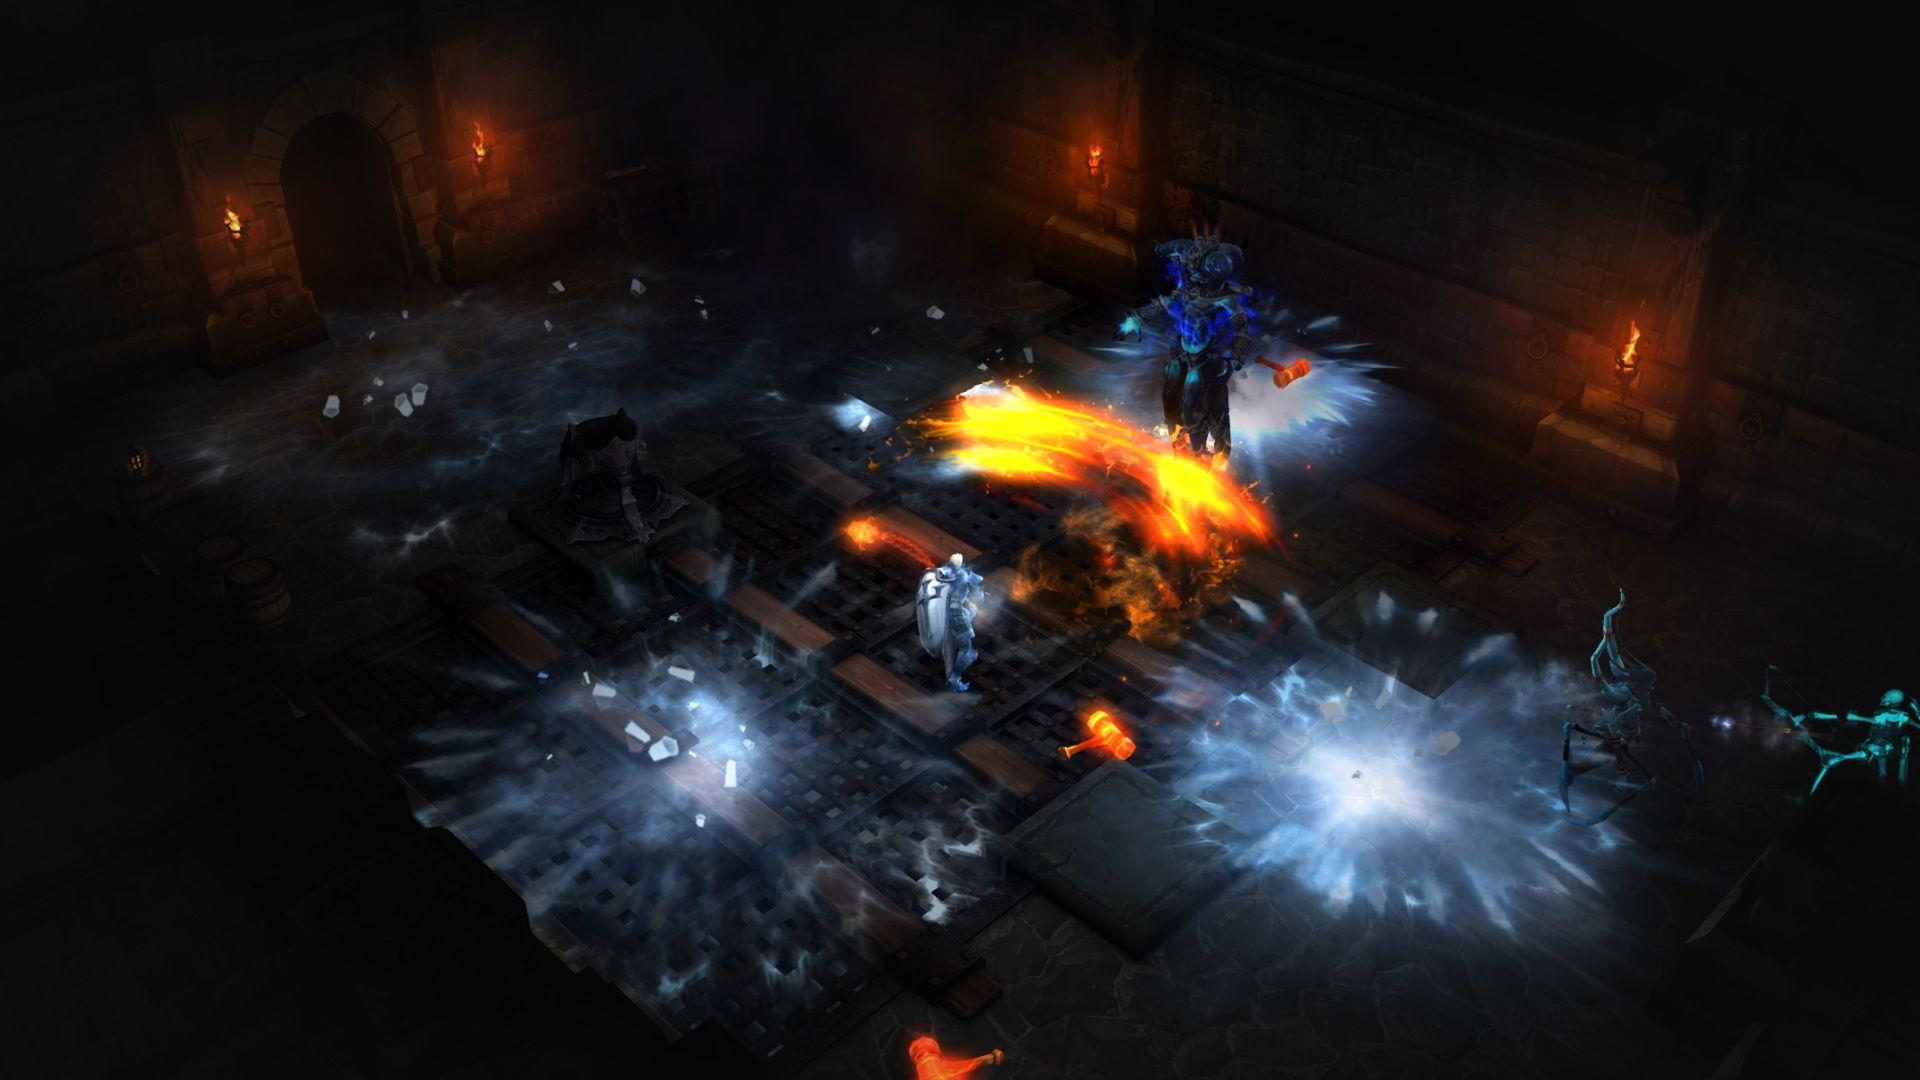
Now we’re getting into Reaper of Souls content. The Crusader is the expansion pack’s new class. We’re still grinding out levels and getting a sense of how this holy warrior plays best in the later game, but early on the Crusader excels as a hybrid tank/DPS class that functions best at close ranges. You’ve got high HP and armor to soak up plenty of enemy damage, but you’ve also got melee attacks and mid-range castings that dish out lots of pain.
 The Crusader feels like a solid choice for solo play, especially once you’re far enough into the game to have unlocked followers (read: Templar). It’s a useful class for crowd control, since many of the medium-range attacks have some kind of area-effect. Again though, our Crusader playthrough is young and we’re still learning the nuances of the class. You can level him up quickly if you use another hero to unlock Adventure Mode and just pursue Bounties there (more on Adventure Mode below).
It’s best to look at your run to level 60 as a sort of training mode, where you unlock all of a class’s skills and most of its skill-enhancing Runes. Make sure you experiment, and make sure you go to the Options menu and turn on Elective Mode, which frees you to assign any skill to any hotkey.
Try out everything. The Crusader is a powerful class. Justice is a very powerful Primary, especially once you’ve got some runes for it. Blessed Hammer is a great secondary; spam it to create hammers that spiral outward from your character, damaging anything they touch. It’s especially useful once you unlock the lightning rune, since you’ll damage enemies with both the hammers and the bolts of electricity that arc between them and your hero.
Plowing through Act V…

Some players may prefer to take their time, really exploring every nook and cranny of Reaper of Souls‘ new fifth act. If story’s a big deal for you in Diablo III, then sure, take your time. For most though, Act V is just a barrier to trying out all of the new late-game content in the add-on. While it might be tempting to roll an entirely fresh character and cruise through the whole story as the Crusader, we’d recommend that you first demolish Act V using whichever hero you’ve completed the game with.
There’s no real strategy for taking on the new act; if you’ve beaten the game already, you know how this works. All of the environments in each scripted location are randomized. Certain enemy types and dungeon entrances will always be there, but their locations, along with the location of any exits or other points of interest (such as sidequests) change each time you load up the game. Just kill everything you see, complete the objectives listed on the right side of the screen, and sooner or later, you’ll be done. Simple.
…to get to Adventure Mode!
Adventure Mode is one of the most exciting new additions that Reaper of Souls brings, allowing you to play through what amounts to a remixed take on Diablo III. You can access any location from anywhere at anytime, and while you earn XP, gold, and gear from any fighting, there’s also a whole set of ever-changing goals that are specific to the mode. Adventure unlocks once you’ve completed Act V with just one of your heroes. After that’s done, you can access the mode with any of your characters by opening up Game Settings from the main menu. You’ll see two giant buttons on the left side of the screen, for Campaign and Adventure; you can’t possibly miss them.
All of the main fast travel Waypoints from each campaign act are unlocked in Adventure Mode, and you can warp to them from literally anywhere. Just press M to open up your map, find the Waypoint you’re looking for, and click it. You can still interact with physical Waypoints in the world as well to bring up the fast travel map, but there’s really not much point to it anymore.
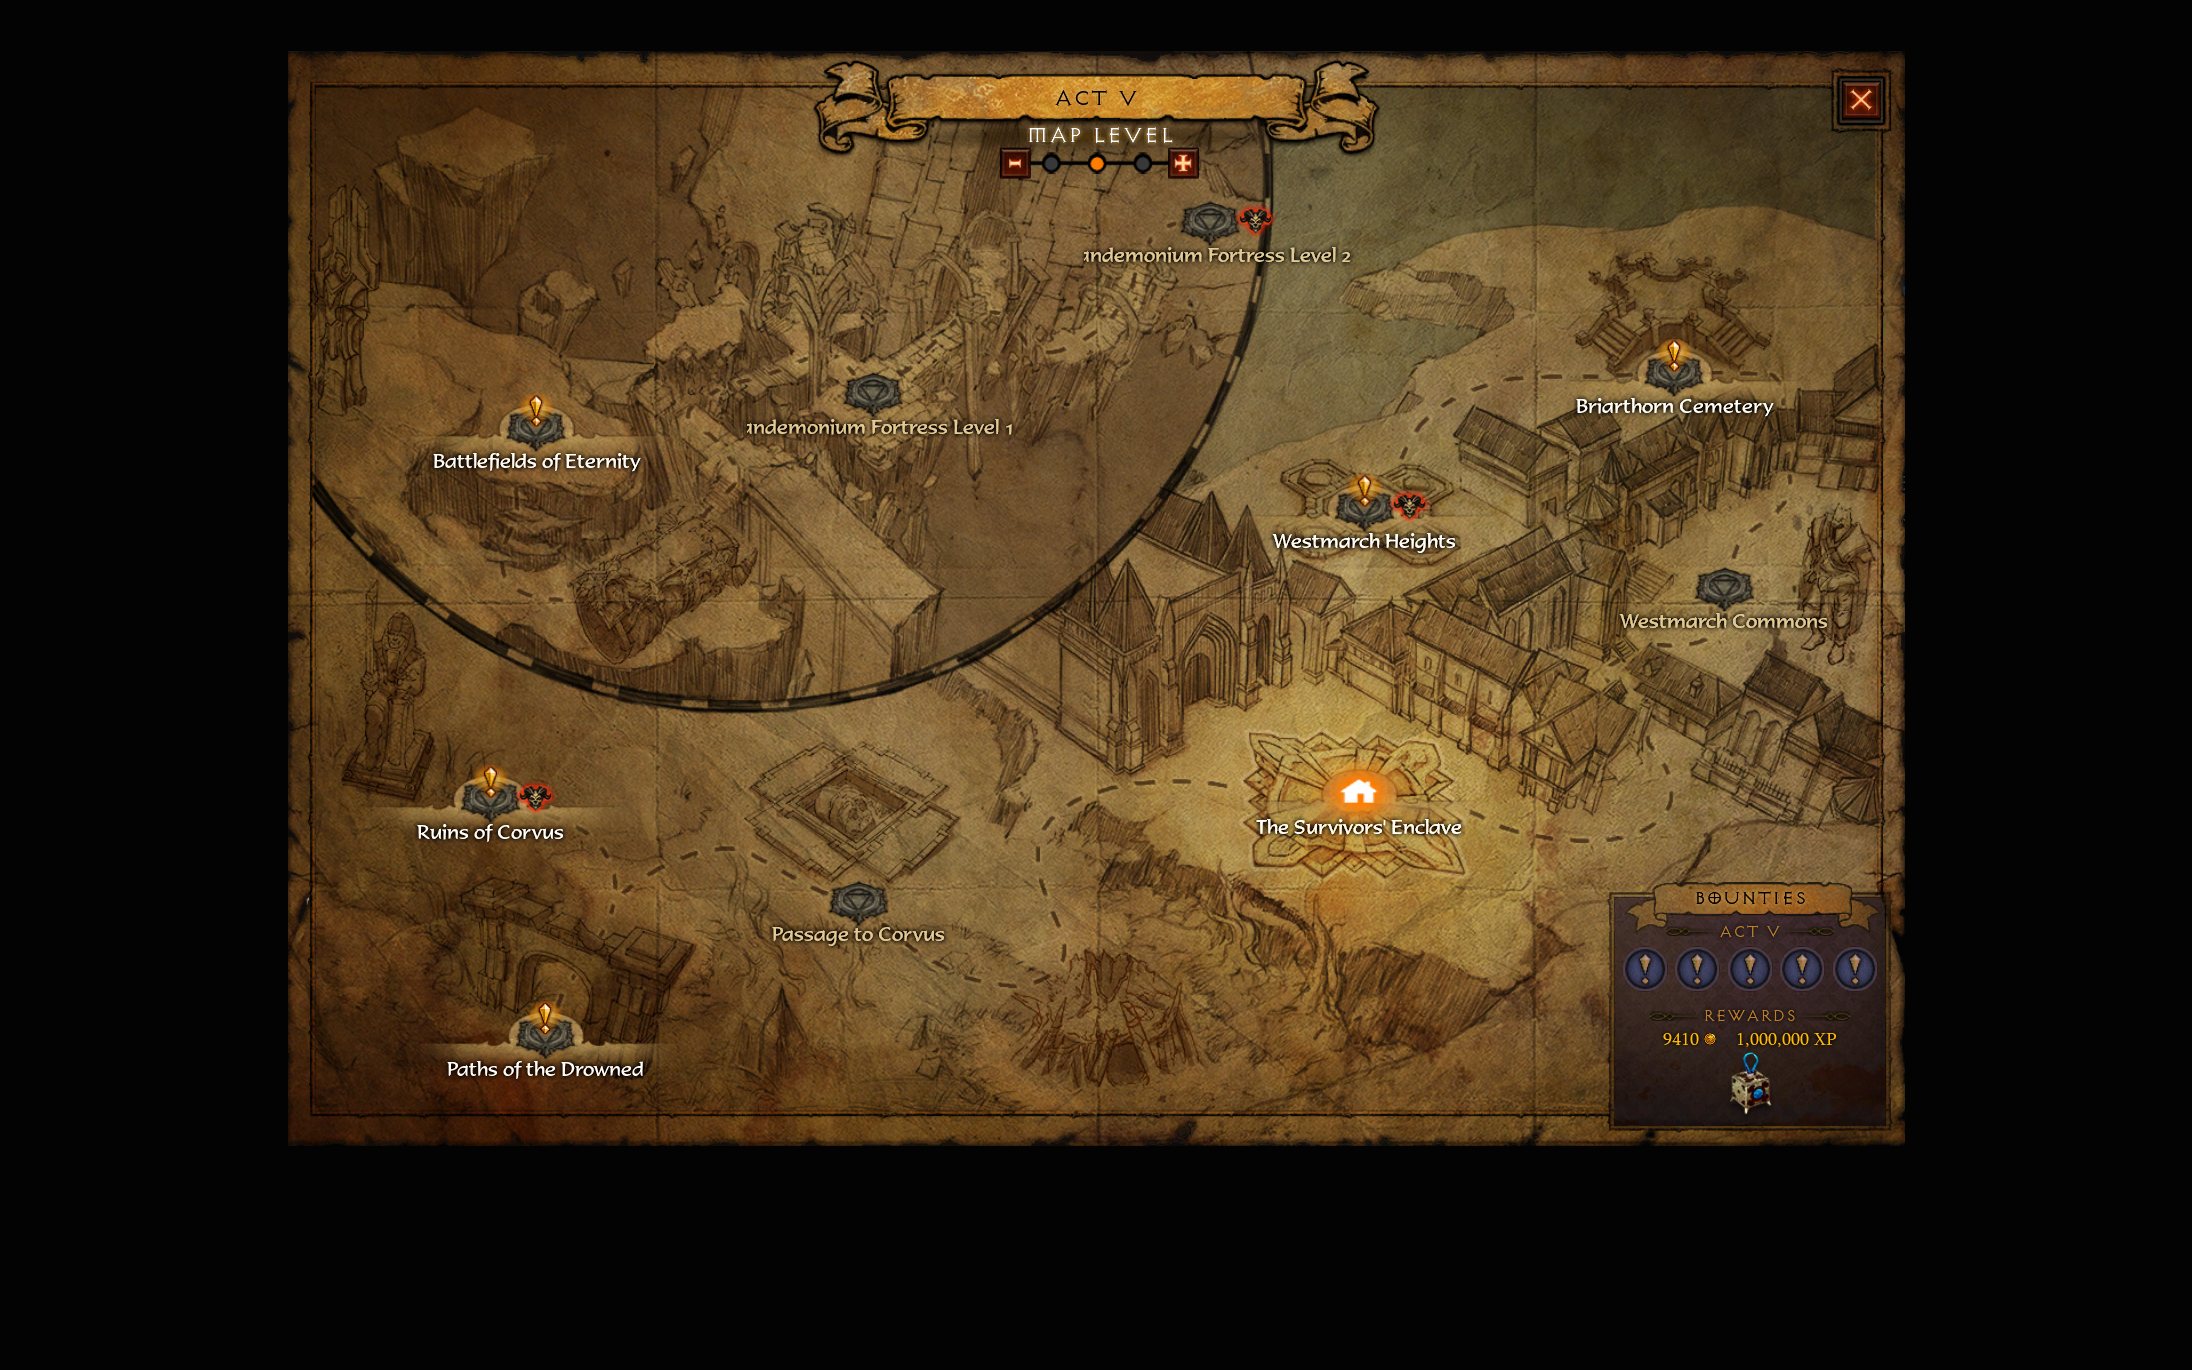
 The map is your guidebook to Bounties, which is the heart of everything you do in Adventure Mode. Each act’s map has five Bounties associated with it; these are completely randomized, resetting every time you load the game up, and they could involve anything from killing a boss to completing an in-game event, such as a sidequest. If you look at an act map’s Waypoints, you’ll see that some are marked. Hover over those to get a Bounty description. You can also get the same information by hovering over the circled question marks in the meter at the bottom right corner of the screen.
You can zoom out of an act’s map by hitting the button at the top of the screen, right in the center. This brings you to a map of the world, with icons denoting each of the game’s five acts. Hover your mouse over one of these and you’ll see a list of the five Bounty descriptions for that act. You’ll also see any bonuses rewards connected to the act. So far, we’ve only seen bonuses attached to two acts at any given moment, and the bonus is always double Blood Shard gains for your party (more on those below).
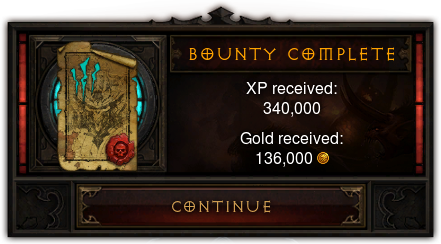
Complete a Bounty and you nab a hefty gold and XP reward, as well as some Blood Shards and a Rift Keystone Fragment. This last item is needed for taking on the other major new addition in Reaper of Souls, Nephalem Rifts. Generally speaking, it’s best to stick to completing all of the Bounties in a given act. Not only do you get the rewards for each Bounty completed, you also get a larger act-specific reward that includes a Horadric Cache. Speak to Tyrael in the act’s town when you’ve completed a Bounty set and this mystery box will be deposited in your inventory; right-click to open it and you’re rewarded with a random assortment of loot.
Tripping the Nephalem Rift
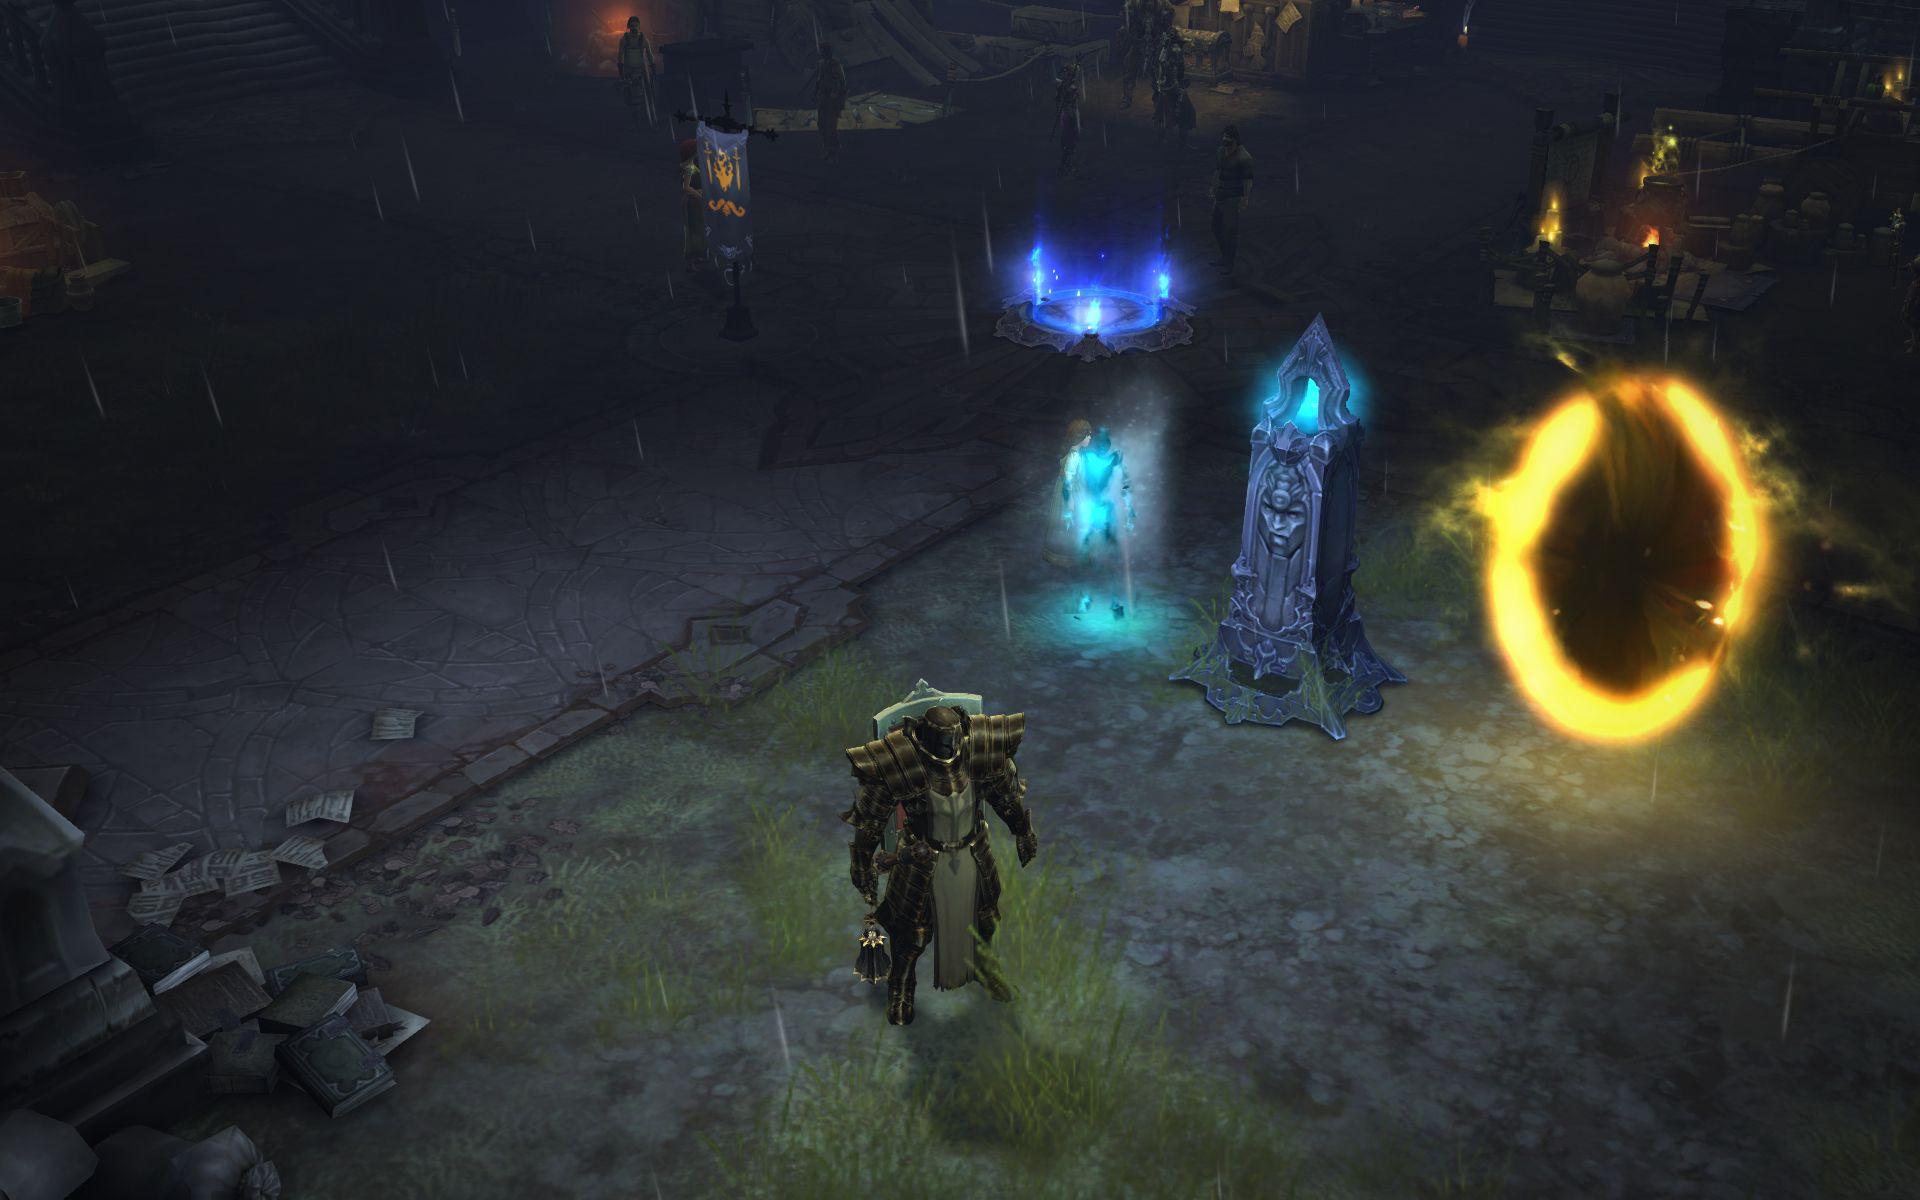
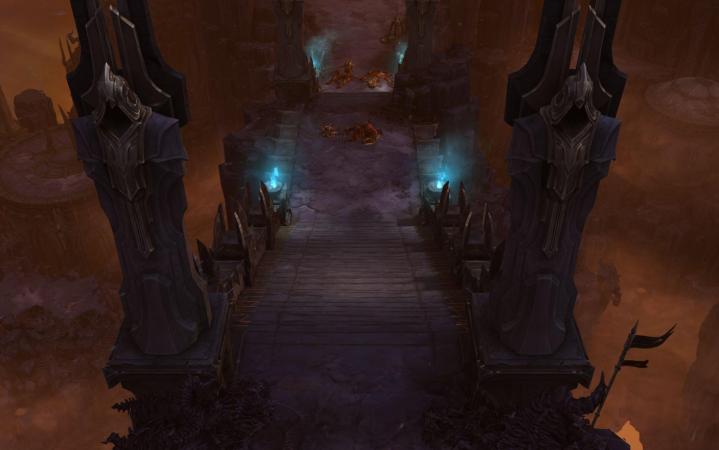
Nephalem Rifts are completely randomized dungeons that you need Rift Keystones to unlock. You’ll need to spend five Keystone Fragments to unlock one. Once you’ve got the right amount – doesn’t matter if they’re in your stash or your inventory – you crack open a Rift by interacting with one of the obelisks that only appear in Adventure Mode, right near the Waypoint of each act’s town.
You never know what you’re going to get when you step into a Rift. The randomizer working behind the scenes assembles a series of levels that apply tweaks to existing campaign assets. This impacts everything from weather and time of day to visibility and monster distribution. You can generally expect to find more Elites and Champions in a Rift than you would at other points in the game. A Nephalem Rift is typically spread across multiple levels, but your goal isn’t to reach some “end” point.

Instead, Nephalem Rifts are all about killing enough enemies to summon the Rift Guardian, a powerful boss creature (also random, with random attributes, all pulled from the game’s rogue’s gallery). Whenever you’re inside a Rift, a meter is visible on the right side of the screen. As you kill enemies, the meter fills up. Once it’s at 100-percent, the Rift Guardian appears.
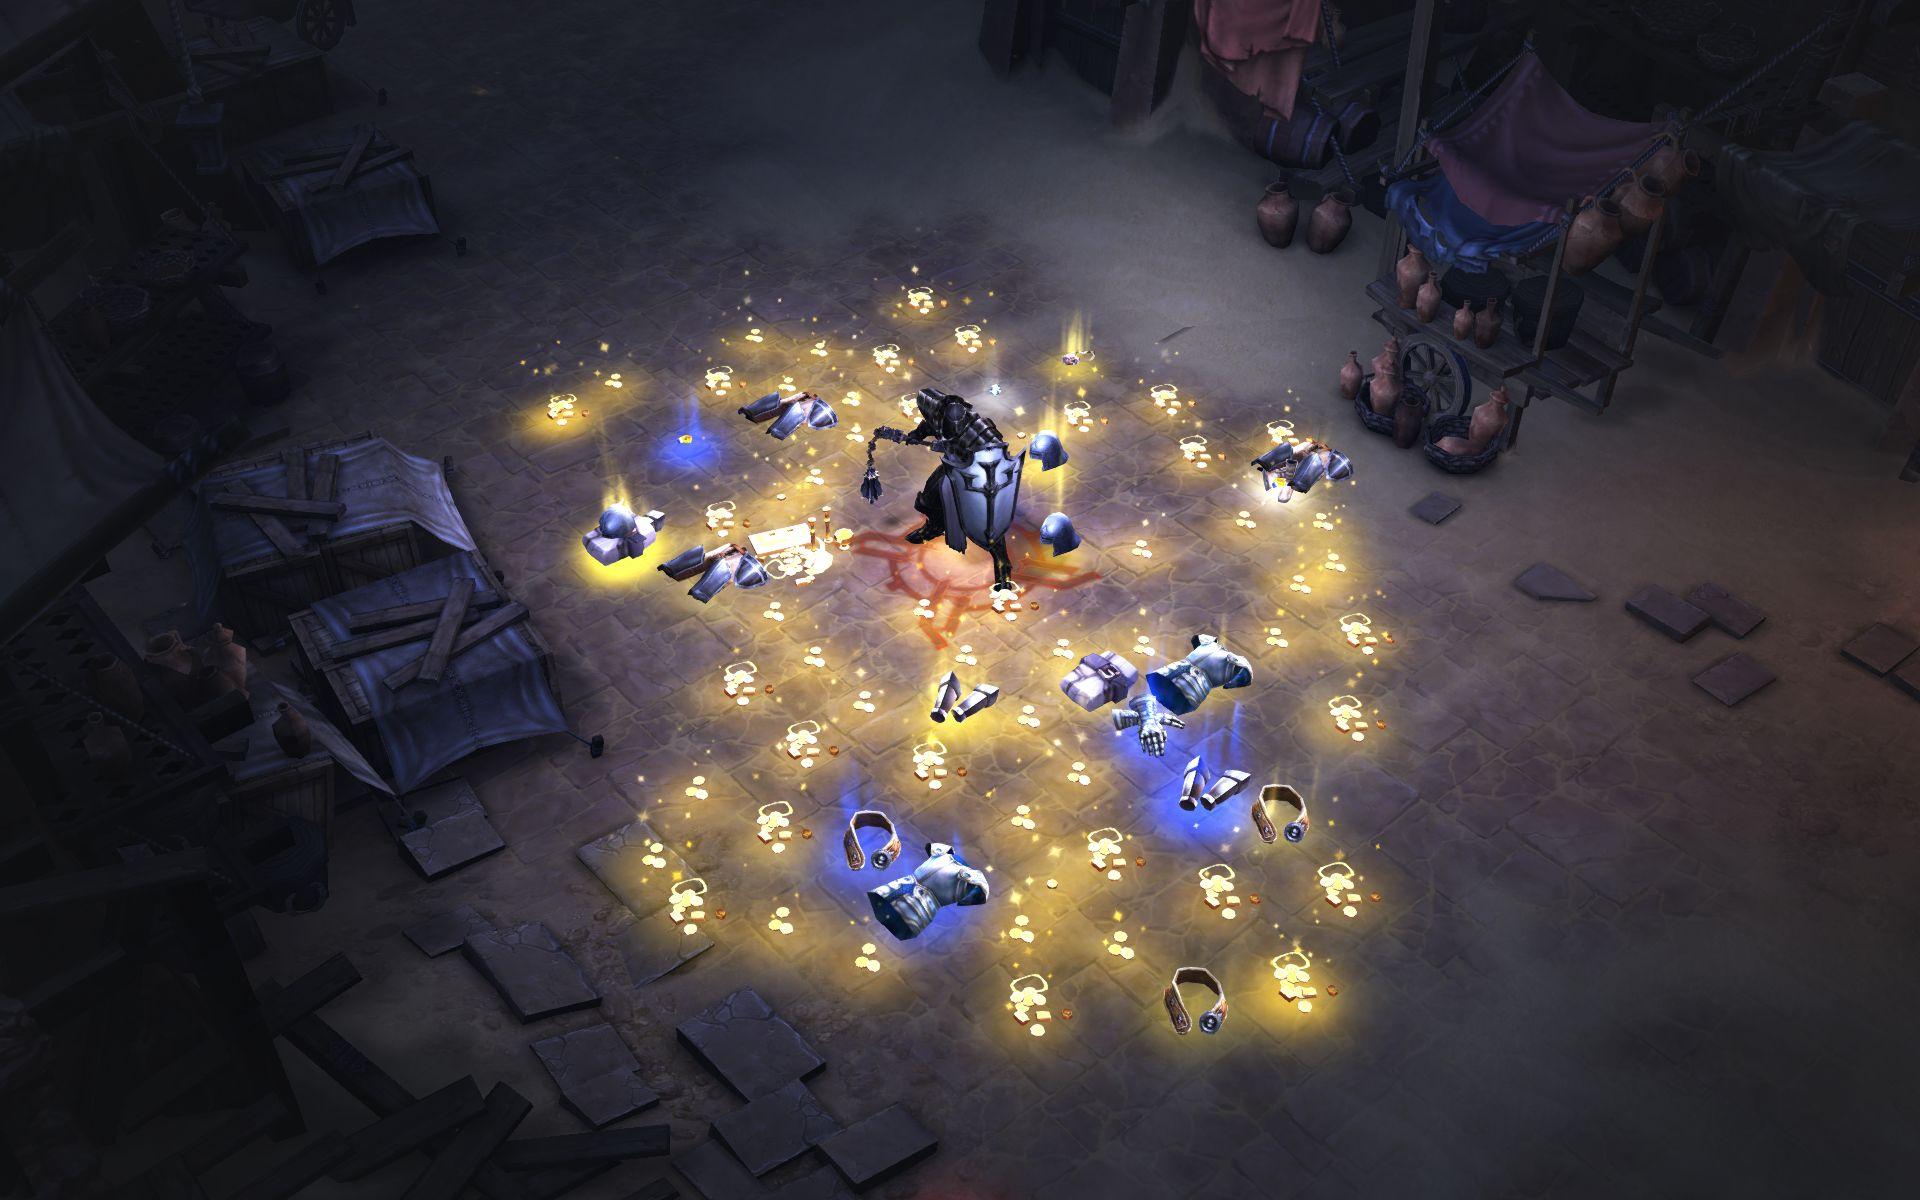
There’s no real strategy for taking on a Rift Guardian, since you never really know what you’re getting. Expect a stiff challenge, especially if you’re playing at Expert difficulty or higher. Rift solo runs are easy enough even for lower-level heroes on Normal and Hard, but you’ll need some serious gear if you hope to lone wolf one at a higher difficulty. Fell a Rift Guardian and you’re rewarded with a large shower of loot.
 Bringing along area-effect abilities and movement speed-boosting gear is a solid strategy for tackling a Rift quickly. You want to be mobile and crowd control-capable, since your goal is to fill the progress bar with a high body count. There are only so many enemies to be found in a given stretch of map, but the quicker you clear them out, the quicker you can move to the next level of the Rift. Crowd control won’t be nearly as useful once you’re facing a Rift Guardian, so be sure to have a nuke or some sort of high-damage ability at the ready – and possibly some defensive support – as well.
You’ll also want to be wary of where the progress bar is at when you’re taking on mobs, especially as it creeps close to 100-percent. If your progress is in the high 90s (hover the cursor over the bar to see the number), try to target small groups of enemies, and be mindful of where there’s open, enemy-free space behind you. Ideally, you’ll summon the Rift Guardian without too much company surrounding you. From there, you’ll want to have the boss follow you to a previously explored and cleared space. This allows you to focus on the Rift Guardian exclusively without having to worry about other baddies wandering in.
Into the Mystic

The Mystic is Reaper of Souls new artisan, joining the Blacksmith and the Jeweler. Like the other two, the Mystic exists to help you infect more personal flavor into your hero. Unlike the other two, one half of this artisan’s purpose relates to making purely cosmetic enhancements. Not only can you shuffle around the properties of your looted and/or created magic items, you can also modify how your gear looks with the new Transmogrify feature.
Transmog is relatively simple. Go to the appropriate tab in the Mystic’s menu interface and drop the piece of gear you’d like to change the look of into the slot at the top of the window. Once that’s done, you’ll see a list of thumbnailed images appear below it, representing all of the new looks you can buy for that piece of gear. Highlight one to see how much the Transmog costs. The list of options grows as you pay to train the Mystic and as you pick up new gear; whenever you grab a new piece of loot that you didn’t have a Transmog style for previously, a pop-up message appears to let you know you’ve unlocked a new look.
 Just remember: these are all cosmetic enhancements only. Some of the unique Transmog options get a little pricey (50,000 gold and more), so be sure you realize what you’re doing before you spend all that scratch. This feature exists for those that want to tailor a certain look for their characters. For those that want to beef up their gear in more functional ways, it’s all about the Mystic’s Enchanting service.
Magical loot in Diablo III typically carries one or more (usually more) bonus effects, covering anything from boosts to some stat to improved resource regeneration (and many more besides). For the most powerful Rare and Legendary gear, you sometimes find yourself wishing that you could change just one thing in the list of five (or more) added effects. Maybe you want that awesome sword you picked up to have a strength boost instead of an intelligence boost, since your Barbarian has no need for the extra smarts.
That’s where Enchanting comes in. You’re able to change a single property of your choice on any of your magical items, provided your Mystic’s level is high. There are a few catches. First: you can only do this once for any given piece of gear. If there are two properties you want to change… tough. Not gonna happen. What you can do (and thanks to commenter David White for pointing this out) is continue to re-roll the one property you did change, for increasing amounts of gold each time. Once you enchant an item, it is forever bound to your account, meaning you can’t gift it to some other player.
To enchant an item, navigate to the relevant artisan tab and drop the item into the empty pane at the top of the window (just like you would for a Transmog). Once you’ve done this, a list of all of your item’s properties appears in the lower portion of the window. You can get a sense of what enchantment you might get by clicking on the question mark next to each property to bring up a list. Choose the property you want to change and you’ll be given a shorter list of options, from which you choose one. You won’t always get the buff you’re looking for, so choose wisely.
Rolling the dice with Blood Shards and Cursed Chests
You’ll start to collect Blood Shards as you dig in with Adventure Mode, taking on its Bounties and its Nephalem Rifts. Some shards come as Bounty rewards, others are dropped by defeated Rift Guardians. You can only spend them at a new merchant found in every act’s hub town. Her name is Kadala and she’s identified on your minimap as a red V-shaped wedge, the same one that marks how many Blood Shards you have at the bottom of your inventory window (next to total gold).
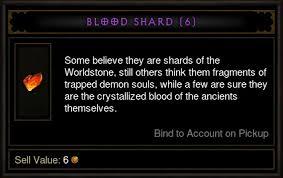 Kadala only accepts Blood Shards. All of her goods are listed as “Mystery [item type],” with the identity being revealed when you buy it. It’s always a gamble when you spend Blood Shards. You might end up with an awesome piece of gear… or a total dud that’s barely worth the time it will take to sell or break down for crafting parts. Kadala’s inventory is divided up by item types, so while you might not know what you’re getting, you can at least be sure it’ll be a 1-handed weapon, or a ring, and so on. There’s nothing else to do with Blood Shards at this point, and you can only carry a maximum of 500, so don’t forget to use them.
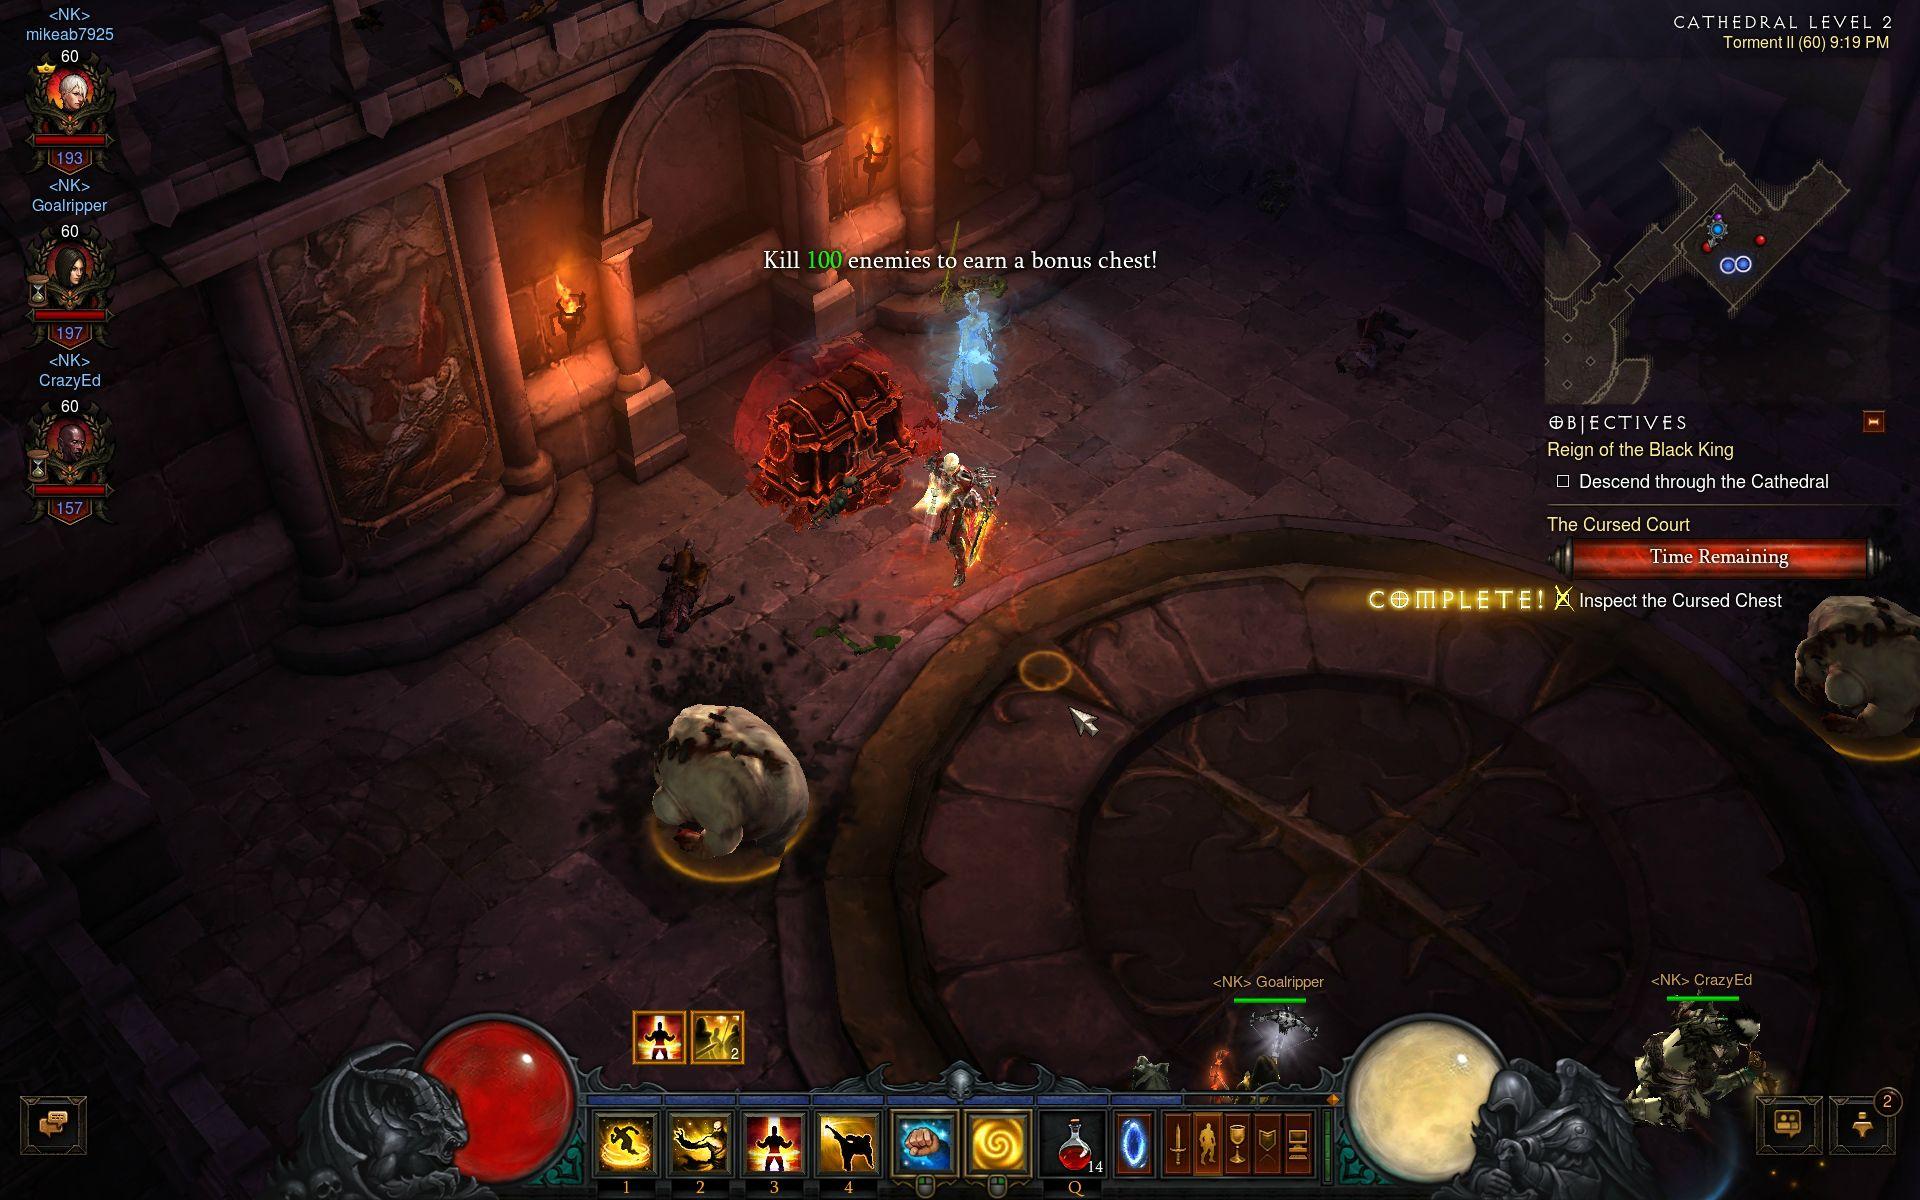
Cursed Chests represent a different type of gamble. This one’s a power gamble. Is your hero strong enough to face down a timed Diablo challenge? It might be multiple waves of smaller enemies or one tough boss. Complete it before time runs out, and you get a nice reward. Fail…. well, there’s plenty of other gear to be looted if you fail, not to worry. Cursed Chests are easy to spot; they’re just large chests surrounded by a red aura. Make sure to clear out all enemies in the area surrounding the chest, since you’ll want to focus all your attention on beating that time limit.
Keep watching this guide for more. We’re still playing with Loot 2.0 and the new expansion, still getting a feel for what’s new and how everything works. We’ll update this guide as needed. As always, please share any tips you have in the comments; we’ll be sure to credit you if we include them up here!
Editors' Recommendations
- How to get a horse in Diablo 4
- Call of Duty: Warzone 2.0 is getting a new mode and overhauled DMZ in Season 3
- Warzone 2.0 players are getting shadowbanned for earning too many kills
- Soul Hackers 2 beginner’s guide: 9 tips and tricks to get started
- Overwatch 2 and Diablo 4 delayed amid leadership changes at Blizzard