Fallout Shelter has been on the market for nearly five years now, and much has changed in the Wasteland since those early days. The game was a massive departure for Bethesda, a company usually known for its sprawling open-world titles. Not only was the overall game design radically different from past Fallout titles, but Fallout Shelter was also originally released as a mobile title before being ported over to consoles.
- Build smart
- SPECIAL stats explained
- Keep vault dwellers busy
- Arm your vault dwellers
- Upgrade outfits
- Prepare to fend off enemies
- Use Stimpaks and RadAway
- Go for the lunchboxes
- Rebuild the population
- Out in the morning, in at night
- Quest smarter, not harder
- How to get an edge in combat
- The Mysterious Stranger
- Sex and radio are proven mood boosters
- You can easily avoid the microtransactions
If you’re returning to Fallout Shelter after a long hiatus, there’s a lot of new content for you to explore. And even if you’ve established a thriving Vault, there are plenty of actions you can take to optimize your setup. Here are a few tips to make your time with Fallout Shelter more efficient.
Further Reading
- Best weapons in Fallout 4
- The best Nintendo mobile games
- The best Apple Arcade games
- The best ‘Fallout 4’ settlements
Build smart
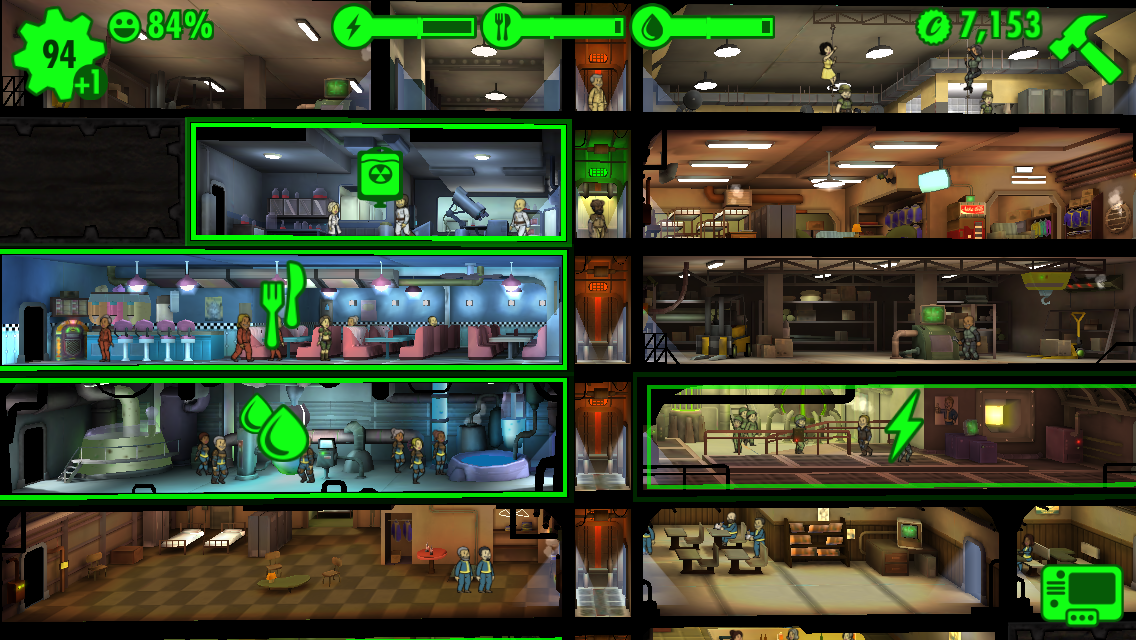
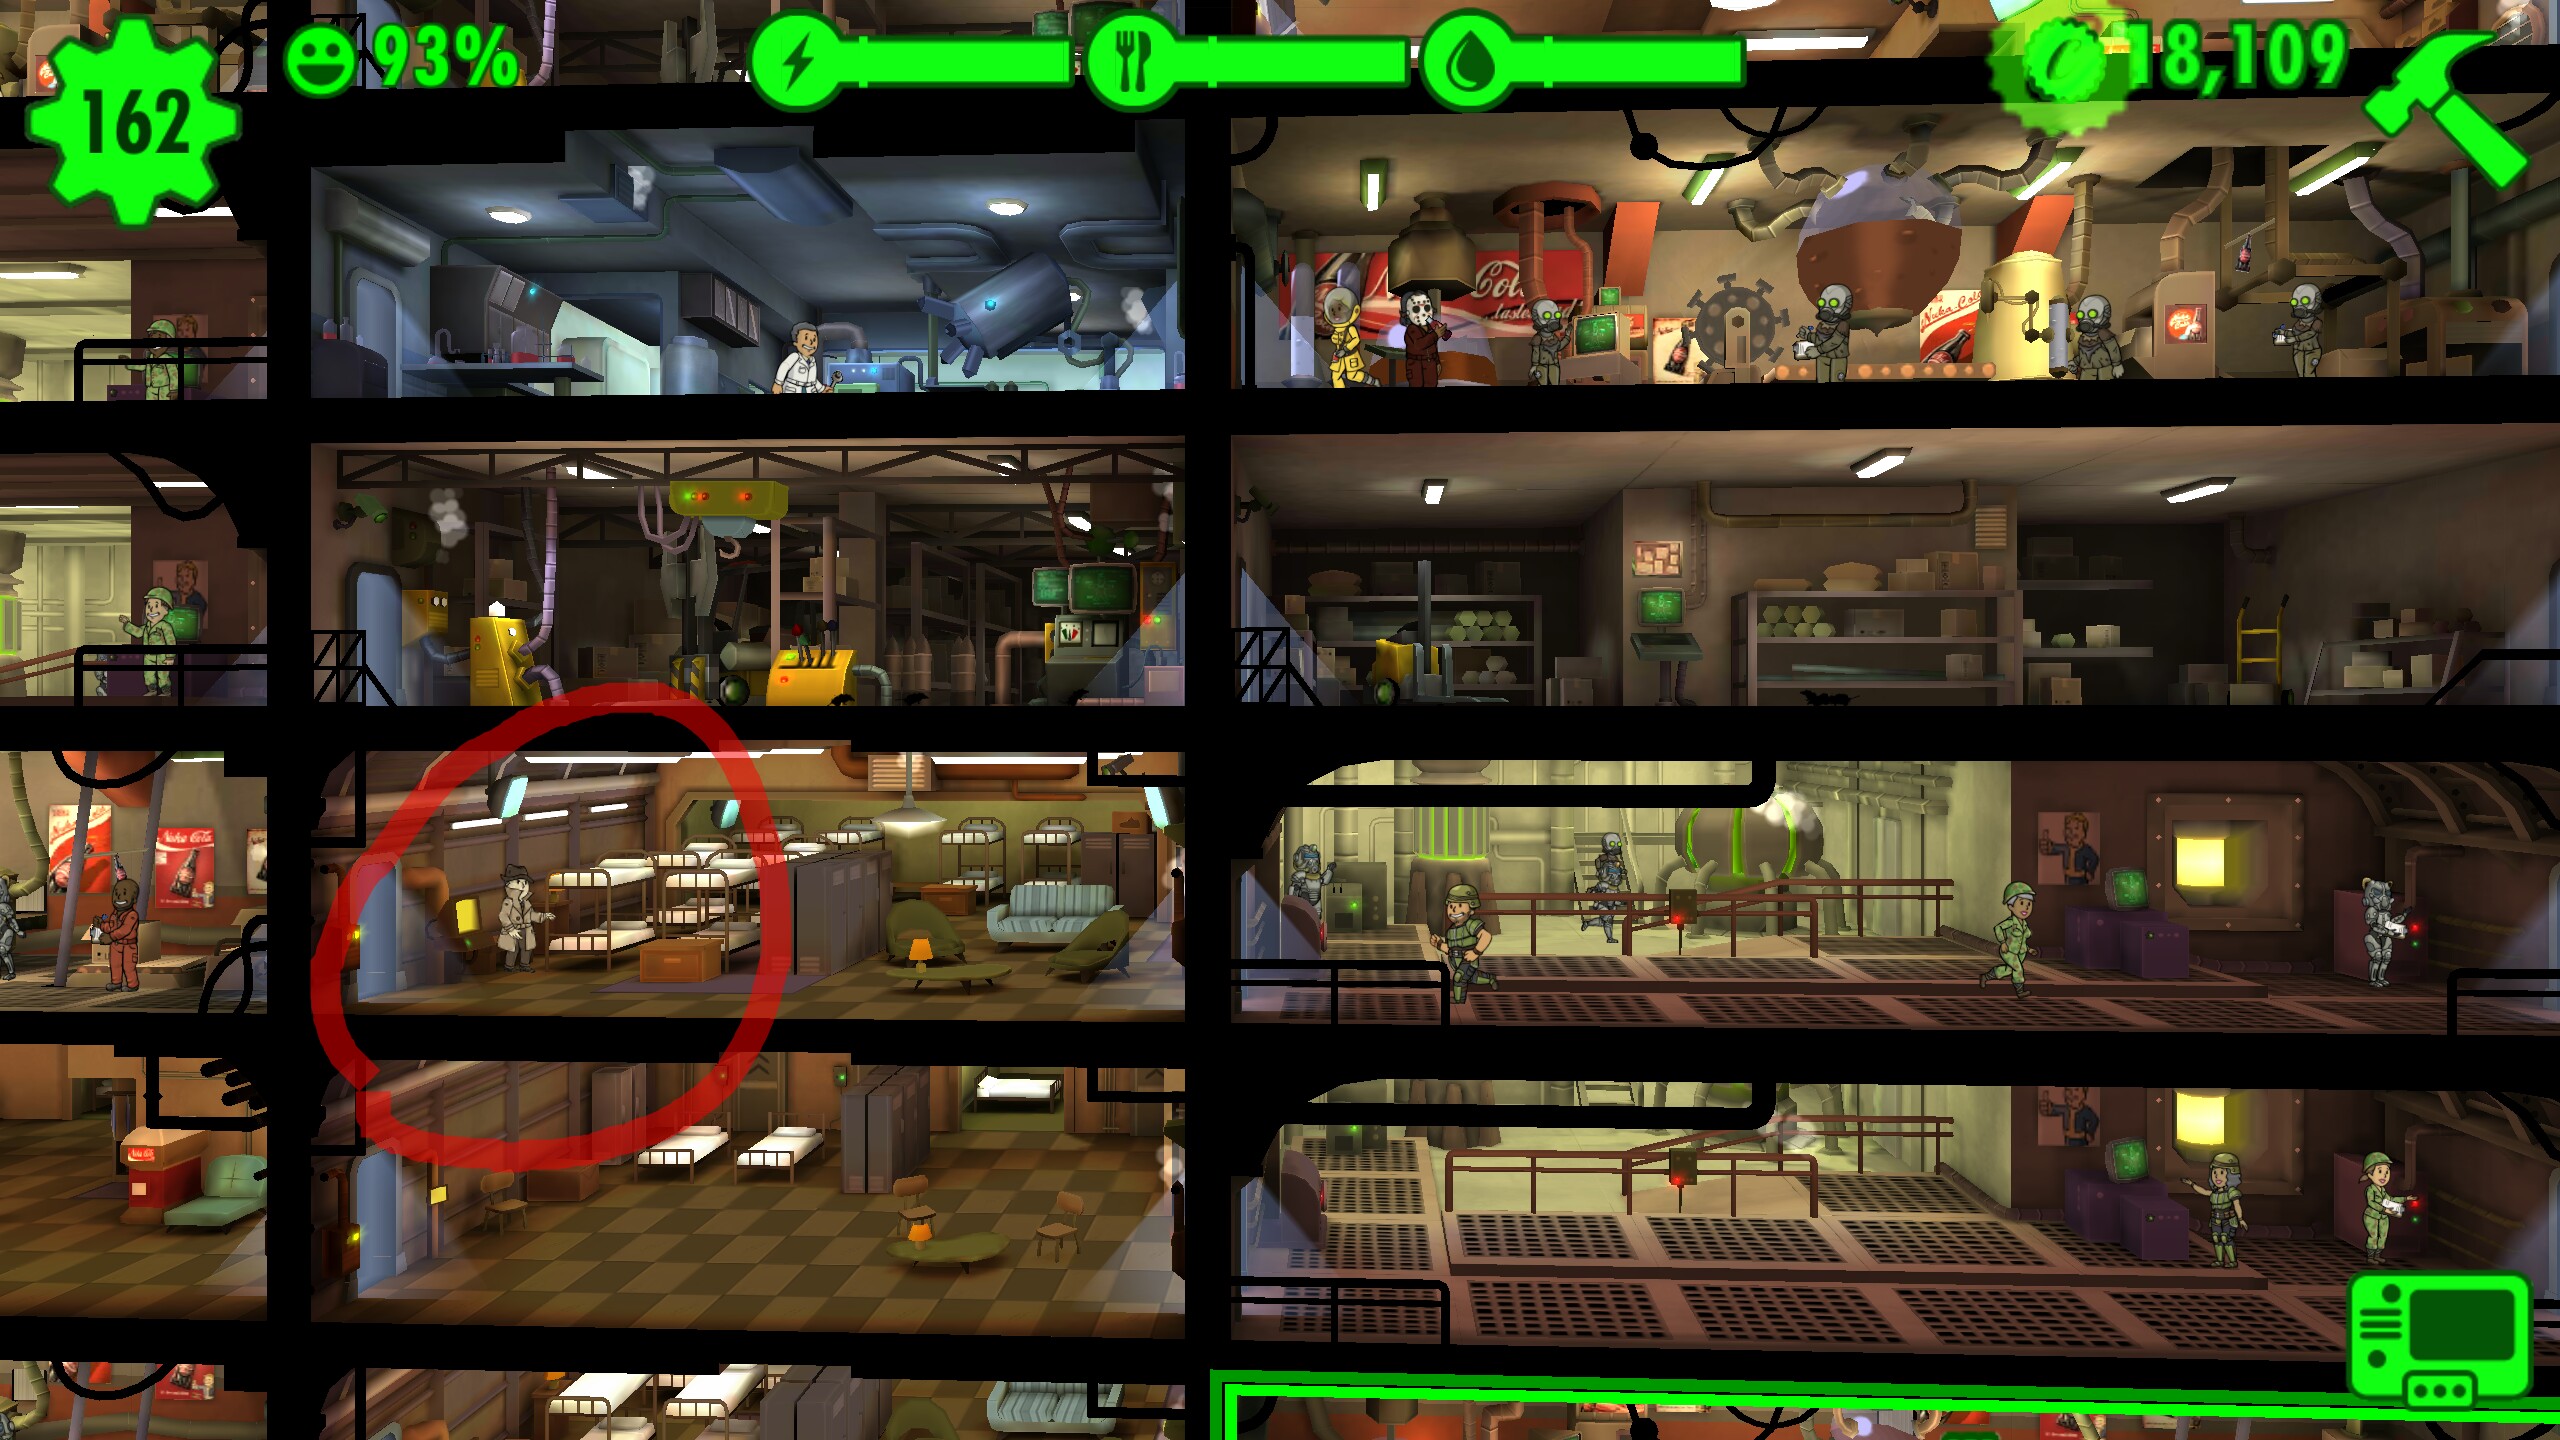
In the beginning, it’s easy to build new rooms haphazardly as they become available. Scroll down and see how deep your vault can run, however, to see how much room there is to expand as your population booms. Larger, connected rooms are more efficient than an equal total of smaller rooms of the same type.
Because rooms max out at three across, always leave space for them to expand. Extending the initial elevator directly down leaves you room for three-wide rooms on either side. It may be a little more expensive to build elevators down instead of using more of the horizontal space, but the long-term efficiency of this simple, two-column structure can’t be beat.
Rooms require more power to operate the farther they are from a power plant, so be sure to space your reactors out evenly to maximize their efficiency. Don’t build too fast, though! Diners and water treatment facilities use power even if no one is operating them, so building facilities you can’t use yet is a waste of precious power.
Even if you do have the personnel, sometimes it is better to focus on training them to work more efficiently in the rooms you do have instead of building new ones. Power generating rooms are the exception, though. If you are producing a surplus of electricity, you can safely build more facilities to increase your storage capacity without putting a strain on your resources.
SPECIAL stats explained
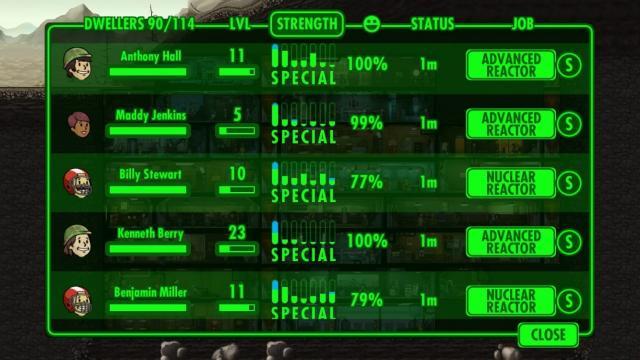
All of your dwellers have the main Fallout games’ SPECIAL stats, standing for Strength, Perception, Endurance, Charisma, Intelligence, Agility, and Luck. These abilities correspond to how effective the dweller will be in a particular room, so let them guide where you assign them to work. Strength increases production in power plants, perception helps at the water treatment facility, endurance helps them survive longer in the wasteland, charisma helps them breed more quickly in the living quarters and attract new followers with the radio station, intelligence aids in producing Stimpaks and RadAway, and agility aids in producing food at the diner and garden.
Luck helps dwellers in any job be more likely to succeed when you rush production, and also increases the odds of your wanderers finding good loot. Once you gain access to the training rooms, buff up dwellers’ strongest stat to maximize their efficacy in a given job. Luck is a good second stat to focus on for anyone, followed by charisma to make repopulating faster for everyone.
Keep vault dwellers busy
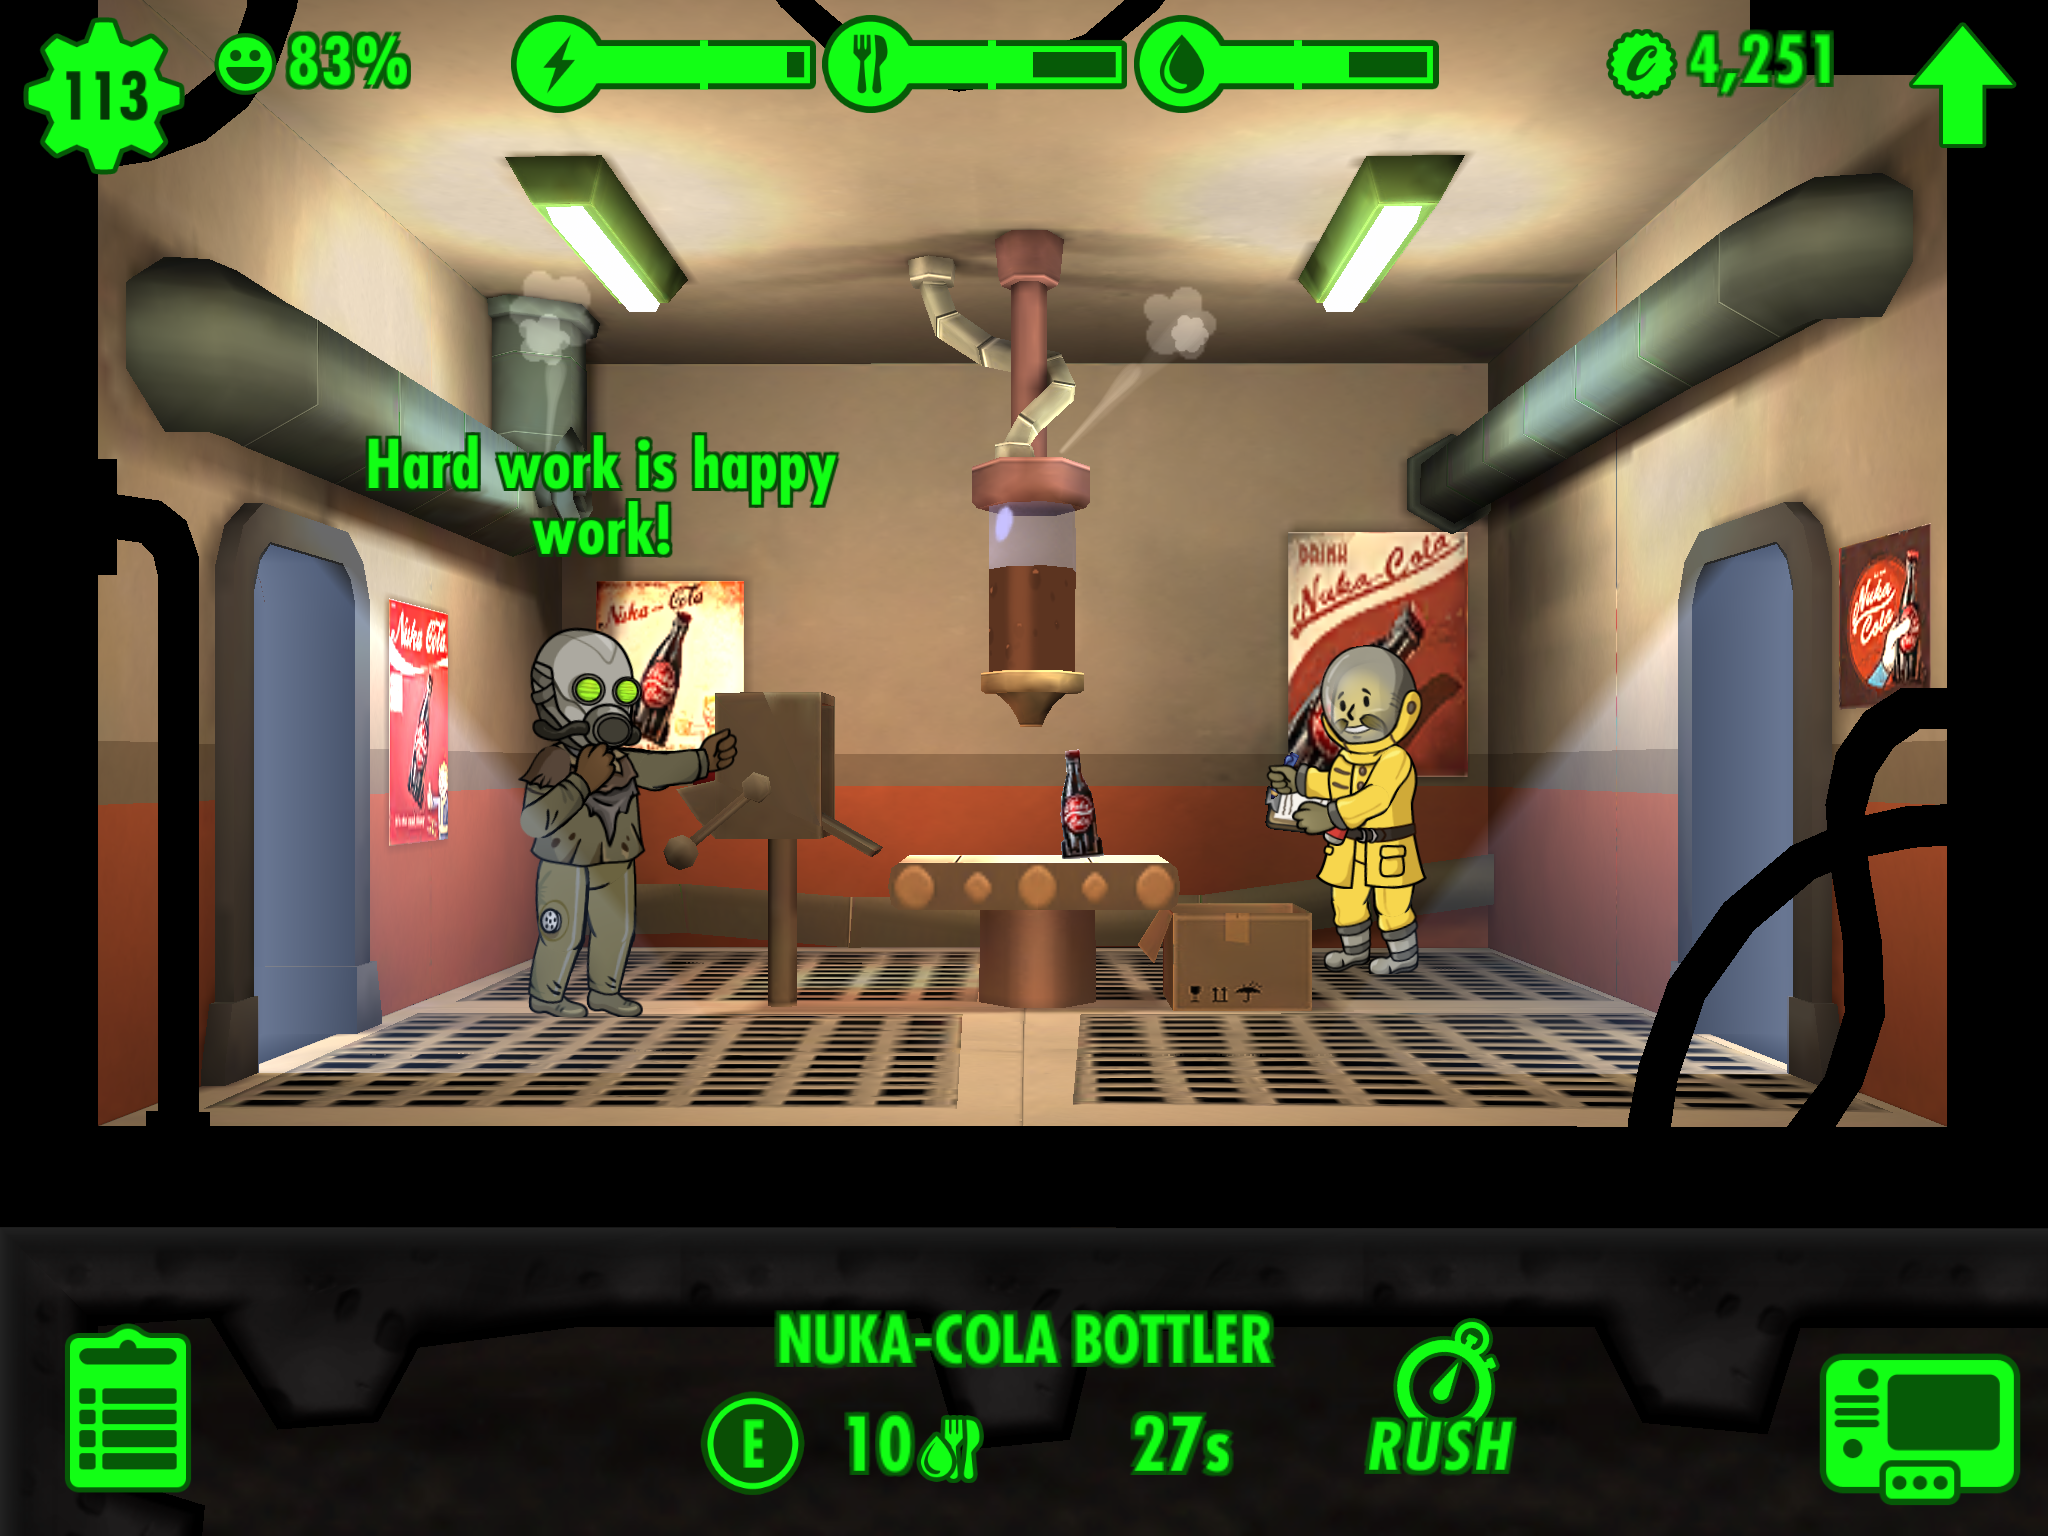
You can sort the list of your vault dwellers by different columns, including their current job. Anyone on “Coffee Break” isn’t taking a breather from the power plant — it’s just a euphemism for unemployment. Without a job, your dwellers are just soaking up food and water, so be sure to periodically check and make sure everyone is busy either working or training.
They are happier when they are busy, so you have no reason not to strive for full employment. When assigning dwellers to rooms, holding them over a given room shows the net change (either positive or negative) on its efficiency. This is an easy way to make sure your dweller assignments are the most impactful, especially when trying to fulfill the objective of assigning dwellers to the proper room.
Arm your vault dwellers
After your wanderers start bringing in weapons, the best thing place to store them is in the hands of every adult citizen you have. Your biggest and most powerful guns, such as alien blasters and the Fat Man, are best saved for those wanderers to stay safe out in the wasteland. Most of the guns you find will be less powerful, like rusty sawed-off shotguns and pistols.
You can sell these for a few caps, or build a storage room to keep them, but it’s best first to arm every one of your citizens. Having at least some guns in every single room ensures that they will remain safe in case of a radroach infestation or if raiders break through your defenses.
Don’t bother arming your pregnant women, though. When disaster strikes, pregnant dwellers flee to the bunks in order to wait it out, so guns won’t do them any good. Also, don’t bother with weapons that only do 0-1 damage. That’s not any better than the damage they will do with their bare hands, and extra caps are always useful.
Upgrade outfits
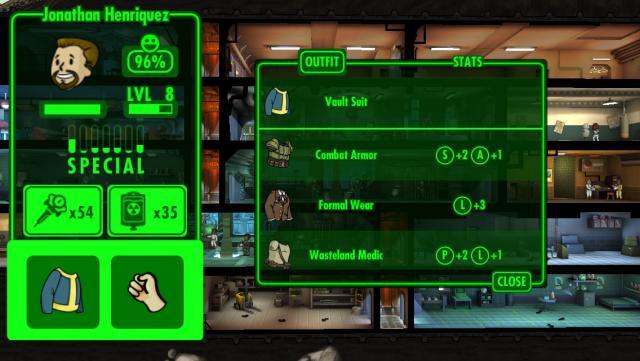
Just like with guns, the best place to store the outfits your wanderers bring back is on the backs of your vault dwellers. Outfits boost particular combinations of SPECIAL stats, so try and give everyone an outfit that boosts their strongest stat, corresponding with their job. Endurance- and strength-boosting outfits are best saved for your wanderers to keep them safe out there. The nightwear’s charisma boost is an easy way to help anyone breed more quickly in the living quarters. For lack of anything better, the formal wear’s luck boost is useful for rushing any room.
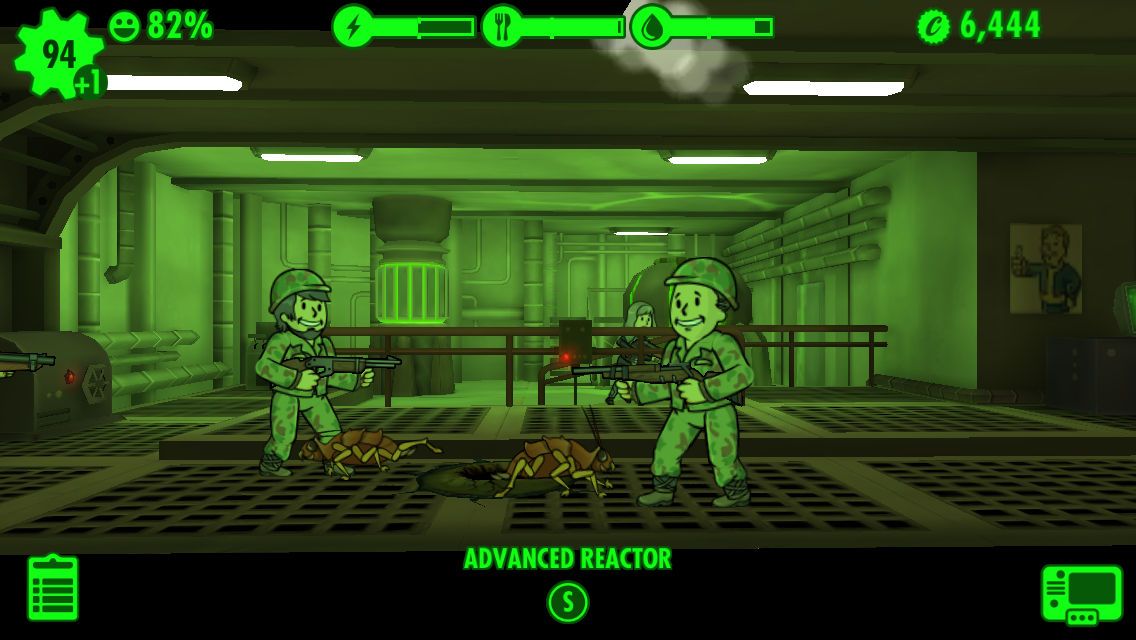
Prepare to fend off enemies
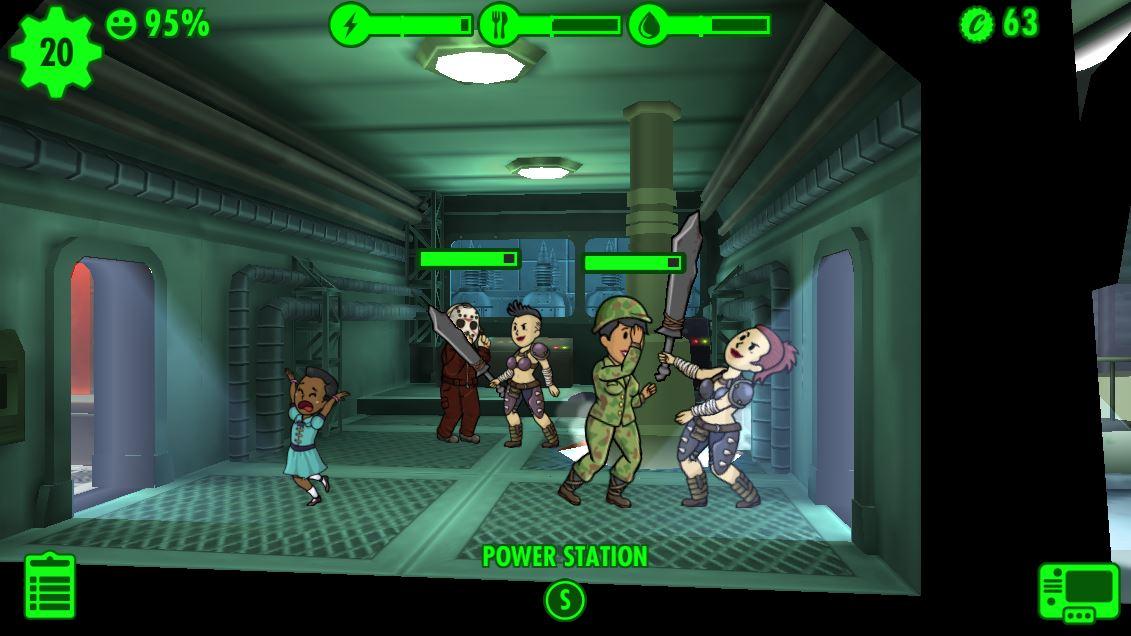
Raiders will occasionally harry your vault, but a little preparedness goes a long way. You can assign two vault dwellers to your entrance in order to guard against attacks, but this is often unnecessary since they are otherwise not producing anything or improving at all.
Put two of your more powerful weapons with dwellers who work in the room nearest the entrance on the first floor and then upgrade the vault door’s health early on. When raiders come knocking, simply move your two designated guards from the nearby room to the entrance to fend off the attack. You don’t even have to drag them back afterward. Once the raiders are put down, your guards will run back to their previous job unprompted.
As you dig deeper, more challenging threats like feral ghouls and deathclaws will also come knocking. If you find your attackers are beating your guards to the door, upgrading your vault door will buy you extra time so they can get into place before the enemy breaches.
Use Stimpaks and RadAway
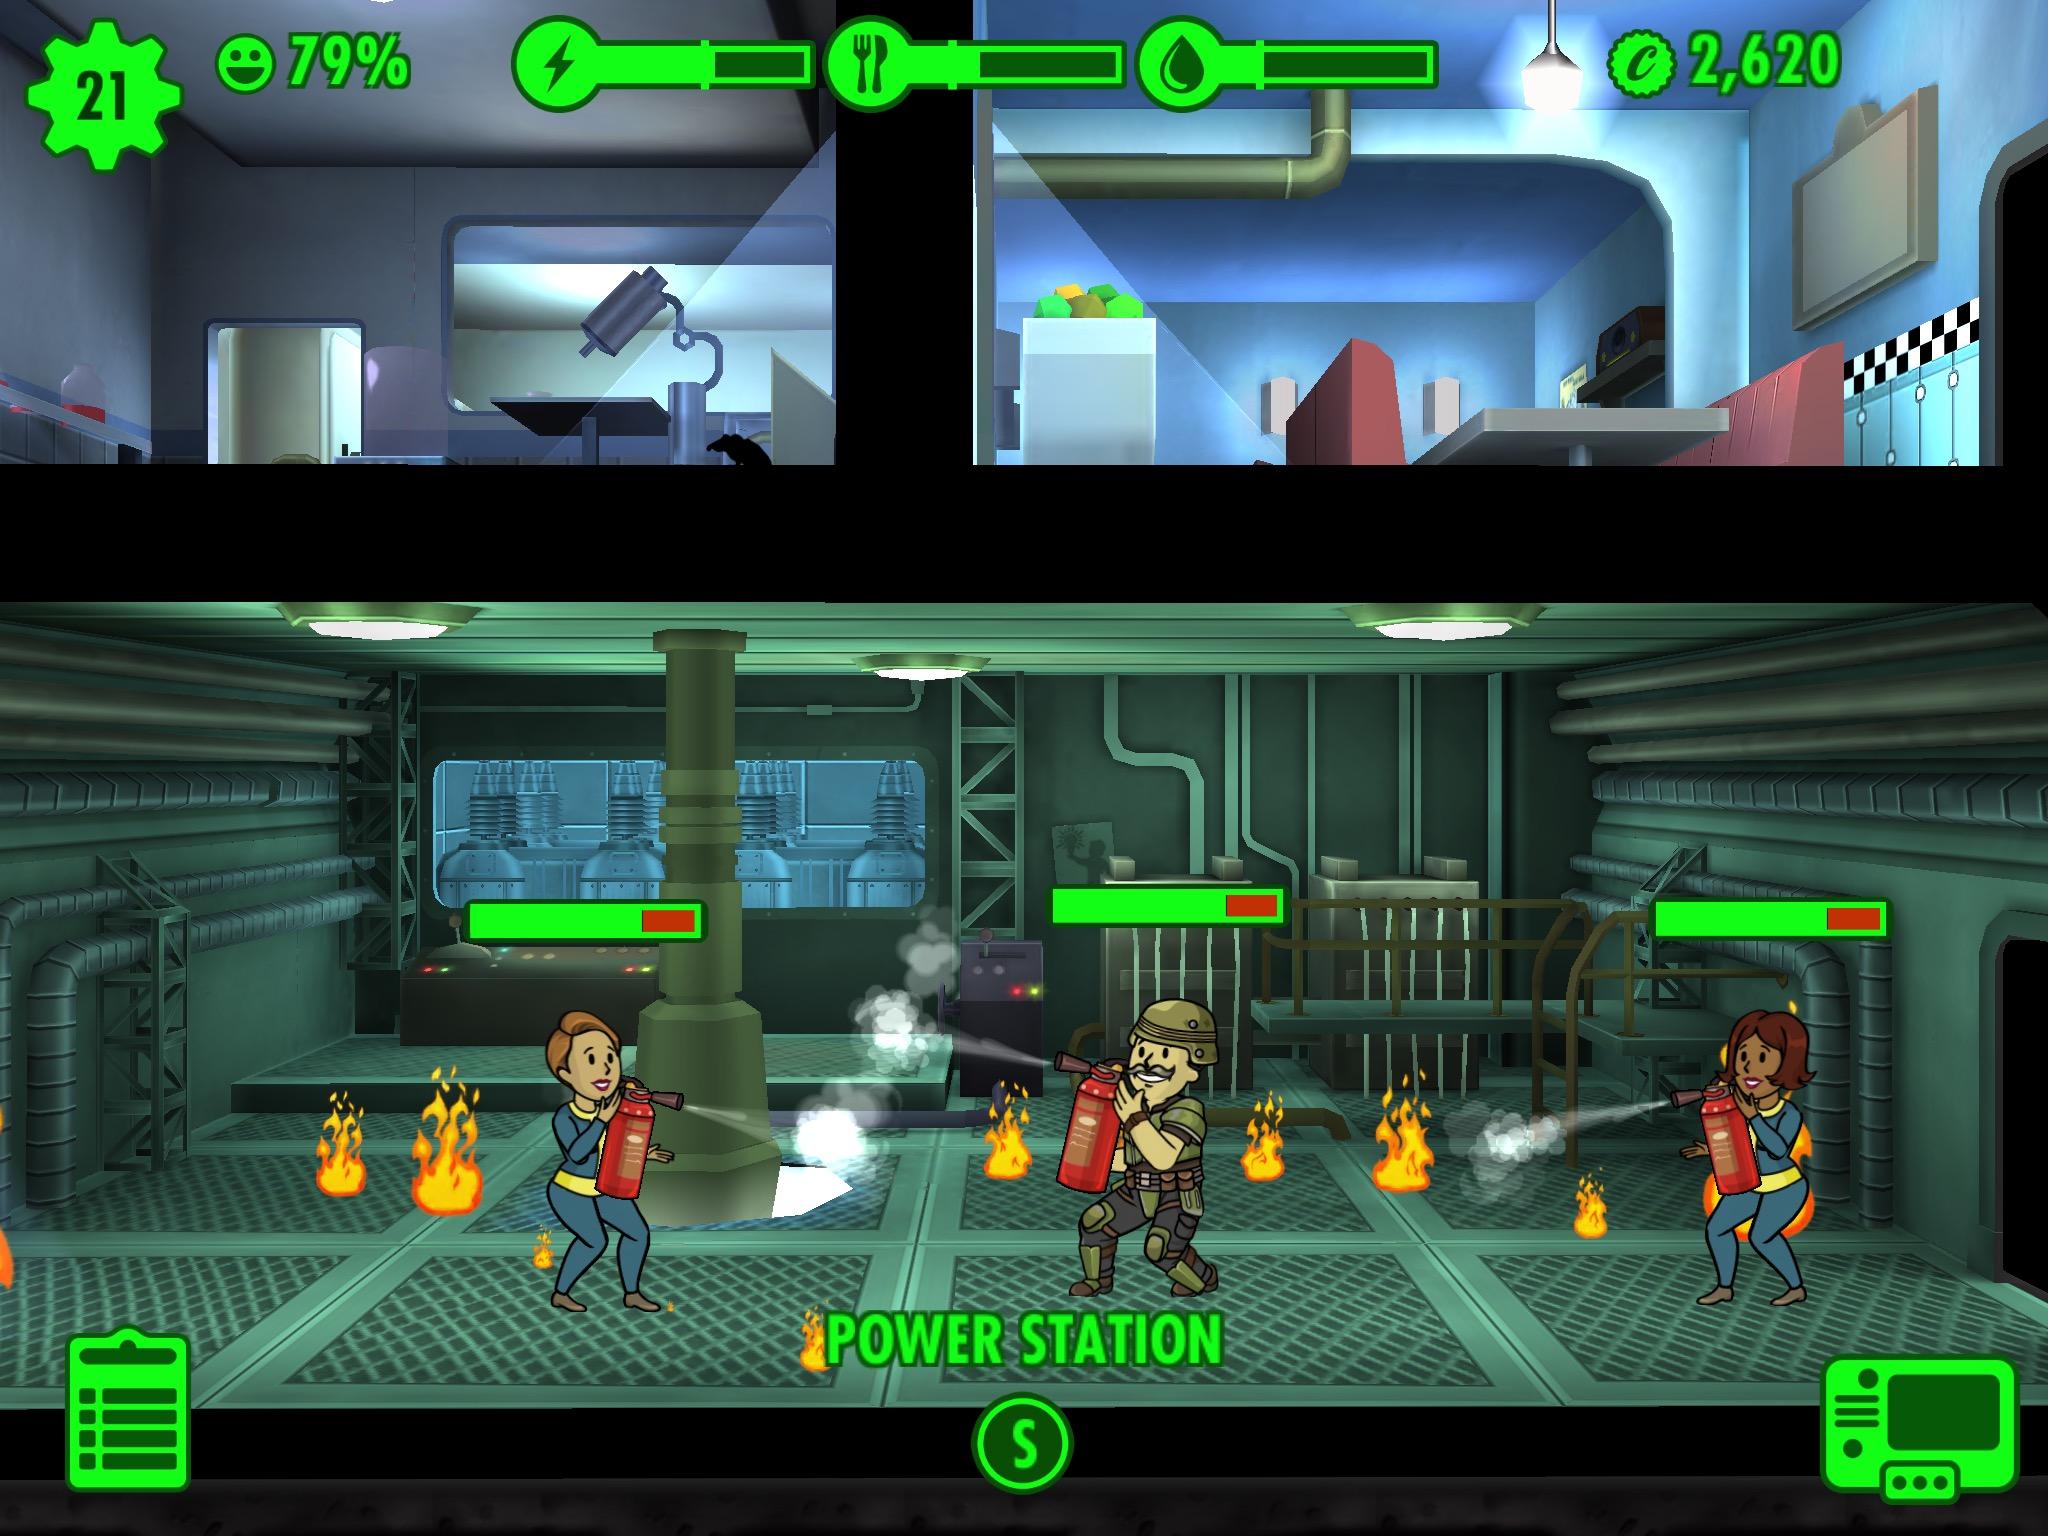
Accidents happen, and sometimes your dwellers will take a beating from raiders, radroaches, or fires. They will gradually heal back up to full if left alone after the problem is resolved, but sometimes a series of unfortunate events or a poorly armed room means that a few may be gravely wounded in the course of duty. Rather than paying caps to revive them after the fact (since no one ever dies permanently), it is much more effective to select dwellers that you see running low on health and immediately apply Stimpaks, which restore a substantial portion of their health instantaneously.
Radiation reduces their maximum health (as indicated by a red bar that grows from the right), so be sure to use RadAway before wasting Stimpaks on your irradiated dwellers. If they do kick the bucket, don’t despair! Anyone who dies, whether at home or wandering the wasteland, can be revived. It’s expensive, but it’s better than losing your favorite citizens forever.
Go for the lunchboxes
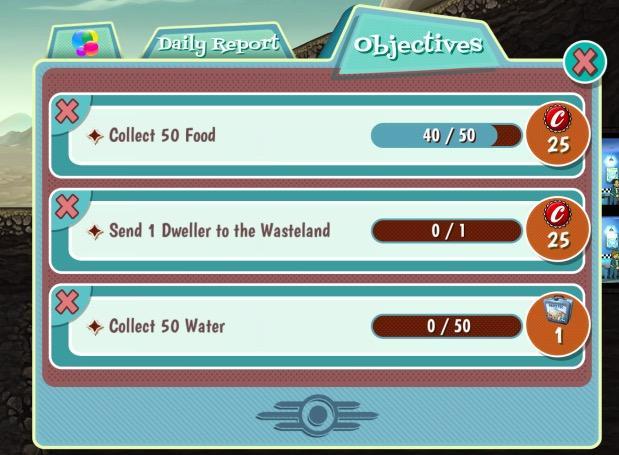
The rotating three objectives you have at any given time are a great way to supplement your income. They will never run out, so if there is a low-value objective you won’t be easily completing any time, feel free to give up on it in the hope of a better option. Goals that ask you to equip weapons or outfits are easy to achieve once you have a decent supply, since you can just strip and re-equip your dwellers to fulfill the requirements.
Objectives that reward lunchboxes are far and away the most valuable since they will often include more caps in addition to other resources, weapons, and occasionally rare dwellers with exceptionally high SPECIAL stats. By no means do you need to buy additional lunchboxes in order to play successfully, but an injection early on of supplies and special dwellers can do wonders for setting you on the right path. Given that the game is otherwise free, I didn’t have any qualms about kicking the developers a few dollars for such a delightful little game, but whether and how much to pay is obviously a matter of personal preference.
Rebuild the population
New dwellers are a rare commodity if you just wait for them to show up at your door. That means you will need to encourage the population you do have to grow from within. SPECIAL stats of the parents affect the resulting children, so you will generally want to breed your very best for a stronger next generation.
Thumbing its nose at conventional genetics wisdom, this also applies to stats that have been raised through training. The rare dwellers that show up from lunchboxes, with their naturally high stats, make for the best breeders then. Since the vast majority of unique characters are (problematically) men, the easiest way to do this is to bring one to a living quarters, and fill the rest of the available slots with women for them to successively get knocked up.
Be sure to put them back to work once done, since they aren’t doing any good just wandering around the bunks once pregnant. The game thankfully doesn’t let parents make babies with their own children, so you’ll have to rotate male characters when you end up with too many direct relatives. Your dwellers are not especially picky beyond that, however, so don’t think too closely about the relationships you’re creating.
Out in the morning, in at night

Unless you plan on buying a lot of lunchboxes, you will need to send dwellers out to explore the wasteland and bring back precious weapons and outfits. They are essentially playing a conventional Fallout game for you, reduced to a passive stream of descriptive updates. No dwellers can survive forever out in the wasteland, but you will want to push them as far as they can go to get the most out of every trip.
Endurance is the most important stat for survival, but any other high SPECIAL seems to help. Higher-level characters also tend to stay alive for longer. Load them up with Stimpaks and RadAways to help them stay alive as long as possible, but periodically check in to make sure they aren’t near death. Once their healing supply runs out, bring them back home to collect their findings. No one gets hurt on their way home, so you can safely use all of their healing supplies before recalling them.
No matter how efficiently they use their healing items over the course of an entire day, dwellers inevitably seem to die if left out overnight (IRL). We found a good rhythm in sending out dwellers first thing in the morning, checking on them occasionally throughout the day, then calling them back before going to sleep at night. They do not take on additional damage or radiation while returning home, and will probably be back just in time in the morning for you to collect what they found and send them back out again for another day of hunting. As time goes on and you have some high-level dwellers and weapons, you can start to let them stay out longer, even for a few days at a time. The longer your dwellers are out, the harder the challenges and the greater the rewards.
Quest smarter, not harder

In July of 2016, Fallout Shelter added quests — Instead of simply exploring the wasteland scavenging for supplies, you can send groups of up to three dwellers to explore buildings and even other vaults. These missions, like most other tasks in the game, require some planning. The people you send won’t be able to help back at the Vault in the event of a raider attack or a food shortage. Each quest features certain level- and weapon-related requirements; generally speaking, you’re being pushed to send your best people, rather than your new, less useful people.
If you don’t want to pull extra dwellers away from their work, however, we recommend sending one or two overqualified characters on a mission, instead of three people who just barely meet the quest’s requirements. A level 50 dweller, for instance, can easily complete a level-10 quest on his or her own. The other two people who would have tagged along can stay in the vault safe and sound. If you’re sending a smaller team on a quest, you can also supplement them by pairing them with a pet, which can add additional support during close encounters.
Also, these quests typically require several hours of travel time before and after the actual mission. If you need your wasteland-wandering heroes back quickly, you can call them back with Nuka-Cola Quantum — obtained from quests, lunchboxes, or the real-money store — to make this process instant. We suggest you use these sparingly, but they can help in a pinch.
Once your vault dwellers have completed their mission and return home, make sure you reassign them to their previous rooms or their talents can quickly go to waste.
How to get an edge in combat

Quest combat varies a little bit from raids and infestations. By clicking on an enemy character, you can select which enemy you want your vault dweller to attack first, and lucky characters can land critical hits via a timing mini-game.
As such, there are three stats that you’ll want to maximize in quest-bound characters: Agility affects the speed of their attacks, while both perception and luck improve their critical hits. Raising a dweller’s perception slows down the icon you need to tap during a critical hit, making it easier to land critical hits. Lucky dwellers will get more chances to try and land a critical hit.
The Mysterious Stranger
Just like in the main series of Fallout games, you may occasionally run into a character known as the “Mysterious Stranger” in Fallout Shelter. Unlike Fallout 4, where he helps you through a tough fight, the stranger simply pops up around your vault every now and then, and will give you a wealth of bottle caps if you happen to find and tap on him.
When the stranger arrives, you’ll hear a mysterious three-note tune: The louder the tune, the closer he is to the room or dweller you’re currently examining. If the music is loud, do a quick sweep around the rooms adjacent to where you’re looking; if it’s softer, zoom out and look at rooms in the other areas of your vault. You only have a few seconds to find him, so make sure to keep your eyes and ears open at all times.
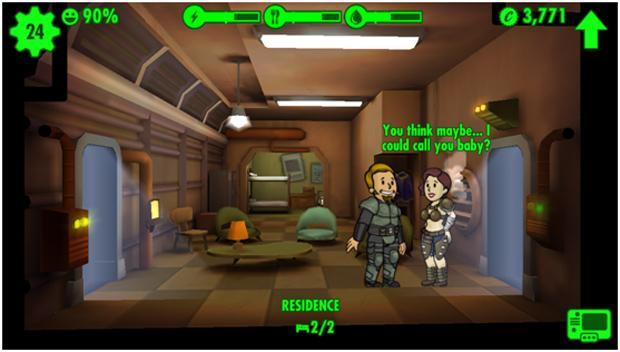
Sex and radio are proven mood boosters
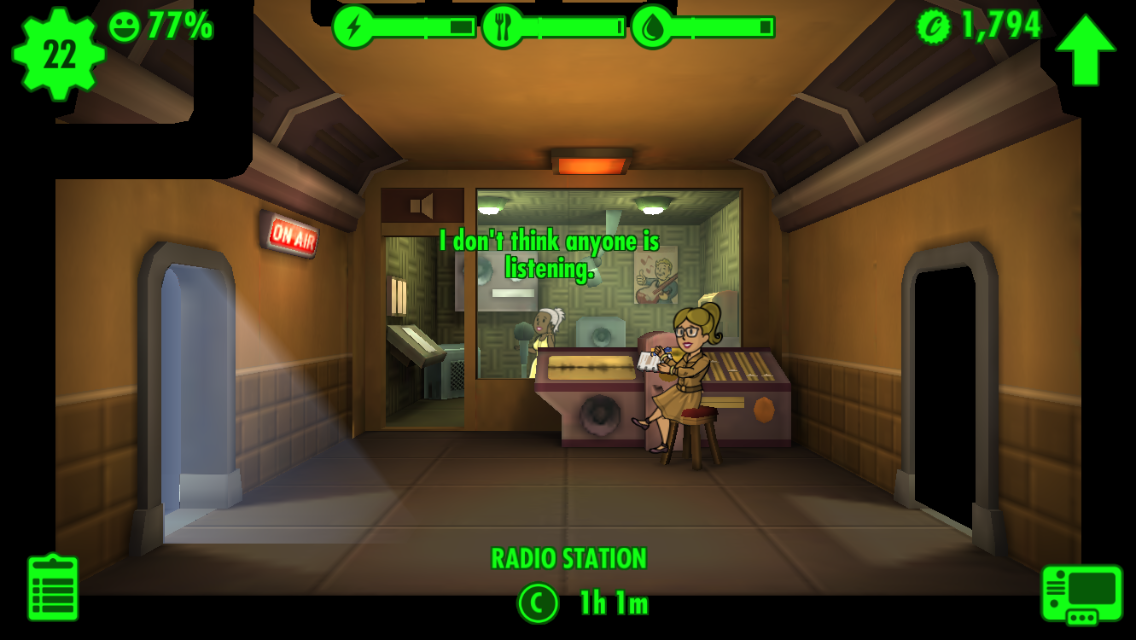
Happy vault dwellers are productive vault dwellers (increasing their rooms’ outputs), so it’s always in your best interest to keep smiles on everyone’s faces. Having enough food and water and a well-matched job are the basic requirements for happiness. When that isn’t enough, there are a few other ways to turn those frowns upside-down. A radio station will help attract new dwellers from out in the wasteland, but it also serves the secondary function of keeping your population at home happy. Assign your most charismatic dwellers here to entertain the masses.
The second (and perhaps obvious) method of boosting your population’s happiness? Get them laid! Stick your depressed dwellers in the living quarters with someone of the opposite sex, maybe throw on some sexy nightwear, and let nature take its course. No one’s foul mood can survive a little dancing and repopulating.
You can easily avoid the microtransactions
Fallout Shelter is free to play, so that means you can offer up real currency for in-game items. In fact, despite being a free-to-play game, Fallout Shelter has earned more than $90 million for its creators. That doesn’t mean you need to contribute to that number because Fallout Shelter does some unique things.
Unlike other free-to-play games that rely on microtransactions, Fallout Shelter doesn’t limit your progress if you don’t invest. Fallout Shelter does something else different from other free-to-play games. It doesn’t make you wait before more resources become available.
To enjoy the game and advance through the Fallout Shelter storyline, you won’t have to spend a dime. However, if you’d like to enhance your gameplay, there are a few smaller purchases that are worth the price.
The baseline, most-worthwhile purchase you can make in this game is the lunchbox. It should be your first microtransaction. It’s the game’s loot crate, and it will instantly give you six new items.
You can also use real cash to get premium currency in the game. Once you make that transaction, you can continue using in-game currency to buy pretty much anything you need throughout the game.
Buying premium items early on can help you advance much more quickly through the levels of the game. But we think it’s more of a challenge – and more fun – to attempt the game without the added help. One of the game highlights is when you go back to your shelter to build your assets up with gaming sessions. With premium features, you don’t need to rely on those sessions.
Editors' Recommendations
- The best Fallout 3 mods
- The best Fallout 4 mods
- All Fallout 4 cheats and console commands
- Fallout 4 is finally getting free Xbox Series X and PS5 upgrades
- These are the 10 best gaming PCs I’d recommend to anyone