One of the trickier challenges during Fortnite‘s season 4 week 2 is driving a motorboat under three colored, steel bridges. The reason it’s a little tricky is due to the locations of the bridges — and the fact that nothing is labeled on the map for you. So, if you’re having trouble with this challenge or just want an easy solution for it, you’ve come to the right place.
In this guide, we’ll show you where to find a motorboat, the locations of the colored bridges, and the best route to get all of them in one match — along with tips and tricks to make completing this challenge as simple as possible. Here’s how to ride a motorboat under the different colored bridges in Fortnite.
Recommended reading
- Fortnite season 4 week 2 challenge guide: How to bounce on dog toys at Ant Manor
- Fortnite season 4, week 1 challenge guide: Where to collect floating rings at Misty Meadows
- Fortnite season 4 week 1 challenges: How to eliminate Doctor Doom at Doom’s Domain
Where to find a motorboat

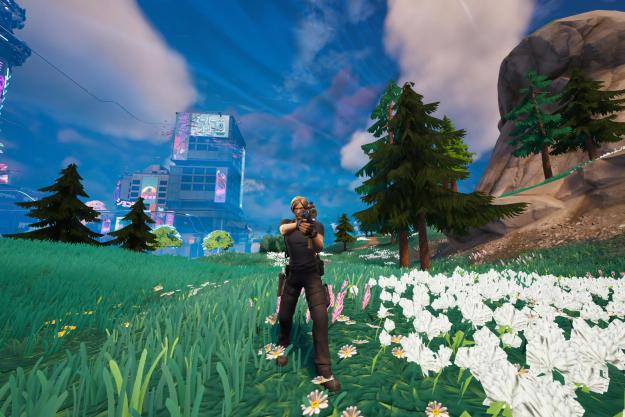
The easiest way to complete this challenge is to grab the motorboat located by a dock to the north of Salty Springs. You’ll find it southwest of Doom’s Domain, to the left of a colored bridge (which you’ll need to drive under). Use the image above for reference.
There are other motorboats across the map, but this one is in a perfect location to ride under three nearby colored bridges. You can attempt this challenge in any mode, but we found it easiest in Team Rumble, as you can respawn if you get killed. The other thing to note is that you should try and land at this location straight away so you can get into the motorboat before anyone else. With this challenge being new, players will no doubt be flocking to the motorboats to get it done, so be quick! And bring a friend with you to cover your back from any unwanted firefights with enemies.
Where to find the colored bridges
To complete this challenge, you need to ride a motorboat under three colored bridges in total. There are few things to know before attempting the challenge. For one, you have to ride under the colored bridges — regular bridges won’t count. The other thing is that you must ride under different colored bridges. Simply riding under the same one multiple times won’t work. Colored bridges are larger and made of steel — and the route we used features an orange, a blue, and a green bridge to go under — all of which are spread out around The Authority.
If you aren’t quick, the storm might hit you before you’ve ridden under all three. To ensure you get credit for all three in one match, use the route below. It’s also highly recommended to continuously use the motorboat’s boost (by pressing Circle on PlayStation 4 or B on Xbox One). It will have to recharge, but once it does, use it again to make sure you’re moving as quickly as possible.
First bridge


The first bridge is found directly to the east of the motorboat and directly south of Doom’s Domain. Drive under it to get credit for it, and then begin making your way to the north for the next one.
Second bridge


The next bridge is blue and is found to the north of the last, directly east of Doom’s Domain. To get here, take the path from the previous bridge and then turn left, which leads all the way to this bridge. Once you drive under it, whip your motorboat around and prepare to head for the third and final bridge.
Third bridge


The last bridge is green and is found to the east of Frenzy Farm. To get here from the previous bridge, head to the south, toward The Authority. Once you get there, take the east path, and you’ll eventually hit the green bridge. Make sure you pay attention to the position of the storm, because if you were slow to drive under the previous two, you might run out of time. Though, if you’re continuing to use your motorboat’s boost, you shouldn’t have any issues. Also, make sure you’re getting credit for riding under each bridge before moving on to the next.
Once you’ve driven under all three, you’ll earn 25,000 XP! Keep in mind, this does not have to be done in the same game, but since it’s a bit of pain, the quicker you can do it, the better.
Editors' Recommendations
- How many skins are in Fortnite?
- Rock Band 4 gets its final piece of DLC next week after over 8 years of support
- Fortnite Reality Augments: full list and how to use them
- How to mark enemies in Fortnite
- How to unlock Darth Maul in Fortnite