Whether or not you’re a fan of People Can Fly’s design tweaks in Gears of War: Judgment, the fact remains that the prequel-ish spin-off falls into must-play territory for fans of the series. There’s a definite back-to-basics approach in the Bulletstorm dev’s choices, a re-thinking of some of the basic Gears foundations that takes a few steps back in order to (hopefully) launch the series forward into the future. A lot of what you know from past games still applies here, but the tweaked control scheme, changed rules, and new modes bring some added wrinkles to your tactical cover-based play. Read on for a little primer on surviving in the brave, new world that Judgment puts in front of you.
Notes from the campaign
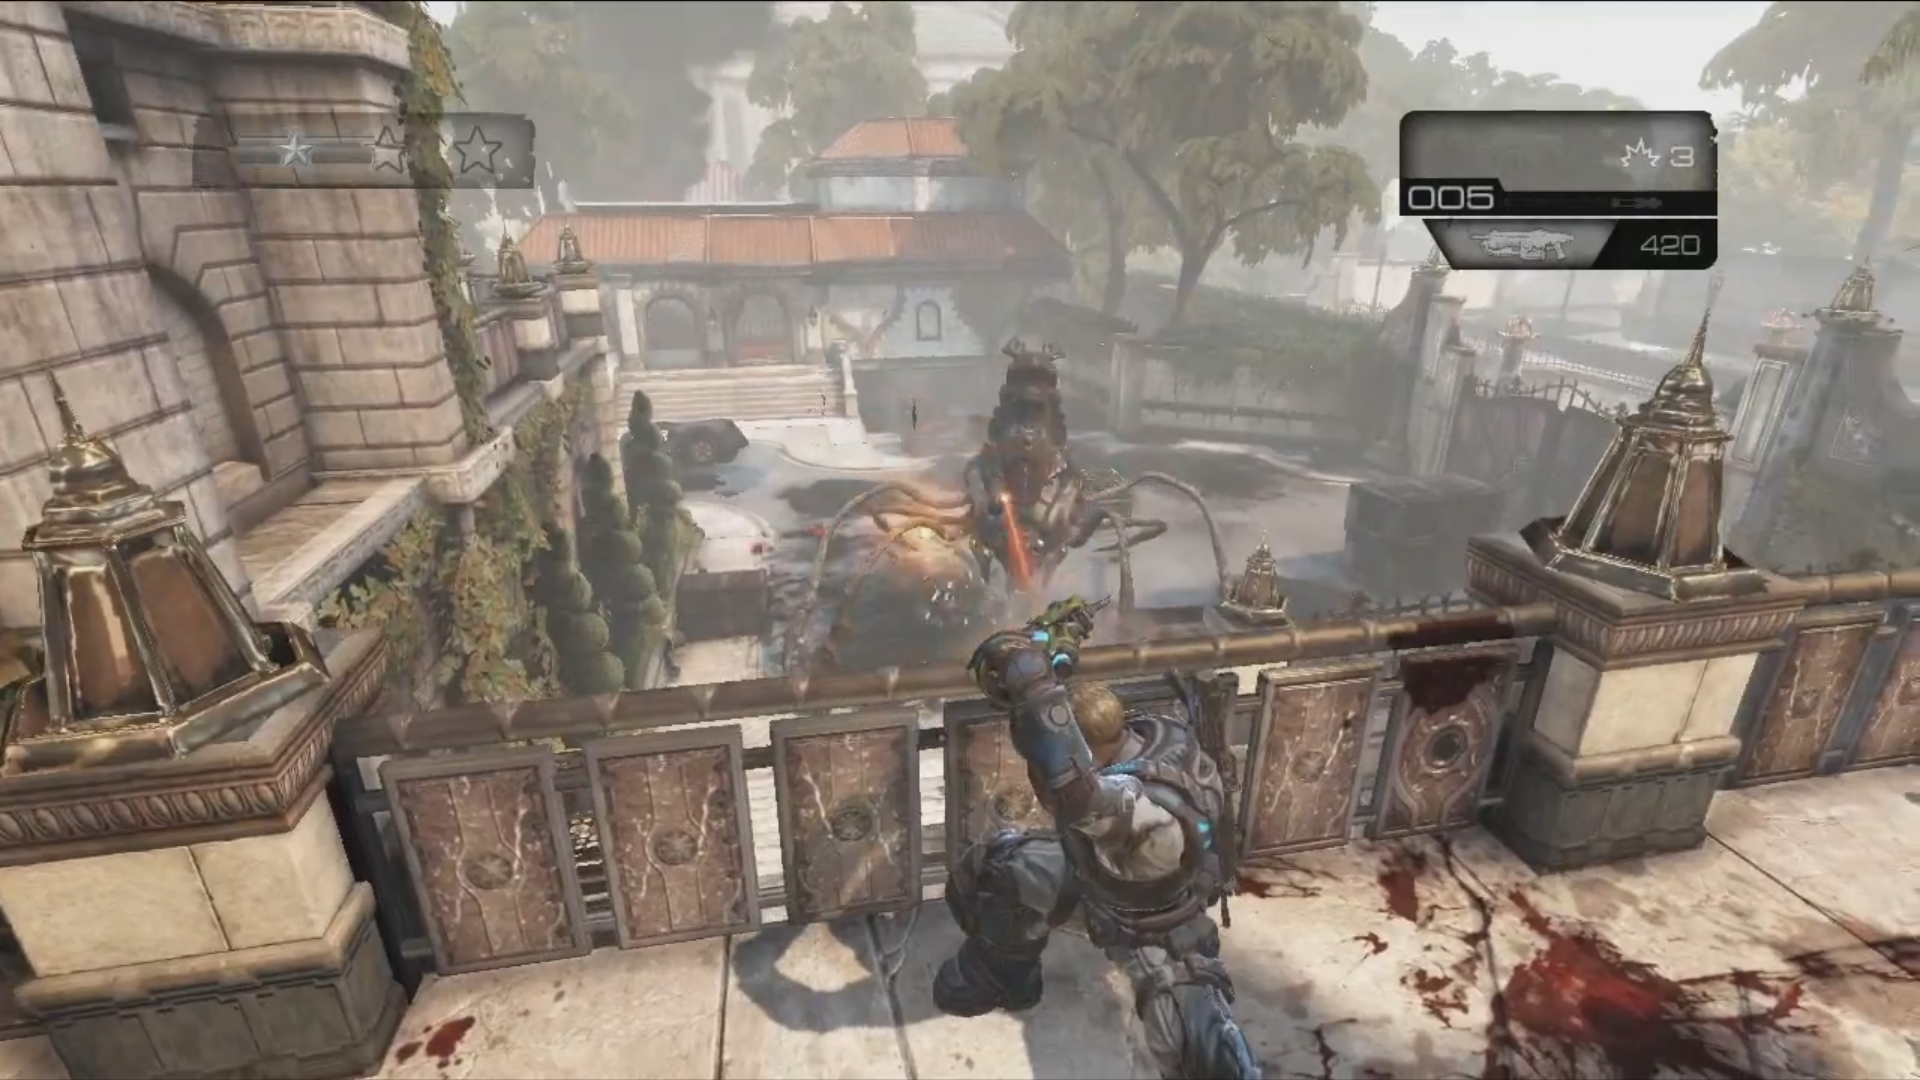
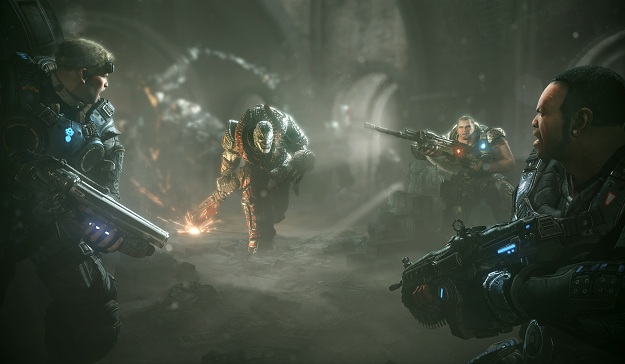
Whether or not you start with Judgment‘s campaign, you’ll likely end up there eventually. People Can Fly dramatically altered the flow of the action in comparison to previous Gears games, and it helps to go in with a good idea of what’s changed. The biggest component here: each chapter is broken into multiple sections, all of which amount to little more than a quick firefight or two. Most of these offer roughly 15-20 minutes of play apiece; some are even shorter. The bite-sizing of your checkpoint-to-checkpoint play in Judgment is motivated entirely by one of the game’s fundamental new features: scoring.

As you play through a given sub-section, you’ll see a meter at the top of the screen slowly filling up toward three levels of star rankings. Fill up to, or past a star and you add it to your growing collection. Completing a section on a higher difficulty replaces lower-tier stars, meaning Normal’s silver stars are replaced by Hard’s gold ones and Insane’s onyx ones as you tackle those difficulties. The differences between the types of stars is largely cosmetic, though your total count of stars feeds into certain unlocks, such as the Aftermath epilogue campaign (which you’ll unlock just by playing the campaign normally, and multiplayer skins (which you’ll have to work for).
 Judgment‘s campaign also introduces Declassified missions, which, when accepted, activate a modifier that impacts the content of the coming section. Sometimes you’ll be fighting against a timer or forced to use a specific weapons loadout, for example. Declassified missions are all hooked into the story, so the content of each one varies. You’ll always find a Declassified mission marker near the start of a section; just look for a large, red, glowing Crimson Omen symbol on a wall. Once you activate the symbol, text appears on screen that lays out what the mission is, at which point you can either accept or decline. One thing to note: your loadout won’t revert back to what it originally was when a Declassified mission forces you to, say, use two shotguns. Be sure to plan accordingly and start looking for dropped weapons if you’re not happy with what one of these optional missions forces on you.
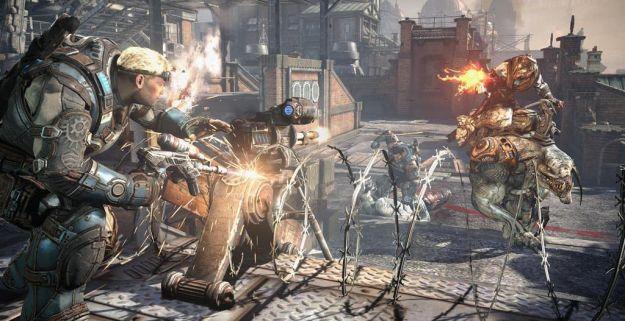
Speaking of weapons, Judgment does away with D-pad-based weapon-swapping. Now you switch between weapons using the Y button. You’re limited to two now; the sidearm slot is gone, though Snub, Boltok, and Gorgon pistrols can still be found throughout the game. Grenades no longer need to be equipped like any other weapon; tapping LB will throw one out – though be sure to aim high, as they drop quickly – and holding LB down will bring up the aiming arc for more precision throws. You’ll also notice that downed enemies often drop red-glowing ammo packets. You don’t need to press X to grab one; simply walk over it, and if you need ammo, you’ll get it.

One final note: Onyx ammo. The standard loadout weapons in Judgment take regular old ammo, collected by either picking up the same type of weapon, finding blue ammo boxes, or grabbing the red-glowing ammo pickups. Special weapons, such as Boomshots, Longshots, Diggers, Sawed-off Shotguns and the like, require special Onyx ammo. These pickups look like your standard ammo boxes, except they emit a green glow rather than a blue one. These boxes are useful even if you don’t carry around any special weapons, as an Onyx ammo pickup will also completely refill the ammo supply on any standard loadout weapon that you’re carrying.
The Struggle Continues
Multiplayer outside of the campaign has been stripped down a bit in Gears of War: Judgment. On the co-op side, Horde and Beast are both gone, replaced with the new Survival mode, which we’ll get to. Versus features four modes in all, three of which should be immediately familiar to fans of online shooters: Free-for-All and Team Deathmatch, which are standard for these sorts of games. They’re joined as well by Domination, which Call of Duty fans should recognize. Two teams vie for control of three different objectives, with team point totals climbing more quickly depending on how many of these capture locations are held. You can modify your loadout on the fly between spawns using the D-pad. OverRun is the fourth of the adversarial modes, and it works a bit differently.

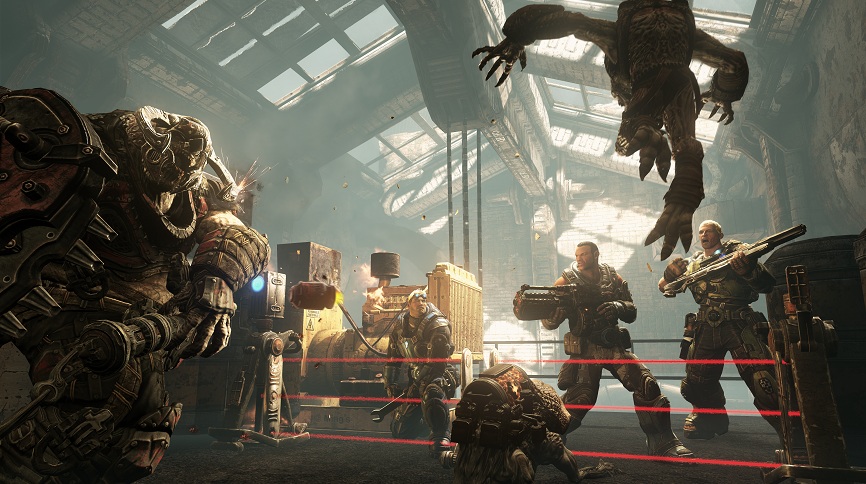
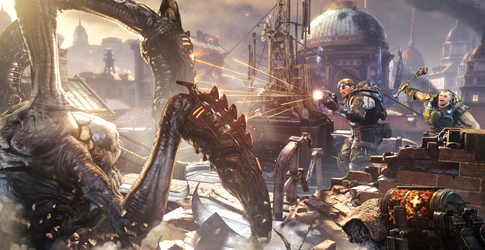
OverRun is probably the biggest new addition in Gears of War: Judgment, with Survival mode essentially being the co-op-only variant on OverRun’s adversarial multiplayer. The setup of both is the same: C.O.G. forces must defend two E-holes and a final generator location against Locust forces. These attack/defend points unlock sequentially, so if the Locust overwhelm one, the action shifts to the next one. OverRun is a timed game mode, meaning the C.O.G. simply need to hold off Locust forces before the clock zeroes out, while Locust players must try to destroy the three target locations as quickly as they can. Survival, on the other hand, is wave-based. Both modes require slightly different approaches, though one truth carries between them: having a team that communicates well is essential.
Unlike the FFA/TDM/Domination, OverRun and Survival are class-based. They use a different set of maps – four apiece for the three standard versus modes and the two class-based ones – and require completely different strategies for success. Survival is pure co-op, meaning you only play as the C.O.G. defending against Locust hordes. OverRun, on the other hand, is PvP. Both teams get a crack at playing as the two factions here, with the winner being the one that destroys the C.O.G. generator the quickest. The factions are so fundamentally different that we’ll look at each one separately and consider how to best play them for success.
Saving humanity: Planning a C.O.G. defense
The C.O.G. forces break down across four different classes: Soldier, Medic, Engineer, and Scout. Each one brings different abilities and loadouts to the mix, though there are a few common elements to be aware of. Each class comes with a special ability that can be activated using LB. The abilities operate on a cooldown timer which is visible in the top right corner of the screen, just below the ammo count portion of your HUD. Success in OverRun and Survival both pretty much require teams to mix things up; you can always tell how many of a given class is spawned already when you land on the class selection screen between spawns.
Now, let’s take a look at each one and how it works…
Soldier – The Soldier class comes to the battlefield packing a Lancer assault rifle and the new Booshka grenade launcher. Unlike the Boomshot, Booshka rounds detonate after a brief timer elapses; be sure to plan for that accordingly when you empty a clip in the direction of approaching Locust forces. The Soldier’s special ability allows him to throw out ammo boxes. This is the only way for C.O.G. to resupply in OverRun/Survival. Ammo boxes stick around for a few seconds before disappearing; stand inside its area of effect (marked by a blue-glowing circle) and your ammo stocks will replenish – it will even go above the previous maximum capacity. Throw out ammo whenever there’s a lull in the action, but generally think of your Soldiers as front-line infantry forces.
 Medic – Medics carry a Lancer assault rifle and a Sawed-off Shotgun into battle, which makes them effective at medium ranges but capable of wading to the front line if the situation demands it. You’ll generally want to keep Medics at the rear fringes of an engagement, ready to toss out a Stim Grenade when necessary. Stim Grenades heal and revive downed teammates; there’s no DBNO in OverRun/Survival, so Medics offer the only option for reviving. Stim Grenades aren’t limited by ammo counts; like the rest of the special abilities, they operate on a cooldown timer. Medics have the ability to see when a teammate is injured or downed via a directional icon that appears in the HUD, and operating effectively with this class involves keeping an eye out for those. One important note, however: GIB’d friendlies cannot be revived, and must respawn instead.
Engineer – Engineers only carry one offensive weapon into battle, a Gnasher shotgun, with the other weapon slot being occupied by a blowtorch. This secondary tool is the only item capable of repairing damaged defensive emplacements. Barbed wire and laser fences are placed automatically on OverRun/Survival maps, and they disappear for good once they’re destroyed. Engineers can slow this process by “shooting” the emplacement – be it a barrier or a turret – with the blowtorch. Just like any other weapon, the blowtorch has a limited amount of ammo – similar to a Scorcher’s fuel tank – and must be reloaded when emptied (although it can be infinitely reloaded. Soldier/Engineer combos are especially effective with repairs, since an Engineer receiving an ammo box boost can use the blowtorch without reloading until the box disappears. Engineers can also call on their special ability to toss out turrets, which are very useful for both defense and drawing away enemy aggro.

Scout – Scouts are Judgment‘s sniper class. They carry the new scoped, semi-auto Markza rifle into battle, with a relatively useless snub pistol available for backup. Like the Engineer, the Scout special ability breakdown is two-fold. The LB skill is a Scan Grenade; throw one out and it marks a sizable area for a brief period of time, revealing the location of any enemy that wanders into its area of effect as a red outline. Scouts are also able to leap up to sniper roost locations that the other classes can’t access. While the Scout is useful, it can safely be regarded as one of the more optional classes. A team will often be better served skipping a scout and bringing two Medics and/or two Engineers into battle. That said, the C.O.G. can be tough to beat if they manage to get a genuinely skilled sniper on your team.
Destroy All Humans: The Locust Offensive
The Locust bring eight different “classes” to OverRun/Survival, as compared to the C.O.G.’s foursome, though each is considerably more focused and less flexible when it comes to tactics. While any player can spawn as any Locust, the available options at a given moment are based entirely on how many points you’ve earned, much like Gears of War 3‘s Beast mode. Points are spent too, so if you spend 1,500 on a Rager you might short-change yourself for the 5,000 you’ll want to spend later on a Corpser. Any Locust class can be effective, however; it’s simply a matter of learning how to take advantage of their strengths. Tier one Locust – Tickers, Wretches, Grenadiers, and Kantus – cost nothing to “purchase.” Tier two Locust all carry a cost: Ragers are 1,500, Serapedes are 2,400, Maulers are 3,500, and Corpsers are 5,000.
 Ticker – Tickers are, by far, the biggest bargain you’ll find in OverRun. The two types of Tickers from previous games are conflated into one here, meaning you can use them to both claw at fortifications and explode in a kamikaze attack. The Ticker is effectively invincible once you trigger an explosion with the B button. Combine this with the cooldown-managed Dash ability to rush toward a fortification or attack a point before anyone can draw a bead and dish out the damage. Tickers can also access small tunnels that allow them to bypass certain fortifications, so keep an eye out. It’s generally a good idea early on to focus your Tickers in one direction, with the purpose of slowly wearing down enemy defenses on one side of the map to clear the way to the target location. Tickers are tier one Locust, which means they cost zero points, but the downside is that they are easy to kill.
Wretch – The Wretch is the most mobile of the Locust forces, able to jump over any barrier and climb up to sniper roosts to root out those pesky Scouts. You can rush them forward to the target point, but they don’t do an awful lot of damage and tend to die quickly. It’s not impossible to be effective with a Wretch, but they’re best used as a diversionary tactic while the rest of your team rushes in from a different direction. They move quickly and erratically, making them tough to gun down when they focus on evasion. Their cooldown ability is a Stunning Scream that prevents affected enemies from firing their weapons for a short period of time.
Grenadier – These front-line infantry Locust carry a Lancer and a Gnasher into battle. Using them is pretty straightforward: rush in, take cover, provide support for other Locust forces. Grenadiers have frag grenades as their cooldown ability. These explosives do less damage to a target point than a Ticker explosion can, but a well-placed Grenadier can spam grenades at an otherwise fortified E-hole/generator indefinitely. Grenadiers can and should also feed their grenades to friendly Tickers.
 Kantus – This Locust healer should set up shop at the fringes of the battle, just behind front-line Grenadiers and safely tucked into a cover position. They can use their cooldown-managed Heal ability to patch up and/or revive any in-range friendlies. They also carry a slightly modified Hammerburst into battle; unlike the campaign’s semi-auto Hammerburst, the OverRun version is set to burst-fire.
Rager – The lowest-priced Tier Two Locust is actually quite a bargain. The default Rager carries a Breechshot, a new weapon in Judgment that essentially amounts to an unscoped sniper rifle. This is great for advancing into a prime attack position, at which point you’ll want to hit LB to activate Rage mode. Unlike the campaign Ragers, Rage mode in OverRun only lasts for a brief amount of time, after which you revert to your weaker state. Raged up Ragers use melee attacks only, and they can cut quickly through both C.O.G. forces and defensive emplacements. Devastating in the right hands.
Serapede – The many-legged creepy crawly of the Locust forces metes out damage with melee-only pincer attacks. A well-positioned Serapede can chew quickly through an enemy defensive emplacement without fear of taking damage, since only the tip of its tail is vulnerable. Serapedes can also Rear Up, lifting the front portion of its body up and shooting acid spit at enemies and enemy defenses. A lone Serapede will be quickly overwhelmed by even two C.O.G. troops working in tandem, but they’re tough to fend off when they move in as part of a larger fighting force.
 Mauler – The Mauler is Tier Two’s biggest bargain, costing considerably less than a Corpser and bringing roughly the same damage potential to the equation, with the added benefit of increased mobility and protection. Shield-and-flail-wielding Maulers aren’t exactly new to the Gearsverse. You’ve seen them before, probably played as them before in Beast. Little has changed here. They dish out a lot of damage and soak up just as much, especially when ducked behind their shields. The Spin Shield cooldown ability is tough to contend with as well at close quarters; it effectively insta-gibs any enemy it comes into contact with.
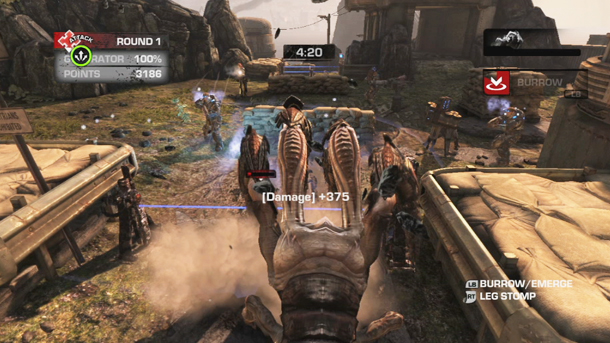
Corpser – The big daddy of the Locust forces, Corpsers are heavily armored tanks that are capable of burrowing underground and tunneling past enemy defenses. The cooldown-managed Burrow ability is also useful for getting out of sight when the enemy brings its forces to bear on these behemoths. A Corpser attack is effectively an insta-gib on any enemy. Corpsers can also cut very quickly through defensive emplacements and wear down E-holes/generators just as quickly. They represent an expensive investment. As with the other Tier Two Locust, it’s best to send these in behind a main force, moving in only after it becomes possible to capitalize on the chaos that front-line soldiers create.