Elden Ring's update patch 1.03 added many exciting new features to the game. A few mechanics got well-deserved buffs while others got long-coming nerfs. Along with some QOL improvements, Elden Ring added several new NPC quests to the game, including a new NPC and accompanying questline.
The new NPC is Jar-Bairn, and he's got quite the story to tell about his uncle Alexander, some anti-jar poachers, and his aspirations of becoming a brave warrior jar. This guide will cover how to beat the Jar-Bairn quest in Elden Ring and any prerequisites you must meet. Hop on Torrent and set a course for Jarburg!

How to beat the Jar-Bairn quest in Elden Ring
Before starting Jar-Bairn's quest in Elden Ring, you must progress the game until you reach the Liurnia region. From there, you'll need to find Jarburg, a small town full of sentient jar-people on the east coast of Liurnia. To get to Jarburg, ride south past Carian Study Hall. The easiest way to get there is to spawn at the Artist's Shack Site of Grace.
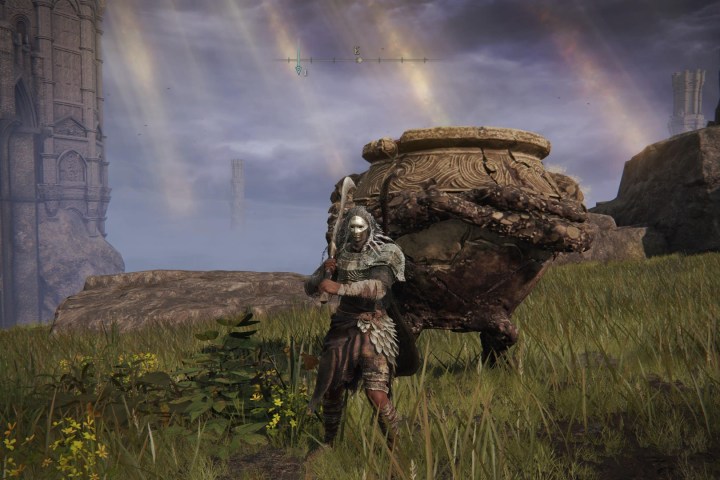
Walk up to the cliffside and look down. You'll see some tombstones sticking out of the mountain that you can maneuver down. Head down to find the friendly town of Jarburg below. Do NOT attack any of the jars, as they are your friends. See the image above for an exact location.
Now that you're in Jarburg, you can begin the Jar-Bairn quest in Elden Ring. However, to complete this quest you'll need to check off a few prerequisites:
- Complete Alexander Iron Fist's quest
- Complete Diallos' quest
- Defeat Starscourge Radahn (part of Alexander's Quest)
- Defeat Rykard (part of Diallos' quest)
We've laid out a quick step-by-step guide for Diallos and Alexander below, so don't go anywhere! Assuming you meet all four prerequisites, here's how to complete the Jar-Bairn quest in Elden Ring.
Step 1: Warp to the Jarburg Site of Grace and look slightly to your left. You'll see Jar-Bairn, a tiny warrior jar child, sitting on a wall. Approach the NPC, talk to him, and exhaust all dialogue. When he asks you to become Potentate, say yes.
Step 2: Rest at the Site of Grace and then talk to Jar-Bairn again. He'll task you with picking some rare flowers around Jarburg. Pick a few (or all to be safe) and then rest at the Site of Grace again.
Step 3: Talk to Jar-Bairn again, and he'll tell you all about his uncle Alexander Iron Fist, aka Alexander Warrior Jar, the NPC you probably summoned during the Starscourge Radahn boss fight. Travel out of Jarburg, ideally anywhere that'll pass the time significantly. Keep traveling in and out, talking to Jar-Bairn each time until he starts talking about poachers hunting his people. Honestly, who could ever hurt these cute little jars!
Step 4: Here's where completing Diallos' quest comes into play. If you've completed it, Jar-Bairn will tell you about Diallos' arrival in Jarburg. He's in the only accessible shack, so head down and talk to him. You'll see him playing with another Jar-kid. Exhaust his dialogue and then fast-travel out of Jarburg. Warp around a few times until you come back to Jarburg to find Jar-Bairn isn't where he usually sits.
Step 5: All the jars are dead! Find Jar-Bairn in the middle of the road, and he'll tell you about Diallos' bravery. Head up the road to find Diallos, who's dying in the middle of the path. Tell him that he defended the jars.
Step 6: Refresh Jarburg and head back to Diallos' body once more. You'll find Jar-Bairn standing over it. Exhaust all dialogue and then refresh again. You'll see Jar-Bairn sitting back in his regular spot.
Step 7: Here's where Alexander's questline comes in. If you completed it, talk to Jar-Bairn and give him Alexander's Innards. Exhaust all dialogue and refresh again.
Step 8: Jar-Bairn should be gone. In his spot, you'll find the Companion Jar Talisman, used to increase the potency of your throwing pots. Head down to where Diallos died to loot a few more items, including his mask.
How to complete Iron Fist Alexander's quest in Elden Ring
Without going into great detail, here's a quick step-by-step on how to complete Alexander Iron Fist Quest in Elden Ring. Remember to ALWAYS exhaust all dialogue options. You'll know you've done so when an NPC starts repeating the same thing.
- Help him out of a hole in Northern Stormhill. He's on a hill above the Saintsbridge Site of Grace.
- Chat with him in Gael Tunnel, on the border of Limgrave and Caelid. He'll be waiting at the end of the tunnel, just before the boss fight.
- Head to Redmane Castle (where you fight Radahn) on the southern tip of Caelid. Talk to him before the Radahn fight.
- Talk to him again after beating Radahn. He'll be near the Starscourge Site of Grace. You may have to refresh the area.
- Help him out of a hole on the cliffs above Jarburg, right under Carian Study Hall. You'll have to throw an Oil Pot at him.
- Head to Seethewater Terminus in the western region of Mt. Gelmir. You'll find him bathing in a lava pool. However, you'll have to defeat a Magma Wyrm boss first. You can safely talk to him from a rock in the lava pool. You'll hear him enjoying himself in the warm bath.
- Finally, you'll find him in the Crumbling Farm Azula, where he'll challenge you to a duel. Defeat him, and he'll give you his innards, among other items. This is an end-game area, so you'll need to progress through the Mountaintops of Giants area first.
How to complete Diallos' quest in Elden Ring
Other than Alexander Iron First, you also have to complete Diallos' questline to finish Jar-Bairn's quest in Elden Ring. Again, without going into too much detail, here's a quick step-by-step guide.
- Talk to him in Roundtable Hold.
- Talk to him again in Lake Liurnia. You'll find him wailing over a corpse in Academy Gate Town.
- Talk to him again in Roundtable Hold.
- Join Volcano Manor, but don't beat the questline yet. It's OK if you've done some assassinations, but you can't kill Rykard.
- Talk to him in the Drawing Room.
- Defeat Rykard.
- Progress Jar-Bairn's quest until he mentions Diallos' arrival in Jarburg.
Editors' Recommendations
- The best cozy games
- How to turn off the DualSense controller speaker on PS5
- How to join the Sea of Thieves PS5 closed beta
- Best gaming console deals: cheapest prices on PS5, Xbox S and X and Switch
- How to use Waterbending in Fortnite