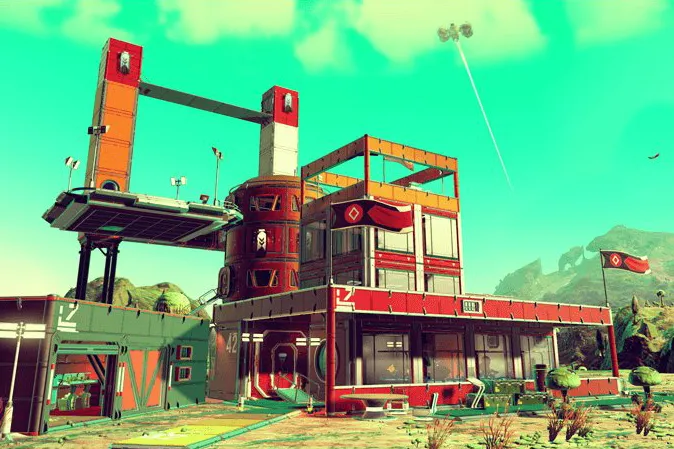
What was at first a slow, lengthy, sometimes frustrating process has been greatly simplified, with clear signposts to point the way toward your first base and a much quicker introduction to the system overall. In fact, putting down roots on a planet to start building your base in No Man’s Sky is now one of the first tasks that will be assigned to you in the game’s opening hours.
Though it’s much easier and clearer than it was before, unlocking all the tools you’ll need to make your home in space and building a base you’re actually happy with will take some investment. It’s still easy to get stuck along the way to building your dream base, so we’ve built a guide to help get you moved into your new home in space as quickly as possible.
Further reading
The basics of bases
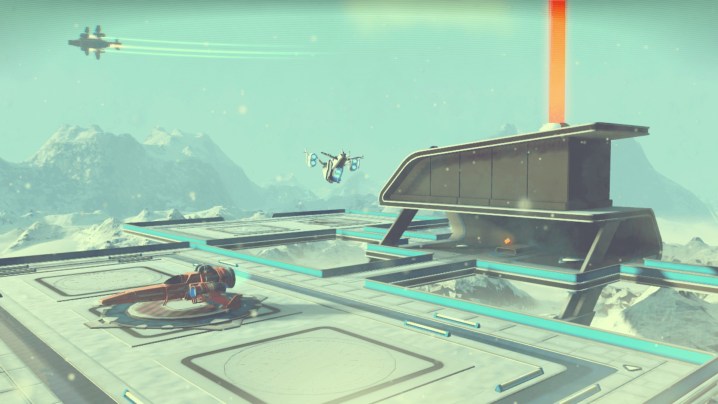
You’ll get your first taste of base building in No Man’s Sky just from following the game’s introductory quest. After repairing your crashed ship and heading out into space for the first time, you’ll receive a signal from a nearby planet, and upon landing, you’ll find a crashed probe that’s emitting the signal. Interacting with the machine will give you a set of plans for a Base Computer and a Terrain Manipulator, both of which are necessary for building a base.
Though you have the plans, you still need to actually construct these essential tools before you get to work. You’ll need to use the Terrain Manipulator to dig up the materials you need for the Base Computer, so focus on that first. Building the Terran Manipulator requires two Carbon Nanotubes and one Di-hydrogen Jelly. Open the Multi-Tool menu and install the Terrain Manipulator to begin the building process. There’s a chance that you already have one or both of the materials you need from your exploration up to this point, but if not, they’re both easy to obtain. You can build Carbon Nanotubes in your inventory using Carbon and Di-hydrogen Jelly using Di-hydrogen, both of which you can scavenge from the environment. They may be harder or easier to find depending on the planet you’ve found yourself on, but it shouldn’t take long to find what you need using your Analysis Visor.
Once you’ve installed the Terrain Manipulator, use your Analysis Visor again, this time scanning for Copper. You’ll find Copper in massive deposits on the planet’s surface, so it should only take one to gather what you need. While you’re hunting for Copper, it’s a good idea to collect any Carbon you come across, as you’ll need it shortly to build your base.
With Copper in hand, you can convert it into the Chromatic Metal that you need to build your Base Computer. Just open up your portable technology crafting menu, place a Portable Refiner, and turn some of that Copper into 30 Chromatic Metal.
Setting up camp
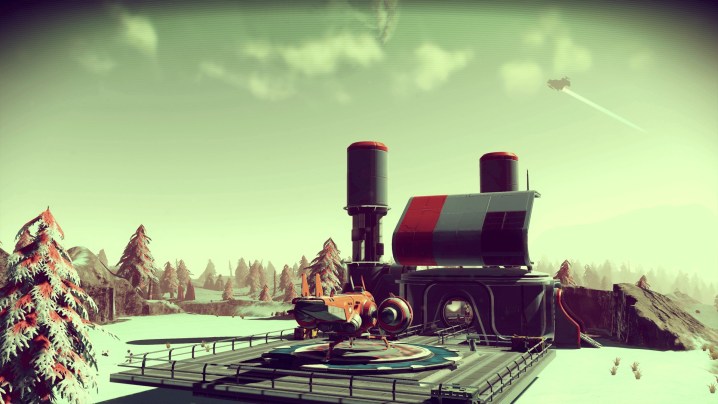
Now, it’s finally time to start your first base. At this point, you can just build a Base Computer from the crafting menu and plunk it down right where you are, but just like in the real world, there are three keys to finding your perfect home: Location, location, location. Keep in mind that No Man’s Sky no longer limits how many bases you can build, so your first base will most likely end up as only a temporary home, meaning you shouldn’t agonize over the decision for too long. A lot of the game’s early quests hinge on returning to your base to expand it, though, so you should choose a location that you’re willing to spend some time in.
Ideally, you should set up your Base Computer on a planet that doesn’t have any extreme weather conditions or aggressive Sentinels and in a spot that has plenty of resources nearby. Setting up near an existing settlement with a landing pad will save you on expensive maintenance costs, as taking off from one doesn’t burn valuable Launch Thruster fuel, and doing so could also provide you with neighbors to trade with. A nice view wouldn’t hurt, either. If you’ve found a good location that’s only hampered by uneven ground, remember that you can use your Terrain Manipulator to flatten the area around you.
Once you’ve picked out a suitable plot of land, you can set down your Base Computer and claim your very first base. The first time you access the Base Computer, you’ll be granted the basic blueprints you need to construct your base with a floor, a doorway, walls, and a roof. If you set down your computer on the planet where you found the crashed probe, accessing the computer will also trigger a storm, so you should get building right away. That’s also why it’s a good idea to have the carbon you need already on hand. You can get as involved as you want with your first building, but if you just want to get on with the quest, a single floor tile with walls, a doorway, and a roof will do the trick.
Plans to expand
With your first building finished, access the Base Computer again to get the plans for a Construction Research Unit. Building this module requires 20 Magnetised Ferrite and one Carbon Nanotube, which again should be easy to build or refine with what you have on hand. To make Magnetised Ferrite, you’ll need to refine Ferrite Dust into Pure Ferrite, then refine that Pure Ferrite once more.
Building the Construction Research Unit will really open up the possibilities for expanding your base. You can use the Construction Research Unit to acquire new blueprints using Salvaged Data, which you can find on most planets. Using your Analysis Visor, look for Buried Technology Modules, which will show up with a signal that resembles a Wi-Fi icon. Getting to these will require digging with the Terrain Manipulator, and each one rewards Salvaged Data, which you can trade for building plans back at your base.
At this point, it’s a good idea to name your base. No Man’s Sky generates a name for each base, and you’ll probably want something a bit more pleasing to the ear than what the game comes up with. More importantly, you’ll want a way to remember which base is which once you have several scattered around the galaxy, and something you come up with will be much easier to remember than the alien name assigned to it. You can also upload your base at this point, which will save your base on the No Man’s Sky servers, and is a good habit to get into every time you make a major change that you don’t want to get erased.
Leave the door open
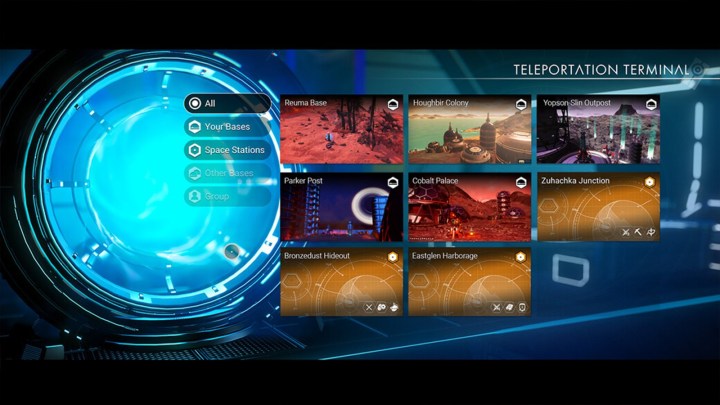
Before moving on to bigger base projects, one thing you’ll definitely want is a Teleporter. Building one is simple enough, but you’ll also need to power it. To do that, you need to build a Biofuel Reactor, found in the Power crafting menu, and Electrical Wiring. With your Biofuel Reactor placed, connect it to the Teleporter with Electrical Wiring, load the reactor up with Carbon, and your Teleporter will activate. That will allow you to teleport to and from the base using another Teleporter, like those found on space stations.
As you continue to explore the galaxy, you’ll likely end up with a lot of bases separated by light years, and installing a Teleporter in each one will give you fast access to every planet you’ve put down roots on. If you come across a planet that has rare resources or anything else you want to have access to later, it’s good practice to simply set up a Base Computer and a Teleporter so that you can always find your way back. A recent update to No Man’s Sky improved the Teleporter interface, making it even easier to find and warp to exactly where you want to be in the galaxy.
Learning the ropes
With a connection to the Teleporter network and a Construction Research Unit to get new blueprints, you’re free to expand your base as you see fit at this point. However, you’re just getting started when it actually comes to base-building quests. From here on out, you’ll get regular updates from your Base Computer, each one containing a new mission. These missions will grant you new blueprints and task you with building what they contain, which can range from a new base structure to upgrades for your existing equipment. Once you finish building what you’re assigned, a timer will start ticking down until the next mission becomes available. Make sure you’re keeping up with these quick assignments and you’ll have a steady stream of new blueprints coming your way.
To activate another, arguably more important, set of base-related missions, you’ll need to contain the game’s story missions as well. Keep following the quest chain to track to Artemis, and later Apollo, until you reach the Ghost In The Machine quest. This will set you down the path to hiring the first Specialist for your base. During this quest, you’ll have to make contact with Apollo using a Holo Terminal, which the game will point you to using your ship’s scanners. Apollo will send you to meet a contact of his, who will provide you with plans for a Construction Terminal for your base.
After completing the quest to build a Construction Terminal, you’ll be able to hire an Overseer from a space station. If you’re still operating from a location you’re not totally pleased with, now is the time to change that. Once you set down the Construction Terminal and hire an Overseer, you’ll be getting into more advanced technology that’s much costlier to build and setting up a permanent base. This technology can’t be picked up and moved like much of what you’ve been working with up to now, and you don’t want to waste resources building a major project that you then leave behind. It’s worth taking the time to find your ideal base-building spot now so you don’t regret it later.
Once you’ve selected the perfect location for your Construction Terminal, you’ll need to meet your base’s Overseer. After you’ve recruited your Overseer, you can go back to your base to visit them anytime you like. The Overseer will provide you with building quests to improve your base and unlock new buildings.
The Overseer will help players gain access to a host of blueprints and may even hire a bit of extra help from specialists to complete new missions (keep an eye out for the scientists, for instance). As you encounter more and more specialists, the tech they give you will become more complicated. As it scales up in complexity, we recommend that you devote a bit of time traveling to different planets to collect the tools you may need to complete the specialists’ new tech.
After you’ve gained an understanding of your tools and tech, you can start a mission whenever you’re ready. Eventually, you’ll need to use your quests to gain access to some high-level structures that will offer you an ideal space for base camp. Each of these buildings gives you the chance to automate resource gathering, which helps grow your base and make you rich in the galactic market.
Once you’ve found, established, and staffed your new base while simultaneously starting new quests, you can expand on your building. As you gain access to new tools and technologies, you can apply them to your space. It’ll optimize your building and turn it into your ideal space. Eventually, you’ll have all the equipment and skills you need to form your perfect base in No Man’s Sky.
Editors' Recommendations
- You can try No Man’s Sky for free this weekend
- Light No Fire: release date speculation, trailers, gameplay, and more
- The maker of No Man’s Sky revealed its next ambitious game: Light No Fire
- All Gold Ball locations in Like a Dragon Gaiden: The Man Who Erased His Name
- What is the code to the Lizard’s lab in Spider-Man 2?


