For more check out our full Daylight review.
Zombie Studios latest outing steps into the pitch black darkness of Daylight. Yes, it’s an unusual title for a game that’s illuminated by the weak LED flashlight of a smartphone, but the creep factor is strong with this one.
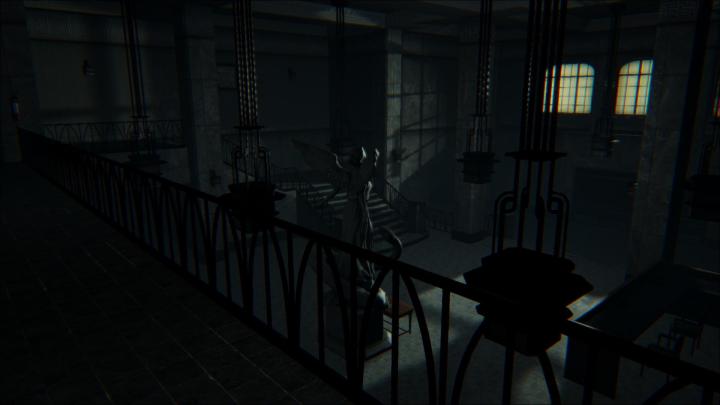
The game sends you off to explore a series of randomly generated environments in search of clues that piece together the history of the abandoned hospital that you’re trapped in at the start. Find enough clues and you get to advance to the next area. Throughout the hospital you’re pursued by an evil specter that wants to kill you. It’s not pleasant, and it’s not meant to be.
One word of advice before you read any further: This is a game in which the fear factor hinges on maintaining a sense of mystery. This collection of tips will help you “win,” as far as reaching the end of the story goes, but some of the journey’s intended impact will be lost once you understand exactly how the rules work. There aren’t any story spoilers below, but you may spoil Daylight for yourself if you stick to this or any other guide.
Unravel the mystery. Although it’s not clearly marked, there are two different type of areas that you’ll spend your time in Daylight. The main areas are where the proper gameplay happens: you avoid deadly, spectral Shadows while collecting a certain number of “Remnants” — documents that shed insight on the hospital’s history — before you can pick up the area’s exit key. These areas are bridged together by danger-free zones. There’s still a lot of creepiness going on in these spaces, but greyed out Threat and Remnant icons in the bottom right corner of the screen mean you can explore in relative safety.
Keep an eye out as you wander for glowing blue and glowing red points of light. These are collectible documents that fill in the story. Blue ones appear in the safe bridge areas, while red ones are your Remnants. You’ll need to collect a certain number of these — noted on the icon — before you can grab the key from the area’s key room. That’s the basic rhythm of Daylight: explore a creepy yet safe area to fill in more of the story; seek out the Remnants in the area the follows; grab the key and escape; repeat.
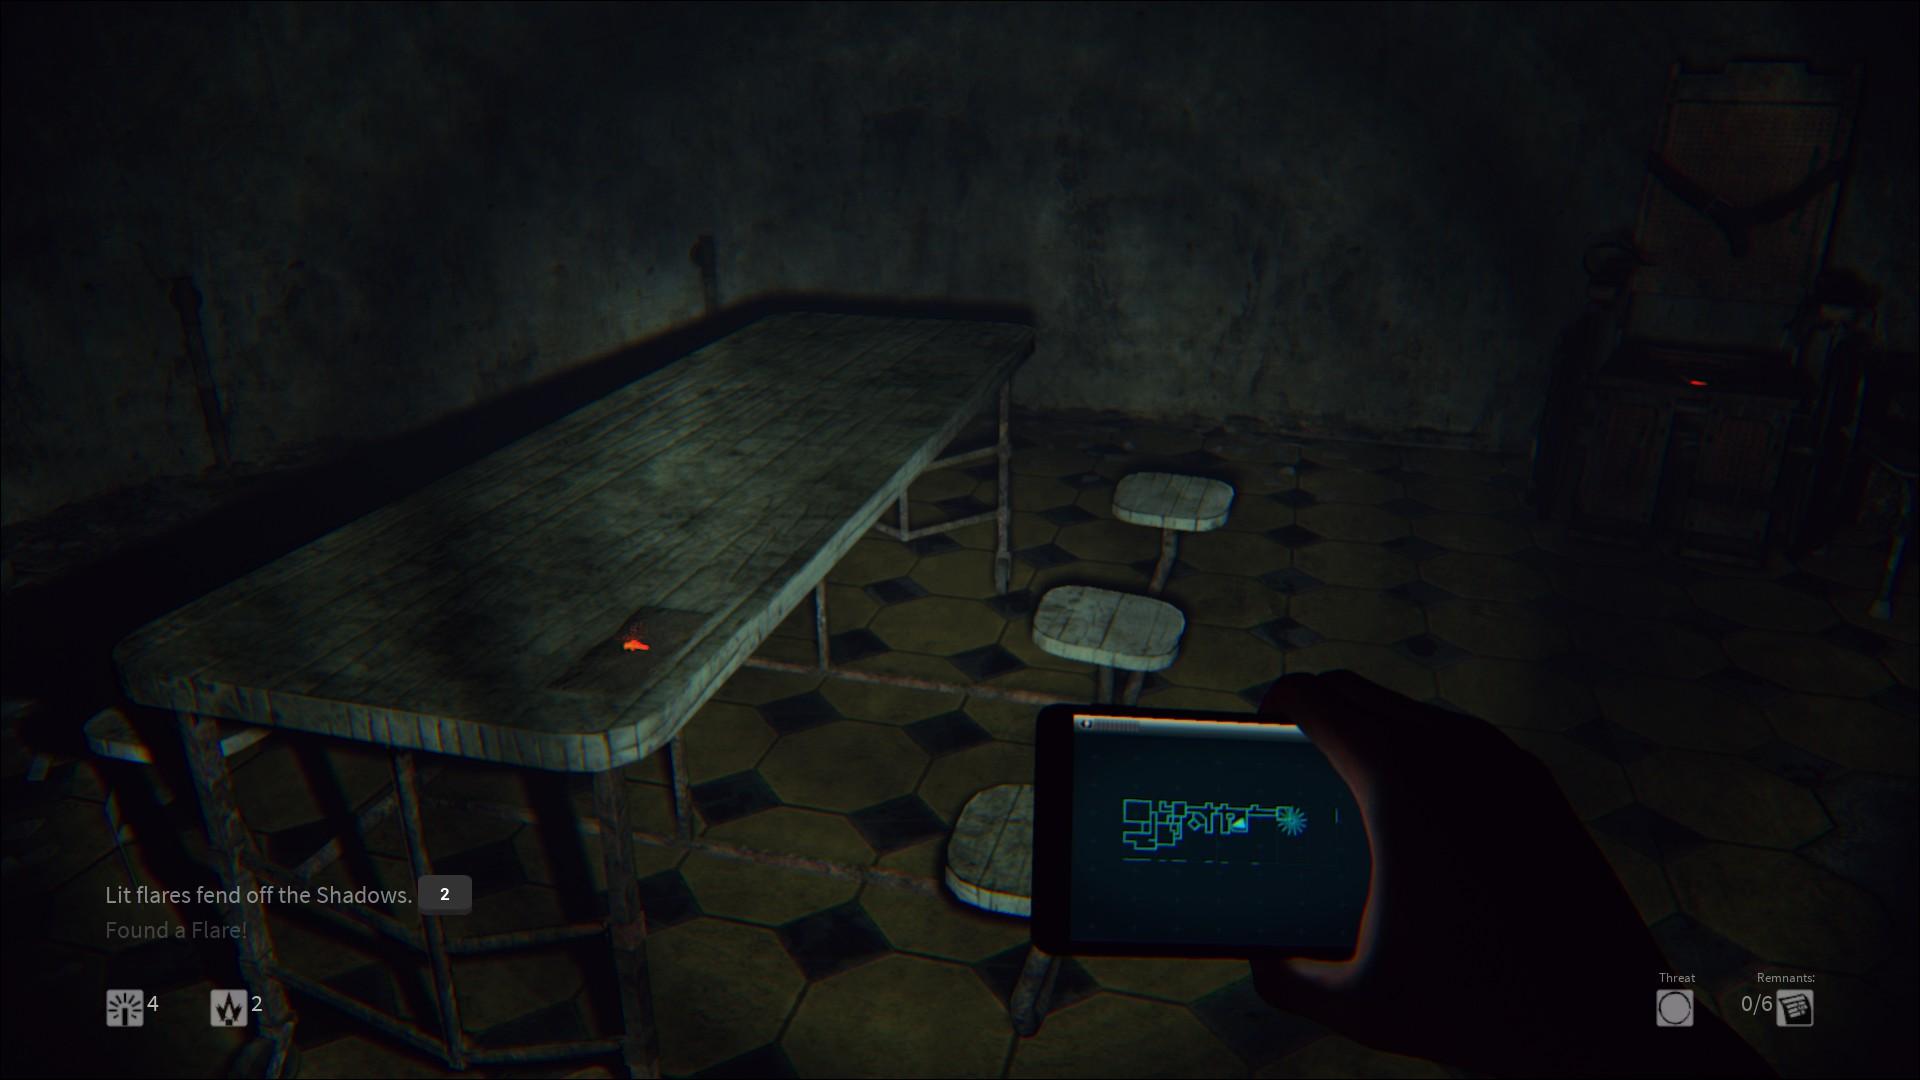
Let there be light. Glowsticks won’t save your ass in Daylight, but they’ll help you progress through each section quicker. Lighting one up doesn’t just give you a clearer (if green-hued) look at what’s around you, it also helps you find important stuff! Searchable containers that contain useful objects are highlighted by glowing markings when you’re wielding a glowstick.
You can only carry four of these bad boys at a time, but it’s important in Daylight to not be precious with your supplies. The longer you wander around in an area, the greater the chance of a Shadow catching up with you and ending your journey prematurely. Keep an eye out for brown satchels on the ground, typically near the start of a new area. You can interact with these to refill your glowsticks from an endless supply.
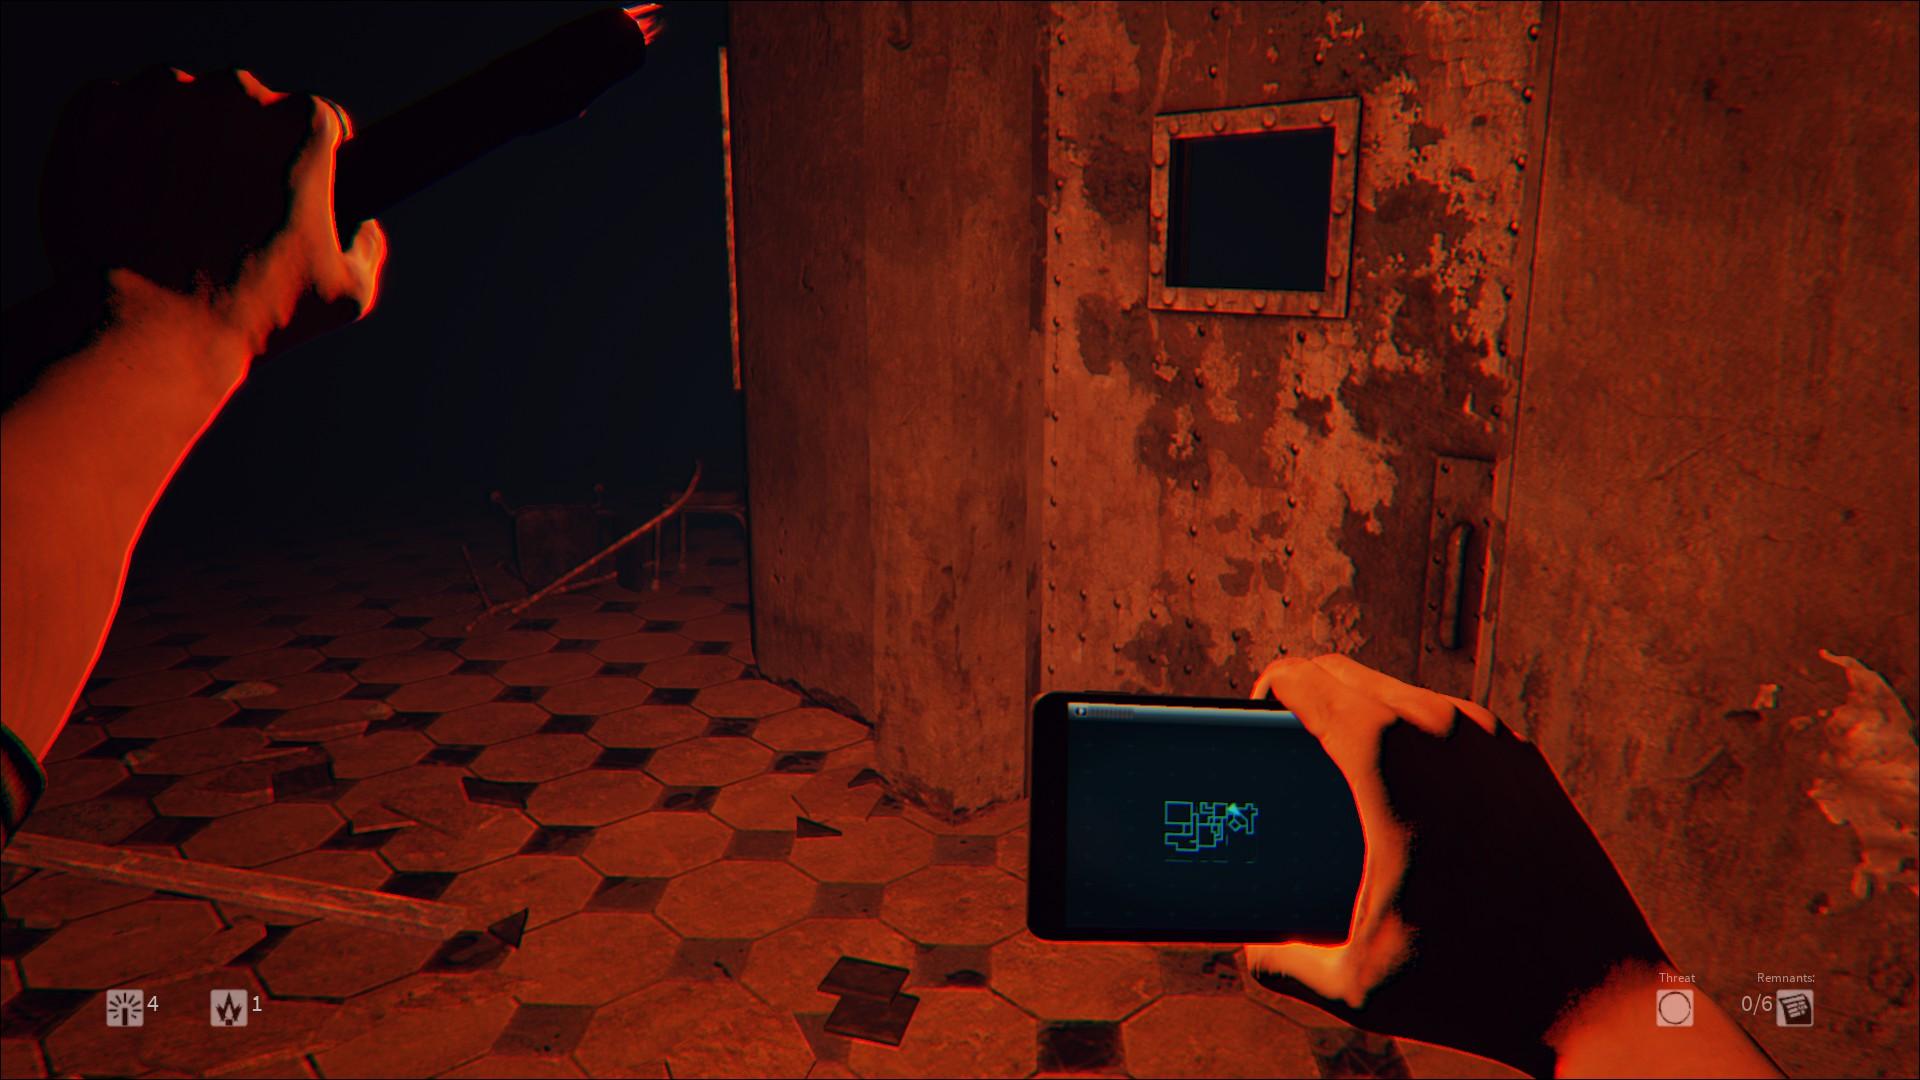
Cleansing fire. You don’t have any weapons in the traditional sense in Daylight, but you do get somewhat close with flares. Like glowsticks, you can only carry four flares at a time, but you won’t use them to find objects. Instead, they fill more of an offensive role, banishing any Shadow that falls under their harsh glare. They also have a much shorter duration than glowsticks, so use them sparingly.
While it’s possible to find extra flares stashed away in lockers and other containers, you can also find a limitless supply of them inside of first aid lockers. There’s one locker per area in Daylight, and — unlike the glowstick satchel — it’s usually buried somewhere in the depths of the randomly generated maze.
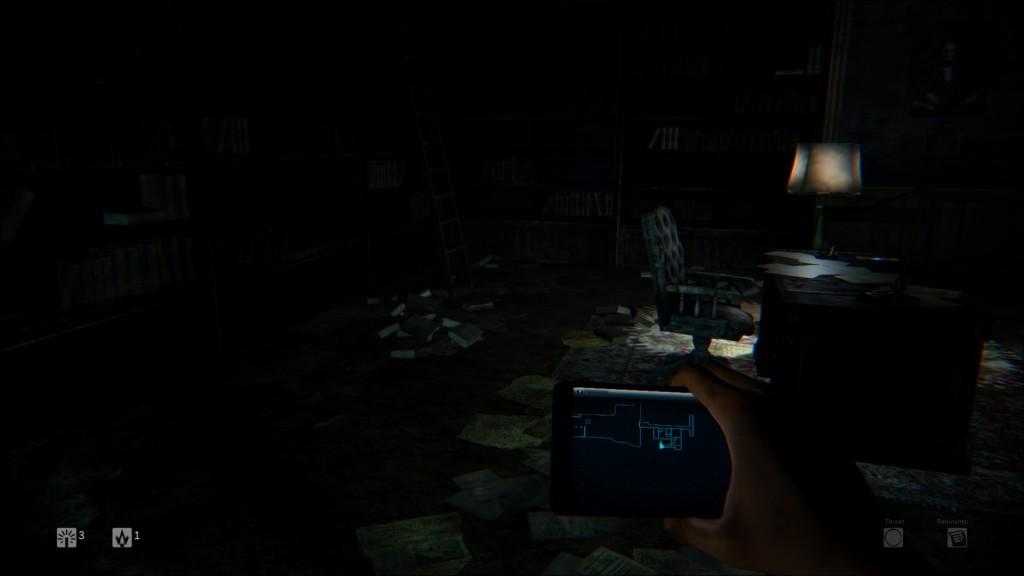
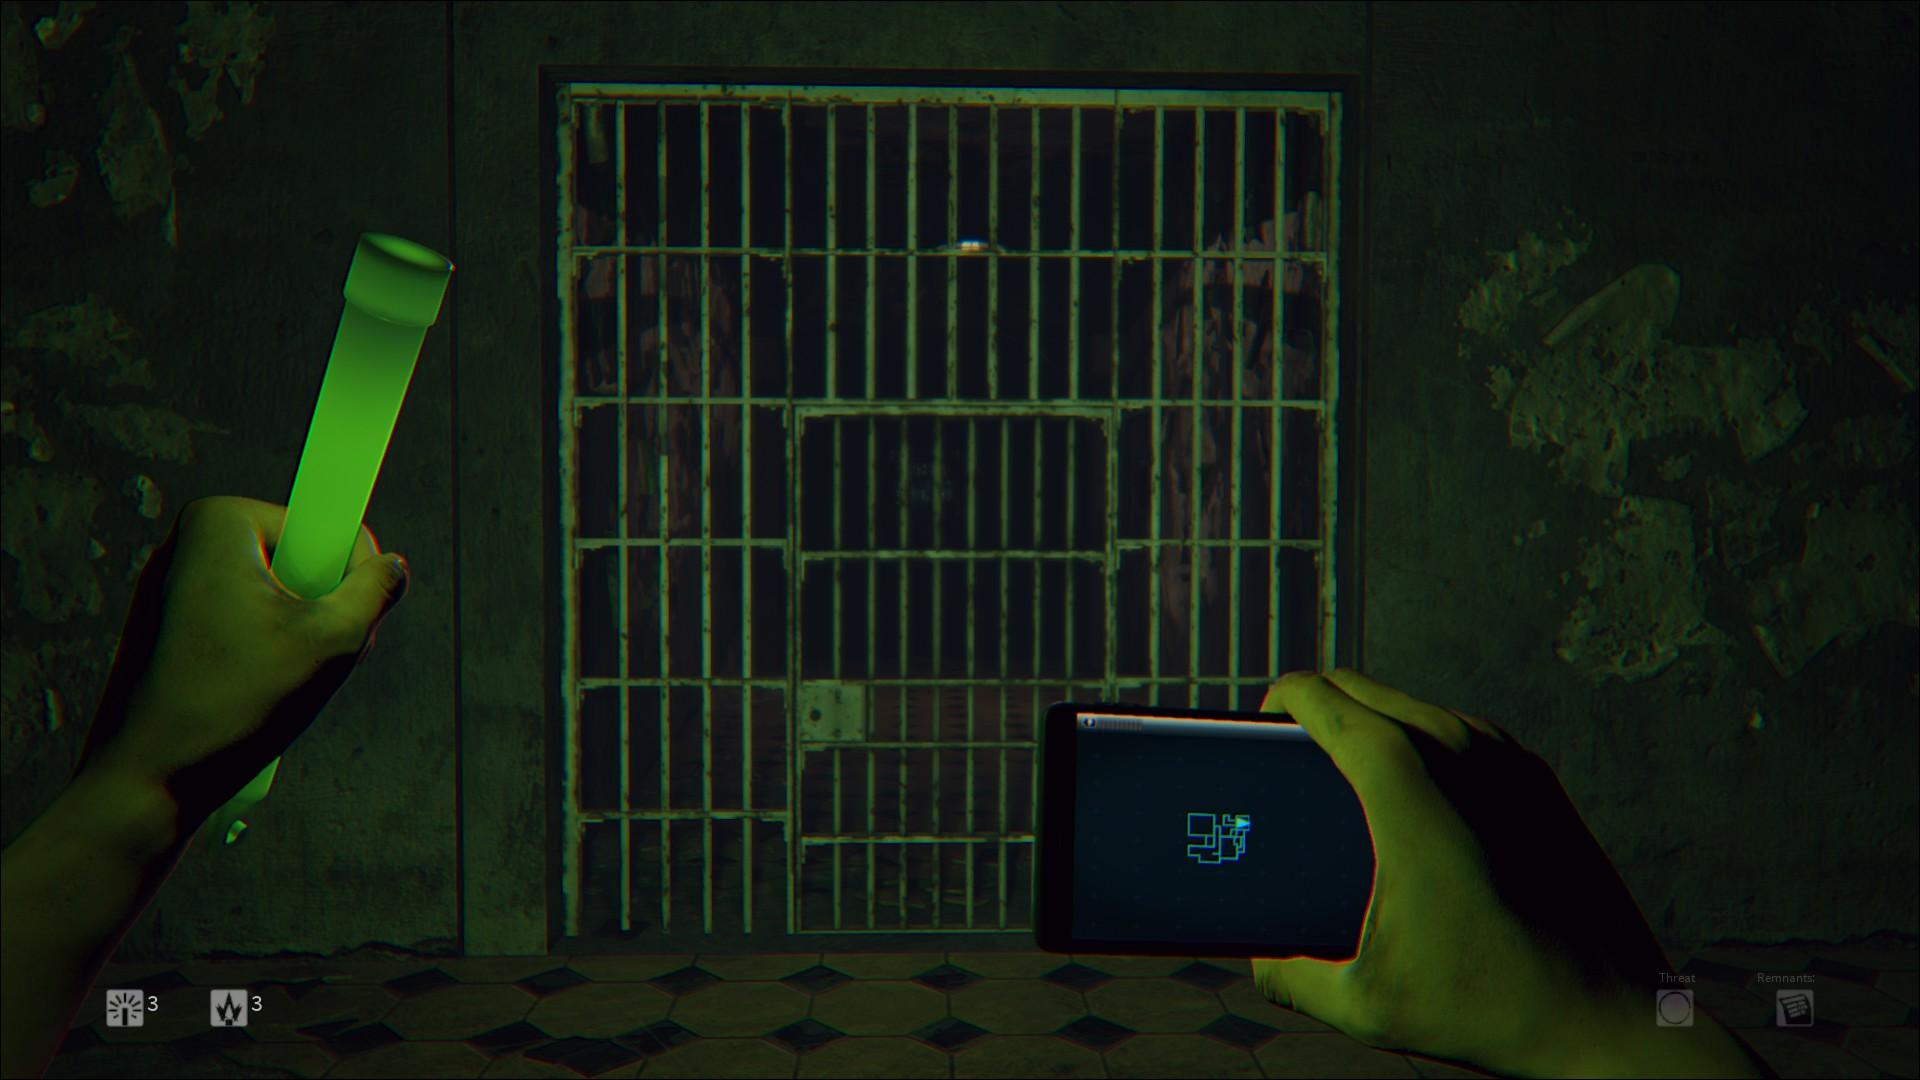
Death in the dark. There’s only one entity in Dalight that’s capable of killing you: Shadows. There’s no real way of knowing exactly when these female specters will show up to terrorize you, but it happens frequently. A small “Threat” icon in the bottom right corner of the screen slowly fills in as you work your way through an area, indicating how often the Shadow will pop up to pursue you. You can also tell when a Shadow is close if you start seeing distortion on your phone’s map screen.
Flares are the most effective way to shake a pesky Shadow, but your supplies are always limited. Shadows will give chase if you try to get away, but you can run faster than they can. Running is always an option, and it’s one you should willingly take when you’ve got a way out. Think of flares as a last resort safety measure.
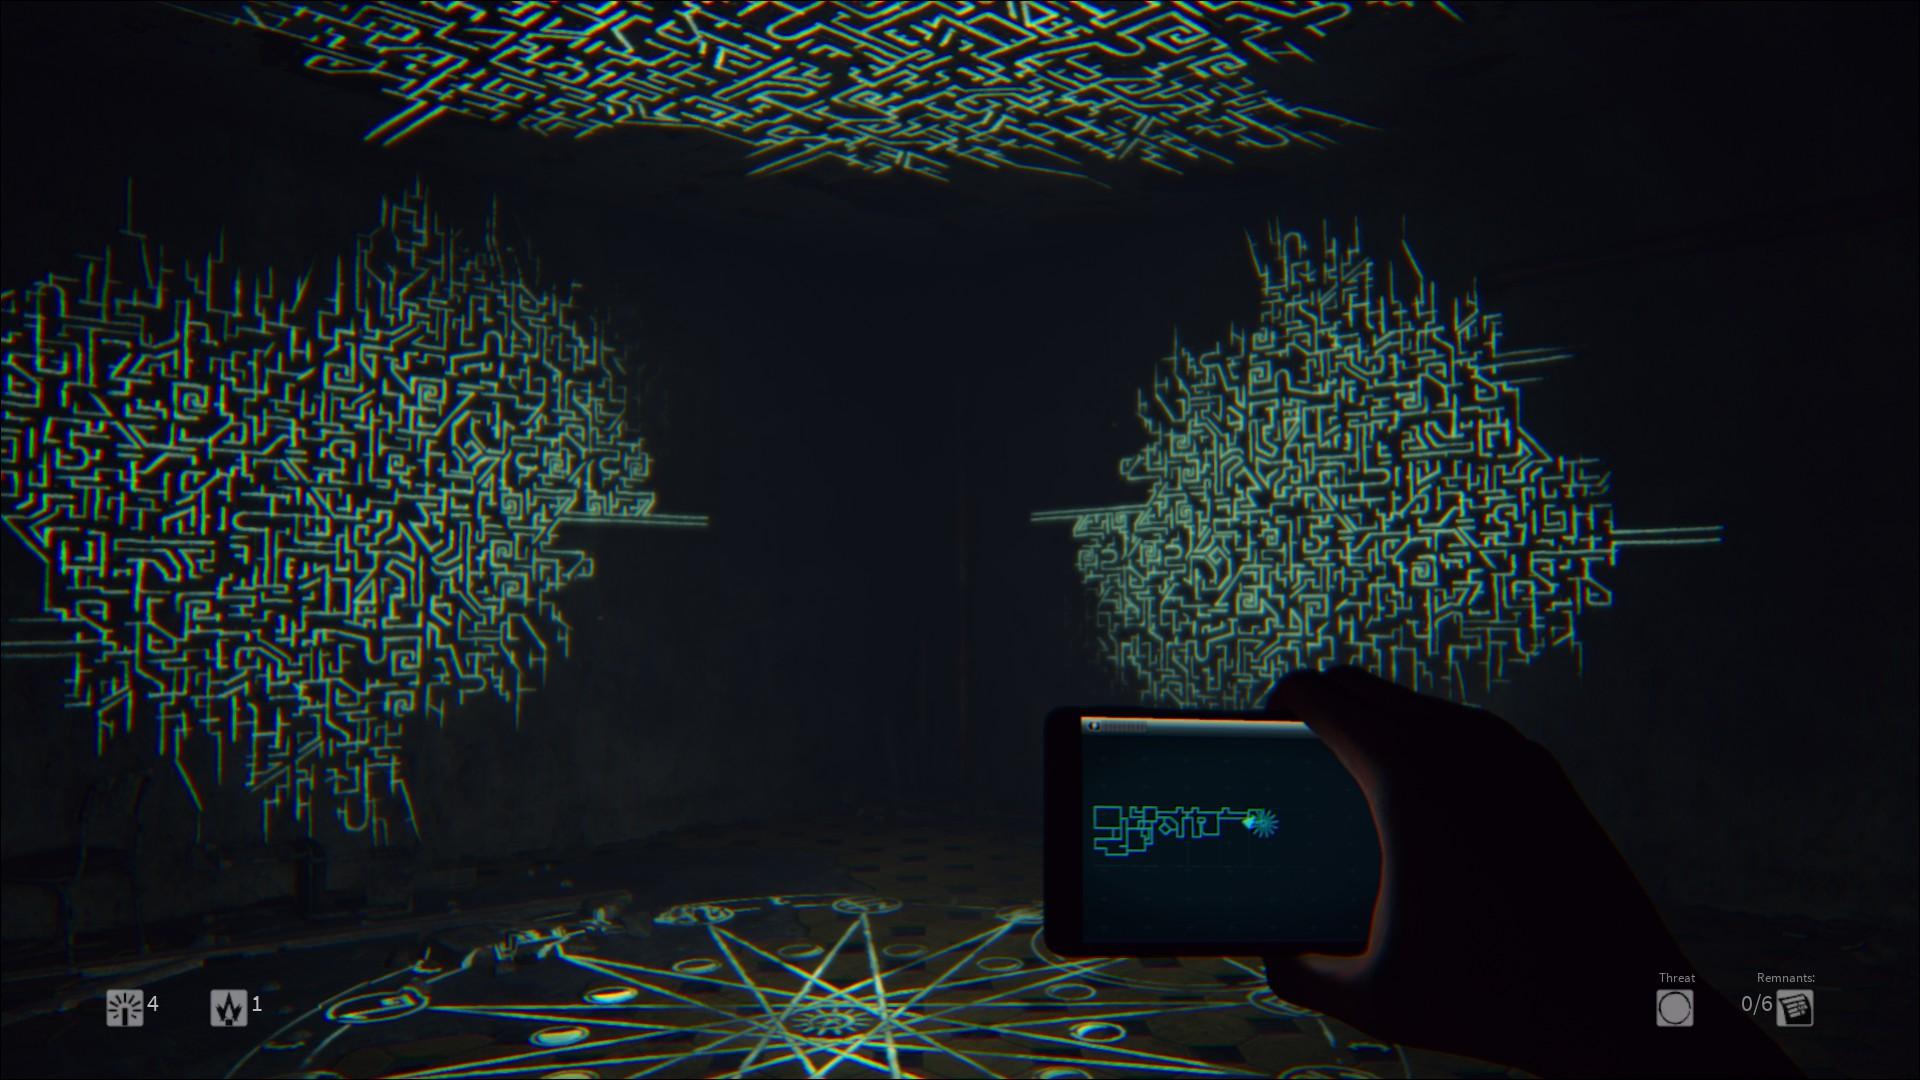
Escape is key. Daylight‘s map layouts rearrange every time you play a new game or restart from the last checkpoint after a Shadow catches you, but there are two constants on every map: the key room and the exit. They’ll always appear in different places, but there will always be one room in every area that’s filled with arcane markings (this is where the key spawns once all Remnants are collected), and one door that’s marked with a shimmery glowing sigil that only opens when you’ve got the key.
It’s entirely possible to find the key room before you finish gathering all of the necessary remnants, but the key itself won’t spawn until you’ve collected everything. That room, along with the exit, will be automatically marked on your smartphone map once found, but routes aren’t always as straightforward as they look. Especially in the later areas.
One important note about the key: once you’re carrying the key, you can’t use any glowsticks or flares until you’ve reached the exit. Know your route from the key room to the exit, and be ready to run or change course at the first sign of a Shadow.
Editors' Recommendations
- PlayStation lays off 900 people and shuts down London Studio
- Call of Duty: Modern Warfare 3 Zombies: how to complete Bad Signal
- Dead by Daylight goes single-player with The Casting of Frank Stone
- The best field upgrades for Modern Warfare 3 Zombies
- Modern Warfare 3 Zombies: Mercenary Convoy guide