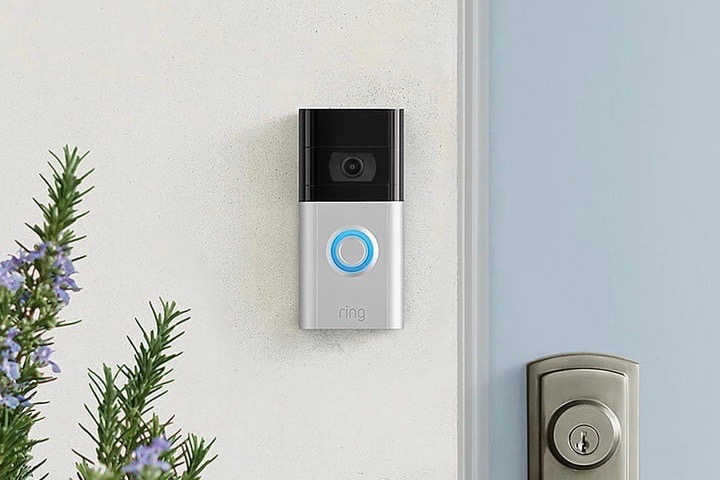
Moving house has always been a big headache, but it can be even more so if you have lots of smart home gear. If you are selling your home, or moving into a new place, and there's a Ring doorbell installed, you'll need to remember to pass ownership of the device over to the new owner of the house. Fortunately the procedure for doing so is simple, and we've detailed it below so you have one less thing to worry about, whether you're selling your old house or moving into a new one.
Thankfully, Ring makes it easy to change ownership of the Ring Doorbell with a process that takes just a few minutes. It does, however, involve a bit of cooperation from both the old owner and new owner – here’s a closer look at how it works.

How to remove the old owner of a Ring Doorbell
If you’re looking to change the owner of a Ring Doorbell, there are only a few steps you need to take. The first thing that needs to happen is that the previous owner needs to uninstall the device from their Ring App. To do this, they’ll want to open the Ring App on their smartphone and follow these directions.
Step 1: Tap on the three lines at the top-left corner of the screen, then select Devices.
Step 2: From here, click the device that needs a new owner.
Step 3: Select Device Settings, then General Settings.
Step 4: Finally, select Remove this device.
How to officially change ownership
Once the previous owner has deleted the Ring Doorbell from their Ring App, you’re ready to assume control of the smart home gadget. As long as you’re using the latest version of the Ring App, you should be able to simply follow the prompts on the screen during the standard setup process to request ownership.
If you don’t see this option on the screen, then you’ll need to reach out to the Ring Community Support Center for additional information. But with any luck, changing ownership of a Ring Doorbell should take no more than 15 minutes.
While you'll still need to contact the previous owner, you no longer need to reach out directly to Ring's Customer Support (unless, of course, you're encountering issues). This makes the changeover process a bit less cumbersome than before, and should save you a few minutes during the stressful moving process.
How do I reset my ring doorbell for a new owner?
If you're planning to give your Ring doorbell to a new owner, you may want to reset it rather than changing ownership. In that case, you can perform a factory reset to delete all saved settings from your doorbell such as your Wi-Fi password.
To perform a factory reset on your doorbell, remove the faceplate or remove it from its bracket using the security screw. Then identify the setup button, which is typically indicated in orange. Then just press and hold this setup button for 10 seconds, which will reset the doorbell.
You can tell the reset has completed as the doorbell will now be in setup mode, ready to be passed on to its new owner. Don't forget to also remove the device from your Ring app before you pass it on.
Editors' Recommendations
- Blink Mini 2 vs. Ring Stick Up Cam Pro: Which is the best security camera?
- How to fix a Yale Assure Lock 2 that won’t connect to Wi-Fi
- How to save Ring Doorbell video without a subscription
- Ring Battery Doorbell Pro vs. Aqara G4: Which is the better video doorbell?
- How to clean the Ecovacs Deebot X2 Combo