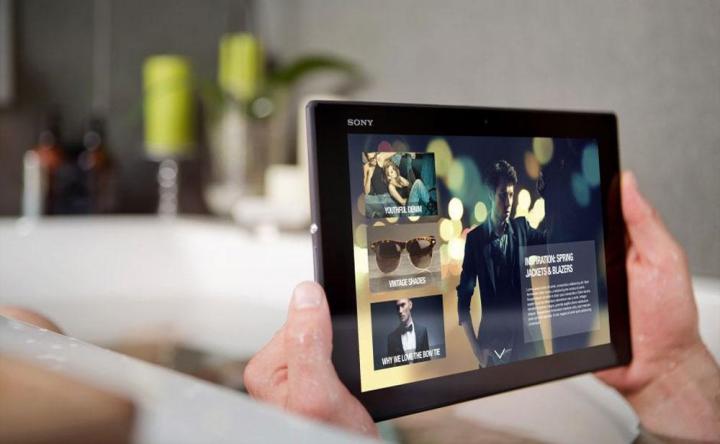
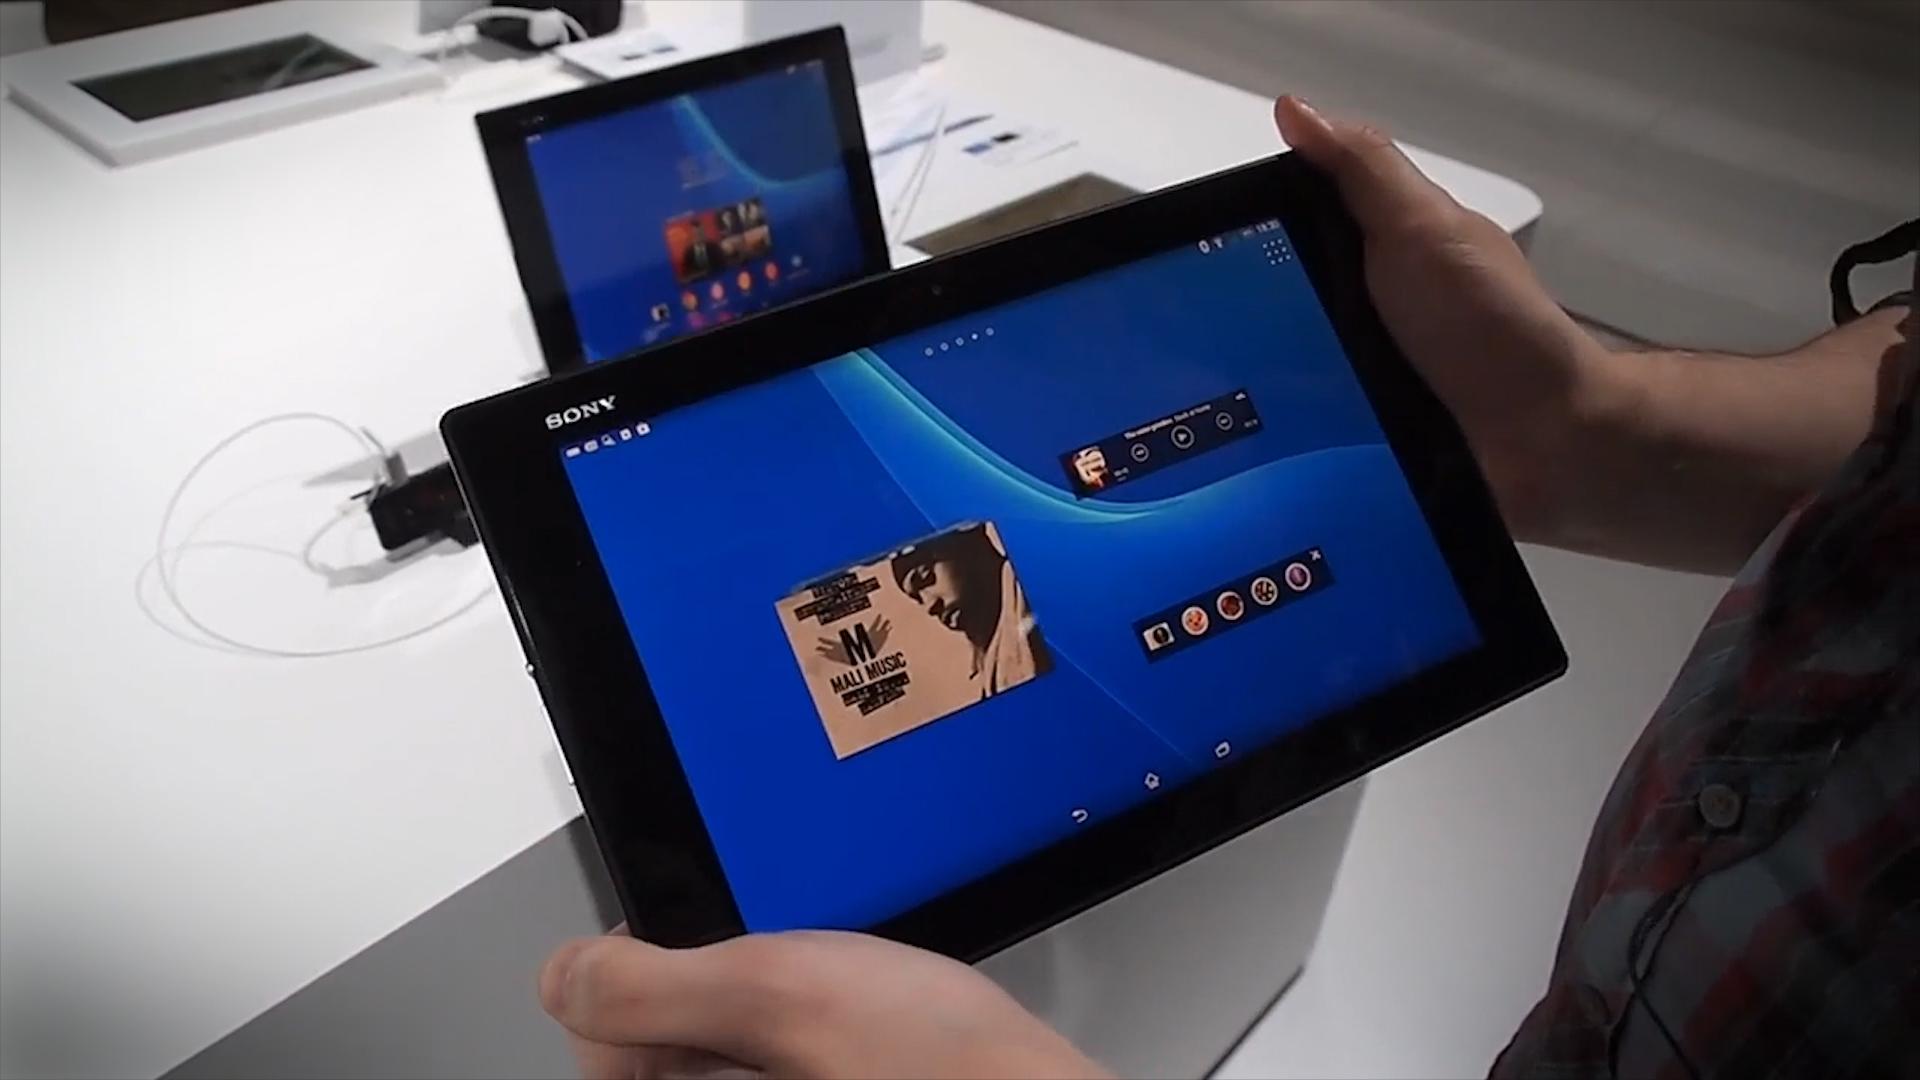
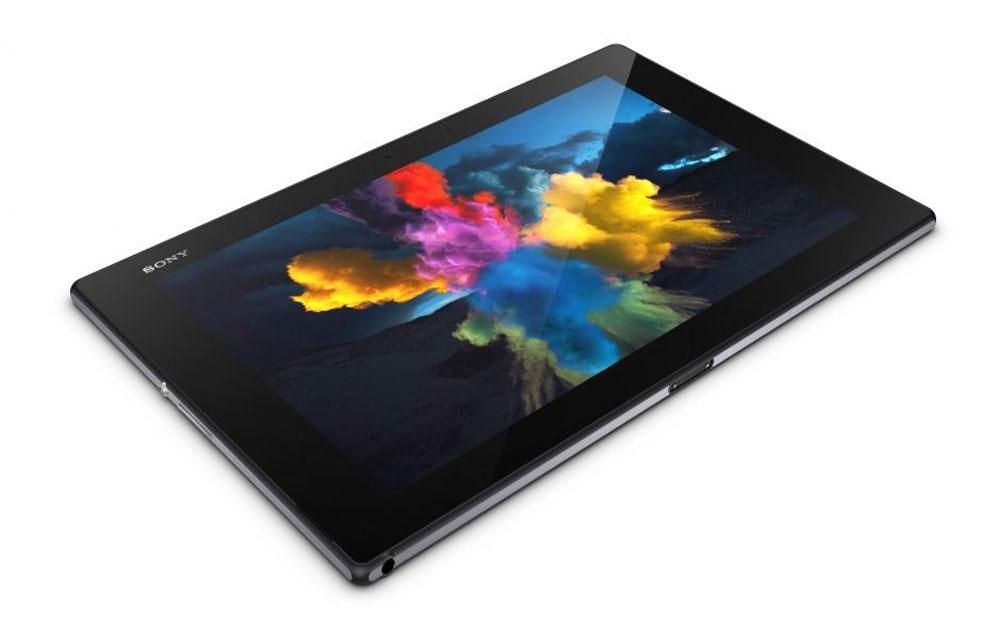
The Android scene for big tablets isn’t exactly jumping. Everyone is partying on down in the portable 7 inch category, but if you’re looking for something a bit bigger, the shortlist is…well, short. Luckily, Sony decided to buck the trend and throw its know-how into a premium 10-inch tablet. The Sony Xperia Z2 Tablet is not without its problems, but there’s plenty to love about it too. Find out why it’s not just a pretty face with our Xperia Z2 Tablet tips.
How to make the battery last longer
Beyond using it less and turning off features you don’t need, there are other easy ways to make your Xperia Z2 Tablet battery last a lot longer. Go into Settings > Power management and you’ll find four power saving modes. Scroll to the bottom and you can tap Battery usage to get a breakdown of where that juice is going.
Location based Wi-Fi and Queue background data are pretty self-explanatory. Low-battery mode allows you to set a checklist dictating which features are throttled when the battery level hits your chosen percentage.
Tap Stamina mode at the top and you can get even more fine-tuned control over what your Xperia Z2 Tablet does to save power. That includes the option to restrict hardware performance and turn Wi-Fi and data off when the screen is off. You can even set an exception list if there are apps you would prefer remained active in standby.
How to personalize the keyboard
To get the best typing experience, you should really take the time to tweak the keyboard to your liking. Start in Settings > Language & input and you’ll find a Spell checker option. You can also choose the keyboard you want to use and tap on the settings icon next to it, to get more options. If you run through the Personalization guide at the top, you should notice a real difference. You can set up auto-correct the way you want, let the keyboard learn the words you use from different apps, and more.
You can also access keyboard settings when you have the keyboard up by tapping the 12!? Key and then choosing the settings icon where you get quick access to new settings, skins, a one-handed keyboard (it slants the keys over to the side to make one-handed operation easier), and your personal list of words (delete anything that shouldn’t be there and it won’t be displayed as an option anymore).
How to transfer files to your Xperia Z2 Tablet
You have lots of options here. The simplest is just to plug the tablet into your computer via USB and drag and drop, but Sony also offers some handy software to help you stay organized. If you have a PC, then check out Media Go. It can be used to manage exactly what files are on your tablet and you can even use it to stream content from your computer. If you have a Mac, then Sony Bridge is for you. It allows you to drag and drop files, create backups, and grab media from iTunes, iPhoto, or any custom folder.
If you have a PC with Windows Vista or later, then try the Media Transfer Mode, which allows you to pair the tablet with any PC on the same Wi-Fi network. Plug it in via USB the first time and then go to Computer, right click on the Z2 Tablet, choose Network Configuration, and follow the instructions. You can access the pairing on your tablet in Settings > Xperia Connectivity > USB Connectivity at the bottom.
You also have the option of using a microSD card for more storage. You might not be able to plug it directly into your PC, but get an SD card adaptor and you’re all set. There are plenty of cloud-based wireless options too, from Google Drive (free 15GB) to Dropbox (free 2GB). These solutions allow you to install an app on the tablet and some software on your computer, and then create a shared folder so content is synced wirelessly between the two.
How to back up your photos
Tablets aren’t ideal for taking photos, but the Xperia Z2 Tablet does have an 8.1-megapixel shooter in it. It’s very easy to back up your photos automatically, so they’ll be safe and accessible on other devices. Sony offers PlayMemories Online, which allows you to upload unlimited photos at 1920 pixel length. It also provides 5GB for higher resolution photos and videos. You should find it in the pre-installed Album app on your tablet and you can use your existing Sony log-in or your PlayStation log-in to access it.
Alternatively you could use Google+ Photos (used to be Picasa). Fire up the app and tap the top right icon to choose Settings and you’ll see the auto-backup option at the top. Dropbox also offers an auto-backup.
How to mirror your screen on a TV
Using a cable generally gets best results. You can use an MHL cable or an MHL adaptor and an HDMI cable. Plug it in and the TV launcher app should fire up immediately. You should even be able to remote control the content using your TV remote.
For wireless mirroring, go to Settings > Xperia Connectivity > Screen mirroring and turn it on before selecting the device you want to send content to. This is only going to work if the TV supports Miracast.
You can also stream content from and to DLNA certified devices. To do so, you need to go into the Walkman, Movies or Album app. Tap the icon at the top right and choose Settings then Media server and slide Share media to on and you should be able to add devices on the same Wi-Fi network (you might have to go into the settings on your target device as well).
How to use a PlayStation controller for gaming
You can use the Dualshock 3 wireless controller with your Xperia Z2 Tablet. You’ll need a USB On-The-Go (OTG) adaptor attached to your tablet. Then, you can plug in the controller using the USB cable. You’ll see a connection message appear in the status bar and you can unplug the cable and start gaming wirelessly.
How to automate your Z2 Tablet
The pre-installed Smart Connect app is really handy and worth taking the time to set up. Start it up and you’ll see some example events are already set up. You’ll also see a list of devices on the right tab, which can be used to trigger events and you also have the option to set events to start and end at specific times.
Tap the plus icon at the top right and you can set up a new event. You can set up various things to happen automatically, for example start up your nightstand app every time you plug in the charger, or start up Spotify every time you plug in the headphones. You can also get a lot more complex because you set up multiple start and end actions. When an event is running you can quickly end it by pulling down the notification shade and tapping on the event notification. You don’t need to actually turn it off just tap the end icon at the top and it will end the event early.
We’ve come to the end of our Xperia Z2 Tablet tips for today, but we hope you’ve learned something useful. Let us know if you have a Z2 Tablet tip you’d like to recommend.