Left alone, your camera flash creates cringe-worthy photos, with harsh shadows, no background, washed-out skin tones, and eyes that look like they belong in a horror movie. Unsurprisingly, those results lead to flash phobia, and too many inexperienced photographers are terrified of using one of photography’s best accessories.
Good flash photography doesn’t even look like flash photography. Done right, the flash blends seamlessly with the scene, going unnoticed by the untrained eye. Flash isn’t just for low light, either. It can fill in dark shadows caused by the harsh lighting of direct sunlight, freeze objects in motion, and lead to all kinds of creative effects.
While professionals spend years honing their lighting techniques, these boil down to some basic concepts. Just remember the four Ms of flash photography: modify, move, manual, and mix.
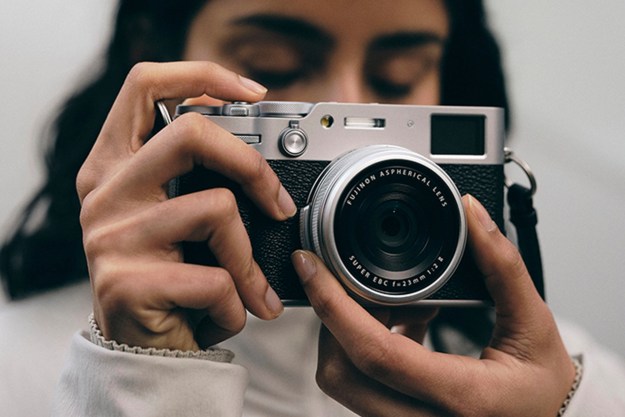
Flash photography is most flexible with a speedlight for dedicated cameras or even a wireless smartphone flash, but built-in flashes can also be improved with some of these tricks. Here’s what you need to know to take flash photos that you actually like.
Modify
The key to loving the flash look is to stop shooting with just a flash. The flash itself is tiny, but powerful. Left on its own, it creates a harsh, unattractive light and casts dark shadows.
The most essential flash modifier is a diffuser. A diffuser makes the surface area of the flash bigger, thus helping to spread out the light and soften it. Even before you’ve mastered the rest of the flash photography skills, slapping a diffuser on the flash makes a big difference and doesn’t cost a lot of money.
My favorite diffuser is the MagMod MagSphere, but the Lightsphere is also highly rated, and even a $20 flash softbox will deliver excellent results. Even the pop-up flash can be diffused with an inexpensive diffuser. The larger the surface of the diffuser, the softer the flash will be.
Once you’ve mastered a flash diffuser, which literally takes a few minutes, you can continue exploring other flash modifiers. The grid, for example, does the opposite and narrows the light, creating a spotlight effect and directing the light to a smaller area of the photo. Colored gels change the light color, either to match the ambient lighting color or to add creative effects.
Move
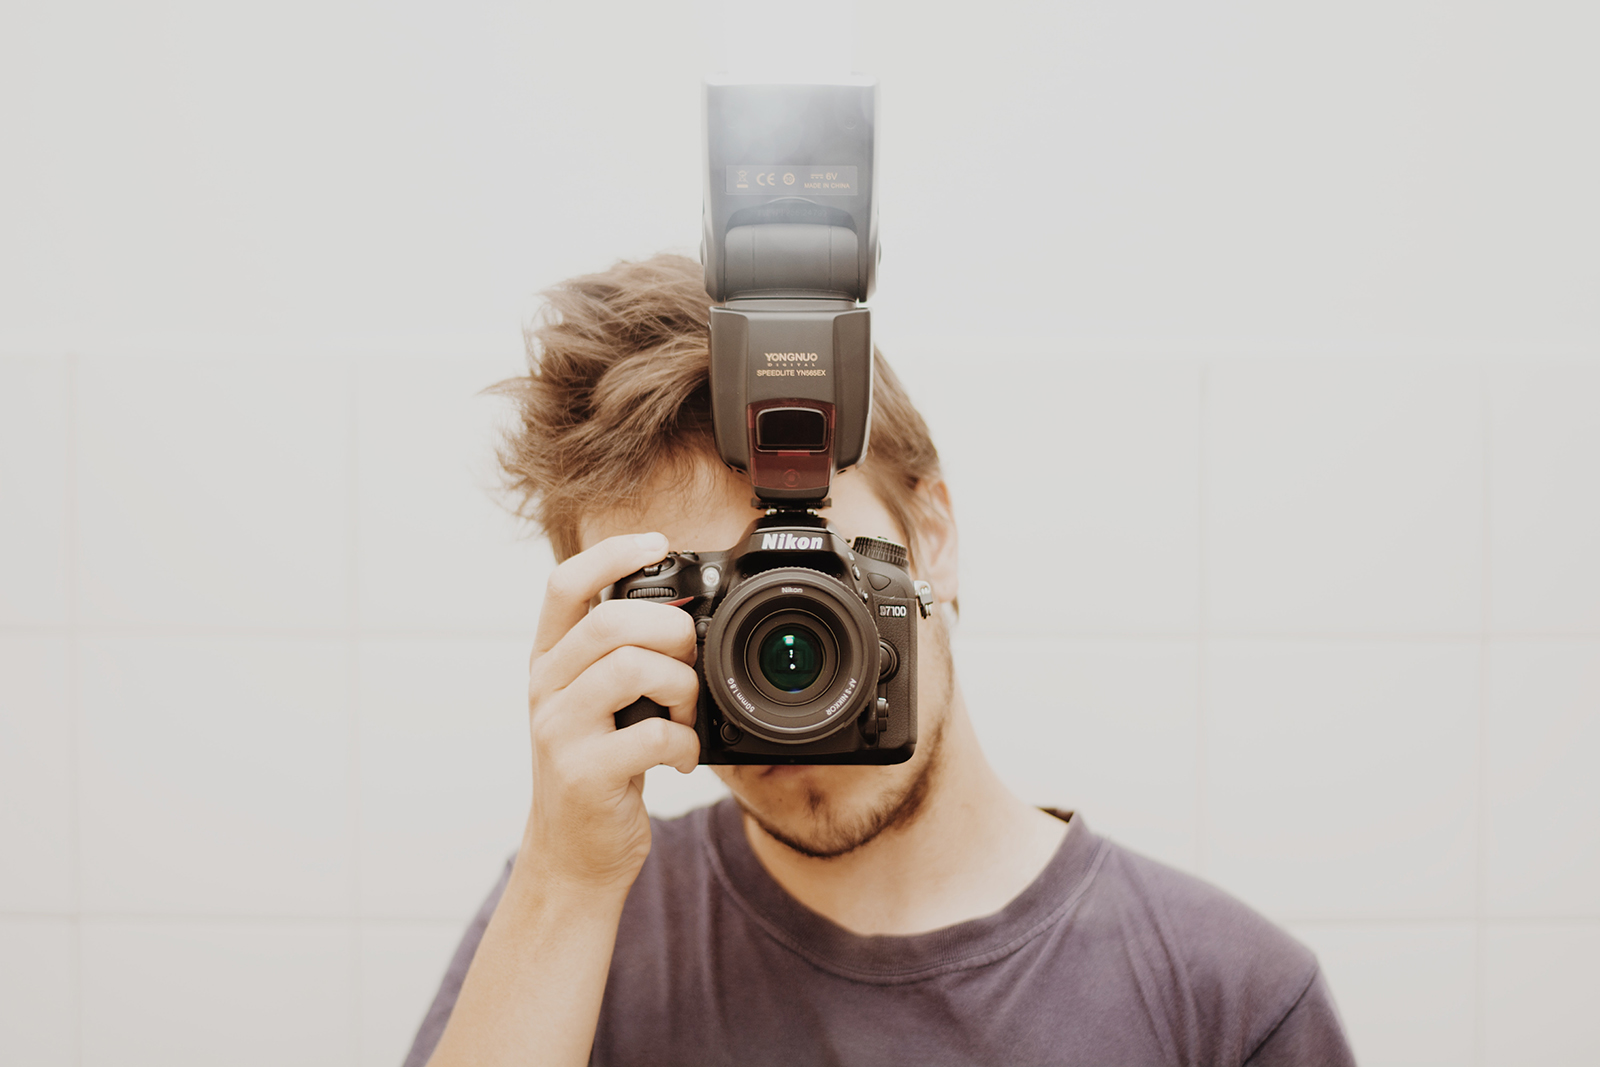
A flash modifier helps reign in the flash, but moving the flash can do even more. When we talk about moving the flash, we mean either redirecting the light to bounce it off of another surface, or physically moving the flash off-camera. The best external camera flashes have tilting and rotating flash heads, and many even have built-in wireless modes for remote triggering. (This obviously won’t work for built-in flashes).
The larger the light surface is, the softer and more flattering the light — but you can’t exactly mount a 6-foot soft box on the top of your camera. Bouncing the light off a large, white surface like a wall or ceiling essentially turns that surface into a flash modifier. This also changes the direction of the light. That helps create some of the look of an off-camera flash, and can be more flattering and interesting than direct flash.
Bounce flash can be even easier than using a diffuser, but it won’t work in every situation. There isn’t always a good surface to bounce off of, such as when outdoors. Even some indoor locations will have ceilings that are too tall or walls that aren’t a neutral color. If you bounce the flash off a red wall, the light will have a red tint.
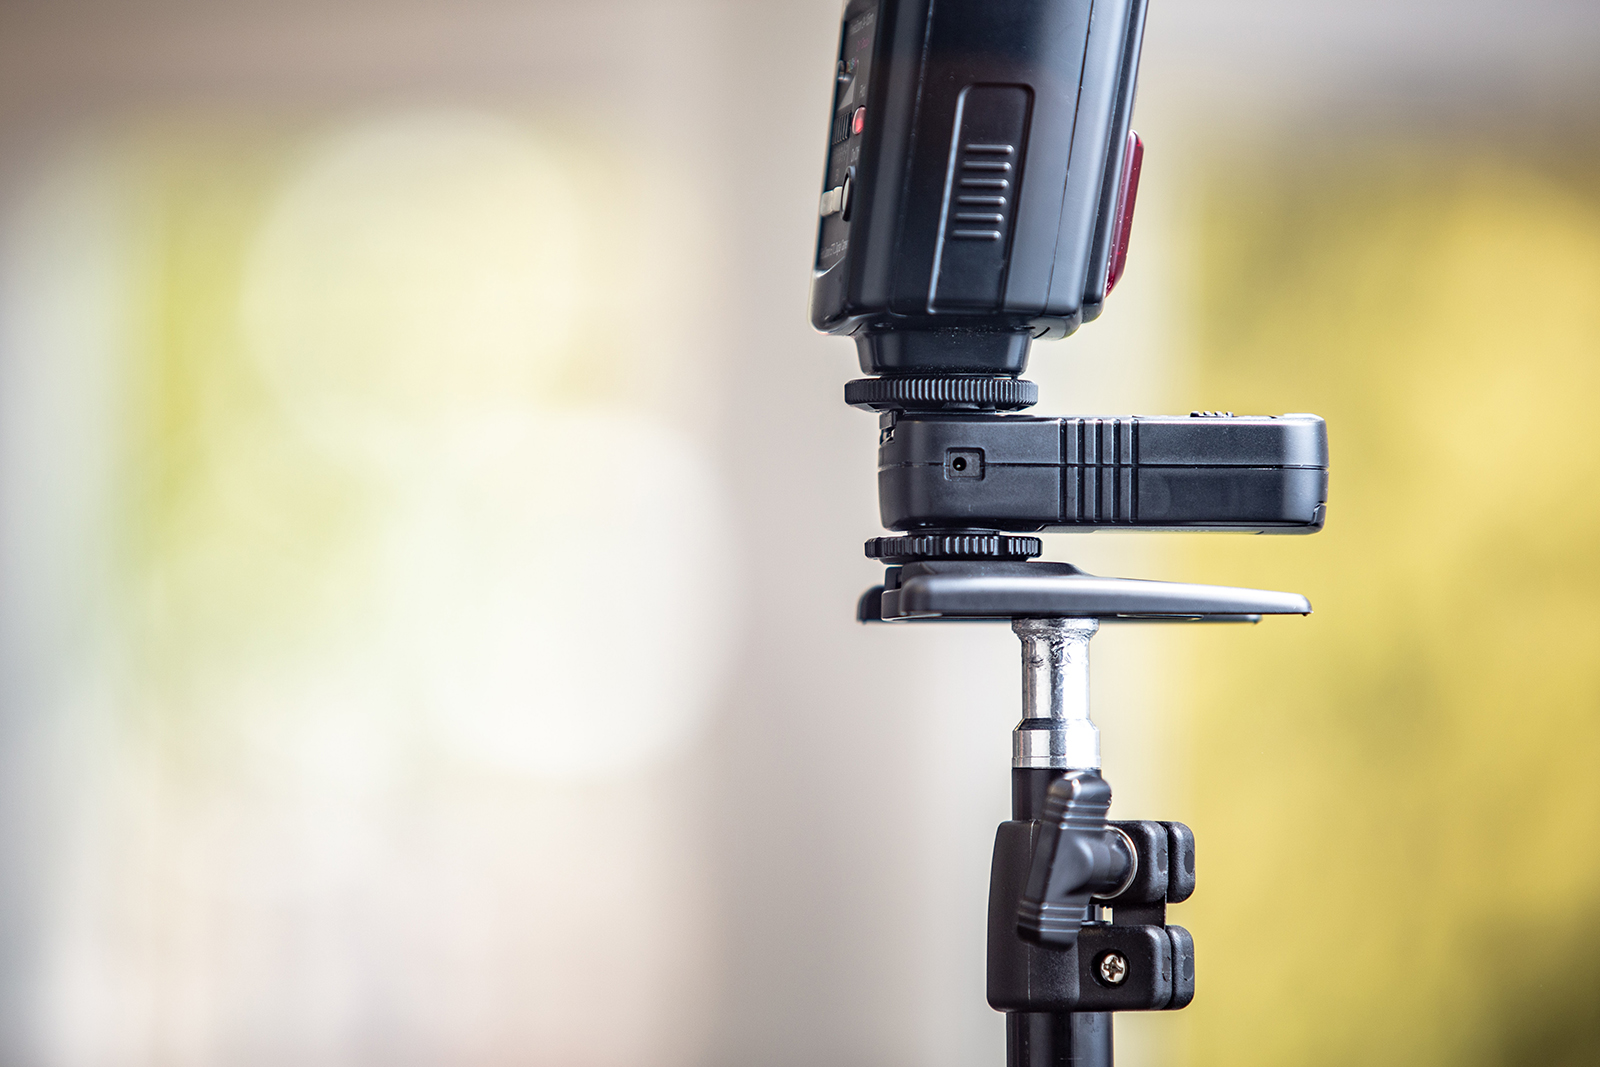
Moving the flash off-camera is one of the most powerful ways to control your flash, but also the most advanced and trickiest to get right. Once you’ve mastered modifying, bouncing, and using manual mode, off-camera flash opens up endless opportunities. By going off-camera, you can create different lighting patterns, use a host of creative modifiers, and position the flash to control precisely where the light falls to create or eliminate shadows as you want them.
To go off-camera, you’ll need a wireless transmitter and receiver, unless your hot shoe flash has one built-in (this system from Phottix is one of our favorites). Smartphone photographers can use lights like the LumeCube or Profoto C1+ for off-camera lights. Another option that works with any camera is to use a continuous video light instead, like this LED panel, also from LumeCube. Constant light doesn’t offer as much power as flash, but is easier to learn since you can see the effect of the light before you take a picture.
Manual
Left on auto, a flash is often too bright. Like using manual exposure instead of auto on your camera, learning manual flash gives you more control over your images by making the light from the flash brighter or darker.
But you don’t have to jump straight to full manual flash. Just like exposure compensation on your camera, flash exposure compensation will help you control the light without dialing in the exact power by hand. Flash compensation is useful for on-camera flash when you’re moving around and the distance between yourself and your subject is constantly changing. Using fully manual in this situation would require you to adjust the flash brightness every time you moved, which, while ultimately more accurate, is simply not practical in many situations.
Ultimately, using manual flash is what will give you the most control. Manual flash is best used with off-camera flash, or when the distance between the subject and the flash doesn’t change frequently. In manual mode, brightness is adjusted in fractions. At 1/1, the flash is set to full power — you’ll probably seldom use this setting unless you are trying to overpower the sun or using the flash off-camera in a large modifier. A 1/2 setting is half that — or 1 stop darker — and so on.
Much of using manual flash is trial and error, but beauty of digital photography is that you can see your results right away and easily make adjustments from there. With practice, you’ll be able to easily estimate how much flash you need in any particular scene.
Mix
The flash, of course, isn’t operating independently — the exposure settings on the camera will also play a role in how the flash looks. The flash settings need to mix with the camera settings.
Shutter speed. First, make sure your shutter speed doesn’t go over your camera’s flash sync speed, or you’ll either get no flash effect at all or a black bar going through your photo. Most cameras have a flash sync speed of 1/250, but some are lower, like 1/160. Keep your shutter speed at or below the sync speed for your particular camera model. (Note: Many modern flashes support a feature called “high speed sync” which will you allow you to shoot at any shutter speed, but this generally causes a reduction in maximum brightness. Check your camera’s and flash’s manuals to see how to enable it.)
Besides the sync speed, the shutter speed is important because it controls the amount of ambient light (or existing light) in the image — but it does not effect the brightness of the flash. If you take a photo with flash and the background is black, none of the ambient light is making it into the image — you need to lower the shutter speed. If the background appears too light, you need a higher shutter speed. Shutter speed will help balance the exposure of the lights already in the scene.
When shooting flash, you can often get away with a much slower shutter speed than you normally could. This is because the flash itself can freeze motion. There are some very fun tricks you can employ here — such as using a very slow shutter to capture motion blur and using the flash to freeze your subject within it — but we’ll save these more advanced techniques for another day.
Aperture and ISO. Unlike the shutter, aperture and ISO affect both flash and ambient light and adjusting these settings will make the overall image brighter or darker. If your flash is in automatic mode, you can use ISO and aperture to balance the overall exposure; raise the ISO or open the aperture, and the flash will recognize less light is needed and compensate by lowering its output. With manual flash, you’ll need to adjust flash power by hand.
The flash is one of the best photography accessories available — but it can also be one of the trickiest to learn. Focusing on the four basics of flash photography, one at a time, makes the task less daunting. And once you’ve learned how to modify, move, manually adjust, and mix flash and ambient light, you may find that you actually love flash photography.