
Adobe Photoshop is full of advanced editing tools that let you do everything from change the color of an object to remove the background from an image, but the seemingly humble crop tool is among the most important.
Photoshop offers a couple of ways to crop an image, but the crop tool offers more control, with options to straighten, set a specific aspect ratio, correct perspective distortion, and even fill in missing areas using artificial intelligence. Here’s how to get the most out of this simple yet powerful tool in the world’s favorite photo-editing program.
Cropping an image in Photoshop
 1. Select the crop tool
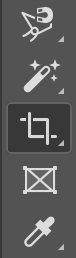
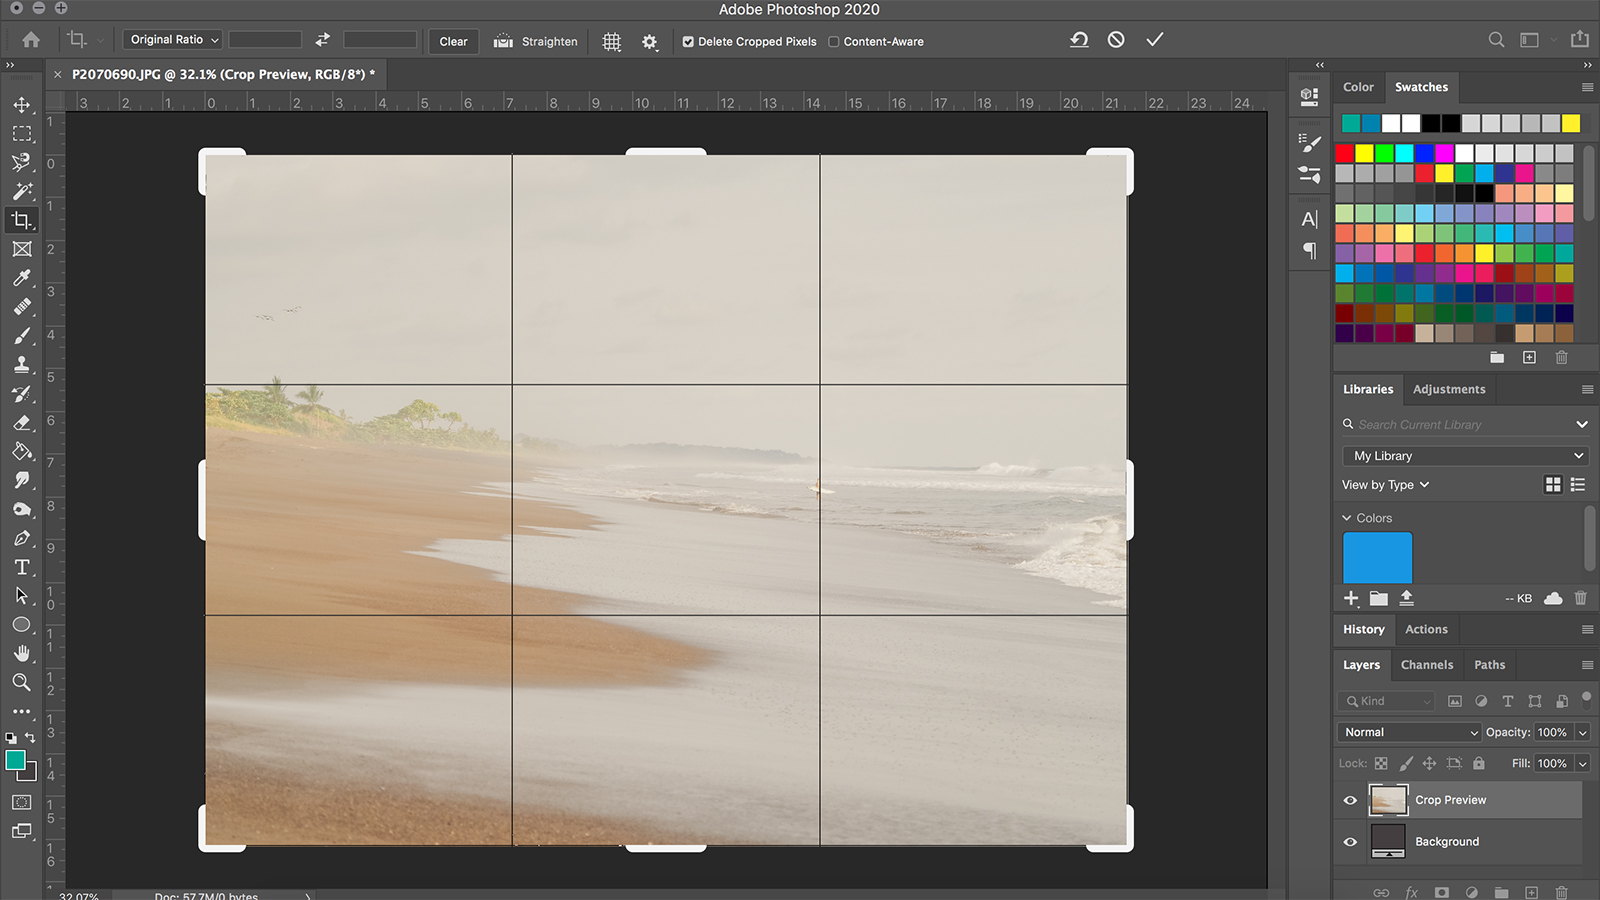
Click on the crop tool icon from the toolbar on the left — it looks like a square with overlapping corners — or simply press the C key to select it (this is one of Photoshop’s keyboard shortcuts that actually makes sense). Once selected, a box will show up over the photograph, with white borders at the corners and midpoints illustrating the size and shape of the crop.
2. Choose an aspect ratio (Optional)
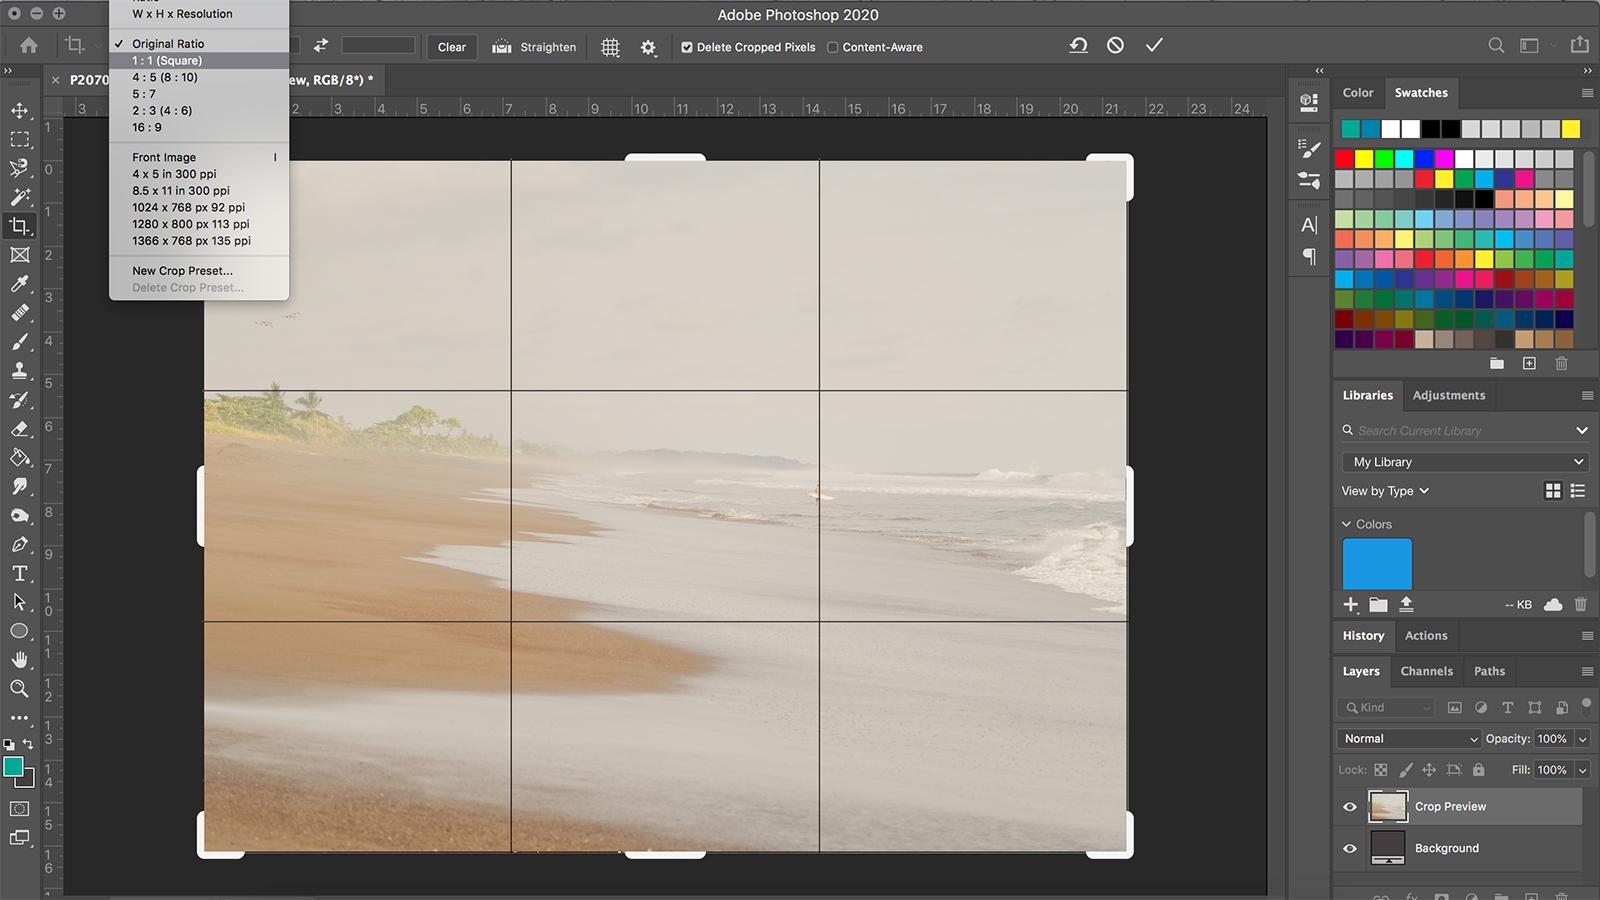
By default, Photoshop uses the original aspect ratio of the photo (or the last aspect ratio you selected the last time you used the crop tool). If you want the photo in a specific shape, such as to print an 8×10 or to share a square photo on Instagram, you’ll want to adjust the aspect ratio.
Use the drop-down menu at the top (it says “original ratio” by default) and choose the desired ratio. For example, 1:1 is square, while 4:5 is the shape of an 8 x 10-inch print.
If you do not want to be locked into an aspect ratio, press the “clear” button on the top toolbar for a free-range crop tool.
3. Resize
Grab the corners of the crop box until to selects only what you would like included in the photo. You can also click and hold in the middle of the crop box to move the crop around the photograph, changing the framing but maintaining the same overall size.
4. Straighten (Optional)
With the crop box still active, hover the mouse pointer over the outside corner of the crop box until you see the curved, double-headed arrow. Then, click and drag to rotate the crop box in order to straighten the image.
Alternately, you can select the straighten tool from the top menu. Then, use the tool to draw a line across something in the photo that should be straight, like the horizon. Once the line is drawn, Photoshop will automatically straighten the image.
This step is optional if your photo is already straight, but a quick and easy way to fix a crooked horizon.
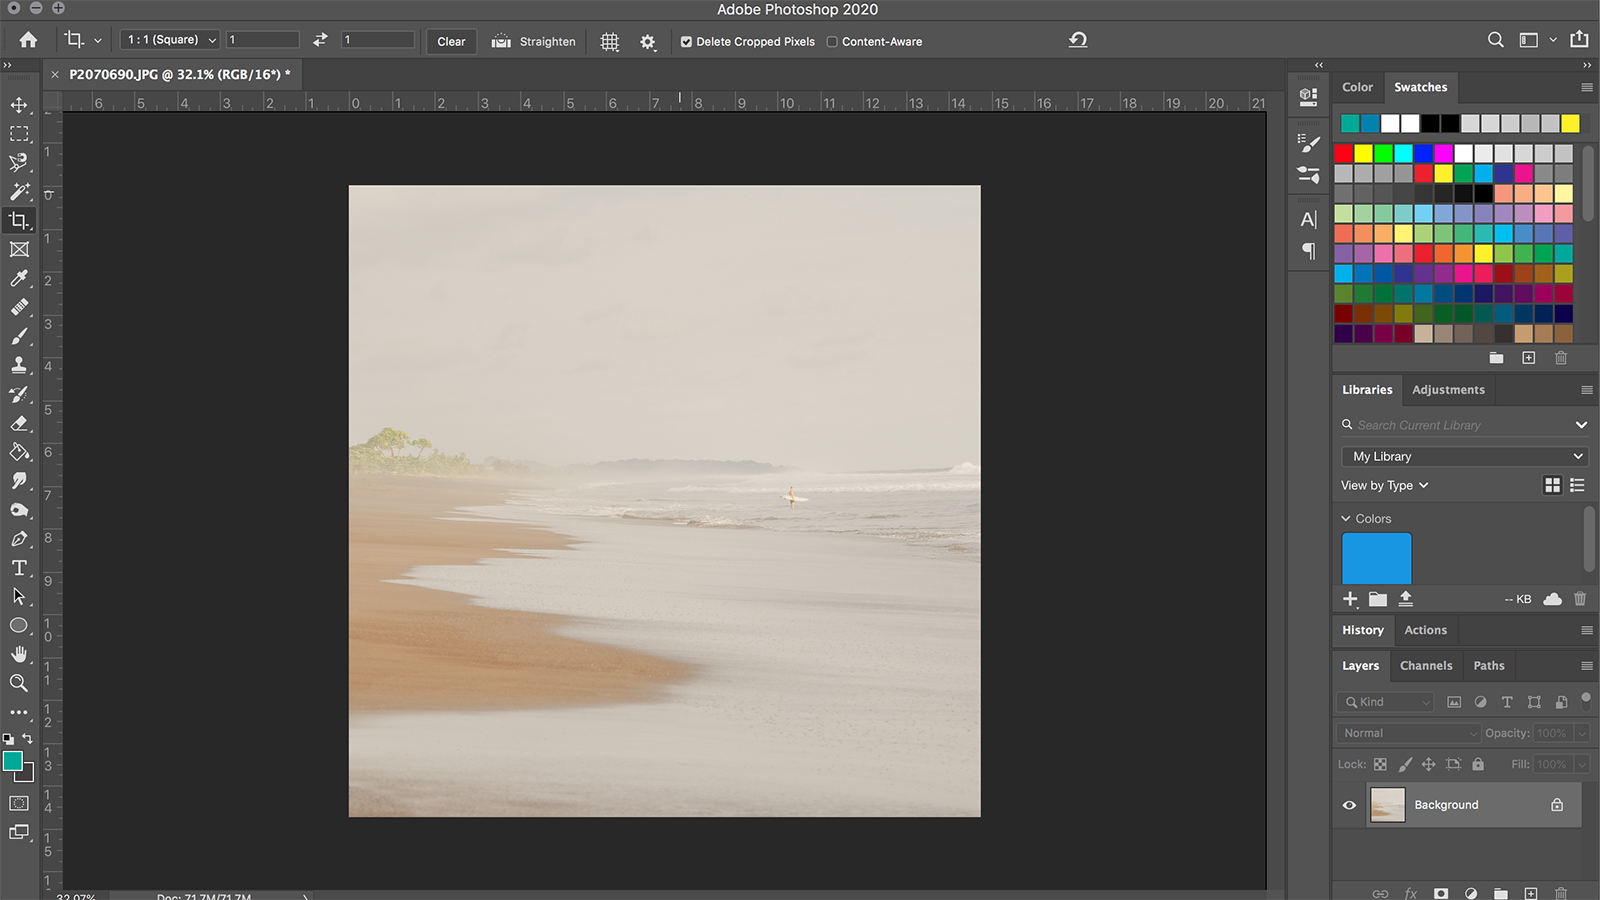
5. Lock in the crop
To finish the crop, hit the enter key. But before you do this, you may want deselect the “Delete Cropped Pixels” option from the top tool bar. Otherwise, once you finalized the crop, you won’t be able to go back and change it (except to make it smaller). Unlike in Lightroom, cropping in Photoshop is destructive by default, so we recommend turning Delete Cropped Pixels off unless you are absolutely sure you won’t need to make changes.
Straightening an image in Photoshop


If your photo is crooked simply because you weren’t holding the camera level, the crop tool is the best, simplest way to straighten it. But correcting for slanted lines as a result of perspective is more complex. This often happens if you took the photograph looking up at something, or from a slightly off-axis position, instead of straight on. It’s also a common issue with photos of architecture.
Fortunately, Photoshop has the tool you need to fix this.
1. Select the perspective crop tool
Instead of selecting the normal crop tool from the toolbar, click and hold on the crop tool icon until the sub-menu pops up. Click on “perspective crop tool.” (You can also press Shift-C to cycle through the different crop tool options.)

2. Select the cropped area
Draw a rough box over the part of the photo that you would like to keep in the final crop.
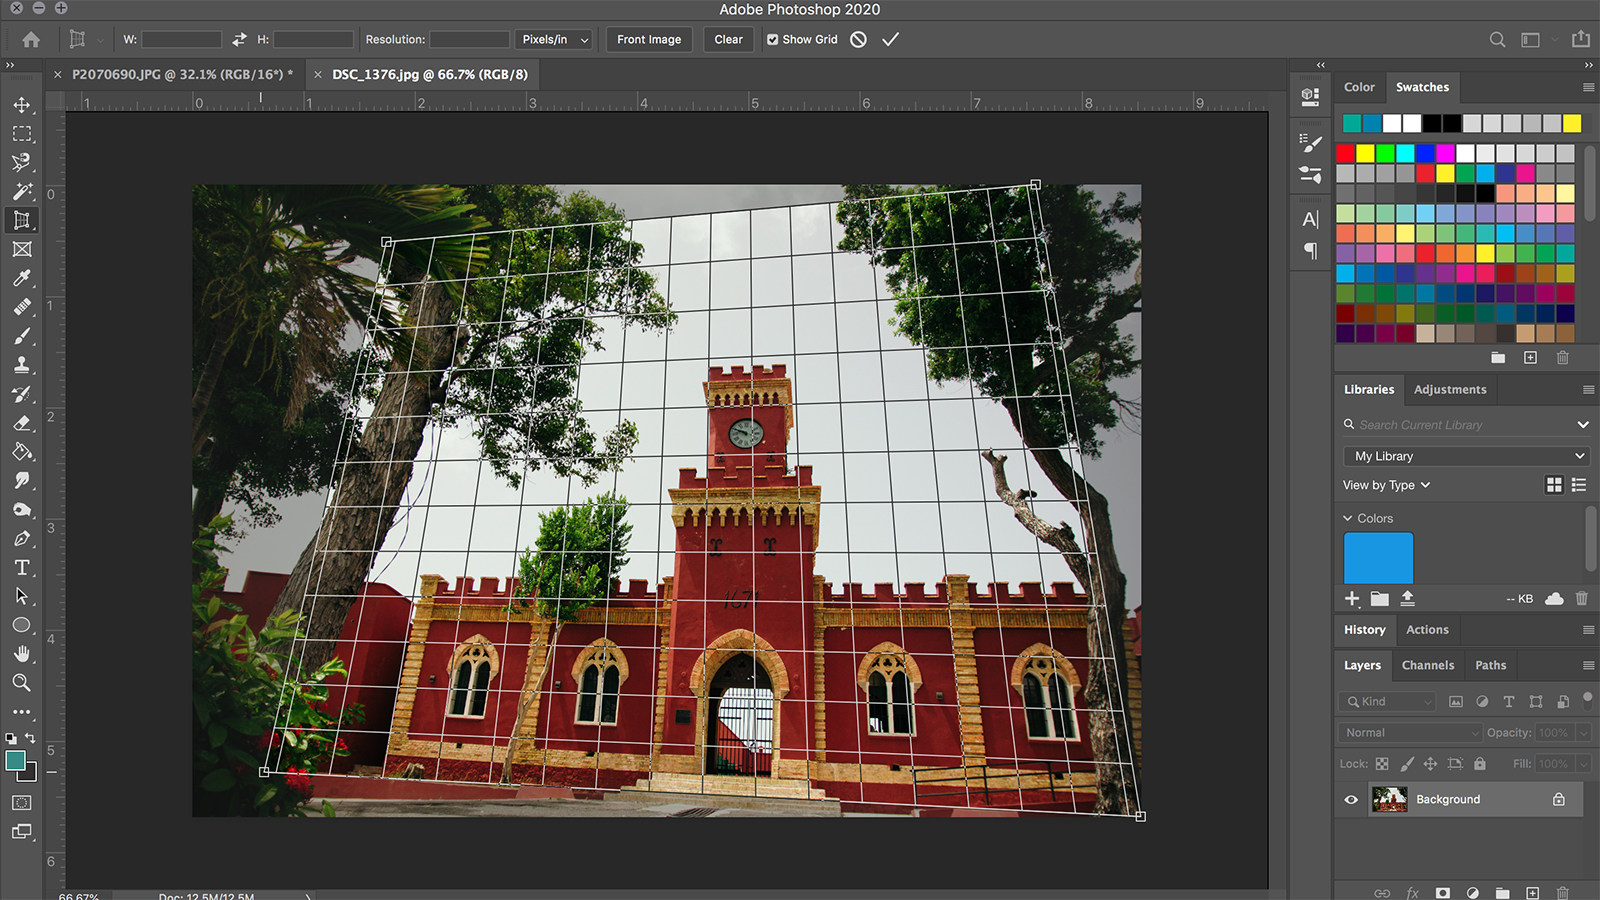
3. Adjust the edges
Next, drag the corners of the box so that the edges are parallel to the edges of objects in the image that should be straight. Use the gridlines to help.
Be sure to use all four corners, so that both horizontal and vertical lines match the grid.
4. Hit enter to finish
Once you are satisfied that the lines are lined up, press enter. From here, you can continue editing the image, including using the regular crop tool if you would like the image to be a specific aspect ratio.
Why crop in Photoshop?
While cropping and straightening seems like a basic procedure, Photoshop gives you options to do more than basic adjustments. Not every photo will need to be cropped and straightened, and even among those that do, only some will require the full power of Photoshop’s crop tools. If you use an image management program like Adobe Lightroom, you don’t need to open every photo in Photoshop just to crop it.
However, if you plan to edit an image in Photoshop anyway, we suggest also saving the cropping step for Photoshop. If you crop an image before opening it in Photoshop, you won’t be able to go back and change the crop — at least, not without starting your edit over from scratch.
Editors' Recommendations
- The 5 best laptops for photo editing and photographers
- The best Photoshop alternatives
- How to add and edit text in Adobe Photoshop
- What Lightroom RAW photo import defaults are and how to adjust them
- Everything you can do in Photoshop for iPad, and what is still missing


