
One-click photo edits tend to lack finesse and style — unless you make that one-click edit yourself. You can think of Lightroom presets as custom-built photo filters, turning an edit that originally took several minutes (or more) into one that’s easily applied to any image in a single tap or click.
While buying Lightroom presets will jumpstart your preset library, creating your own gives you full control over the look of your photos and allows you to develop your personal style. The process is surprisingly simple, but there are a few tricks for getting it right. Here’s how to create presets in both Lightroom Classic and Lightroom CC.
The key to creating successful presets
Lightroom presets apply the exact same settings to every photograph. The trick to creating presets is to understand how those adjustments work and what should (and should not) be included in a preset.
Lightroom presets move each adjustment slider to the exact same position, regardless of where that slider starts. That’s usually fine for sliders like highlights and shadows, where every unedited photo starts at zero, but won’t work as well for things like white balance and tint. A Lightroom preset won’t add, say, 200 degrees to the temperature slider — it will move that slider to the exact temperature value set inside the preset.
This becomes a problem when you apply a preset originally created for a golden hour photo to an image shot under fluorescent lighting. For that reason, most of the time, white balance settings shouldn’t be included in a preset.
Of course, white balance is the only thing that looks different under different lighting conditions. Everything from saturation to contrast may require different amounts of fine tuning based on the situation. One solution to this is to create separate presets, maybe one for outdoor images and one for indoor images, or one for harsh light and one for soft light, etc.
Presets also aren’t the only Lightroom tool for quick photo edits — the sync tool also applies the same settings to multiple images. Both tools, however, have very different uses. A preset is ideal for creating a style that you can apply to images in multiple collections. The sync tool can correct images taken under similar conditions. Where presets are ideal for styles, syncs can also be used for correcting errors.
How to make Lightroom presets
1. Edit an image with the adjustments that you’d like to save as a preset.
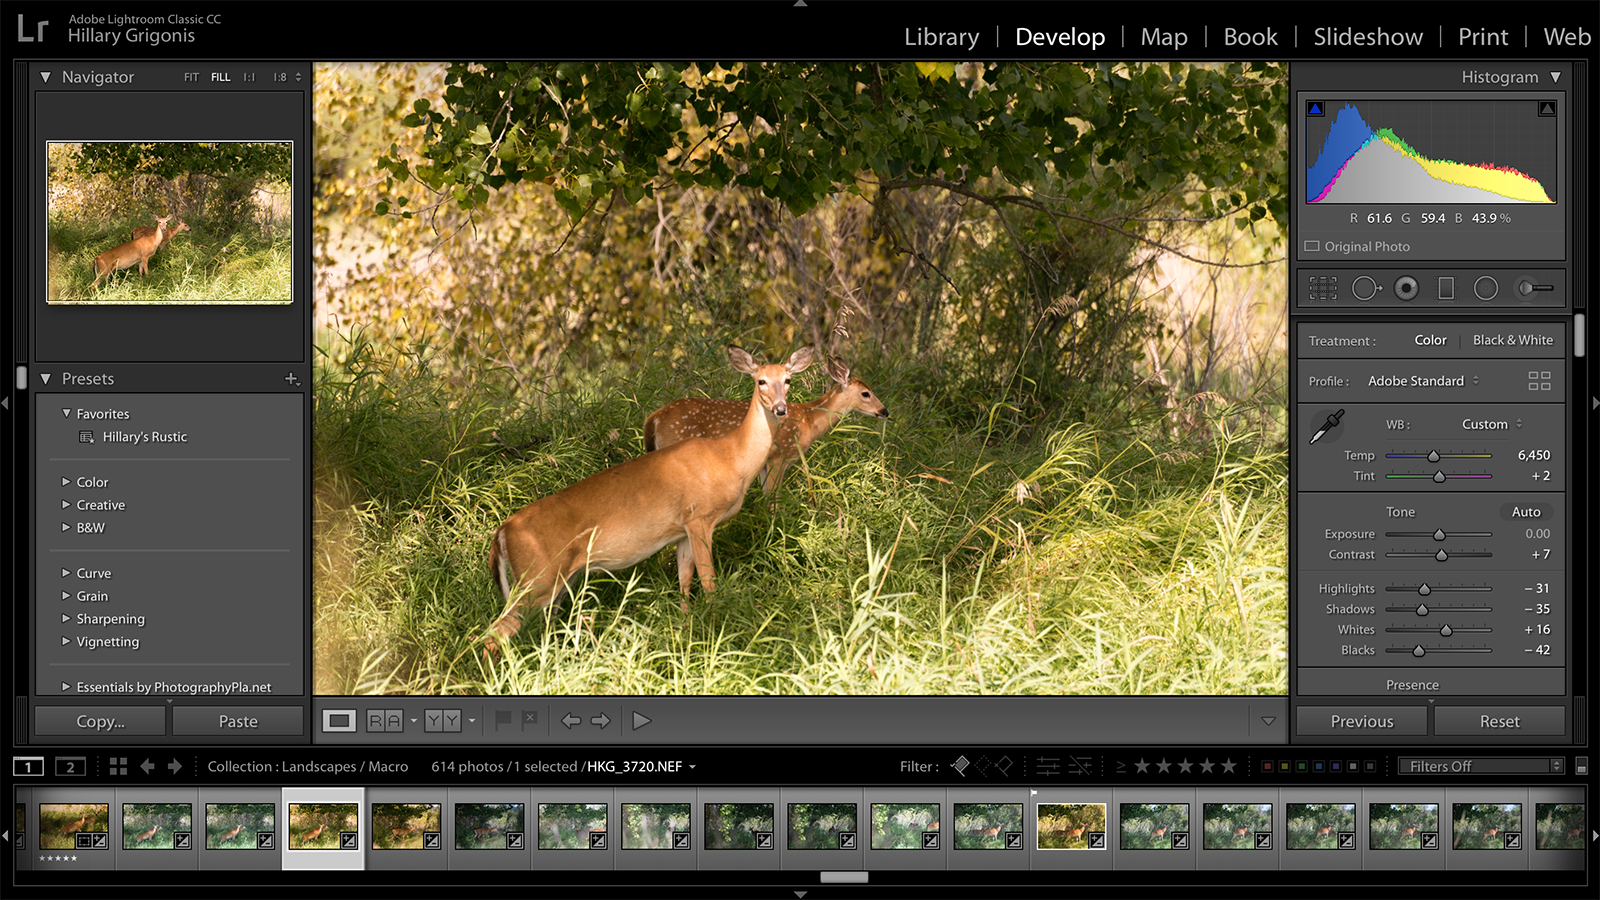
A Lightroom preset starts by simply adjusting a single image as you normally would.
Any adjustment is fair game, but keep in mind the adjustment will be applied to every image that you use the preset on. If you increase the exposure because the original was too dark, you’ll also brighten the exposure for images that were already properly exposed. That will only make the editing process longer, since you’ll be going back and reversing what the preset adjusted.
Fortunately, Lightroom gives you the option to exclude an adjustment from the preset.
2. Save a new preset.
Lightroom will take those adjustments and turn them into a preset for you with a few quick steps, but the process varies slightly between Lightroom Classic and Lightroom CC.
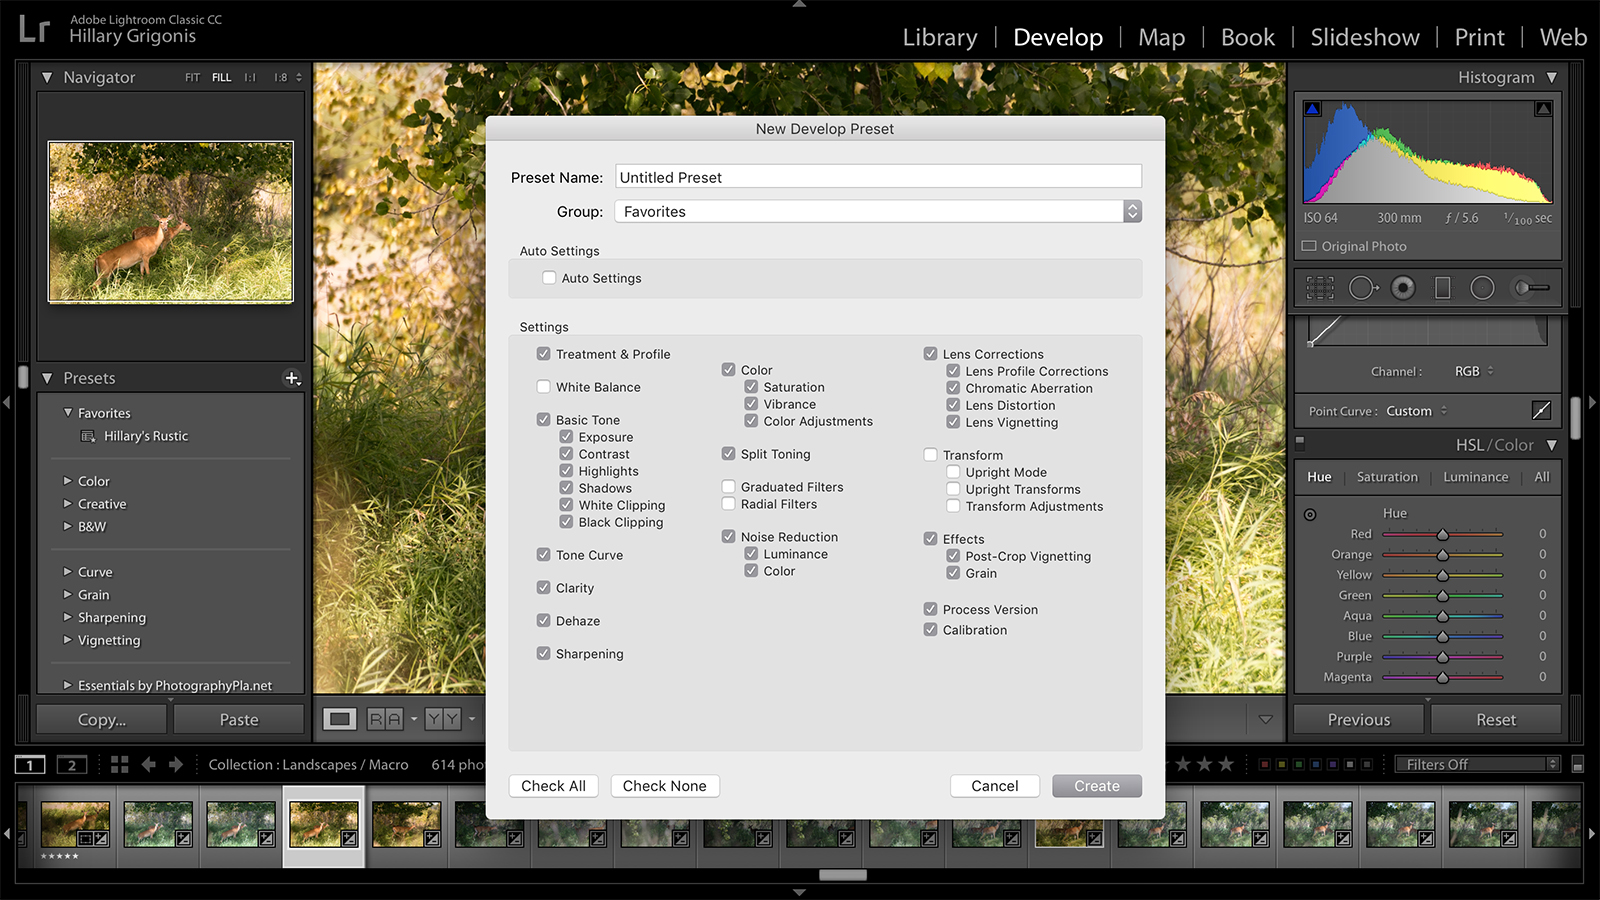
In Lightroom Classic, click on the plus icon at the top of the preset tab on the left and select “create preset.” In the window that pops up, give your preset a name and choose a group to save the new preset in. Then, use the check marks to indicate which adjustments you would like to include in the preset. For example, you may want to uncheck the white balance adjustment if you touched those sliders, or every image will be given an identical white balance value regardless of the setting in the original image. Then, click Create.
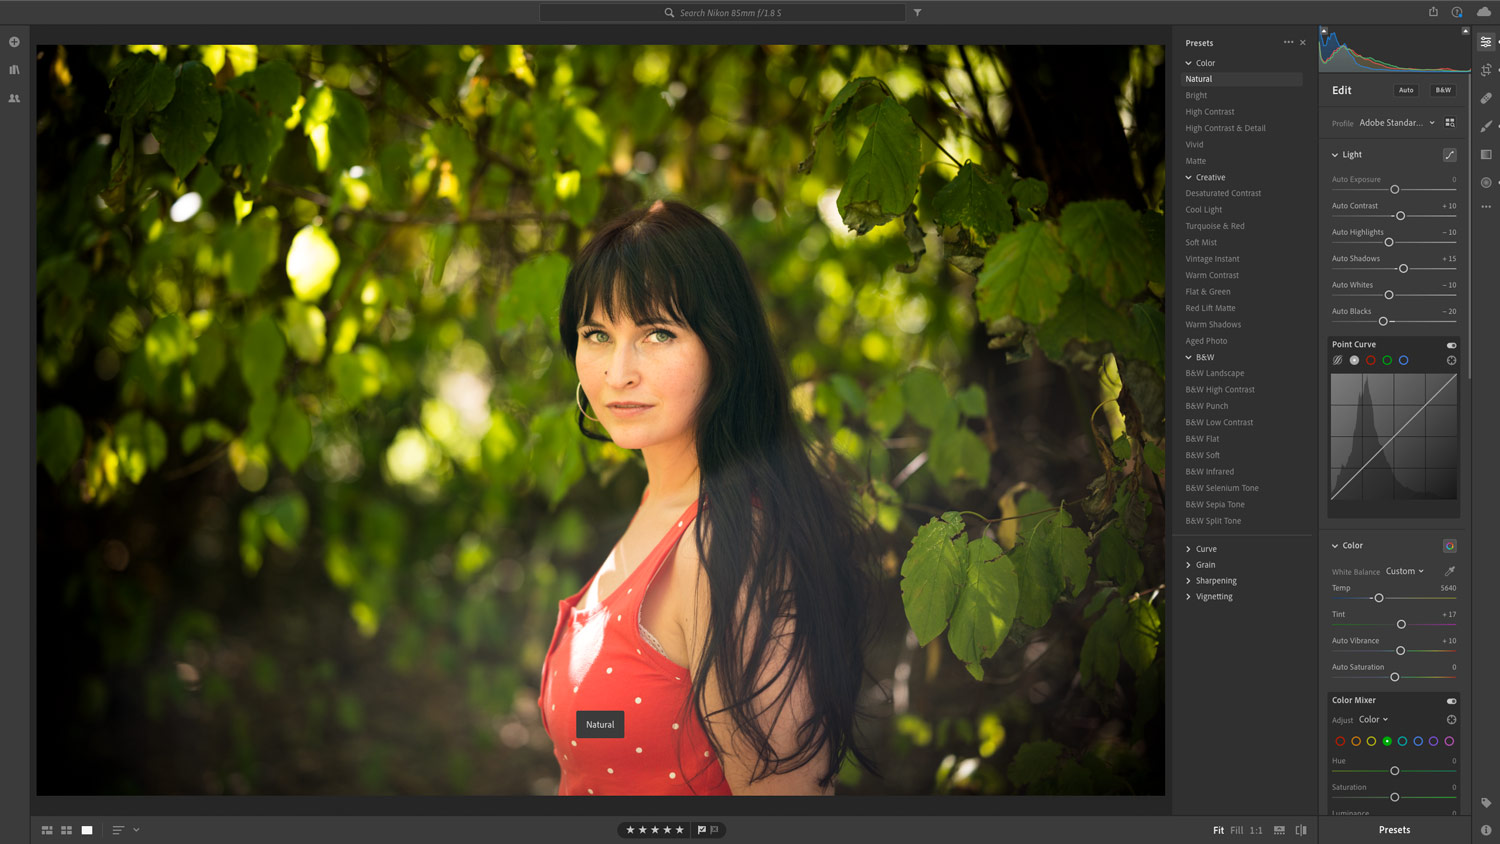
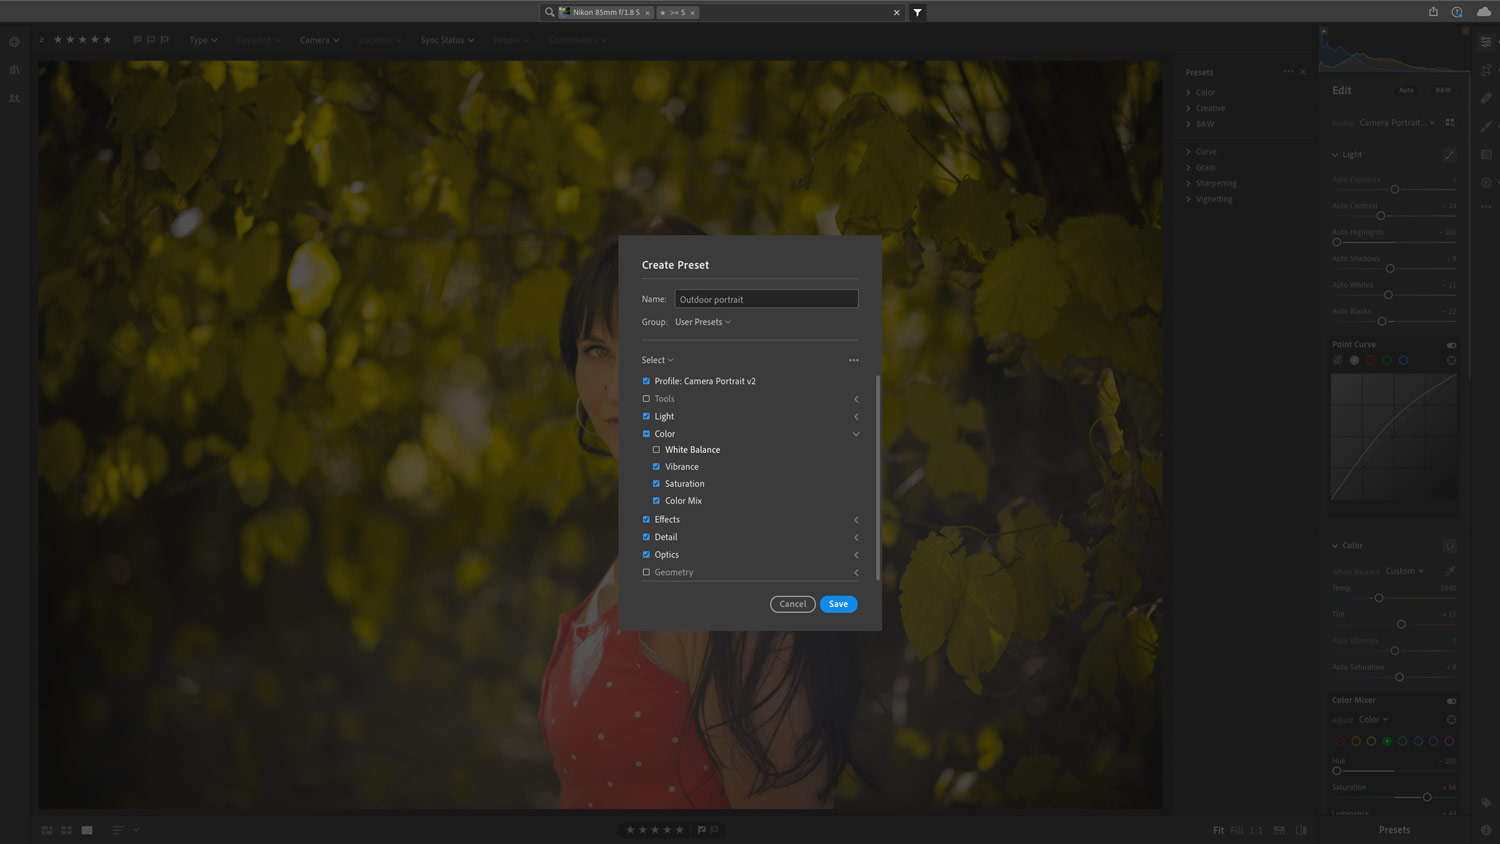
In Lightroom CC, navigate to the presets panel inside the edit panel. Click the three dots icon and select “create preset.” Choose a name and click save. In CC, presets are automatically saved in the User Presets category.
3. Apply the preset.
Once created, you can apply that preset in just a few clicks. Highlight the image or images to apply the changes to, then just select the preset you created from the presets panel.
If the preset doesn’t work quite as expected, you can easily edit that preset. Apply the preset to the image, then make the changes that you want to make to the image itself. Then, right click on the preset and choose “update with current settings.” (The update process is the same in both Lightroom Classic and Lightroom CC.)
Doing more with presets in Lightroom Classic
In Lightroom Classic, presets are good for more than just making adjustments to single images. You can also apply a preset as you import each image — just look for the “apply during import” option.
Classic also allows you to create a metadata preset to add the same copyright data or keywords to a photo — in the Library module under the metadata panel, choose “edit preset” from the preset dropdown menu. You can also create export presets by going to File > Export, then, with the export settings you’d like selected, click the add button on the left under the preset list.
Lightroom Classic also allows you to create new presets for brushes and masks. In the brush, graduated filter, or radial filter tool, make the adjustments you’d like to save to the slider. Them, in the effect dropdown menu, choose “save current settings as new presets.” The three tools share the same presets, so once you make a brush preset, it will also be available as a graduated filter and radial filter. Brush and mask presets are helpful for common retouching tasks like whitening teeth and brightening eyes.
Lightroom presets both save time and allow photographers to establish consistency in their photo edits — and they are simple to make. There are some presets that are worth downloading, such as options inspired from real film, but creating your own presets allows you to apply your own style to all your images, quickly.
Editors' Recommendations
- Adobe’s Lightroom just got a whole lot more useful
- What Lightroom RAW photo import defaults are and how to adjust them
- You can now Photoshop someone out of an image with one click
- Lightroom CC and Lightroom Classic: What’s the difference?
- How to make and install Photoshop actions to speed up your editing workflow


