
The colors in a photograph convey a mood, but the existing colors in an image don’t always jive with the rest of the image or give you the mood that you’re looking for. Maybe that neon outfit is distracting, or you want to change the colors to match your decor before you commit the photo to print. Whatever it is, Adobe Photoshop can change the color of that object — and it’s surprisingly simple.
There are a few different ways to become a color-changing Photoshop wizard, but the hue adjustment is one of the easiest and most realistic. Here’s how to use it.
1. Select the object
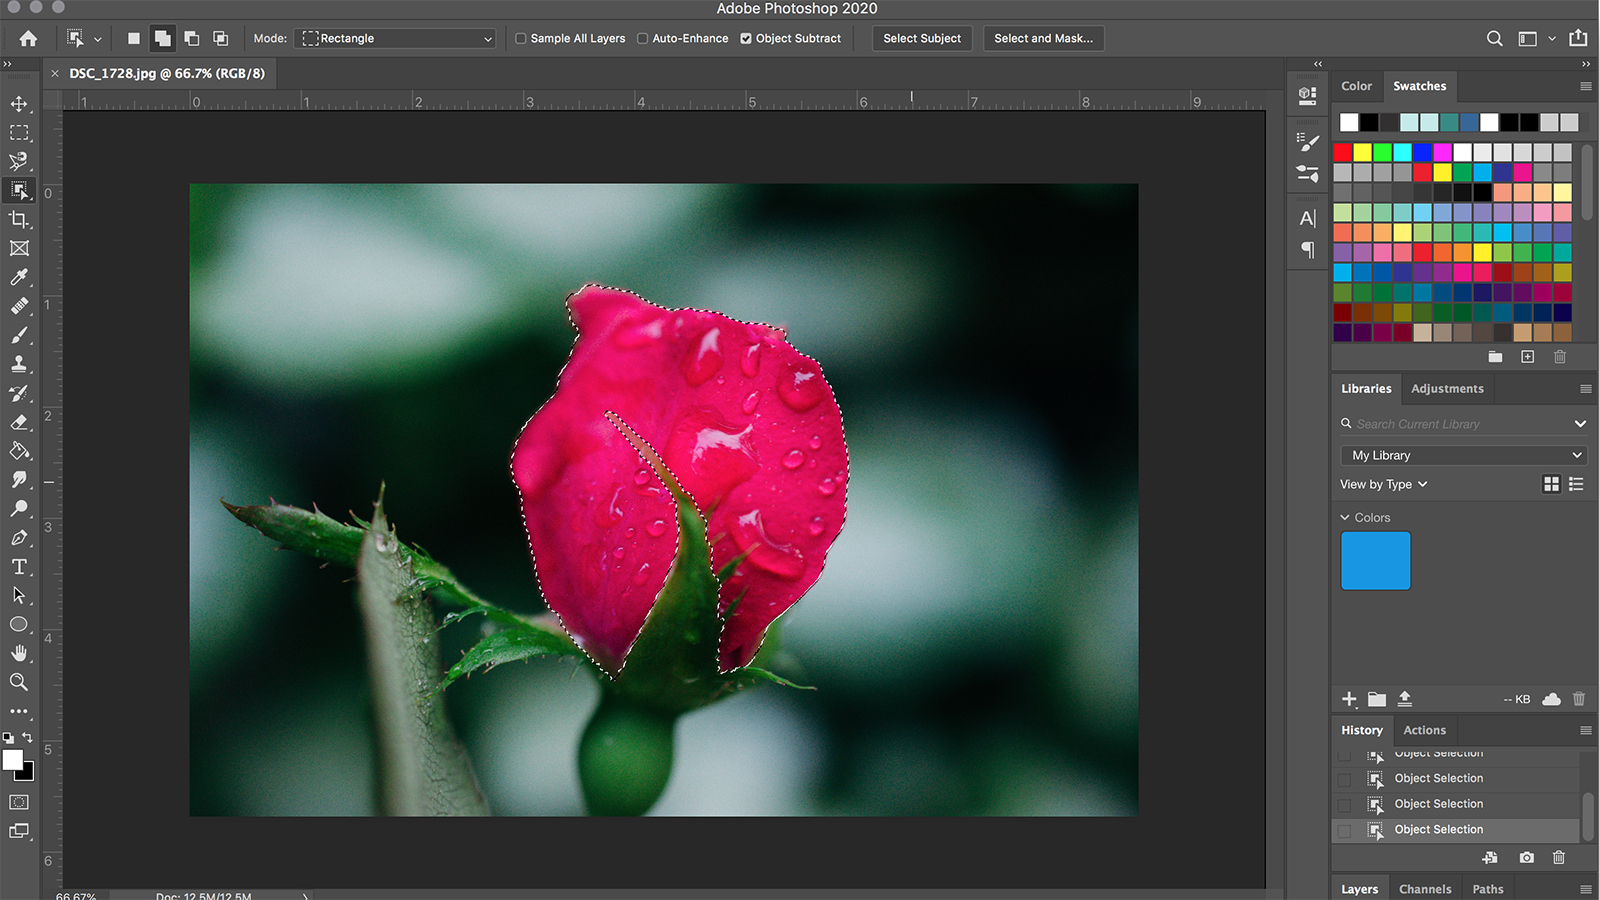
Selecting the object from the rest of the image is typically the most tedious part of the color-changing process, but Photoshop’s new object selection tool simplifies it. (The tool is available in Photoshop version 21.0, so make sure your software is up to date.) From the toolbar, select the Object Selection Tool. It’s located with the Magic Selection Wand — tap and hold the icon to change the selection tool to Object Selection.
Now, draw a box around the object that you want to adjust. Make sure the entire object is inside the box; you’ll get the best results if you draw the box tightly around the object. Photoshop will work its magic to detect the edges. You can refine the selection by holding the Shift key and drawing another box to add to the selection, or the Alt/Option key to subtract from the selection. In the sample image, I held down the option key and drew around the green leaf overlapping with the flower in order to deselect it.
2. Adjust the color using a hue/saturation adjustment layer
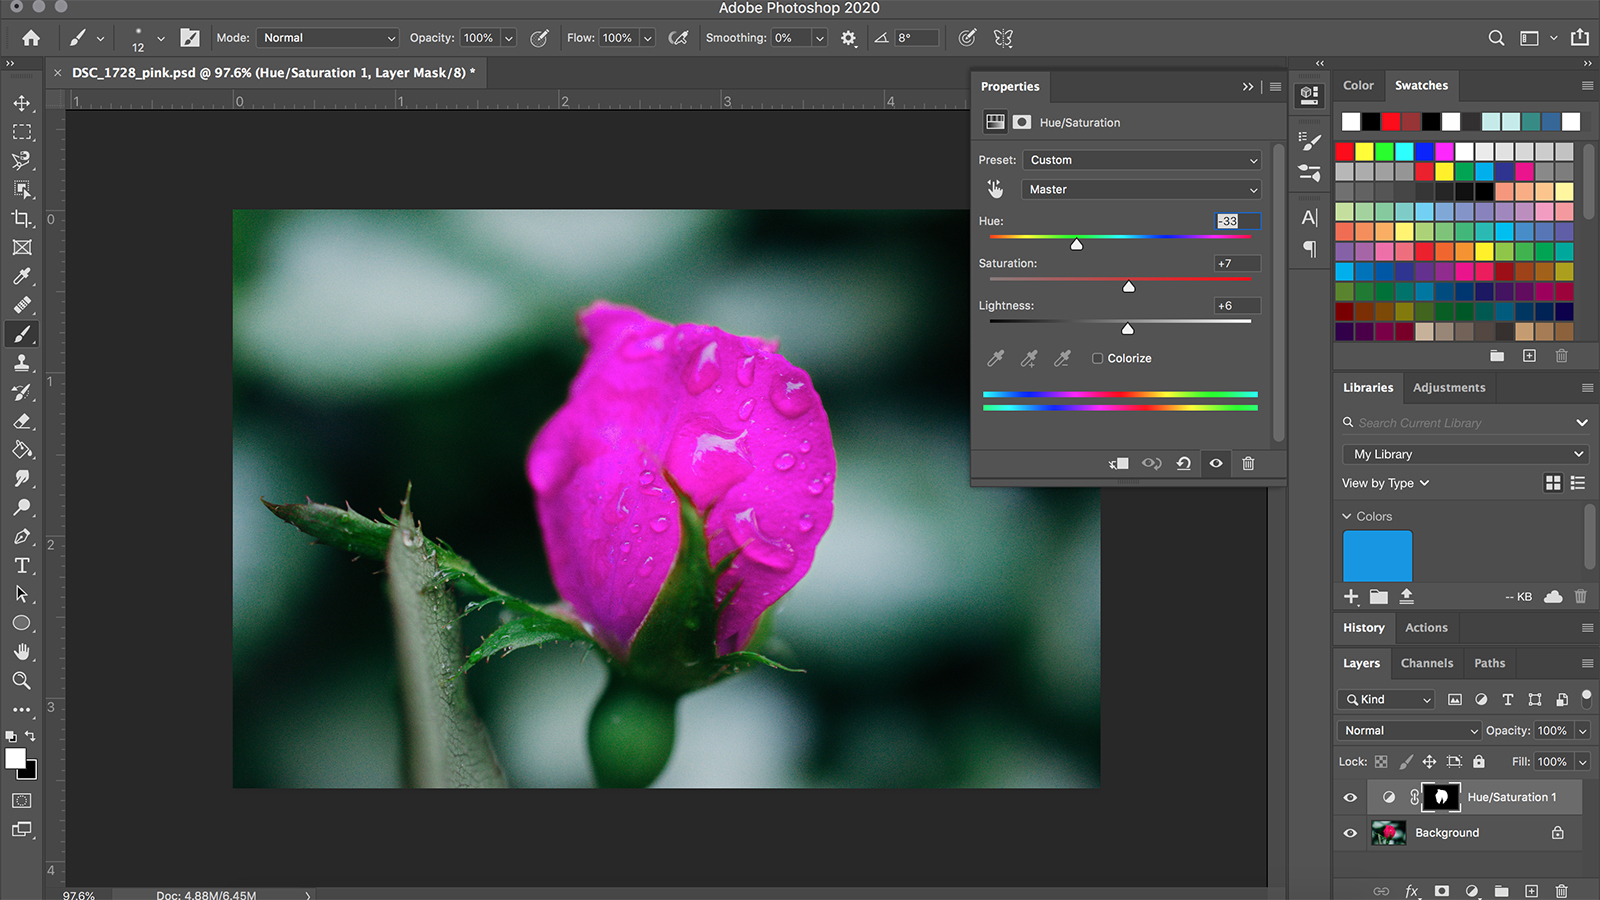
With those marching ants still around the object, go to Layer > New Adjustment Layer > Hue/Saturation. This creates a layer to adjust the object’s color.
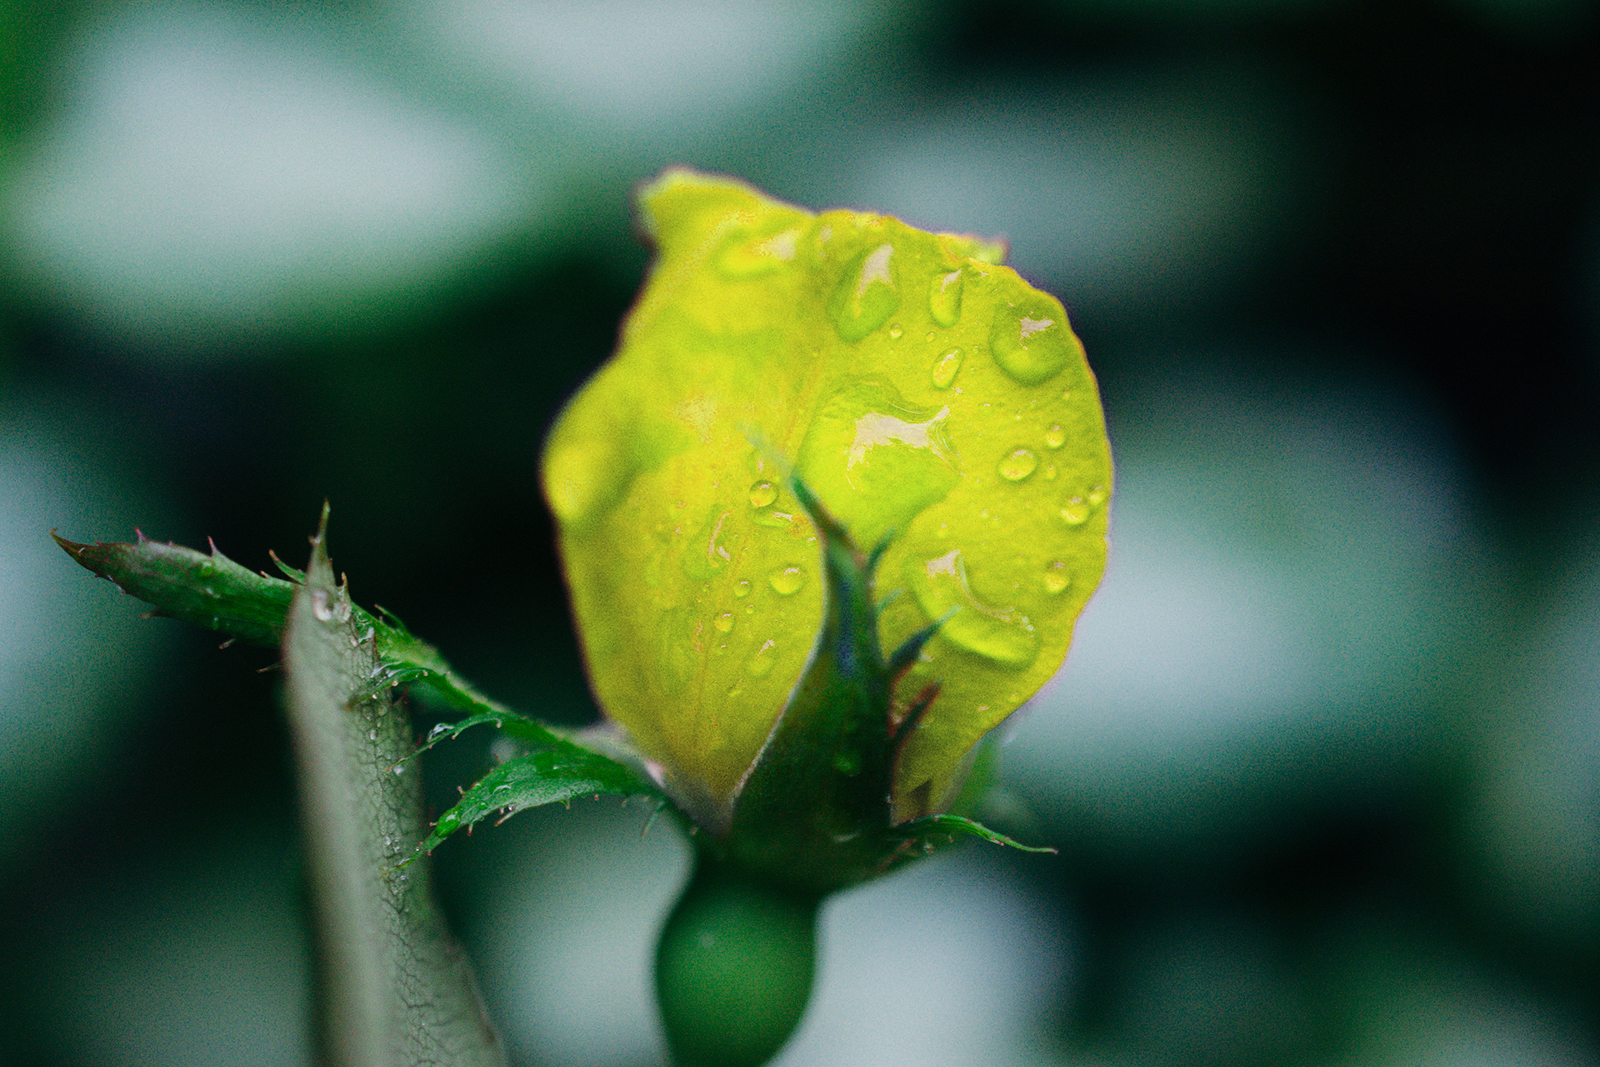
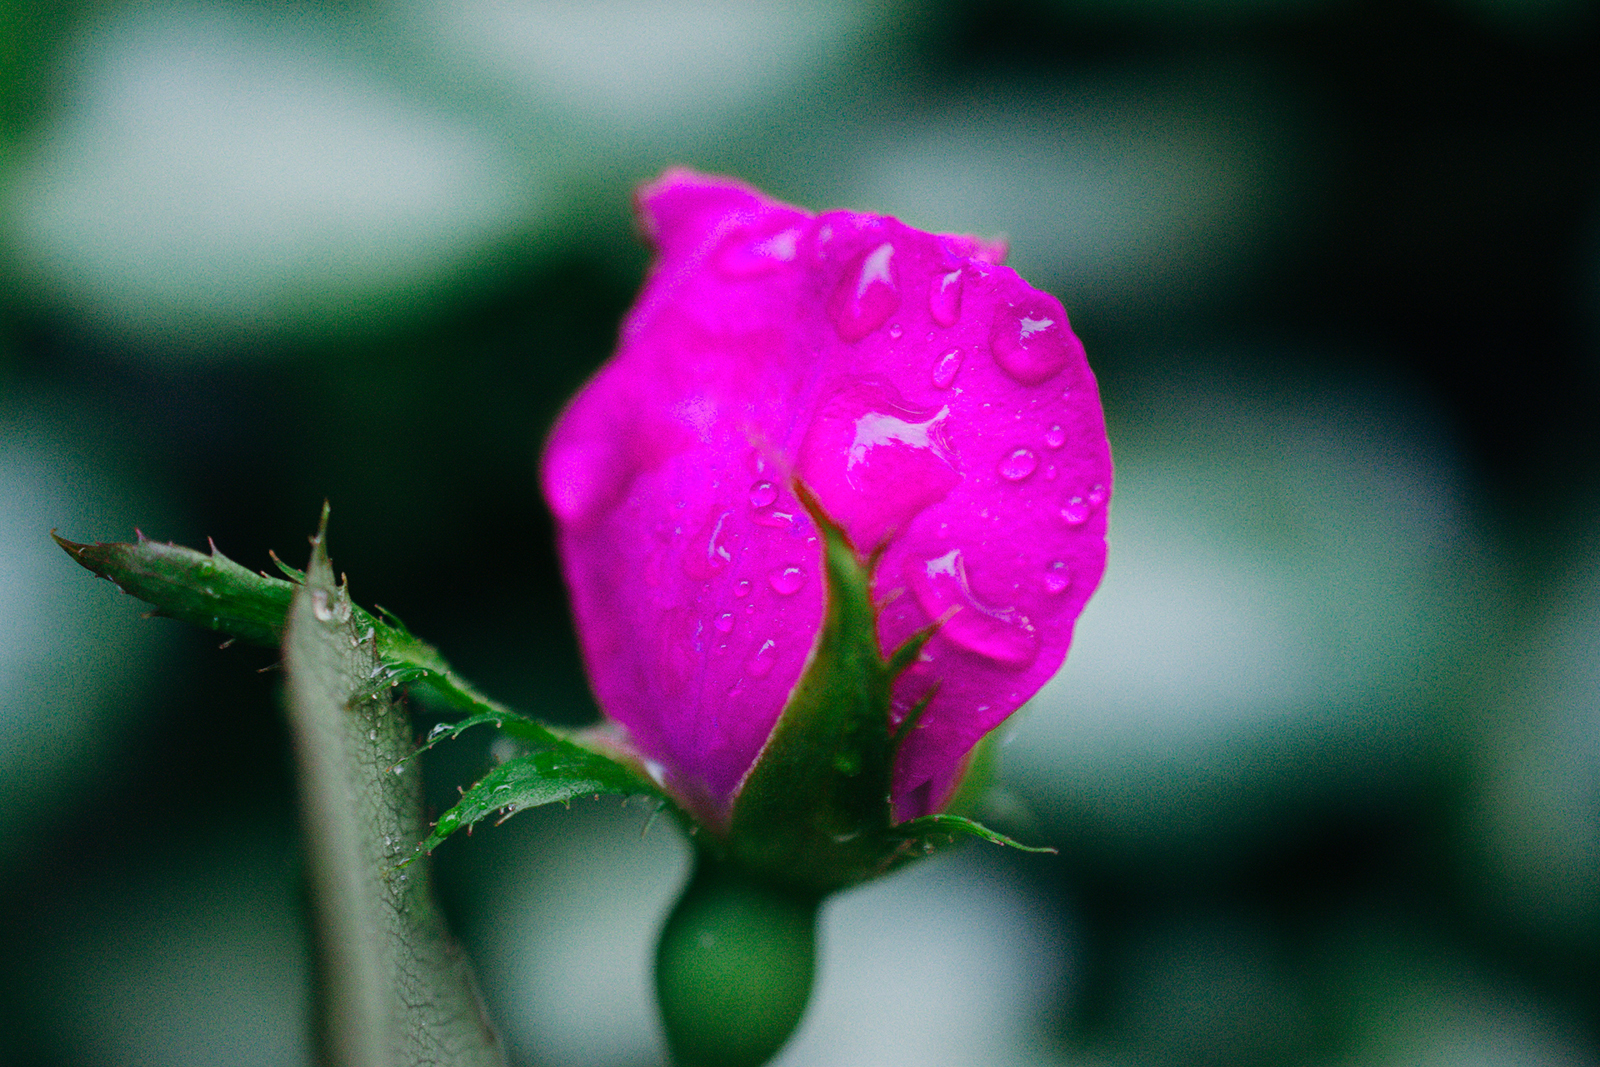
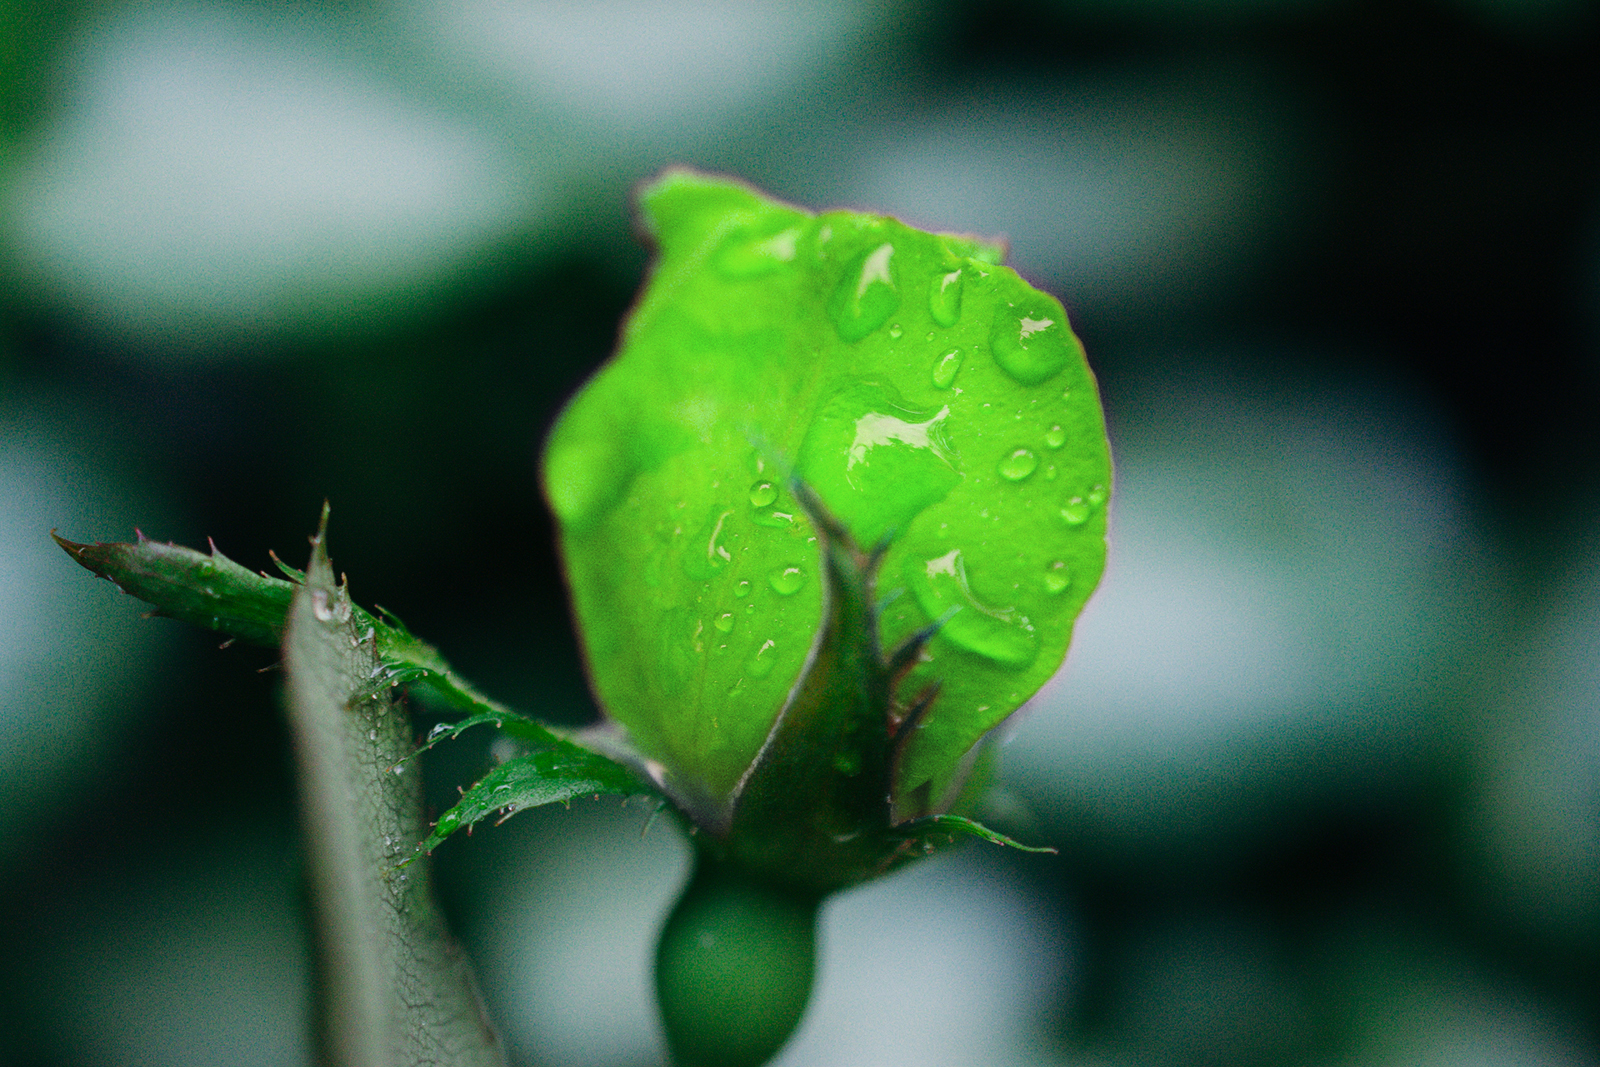
In the Adjustment Layer Properties Box, drag the hue slider to start changing the object’s color. (The box should automatically pop-up after you create your adjustment layer, but if not, click on the Top Icon on the right sidebar that has a cube on it.) Play with the hue slider until you’ve found a color that you like.
Next, adjust the saturation and lightness, if desired. The saturation will increase or decrease the intensity or amount of color, while lightness will lighten or darken the selected area.
Note: For very simple images, with no other objects with that same color in the photo, you can use color channels in the Master Dropdown Menu at the top of the Adjustment Layer Properties Panel. This is less precise and will change the color throughout the entire photo, not just the object. Occasionally, this method will work with simple images, but selecting the object first typically offers better results.
3. Refine the selection with brushes

Adjusting the color of the object may make even slight errors in that original selection more obvious. To perfect the color change process, use the Paintbrushes to refine the adjustment layer. This process can get rid of the halo that’s sometimes created when changing the color of the object.
In an adjustment layer, if you click on the Black and White Mask on the Adjustment Layer icon, you can refine what’s included in that adjustment, using white to include those pixels and black to exclude them. Select the Paintbrush Tool and hit D on the keyboard to change the foreground and background colors to black and white. Use a white paintbrush to paint over any parts of the object that you missed in the original selection; use a black paintbrush to brush over any parts that should not have been selected. To correct minor halos at the edge, use a brush with soft edges. You can change both the brush type and size in the top panel.
Once you are finished adjusting the color, you can continue adjusting the rest of the image. With an adjustment layer, you can always go back in and use the hue slider again to make further adjustments — just select the Adjustment Layer from the Layer Panel.
When finished, save your image. A JPEG is easy to share, but if you want to come back and further refine that color, be sure to save a PSD file, too.
Editors' Recommendations
- The best Photoshop alternatives
- How to add and edit text in Adobe Photoshop
- Everything you can do in Photoshop for iPad, and what is still missing
- What is Photoshop Camera? How Adobe’s new A.I. app edits photos before you take them
- You can now Photoshop someone out of an image with one click


