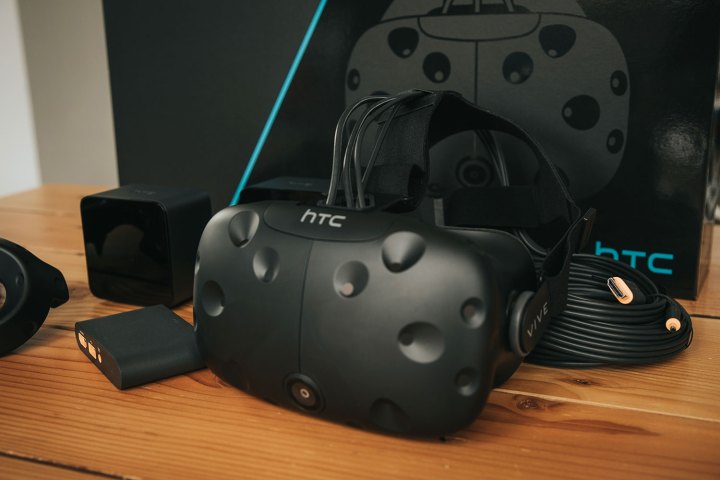
Once you’ve spent the $800 necessary to acquire a Vive you’ll want to get the most out of your new toy, so here are some tips and tricks to help you master the Vive and traverse virtual landscapes with ease.
Keep the headset clean
Anyone who has had friends over to play video games has probably picked up a controller afterwards only to recoil in disgust at a layer of grease on the device. Hands are a great transmitter of oils and germs (thank goodness most people tend to wash them at least semi-frequently). The Vive comes into frequent contact with another part of the body that’s dirtier than most people think: the human face.
If you plan to let other people use your headset, it’s a good idea to keep the thing clean. One way to keep the Vive clean is to keep it from getting dirty in the first place. A company called VR Cover makes covers for the HTC Vive; they’re designed to keep dirt and skin off the headset much like a pillowcase protects a pillow. The covers come in a variety of materials, including cloth and leather, and are machine-washable.
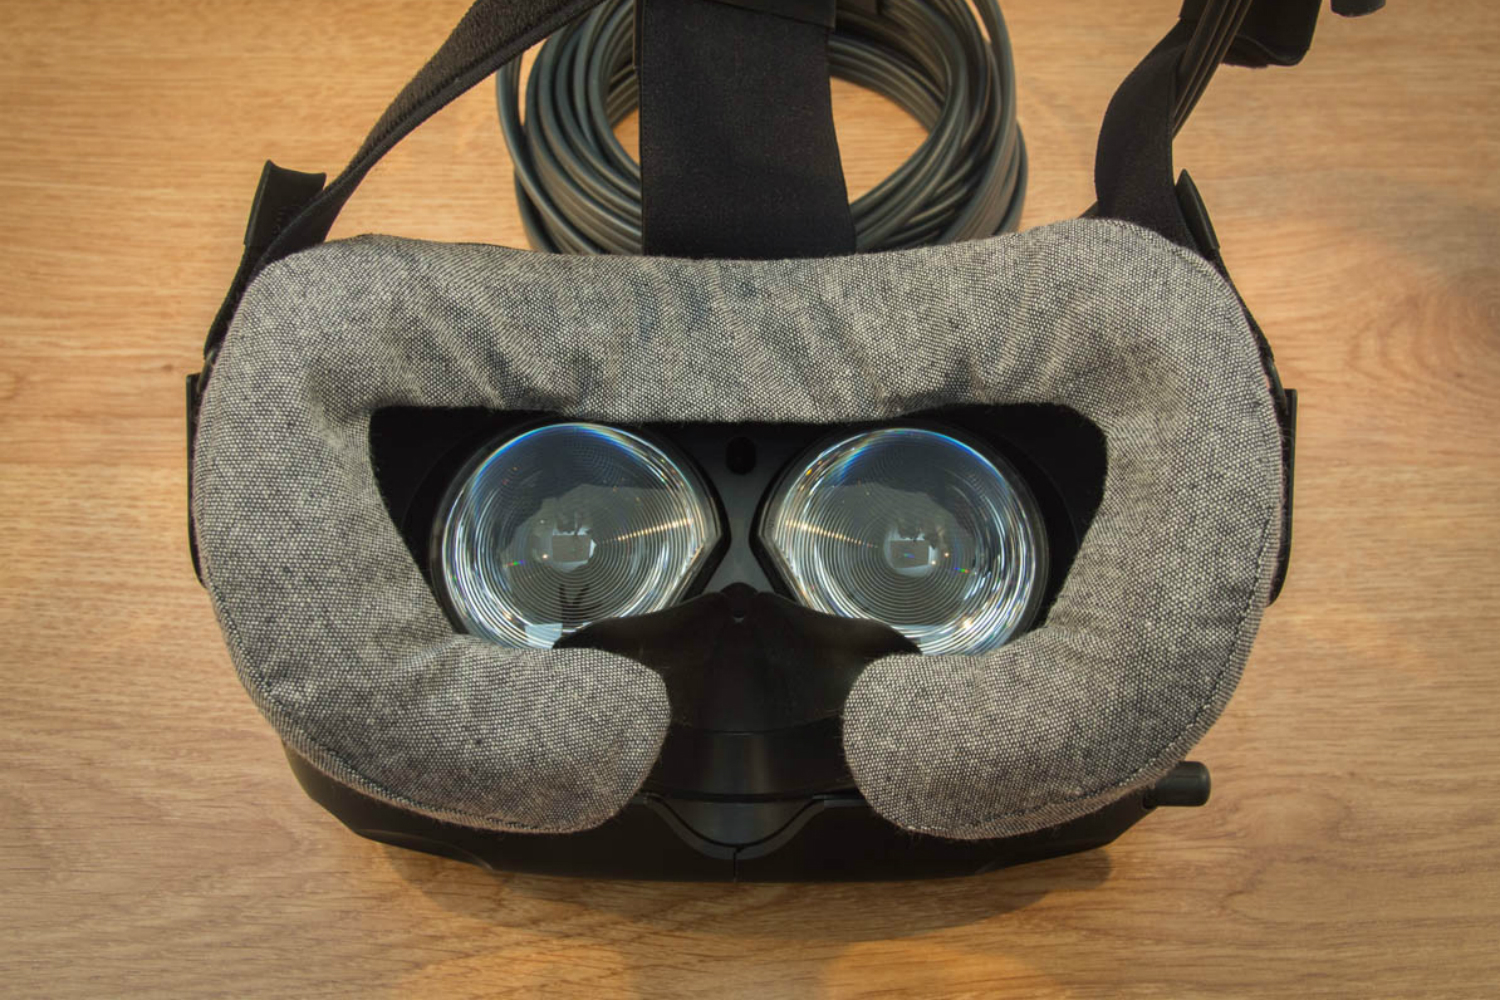
If buying a cover for the Vive seems excessive to you, a little manual cleaning should suffice. To start, remove the face cushion: Grab its two ends and peel them until the cushion comes off. To clean the cushion, HTC suggests using a cloth — such as the one included with the Vive — dampened with water. If you are really worried about disinfecting the face cushion, gently wiping it down with baby wipes should work as well.
Either way, let the cushion dry out in the air. The lenses are just as easy to clean, although they are also fragile, so it’s important to be gentle. Use a damp cloth and wipe in a circular motion moving from the center of each lens outward.
Use light stands to mount the base stations
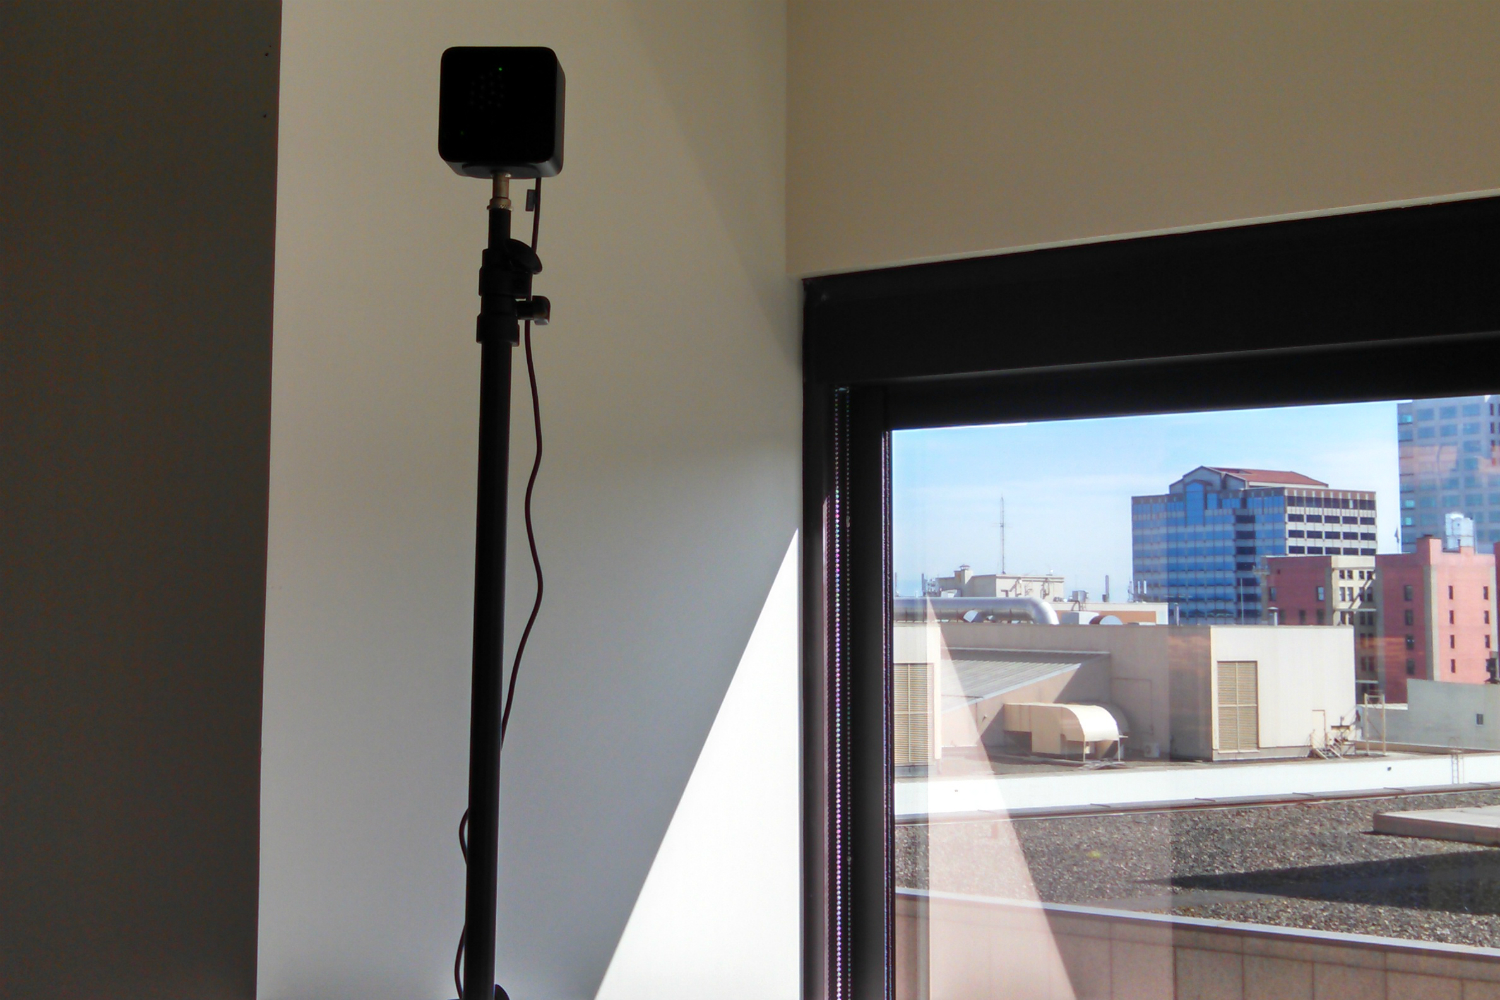
One of the biggest obstacles for new Vive users is setting up a space to use it. In addition to clearing out a space to walk around in, users will also need to place the base stations (which track movement in the play area) at least six feet off the ground.
While there are many ways to do this, including wall mounting, we have found light stands — such as those used for photography — to be a convenient tool. The base stations can screw into the ¼-inch mount, and light stands not only offer height but are easy to move around if need be.
Purchase a good pair of headphones
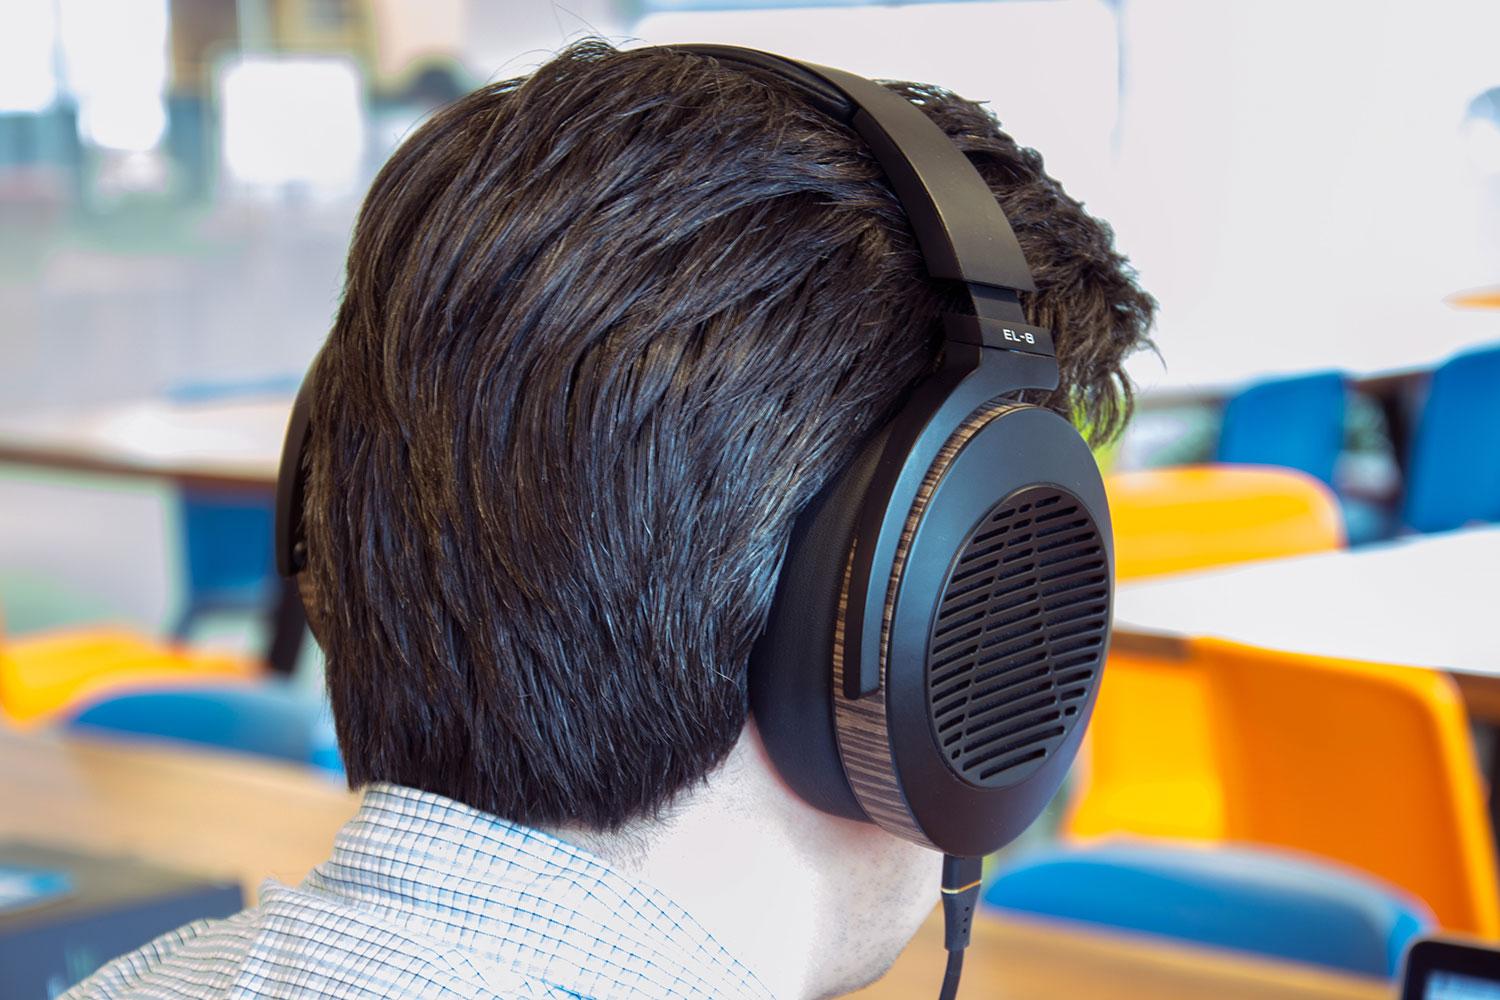
The visuals on the Vive can be awe inspiring, but sight is only one part of an immersive VR experience. To really sink into a virtual world, sound is crucial. The Vive does come with a pair of earbuds, but users wanting a greater range of sound will have to provide their own headphones.
For gaming, open-back headphones are generally considered better, as they provide a better sound stage, allowing users to discern the direction and placement of sounds. This seems particularly important for virtual reality, where the placement of sounds, or lack thereof, could make or break the experience.
We like the Sennheiser Momentum on ear phones — they’re ideal for anyone who wants to squeeze the best sound out of each and every dollar. For more recommendations, check out our favorite headsets to see all of our picks.
Utilize the camera for Chaperone mode
If grids are a little boring for your tastes, or if you want to have a clearer view of the objects in your space, you can use the camera to see objects around you through the Chaperone system. To do this, open the dashboard and choose Camera, then check the box labeled Use Camera for Chaperone Bounds.

Now when you approach objects in the play area, instead of seeing a grid you will see outlines of the objects the camera can see.

This is useful if you want to grab a particular object — say, a coffee cup on your desk — without taking the headset off. From an aesthetic standpoint, it also looks pretty cool.
Adjust the Chaperone settings
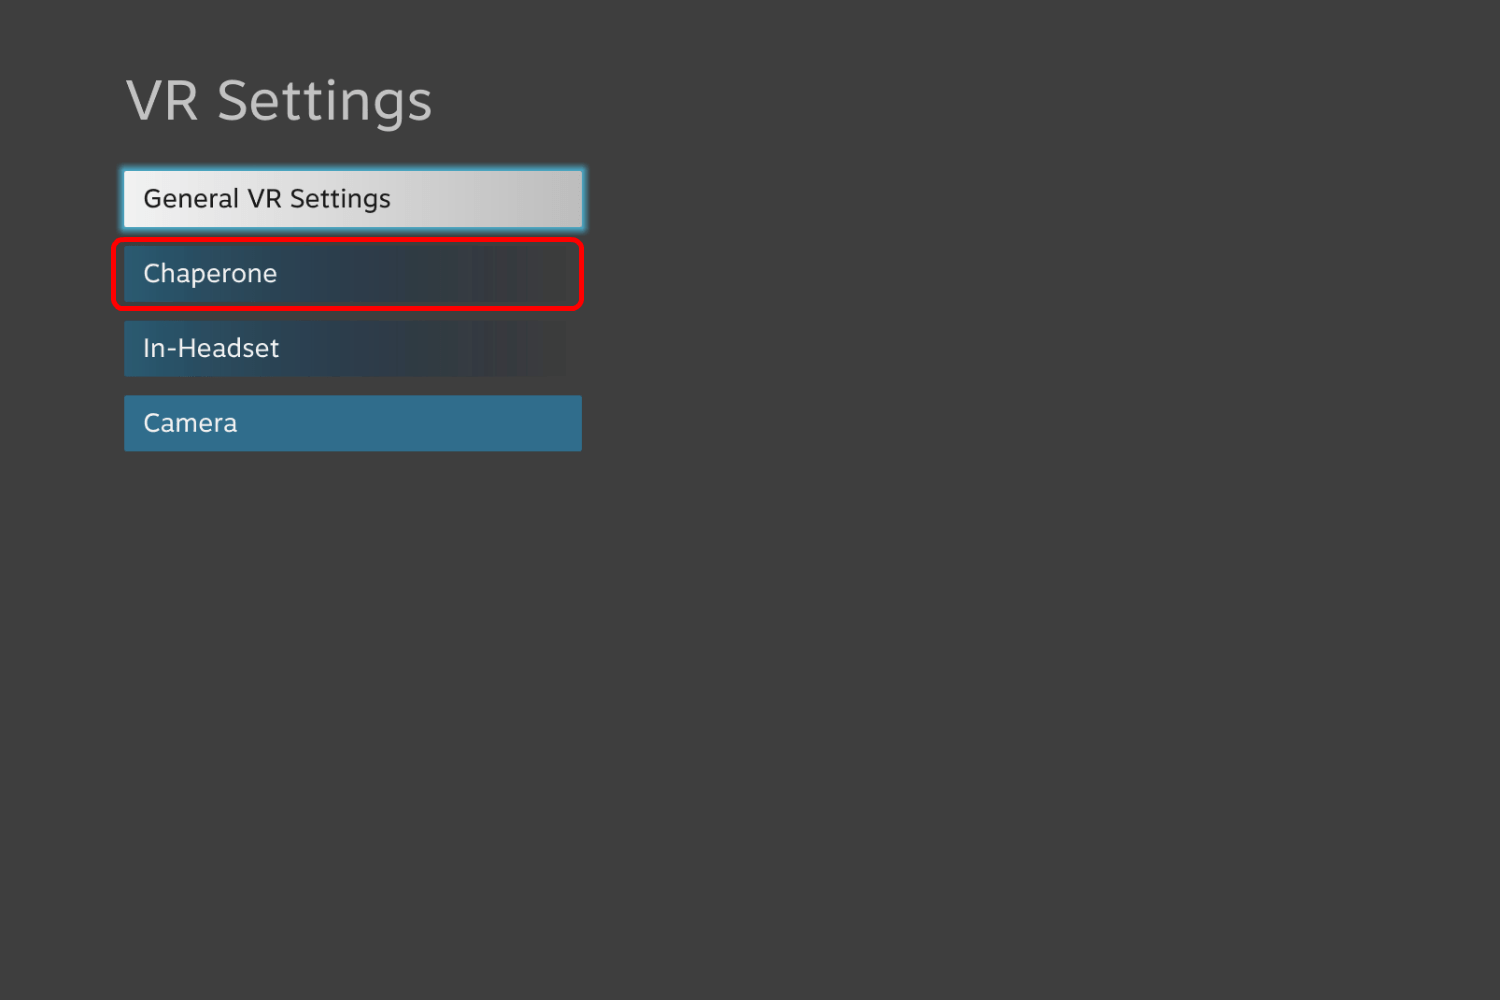
One of the biggest concerns with VR headsets is that you can’t see where you are walking while wearing one. The Vive solves this with the Chaperone system, which provides gridlines in the virtual world that warn users when they are about to bump into something while walking around with the headset on. Users can tailor these grids to their liking. To do this, bring up the dashboard, then open the Settings menu. Next, choose Chaperone. This will bring you to the Chaperone system settings.
From here, you can choose one of three grid styles (Beginner, Intermediate, and Advanced). The Beginner grid is far more prominent than Intermediate, which, in turn, is more prominent than the Advanced option. You can also enable Developer mode to remove the grid entirely. By default, the Vive uses the Beginner setting.
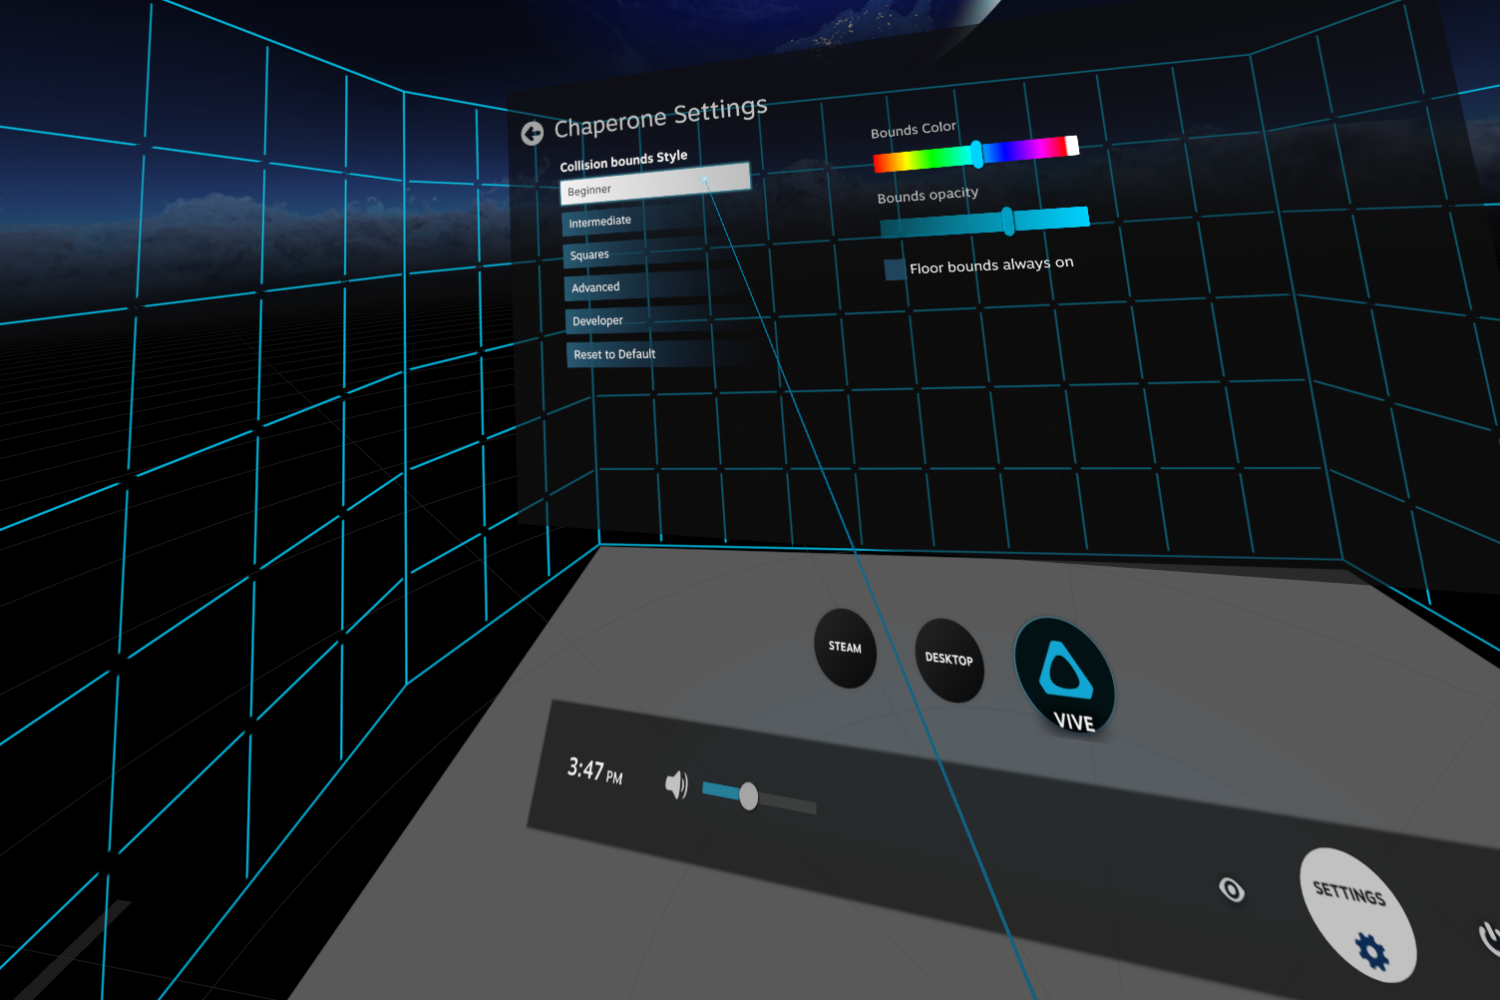

- 1. Beginner mode
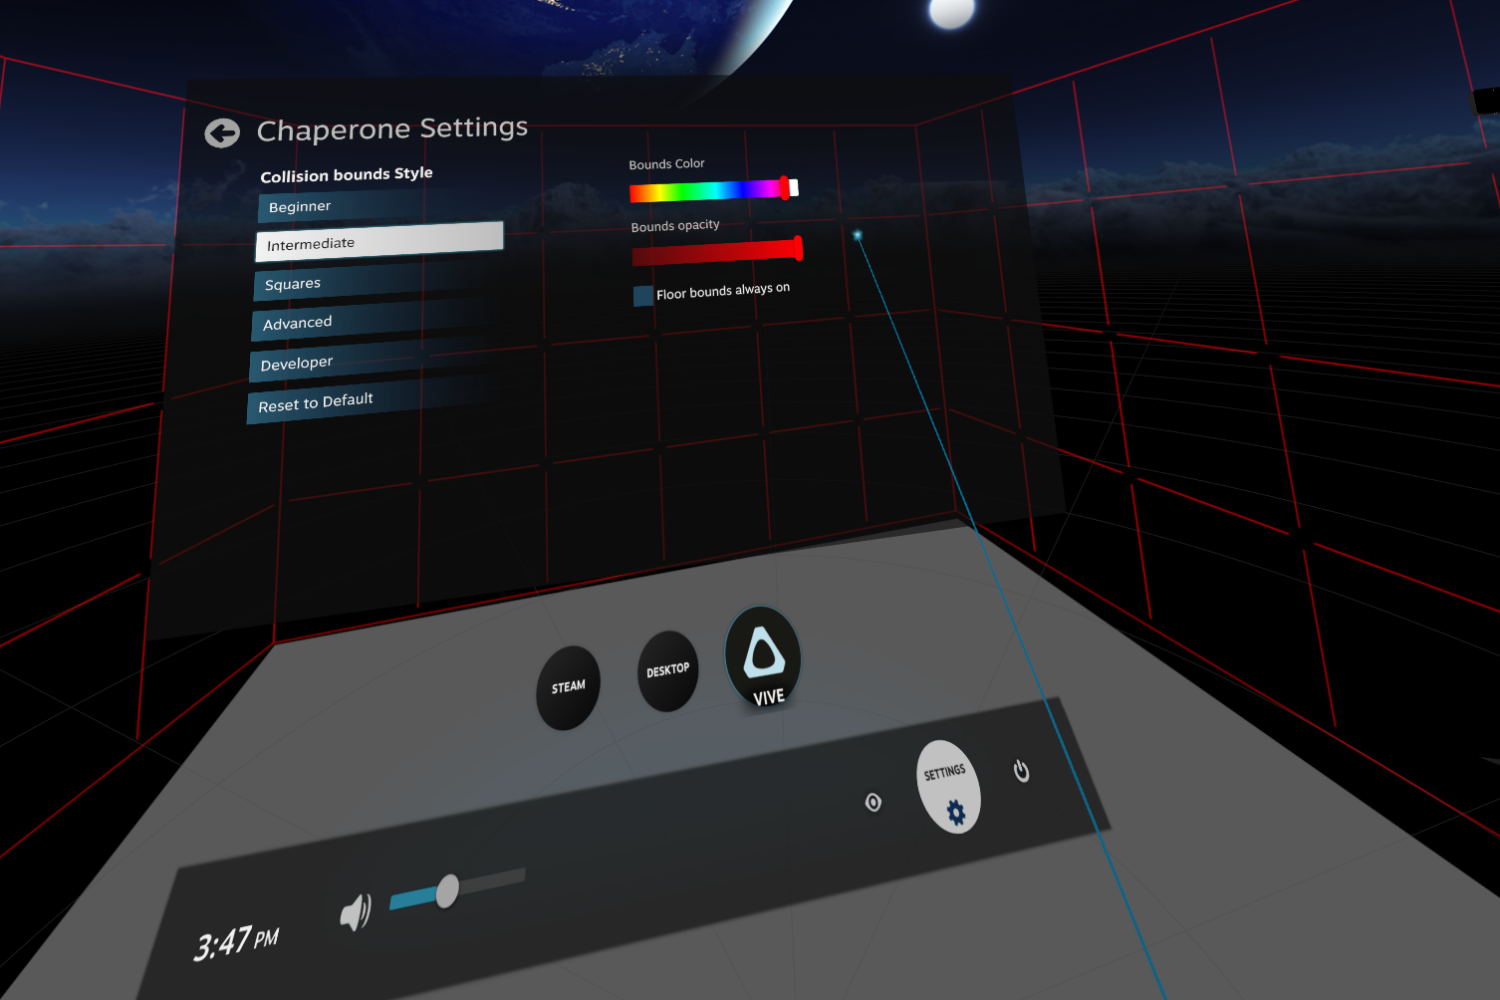
- 2. Intermediate mode
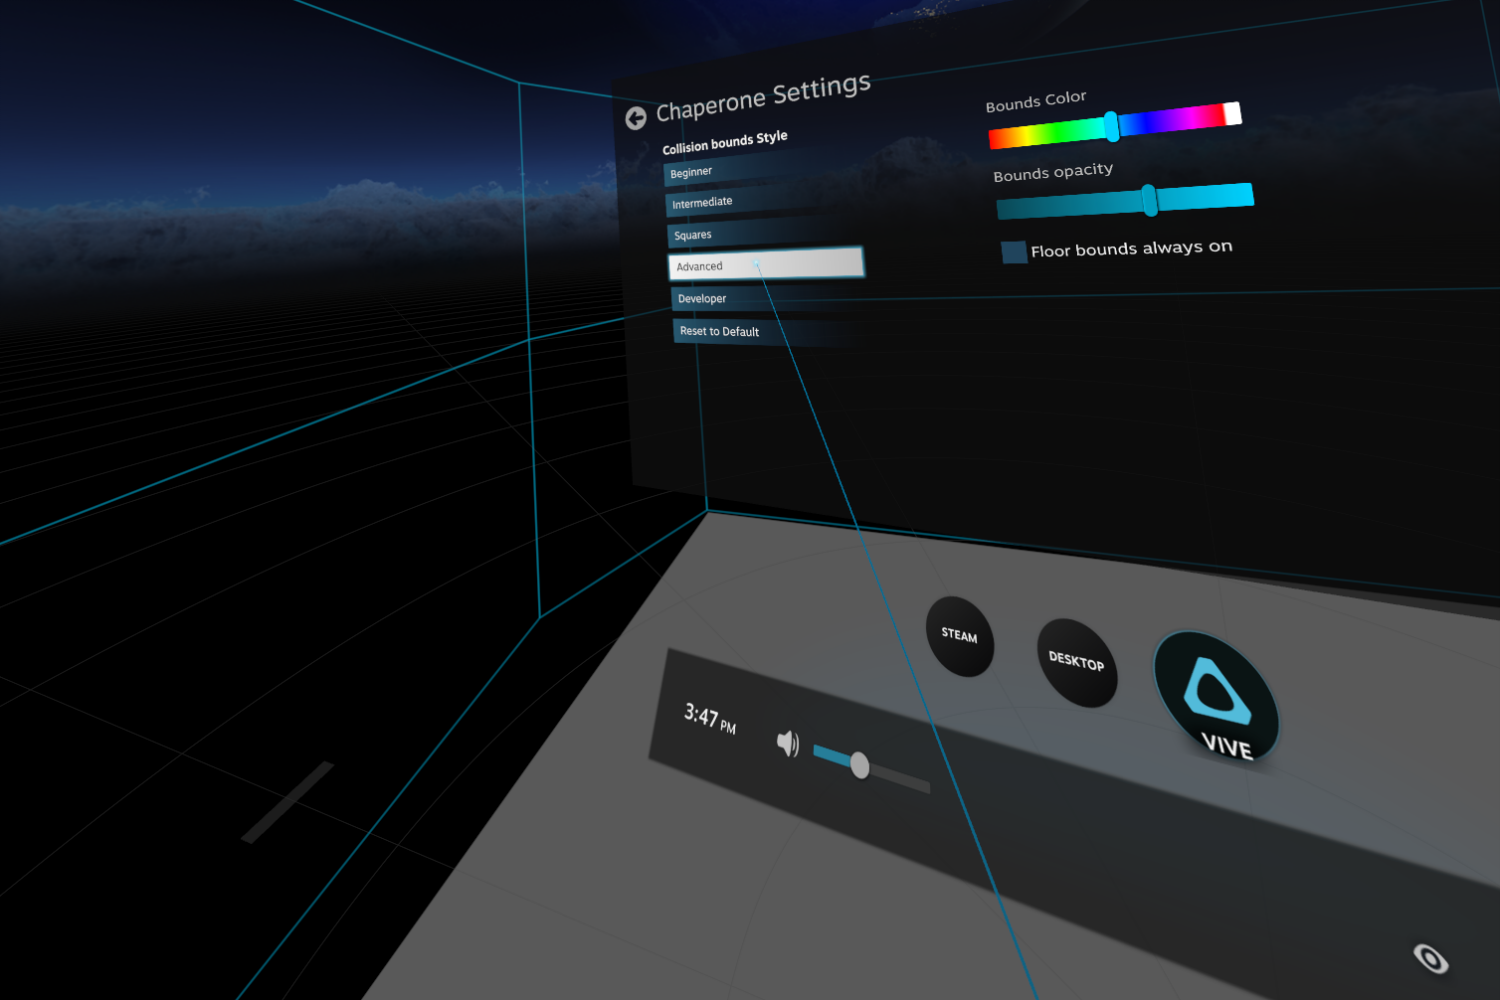
- 3. Advanced mode
Users can also adjust the color and intensity of the grid lines by dragging the appropriate sliders in the Chaperone Settings menu.
Use the camera to see the world around you
One of the Vive’s most prominent features is the front-facing camera, which lets you see what is in front of you even while wearing the headset. By default, this camera is used for the chaperone system, which creates virtual walls inside VR so you’ll know if you are about to walk into something. However, by fiddling with the camera settings, you can also bring up a video feed in the headset for a clearer picture of the world around you.
To change the settings, first bring up the dashboard by pressing the System button on the controller. It’s the small button located underneath the track pad.

Select Settings, then Camera. In the Camera settings, click the button labeled Enable Camera in Dashboard.
Now, whenever you bring up the dashboard, you should see a window next to the controller providing a video feed from the camera. This way, you can see what is in front of you, which is useful if you want to take stock of your surroundings.
Change the background
Users can change the background that appears when they are browsing the dashboard, much like changing the appearance of a desktop. To do this, go to the dashboard and open Settings, then select In-Headset Settings. Under the heading Background Style, you can choose to use a solid color for the background, or an image.
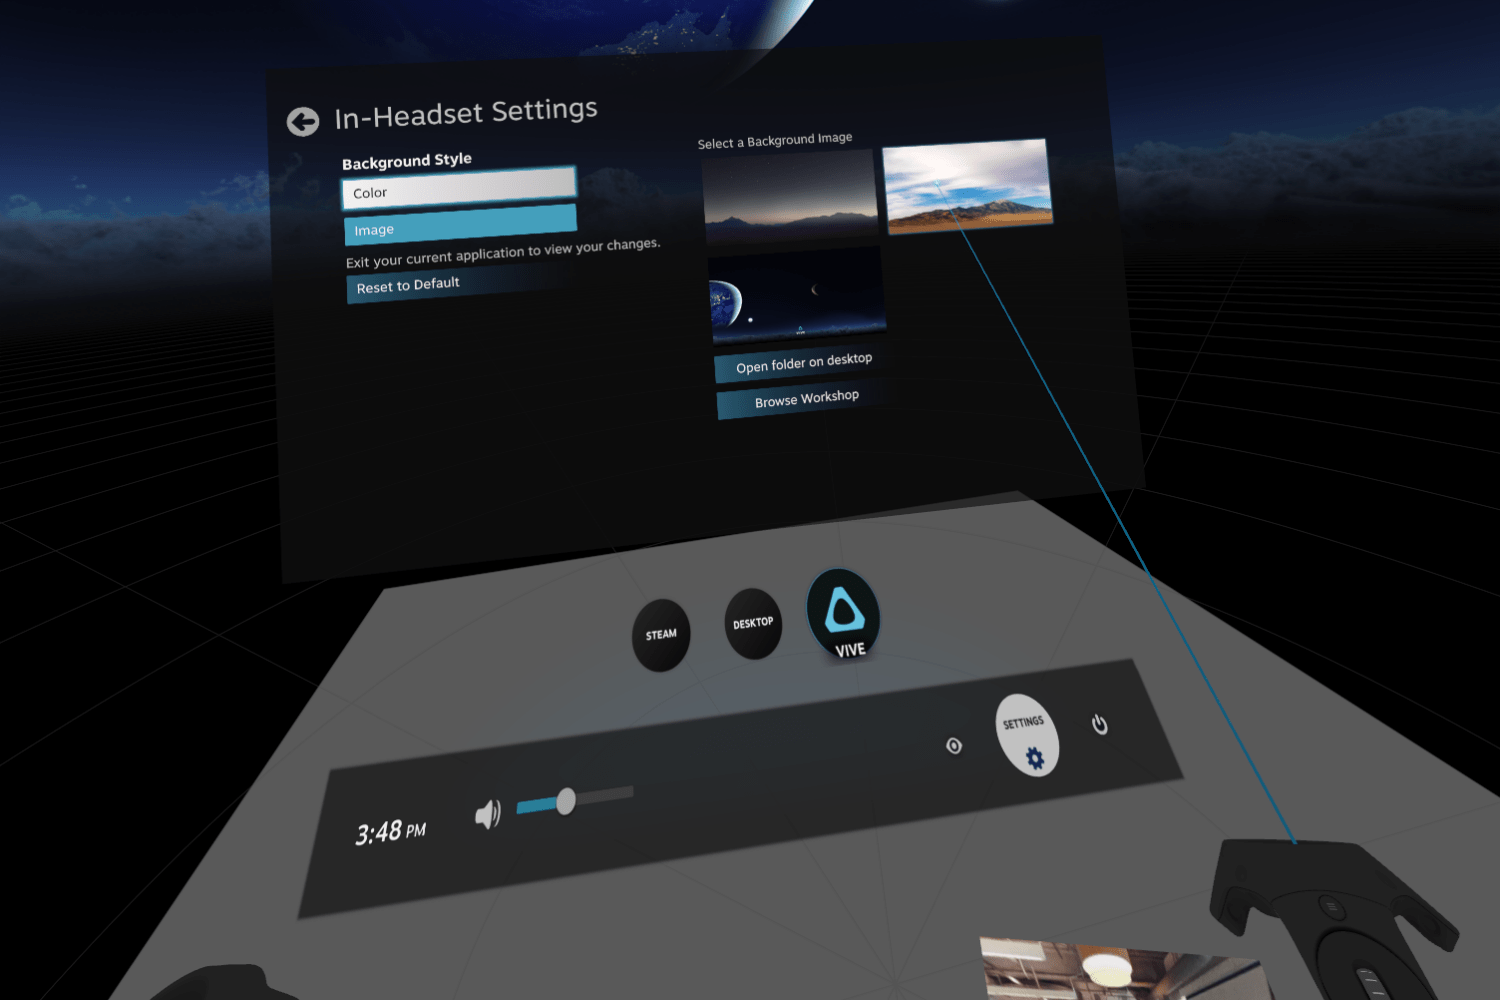
SteamVR already has some images available to use right away, such as a desert background.
From this menu, you can also select an image on your computer, or browse the workshop to find a host of user-created backgrounds.
Disable notifications
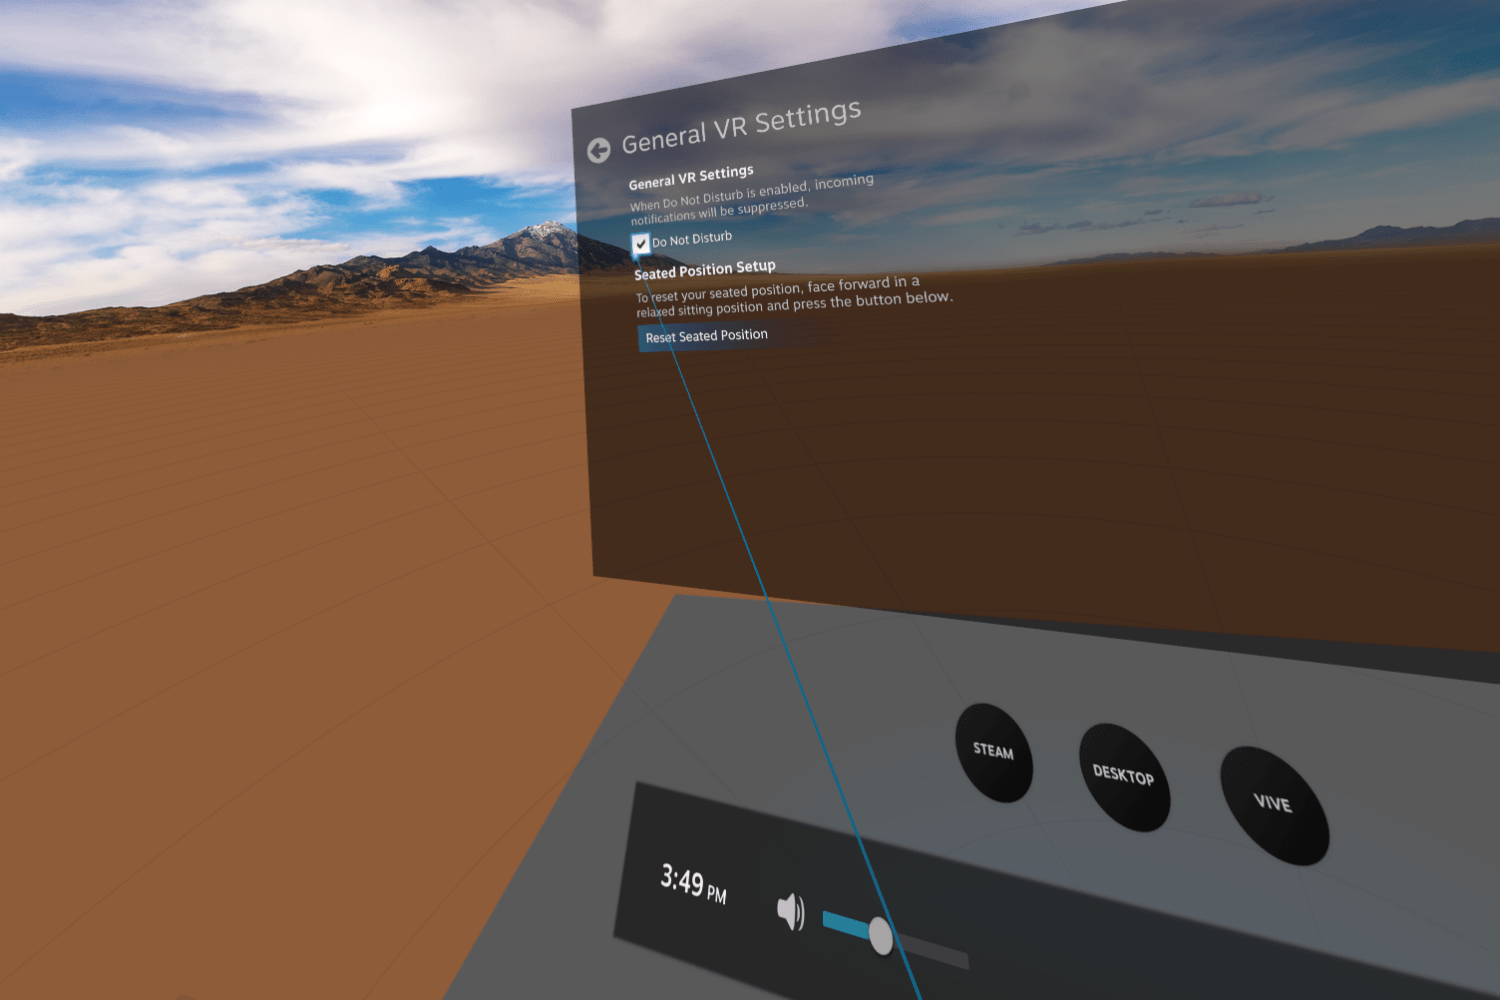
SteamVR by default provides notifications when friends come online or are playing games. These can be helpful if you want to join someone for a round of Hover Junkers, but annoying if you’re trying to immerse yourself in a virtual setting. Thankfully, disabling these notifications is easy. Press the System button to open the dashboard and go to Settings, then choose General VR. Next, check the box marked Do Not Disturb. As long as this box is checked, notifications will not appear.
Update your controllers one at a time
Occasionally, there may be firmware updates for the Vive controllers. This is typical for most hardware, but what users may not expect is that they need to update each controller individually. Trying to update both at the same time can cause issues with the controllers.
In SteamVR, if you see the green controller icon, mouse over it to see if the firmware needs an update. If so, plug the controllers into the computer one at a time. Again, it is essential that you update the controllers individually, lest issues arise.
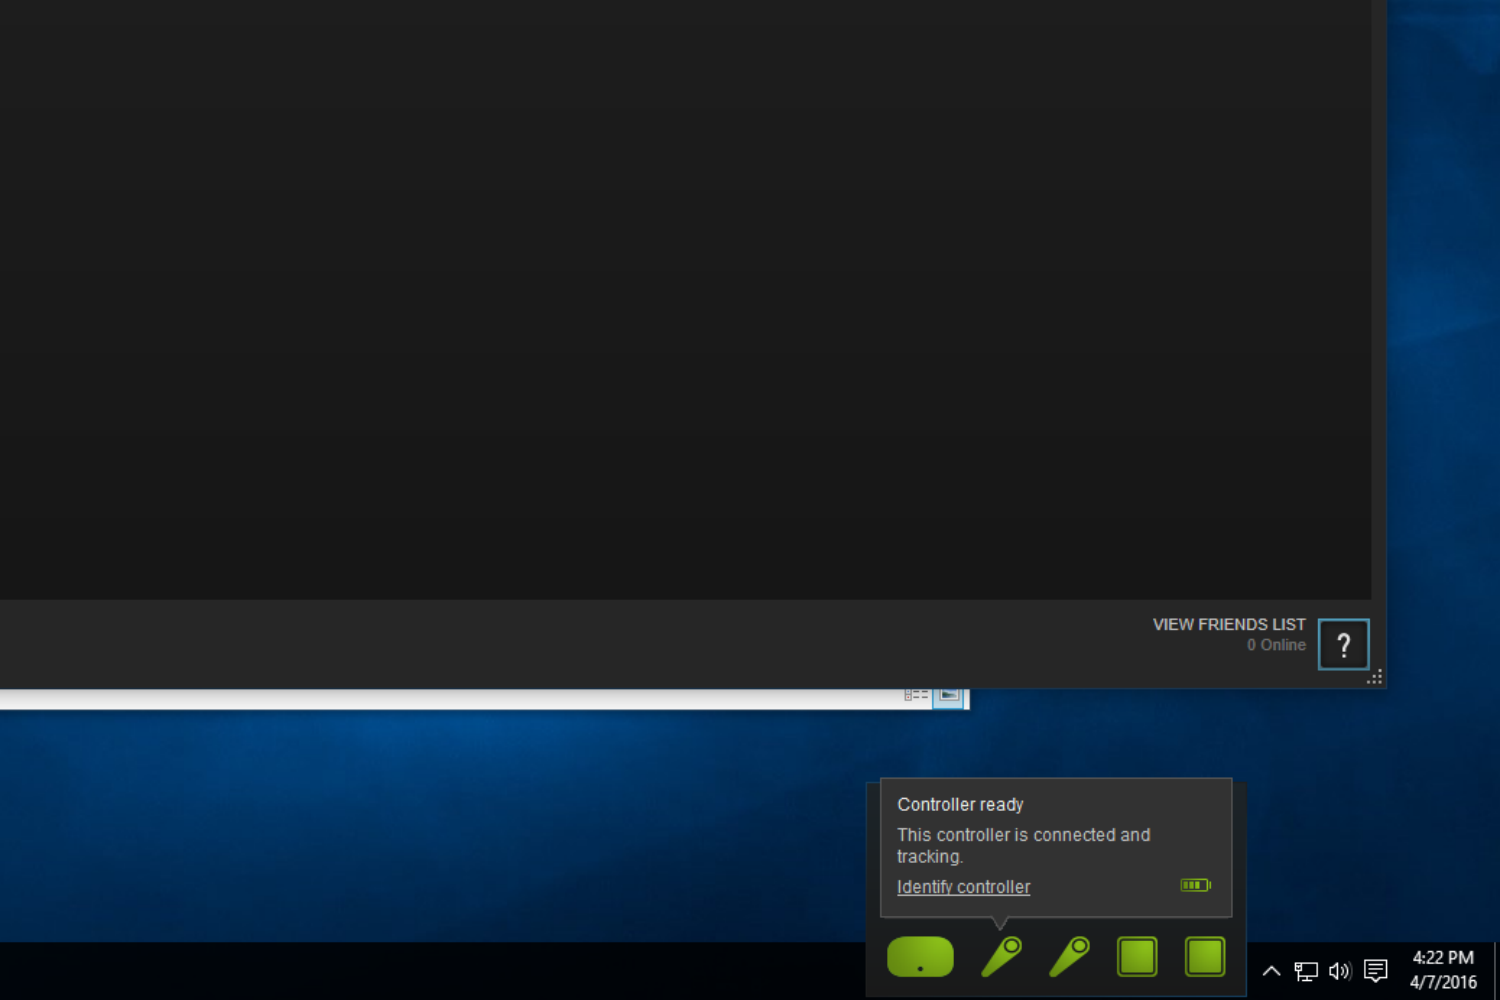
If there is a firmware update available, SteamVR will begin installing it automatically once it detects a controller. Once the update is finished, click Done.
Reset your controllers
If you are having issues with a controller — for example, if it is unresponsive after a firmware update — you can reset it. To begin, hold down the trigger, menu, trackpad, and grip buttons. Continue to do so while plugging the controller into your computer. Wait five seconds and release the buttons. A message should come up indicating a new storage device has been detected. Unplug the controller and it should reset.
Ensure your glasses fit
If you are one of the many people in the world who wear glasses, wearing the Vive might pose a bit of a problem. The Vive has a dial to adjust the distance between the lenses and the user’s eyes, and it comes with a smaller face cushion that may better accommodate glasses. Ultimately, however, if your glasses are too big, they simply won’t fit. Before paying the high cost of the Vive, or buying a new pair of glasses just to use it, try to test a headset out and see if your glasses will fit.
First, try to fit your glasses into the headset, just to make sure they will sit inside and not be crushed as you try to squeeze into the headset. Loosen the straps as much as possible — if there is too much room, you can always tighten them. If they do fit inside, remember to always put the headset on front to back (put the visor over your eyes and pull the strap back over your head), and take it off starting with the back.
Mirror audio to your speakers so onlookers can enjoy
For immersion, nothing beats a pair of headphones while using the Vive. If you have friends over to try out VR, however, you have a problem: How can onlookers appreciate what is going on in the virtual world, rather than simply watch the user wave their controllers around? While one could certainly mimic the guttural hum of a lightsaber as they swing it around, there is a less awkward of going about it.
Go into the SteamVR settings and select the Audio tab. If you already have your headphones set as your primary playback device, find the menu labeled Mirror audio to device and choose your speakers. Now sound will play through your
Enable Bluetooth so you can take calls while in VR
When it’s working as intended, virtual reality can seal you off from the world around you. This can be fun, but it can also be a problem if someone is trying to get a hold of you. Thankfully, the Vive has Bluetooth functionality built in, allowing you to connect your phone to the headset and receive calls and other notifications while in VR.
To use Bluetooth on the Vive, you’ll need to make sure you have the drivers installed. If you have not done this already, go into the SteamVR settings and choose the General tab.

Check the box marked Enable Bluetooth communication and click the box labeled Install Bluetooth Driver. You will also need to install the HTC Vive on your phone, through an app you can get from Google Play or the iTunes store.
In the desktop Vive app, go to the Settings tab and click the button labeled Set up a phone.
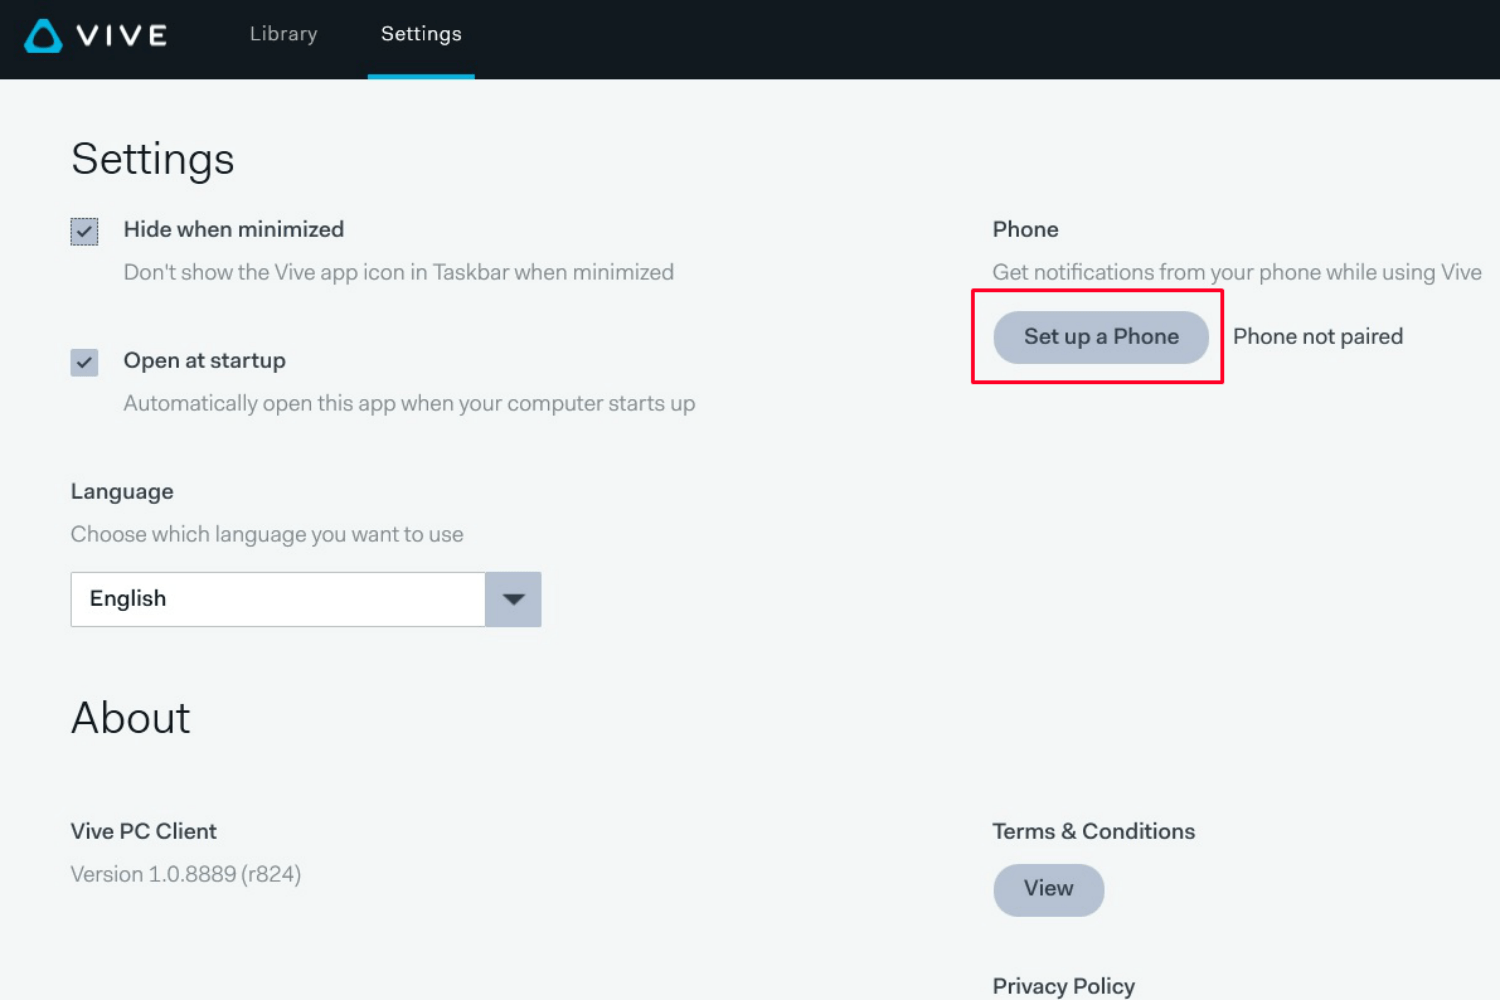
While the desktop app is scanning for phones, go into the app on your phone and follow the on-screen prompts. After doing so, your phone should show up in the desktop app. Click Next and follow the instructions in the desktop app to finish the process.
With your phone synced up to the Vive software and Bluetooth enabled in SteamVR, you are finally ready to receive calls and notifications in virtual reality. While in VR, notifications from your phone will appear in the virtual world, and can be viewed and responded to by accessing the dashboard.
Editors' Recommendations
- The best VR apps for 2023
- The best HTC Vive games for 2022
- Pimax’s 12K QLED VR headset wants to take virtual reality to the next level
- The best VR headsets for the iPhone
- Everything HTC announced at ViveCon 2021: Vive Focus 3 and Vive Pro 2