“Lenovo's Mirage AR provides a quality augmented reality experience thanks to a fun Marvel tie-in game for wide appeal.”
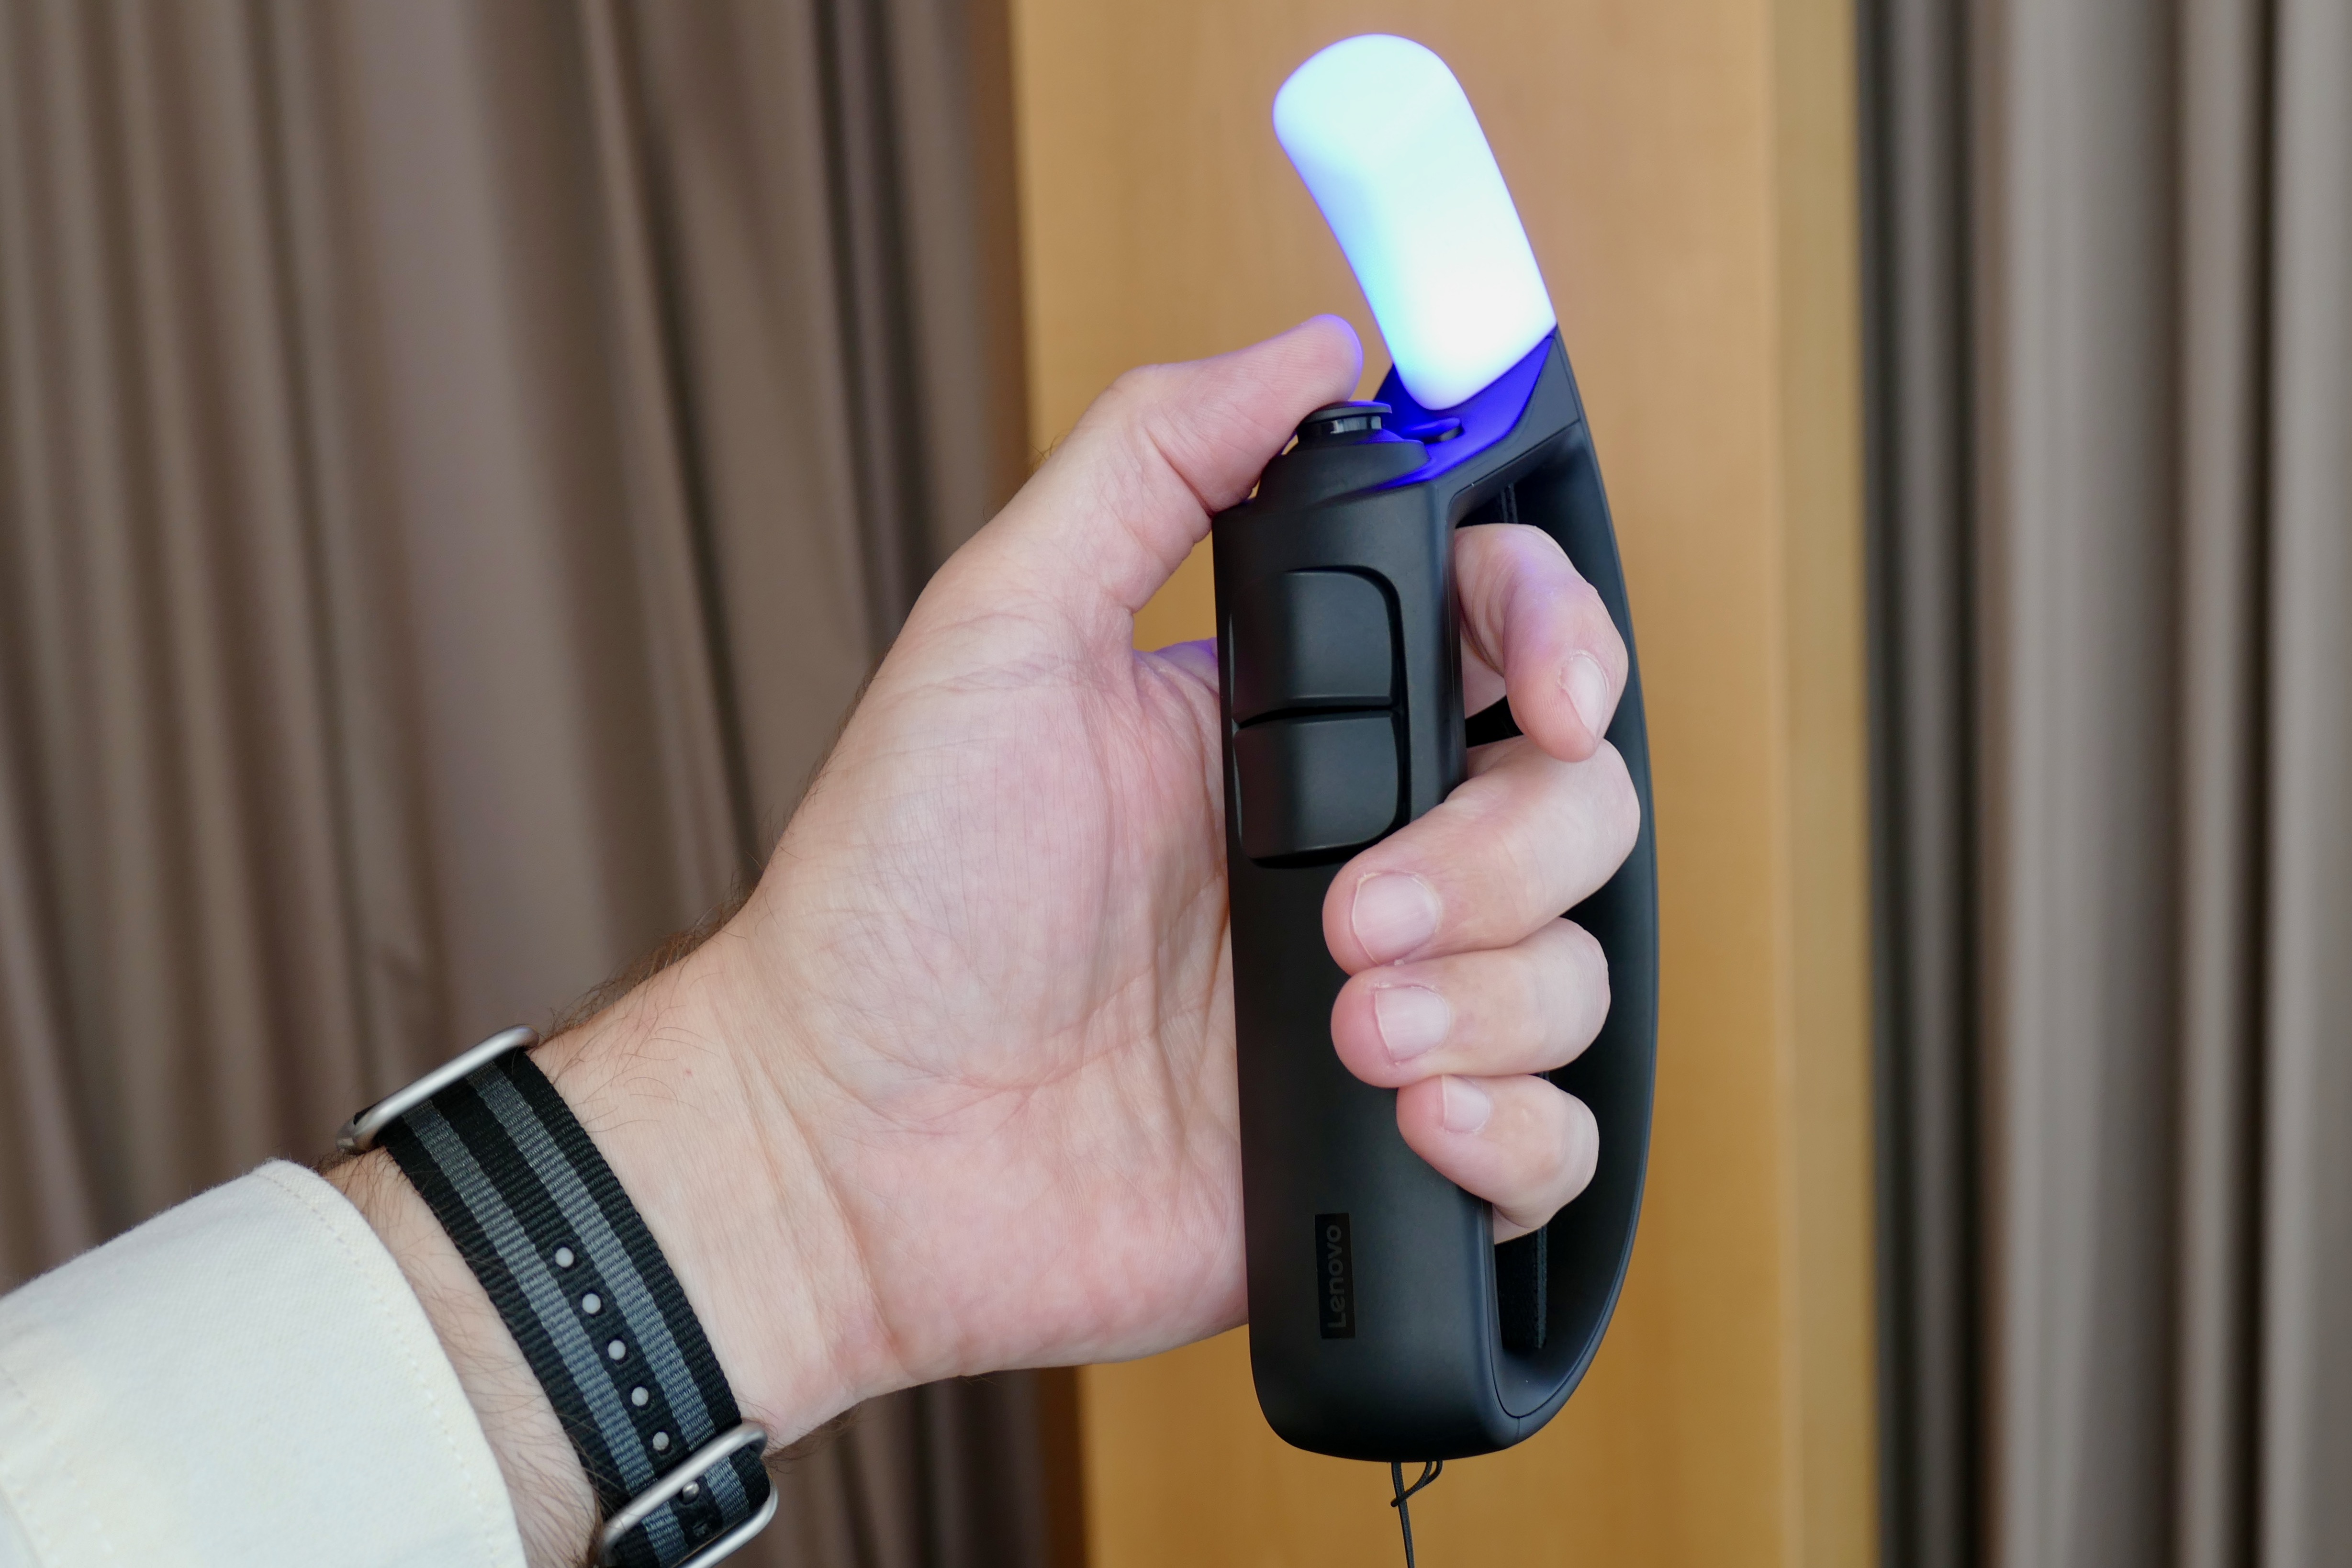
- Controllers are easy to use and comfortable to hold
- Marvel game is fun for all ages
- Sharp, colorful AR graphics
- The system can play the previous Jedi Challenges game
- Won't work with all phones
- Expensive kit to play a single game
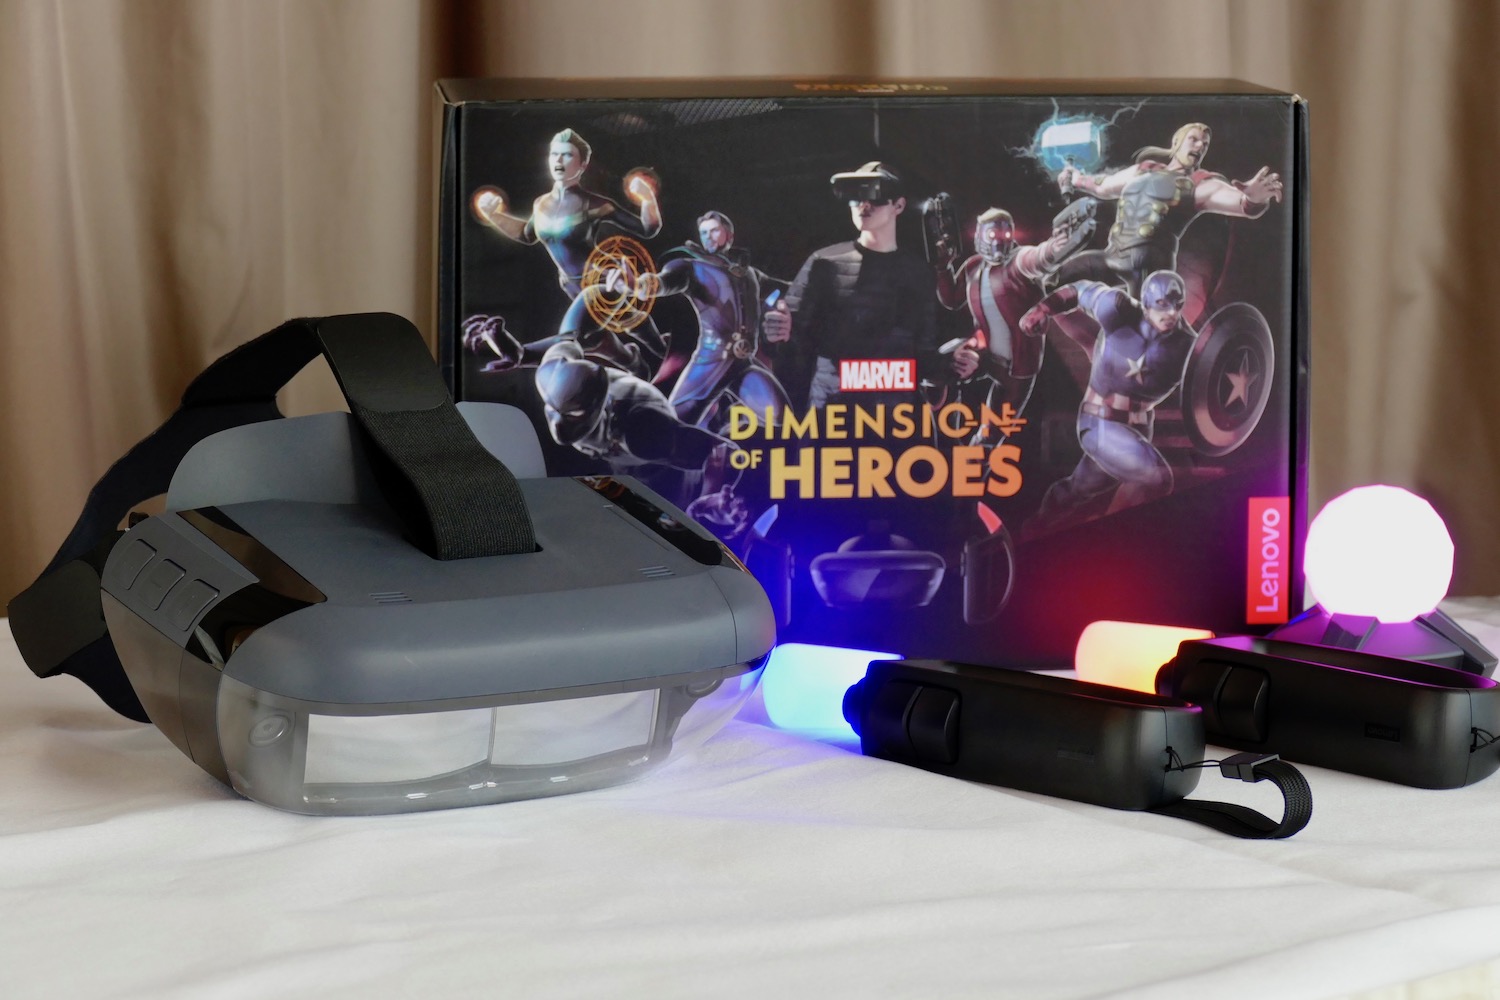
Is it more fun to be a Jedi or Star Lord from the Marvel universe? I’m going to give Star Lord the win, based on my experience playing the character on Lenovo’s augmented reality (AR) headset. The Star Wars: Jedi Experience came out in September 2018, and for 2019, Lenovo has widened its partnership with Disney to create a Marvel AR game experience called Marvel: Dimension of Heroes.
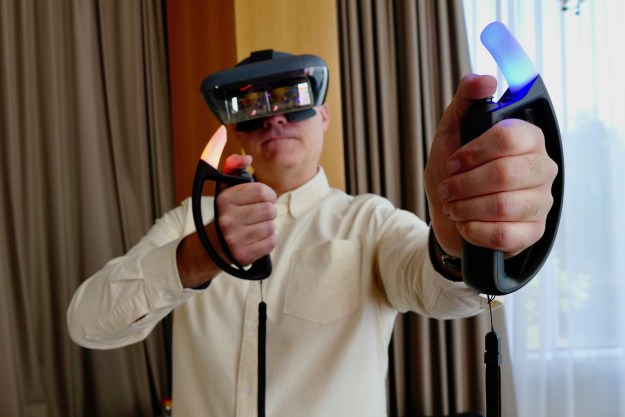
In a hotel room in Berlin during IFA 2019, I wielded Star Lord’s twin blasters, shot some generic-looking enemy cyborgs, and rather enjoyed myself.
I’d rather be a superhero than a Jedi
Why did Guardians of the Galaxy’s Star Lord beat out a Jedi? When I played the Jedi Experience, the lightsaber fighting scenes were sometimes confusing, and the sword never felt like a natural game controller, making gameplay frustrating. For the Marvel experience, Lenovo has made new controllers that resemble knuckle dusters complete with a pair of front-mounted buttons, and an analog joystick on the top. You get two in the box, they feel secure in your hand and won’t fly off during animated play sessions, and crucially just like a regular console controller, they feel natural. That being said, the collectible nature of the lightsaber controller makes the Star Wars set exciting, something that’s not repeated with the Marvel set.
The improved controllers meant I could get straight into playing and enjoying the game, rather than wondering how to use the lightsaber controls or why I never hit Yoda as he bounced around the room. Though do keep in mind that playing any phone-controlled AR game requires some setup — you need to get all the equipment out, make sure it’s all charged, and prepare your phone before you even get started — so ensuring a fun gameplay experience is essential.
The Marvel game has a story mode with at least 20 hours of gameplay, where Doctor Strange leads you through a series of missions where you face Loki, Ultron Prime, the Winter Soldier and the main bad guy, Dread Dormammu. There are six different superheroes for you to play, including Thor, Captain Marvel, Captain America, and Black Panther. Each character has unique fighting styles and weapons, and different gestures and control methods are used for each, giving the game more variety.
Playing the AR game
The demo scene I played had me shooting enemies which float around in front of you, and it was enjoyable blasting away with one gun and activating a shield with the other. The shield collected enemy fire, which could be thrown back at the enemy too. It was engaging and fun, but not a massive challenge.
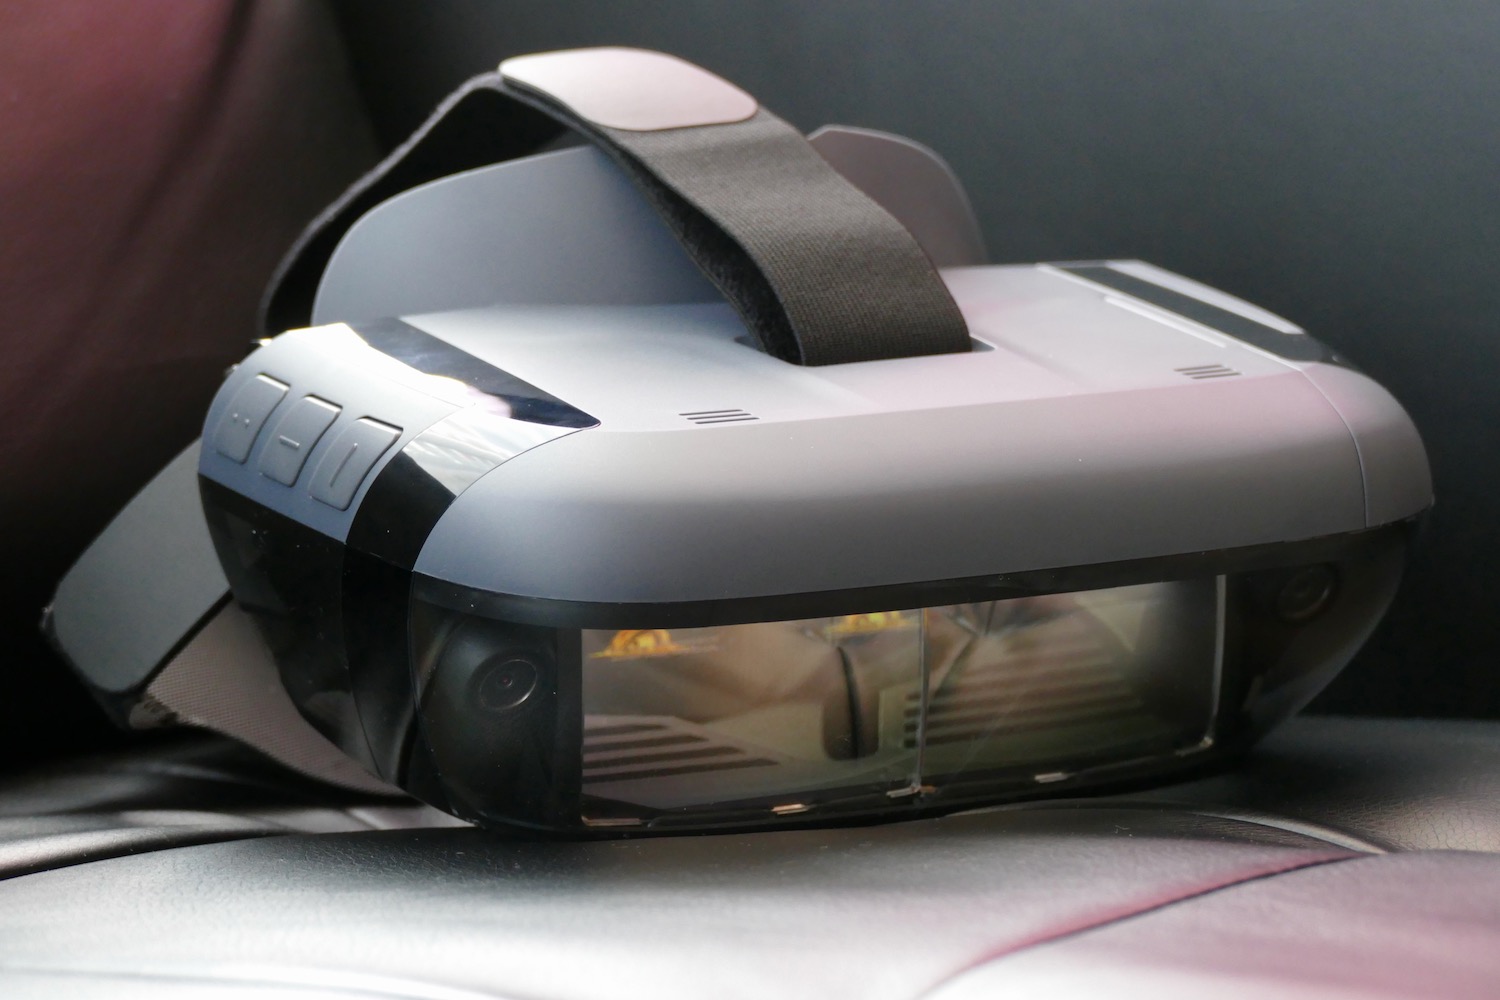
The Mirage AR headset uses a smartphone to generate the image, and it is mounted on the top rather than in front like the Google Daydream View VR. This makes the headset quite front-heavy, but some serious padding and good design meant it didn’t feel uncomfortable. Younger children may find it more difficult to wear though.
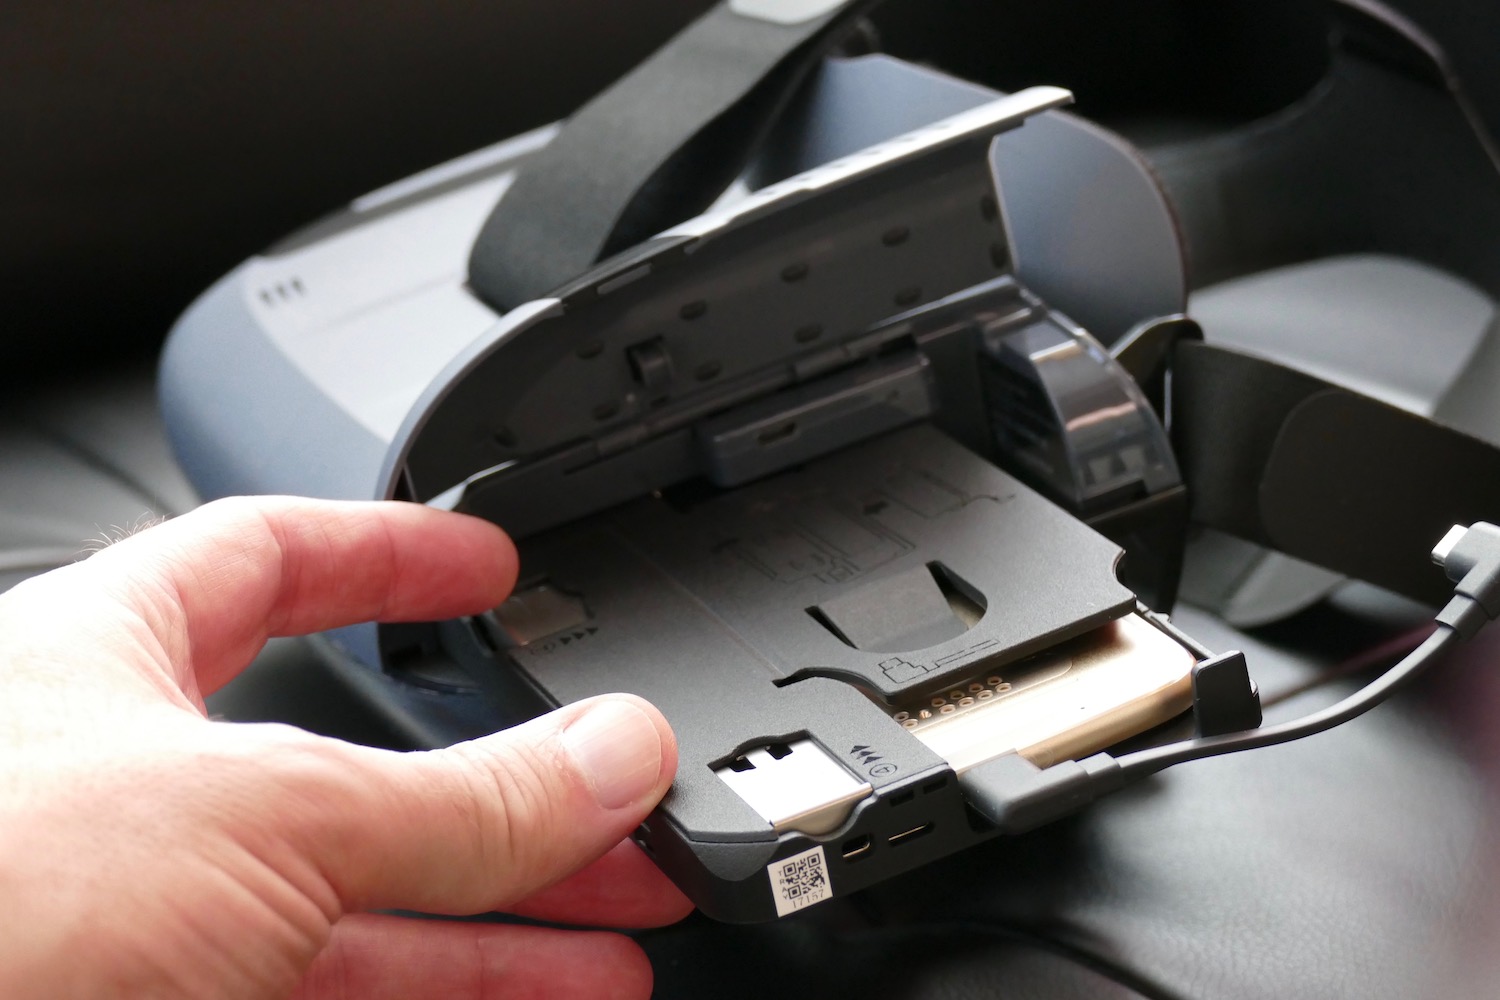
The headset is compatible with many different phones, which fit inside a special carrying case that slides inside the headset itself. Lenovo lists most iPhone models since the iPhone 6, many Samsung Galaxy phones, the Google Pixel range, and various other devices as compatible with the headset. The carrier case may not be large enough for really big phones like the Galaxy Note 10 or the OnePlus 7 Pro, though.
A beacon is placed on the floor or on a table, which anchors the AR software to the real world. The effect is excellent, and your surroundings melt away as you play, rather than being distracting — a good sign the game is engrossing enough to keep you coming back. It looks sharp and colorful, while the characters are visually interesting, if not that highly animated.
The shield collected enemy fire, which could be thrown back at the enemy too.
The whole experience benefits from playing in a dark room. I also did find the controllers got confused in the AR world sometimes, resulting in them not shooting in the direction I was aiming. Re-orientating them was simple, but did need several tries. I was playing a system ahead of launch, and imagine software bugs will be cured in an update.
The controllers took on the look of Star Lord’s guns when viewed in the game, but you do have to hold them up quite high to see them in the AR experience. The game sequence I played wasn’t difficult, and getting used to the controls was quick, so I can see kids having no problem at all enjoying the Marvel game. As an adult, it was throwaway fun, but I couldn’t see myself revisiting often. But like a lot of AR and VR experiences, it would be good fun in groups, and there is a two-player mode if your friend has the same system.
Price and availability
You can buy the Mirage AR Marvel: Dimension of Heroes set from Lenovo for $250, and the game is free to download and play and all the characters are unlockable in the game. You can also play the original Jedi Challenges game using the Dimension of Heroes controllers and headset, provided you don’t mind missing out on the feeling of swinging a Lightsaber about in your living room. But if you already own the headset and the lightsaber controller, you’ll need to buy the new controllers to be able to play the Marvel game.
Editors' Recommendations
- Marvel’s Midnight Suns hero guide: every hero explained and ranked
- Become an Avenger with Lenovo and Marvel’s Dimension of Heroes AR game