A couple of months ago, I took the plunge and built a Plex server. And now, I’m taking it to the next level. I’ve canceled my streaming services, compiled my physical media, and organized it all with the proper data on my server, but I’ve faced two major issues — slow speeds and limited storage space. With the Terra Master F8 SSD Plus, both problems have been solved.
I’m not going to cover all of my trials and tribulations building my first Plex server, nor the various ways you can set up your own — we have a guide on how to use Plex that goes into plenty of detail on that front. Thankfully, the Terra Master F8 SSD Plus makes those issues obsolete with a surprisingly simple setup process and a ton of power for streaming media locally.
Meet the master
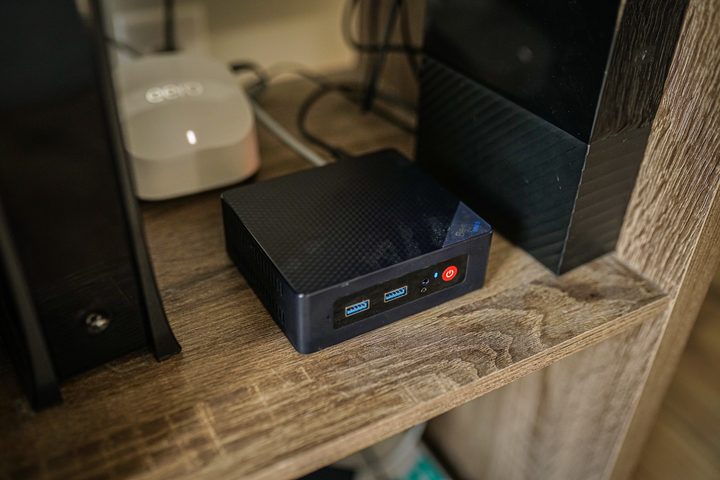
My original Plex server comprised two components. I used a Beelink S12 mini PC with an Intel N100 and 16GB of memory, along with a dated mechanical external hard drive. It wasn’t pretty. The F8 SSD Plus is different because it can be both your server and your storage in one device. It’s a NAS, or network-attached storage.
Although the only requirement is to have storage available on your network, the F8 SSD Plus is a PC. It comes fit with an Intel Core i3-N305 processor, 16GB of DDR5 memory (with space for 32GB), and eight M.2 NVMe SSD slots. That gives you enough space for a total of 64TB of raw storage by cramming in eight 8TB NVMe SSDs.
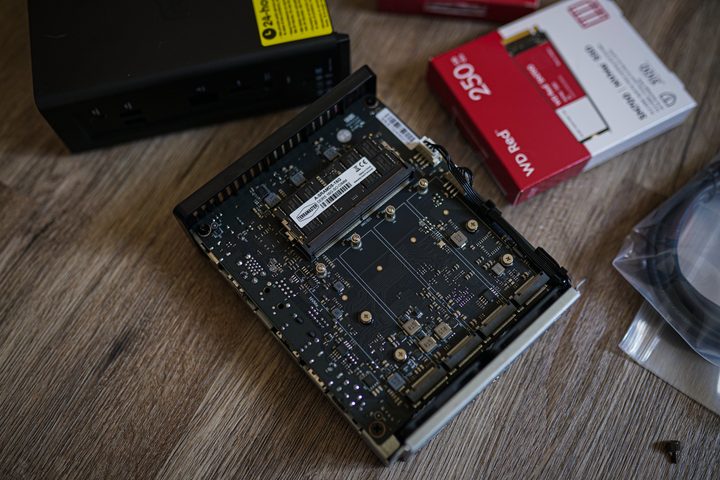
No, the Core i3-N305 doesn’t look like much stacked up to a desktop CPU like the Core i5-14600K, but it’s quite the little unit for something like the F8 SSD Plus. You get eight cores based on Intel’s Alder Lake design, integrated Intel UHD graphics, and critically for Plex, 4K hardware decoding support for popular codecs like H.264 and H.265. You don’t need a lot of power if you’re playing media files locally, but if you’re away from the house, hardware decoding support is massive.
That’s the internals, but there are a few things going on externally as well. For starters, you get 10-Gigabit Ethernet. That’s certainly overkill for my home network — and I’m sure most others — but you at least have the option for when those kinds of speeds become available. And, depending on how you hook up the F8 SSD Plus, you can enjoy 10-Gigabit speeds on your local network, with other hardwired devices.
The other big boon is a trio of USB 3.2 ports — two Type-A and a single Type-C — and an HDMI output. I never hooked the F8 Plus SSD up to a monitor, as you can control it completely headless from the get-go. But I appreciate the option, as well as the USB ports that allow you to add even more storage if you somehow outgrow the eight M.2 slots.
The setup
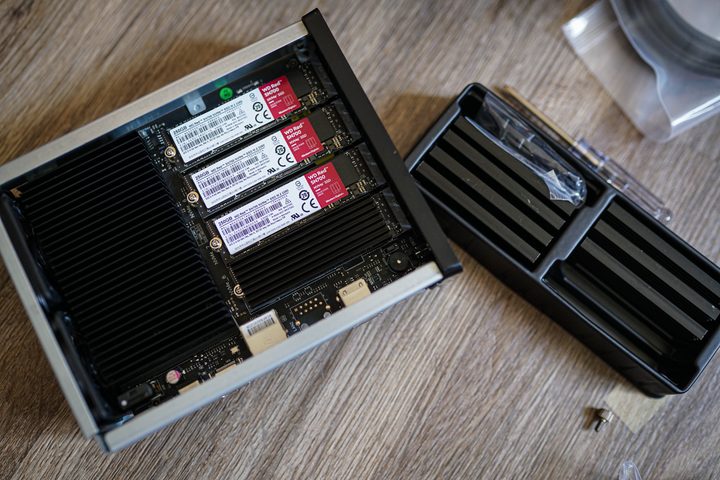
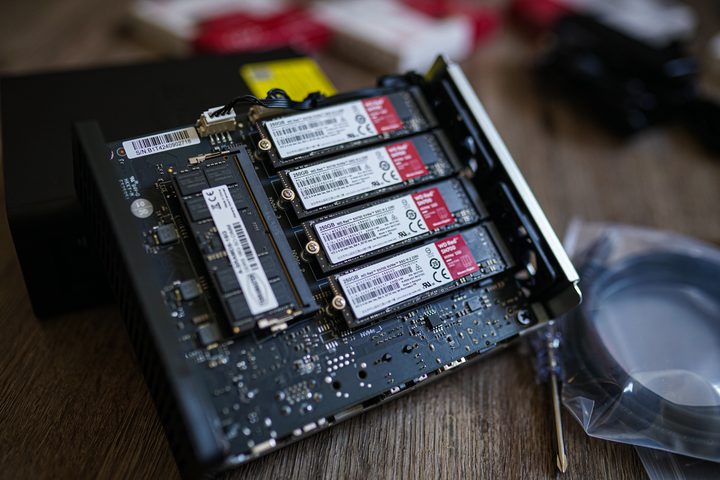
Coming from my Windows-based mini PC and familiar external storage, it was a bit strange getting into a proper NAS. Terra Master makes the experience easy, though. As for actually installing the drives, the process is simple. There’s a small screw on the back of the device that you can undo with your fingers to release the outer shell. Inside, you’ll find your eight drive slots.
Terra Master includes some thermal pads and heat sinks for each drive you install, assuming you aren’t using something like the Samsung 990 Pro or Corsair MP700 Elite that comes with its own heat sink. Overall, the installation took no more than a few minutes.
Hook everything up, hit the power button, and the F8 SSD Plus will beep to let you know it’s on — that really took me back. From there, the setup is mostly on rails. You can download the TNAS app from Terra Master, which will start configuring your NAS once it’s installed on the network, including formatting all of the drives.
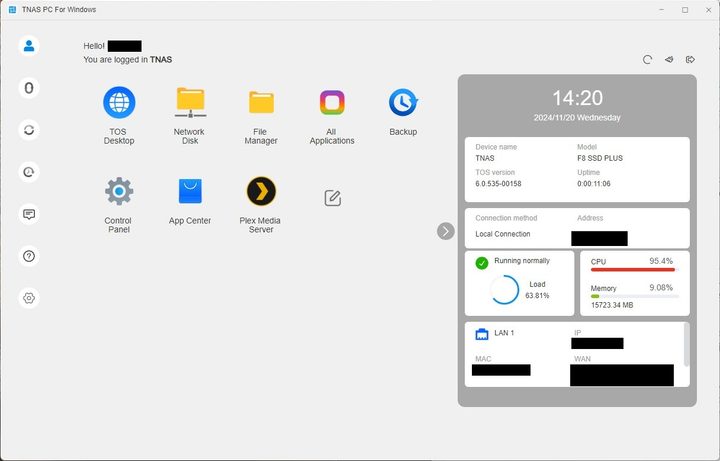
This takes about 30 minutes or so, and when it’s done, you can manage your NAS either by entering its IP address in your browser or through TNAS. Regardless of the method, you’ll end up in TOS 6.0, which is Terra Master’s operating system. This is where things got a bit difficult, not so much because TOS is hard to navigate — it’s actually very easy to navigate — but because there’s a lot you can do with a device like the F8 SSD Plus.
Before you do anything, you need to create a volume, even if that volume compromises all of the space on your drive. You can change permissions, set storage quotas, and more, but the big option is the RAID configuration. The F8 SSD Plus — and any multi-bay NAS, for that matter — pools all of your storage together, so you need to configure how they’ll work together.
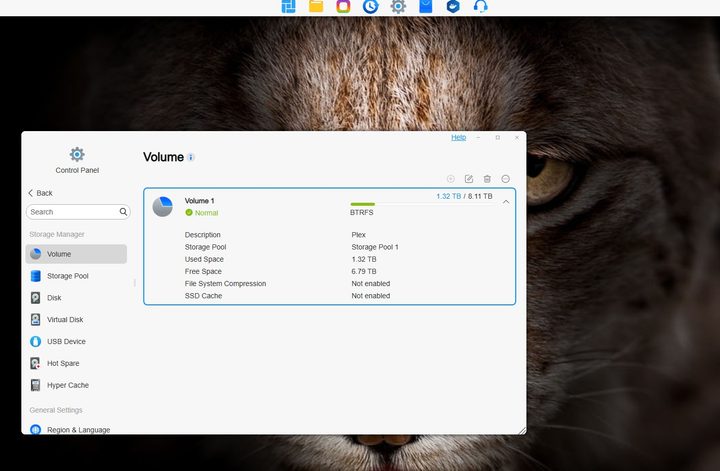
I opted for a RAID 0 configuration, maximizing not only speed, but also capacity. I mixed several different SSDs into the device, which is totally fair game if you’re not using some redundant storage configuration like RAID 1. Thankfully, TOS shows you exactly how much space you’re using and losing depending on the different RAID configuration you choose, so it’s easy to make a decision.
You don’t really need to do much after that point if you just want network-based storage. In TNAS, simply select Network Disk, and you’ll see everything in Windows in a flash — no network mapping nonsense to contend with. For Plex, in particular, I had to go a bit deeper.
TOS comes with an app center that’s stuffed with different options, including Plex. I hoped that meant all I had to do was install Plex to get getting, but that’s not exactly the case. There were a few more steps.
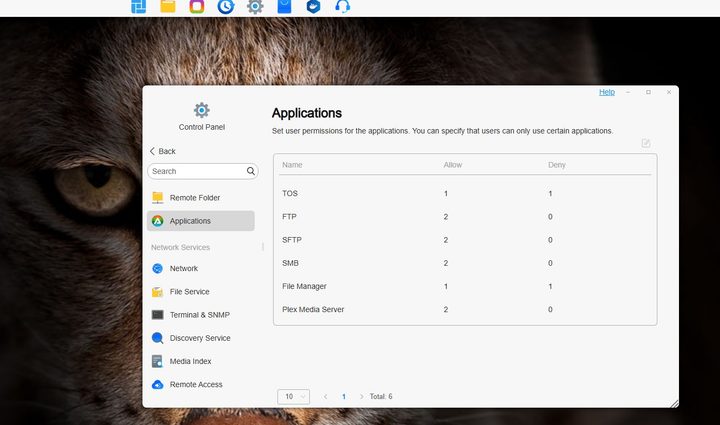
You have to configure the NAS to not only show your media folder in general, but also show it specifically to Plex as an app. That involves creating a shared folder on your NAS, which you can do through the TOS Control Panel, and changing the permissions to give the Plex app read/write access. Once that’s set up, you just need to launch Plex from the NAS once to claim the server on your account, and then you can add/organize your libraries from any PC.
Unsurprisingly, using a very flexible device for a very specific purpose means you run into some walls, but TOS was very easy to navigate around. I didn’t have to dig through forum posts or Reddit threads to set everything up — just clicking around was enough. Still, I’m really only scratching the surface of what TOS is capable of. There’s so much more you can do between different partitions, other media apps, and even Docker support.
How a NAS improves the experience
Buying an inexpensive mini PC and opting for external storage is still the most cost-effective way to build a Plex server for yourself, but even a low-cost NAS solves some critical issues with that setup, and that has become apparent to me while using the F8 SSD Plus. First and most importantly, a NAS is built to run headless, and that change alone does so much.
Being able to quickly access my storage from anywhere, with any PC, is huge. I don’t have to rely on some low bit rate remote desktop software like Chrome Remote Desktop, and I can make big, system-level changes just with the integrated controls. When using a mini PC, I had to babysit my Plex server. With a NAS, I can forget it even exists.
In addition, using a NAS is significantly faster. When using a mini PC and external storage, I had to either map the drive to my network and deal with it constantly dropping, or kill several other drives to transfer media from my main PC to my server. It was a pain in the butt. With a NAS, my server is available immediately from any PC, and with some crazy speeds in tow.
Regardless of if you go with a mini PC or a NAS, you’ll have to jump through some hoops. However, since transferring everything over to the NAS, my local streaming experience has been a lot less temperamental. Even with the massive upgrade, my Plex journey isn’t over yet. I’m already brewing up new ways to take it further.