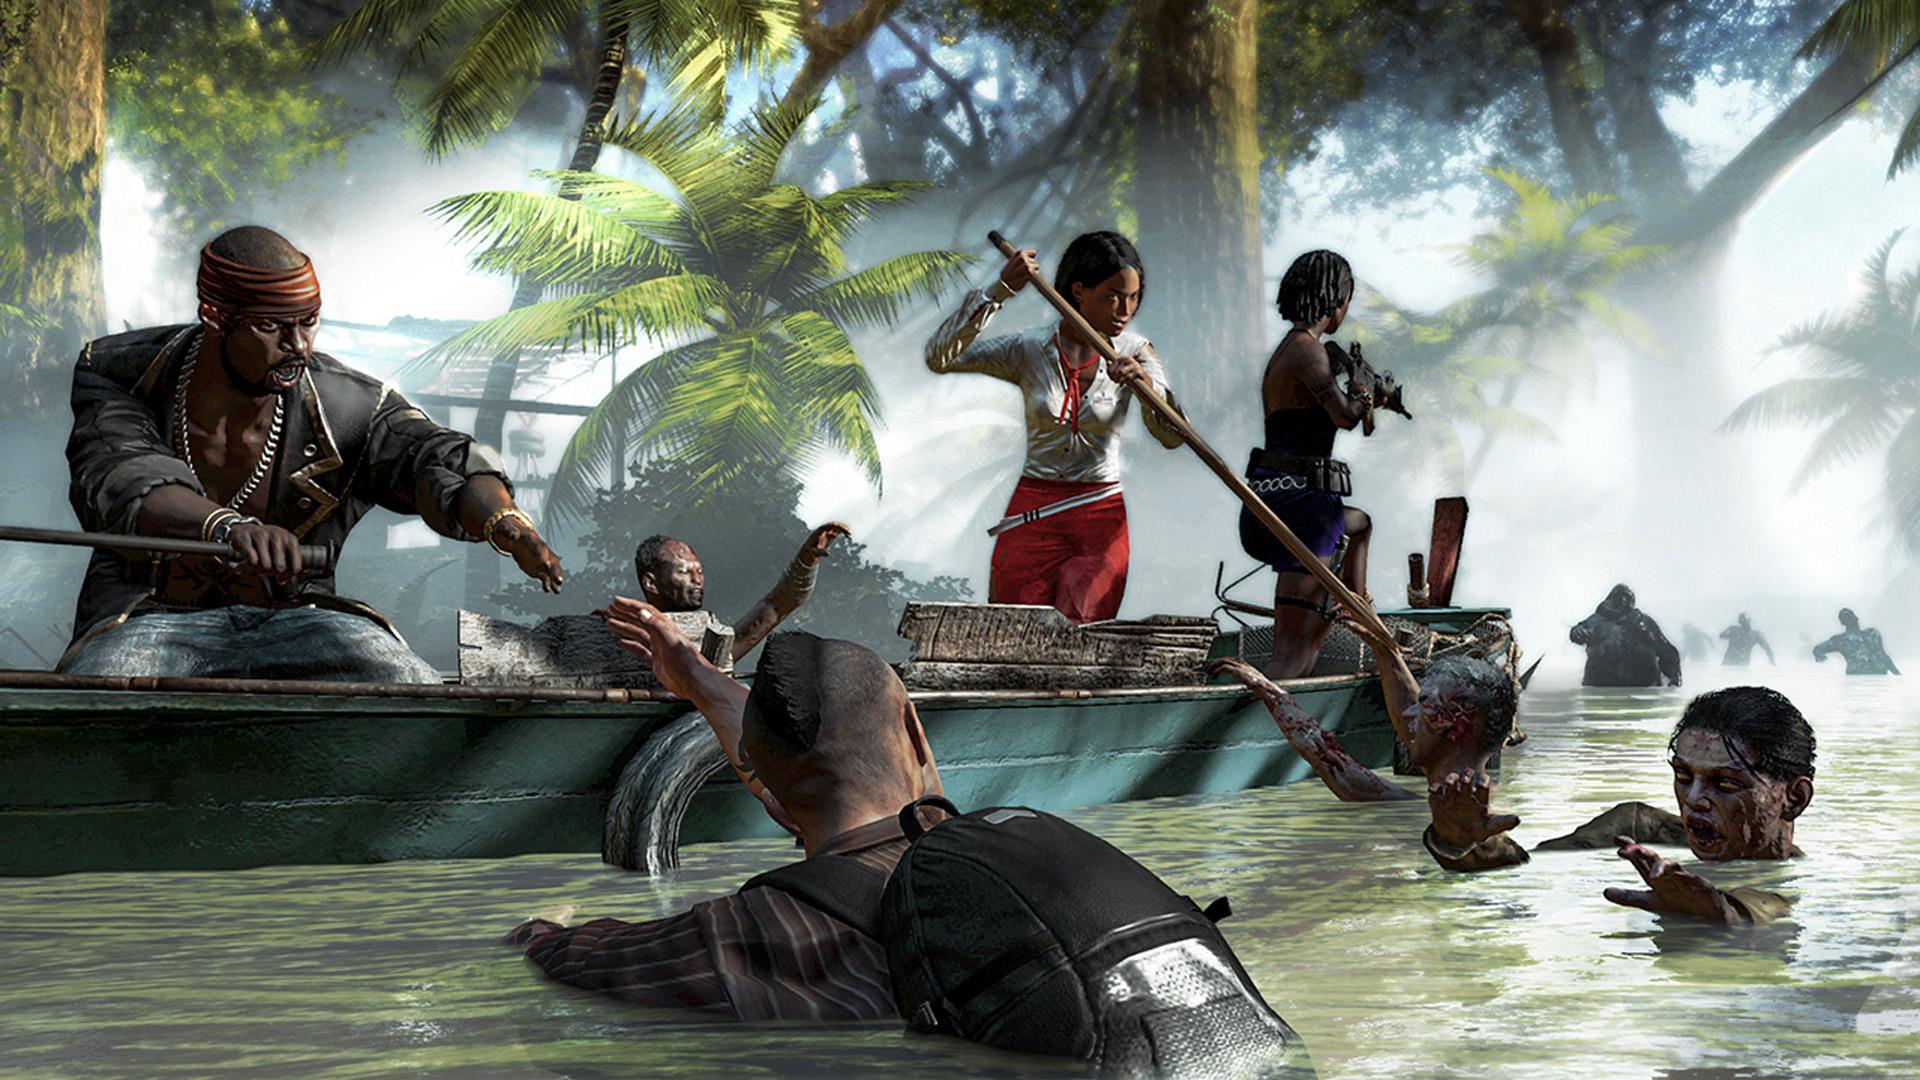
Dead Island: Riptide wears its imperfections well. The open world first-person zombie-puncher is just as janky in a lot of ways as its 2011 predecessor, but it still amounts to a fun romp through a blood-spattered tropical setting. Zombies come in all shapes and sizes, but so too does your varied and ever-improving arsenal of melee weapons (plus the occasional firearm). Survival depends on a number of factors, all of which can be summed up in a single word: preparation.
You know the drill. We’ve played a ton of Dead Island: Riptide over the past week in the lead-up to yesterday’s review and we’ve got some tips to share that will hopefully help you navigate your way through the zombie-infested jungles and villages of Palanoi.
Choose wisely
Your first act in Dead Island: Riptide involves choosing a character and setting him or her up. Those who played the first Dead Island have the option of importing their old character. A few things to keep in mind on that count: only the imported character’s level and skill point assignments carry over, not the inventory. What’s more, any character will work; you don’t need to have completed the first game to import.
You can also create a new character if you prefer, using any of the four from the original game or the new, hand-to-hand-focused hero, John Morgan. Once you select your character, a prompt pops up asking you to choose how skill points will be assigned. All newly created characters in Riptide start at level 15, so your choice here dictates which skills will be boosted to start with. Your best bet is to choose the final option, which allows you to assign the skill points yourself once the prologue’s opening cutscenes are over.
You can tailor your character however you like, but our advice is to stick to the right-most tree on the skill menu when you are first starting out. This tree is all about increasing your survivability in various ways. Put the max number of points into the Lockpicking skill for sure. You also might want to max out the inventory cap skill, especially if the lure of the loot is what draws you to a game like Riptide.
Welcome to zombie hell
You might be feeling pretty confident by the time you come to the end of the prologue. The opening sequence gifts players with more than enough to fully stock an inventory with weapons, including every type of traditional firearm (handgun, shotgun, assault rifle) and full ammo for each. Unfortunately, the joke is on you. Once the prologue is over and you wake up on the Palanoi beach, you’ll find that you’re left with nothing more than a single blade.
The thing is: you might not notice it. It is entirely possible to finish the prologue with a blade in your hand, which might mistakenly lead you to the not-outrageous conclusion that you’ve arrived on the island with all of your items intact. It’s a lie. And trust us: you’re going to want something more than that blade before you take on the first story mission.
Explore the beach a bit until you find a locked cabin. Take the sloping path up behind the cabin and drop down onto the roof. You’ll see a hole there leading inside, where you’ll find an assortment of goodies. Including a locked chest that should give you another weapon of at least green rarity. It won’t be enough to get you through the whole game, but it leaves you better prepared to take on the challenging first story mission.
Improving your beatdowns
Just like the first Dead Island, all of the melee weapons in Riptide degrade over time as you use them. It happens more slowly now, especially as you start to improve your weapon skills (more on that in a bit), but inventory maintenance is a constant concern. Fortunately, money is plentiful in this sequel. Just get into the habit of fixing your stuff up whenever you see a workbench and you should never have to worry about weapons breaking down.
Equally important is scavenging. Everything, everywhere. Be sure to scour every open area you come to for useful supplies and crafting items. Much of it is useful for actually upgrading your weapons once you’ve got the necessary blueprints, but some of these items also factor into Team quests that you can pick up to improve the shops and defensive capabilities of your home base. The only items that take up actual space in your inventory are melee weapons and firearms, so feel free to load up on all of the thrown weapons, crafting items, and consumables that you find.
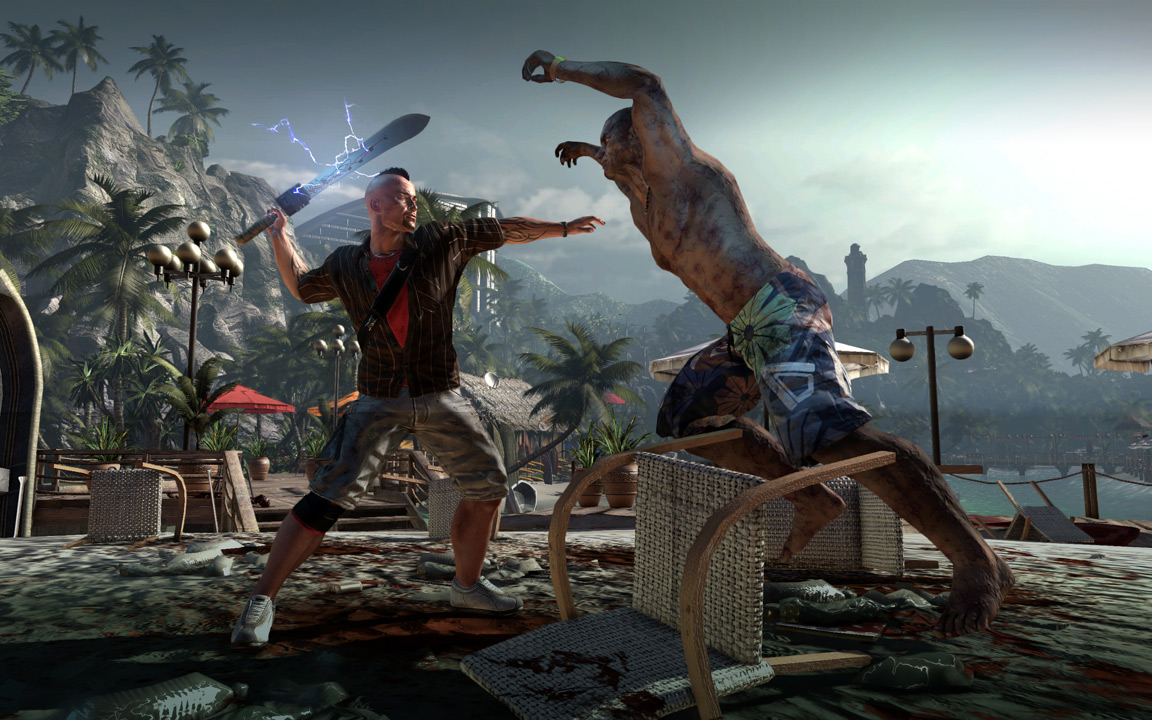
A last note on weapons: specialize. In Dead Island: Riptide, the more you use a certain type of weapon, the more your capabilities with that weapon type improve. There are four categories here: bladed weapons, blunt weapons, hand-to-hand weapons (ie your fists, brass knuckles, and claws), and firearms. Stick to whichever one your character is kitted out for. This becomes easier to do as you ease into the mid and late-game, but you’ll eventually come to a point where you’ll be able to fill your entire weapon wheel with only the weapon type you specialize in.
To check your progress and the sequence of unlocks in a specific category, go to the skills page in the pause menu and highlight the chosen weapon type at the bottom of the screen. You’ll see which level you’re at and, in the bottom right corner of the screen, a list of what the unlocks are for each skill level with that weapon.
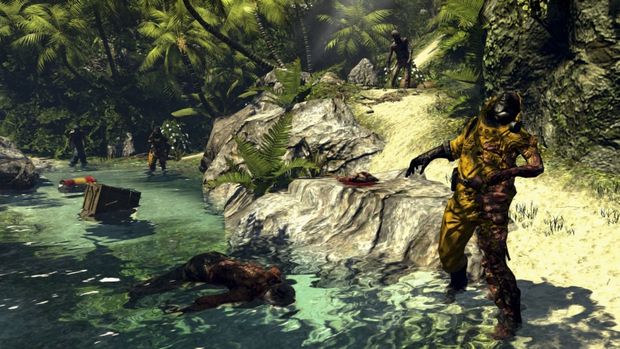
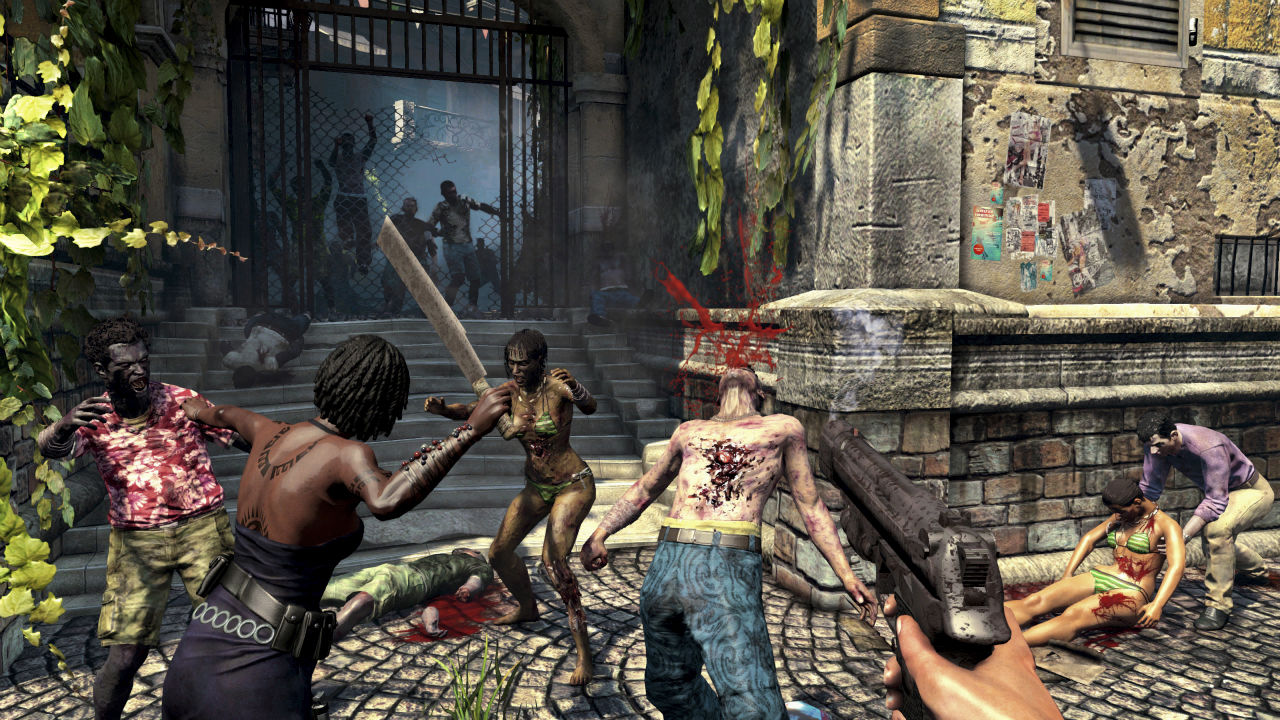
Getting to know your undead
Some combat tactics are effective in a general sense and work well on most zombies. Walkers and their faster Drowner and Infector counterparts are all good targets for your kick attack. Laying out one of these zombies on their backs opens them up for your curb stomp finisher, provided you’ve unlocked the necessary skill. Hover your crosshairs over a downed zombie’s head, and an LB prompt (in an Xbox 360 version of the game) pops up to let you know you can use the finisher.
Just be aware that finisher attacks leave you vulnerable while the animation plays out. With lone zombies or even small groups of two or three, you can effectively kick and finisher your way through a fight without ever having to use your weapons, a great technique for conserving resources. Some of the hardier zombies won’t go down from a kick; for those you’ll want to use a jump kick instead. It’s easy: simply jump, then press the kick button. No mystery. The extra bit of power that you get is enough to knock down any zombie.
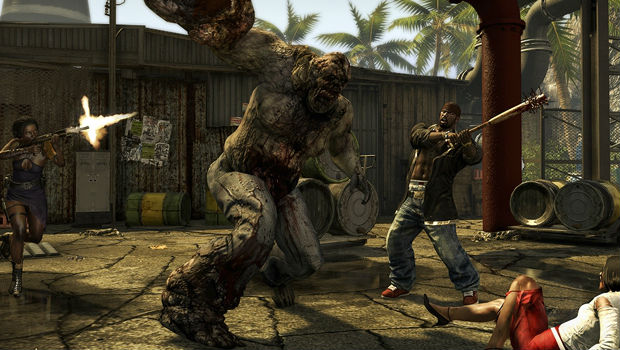
Boss zombies require a bit more strategy. Thugs and Floaters are a common sight early on. They behave very differently, but your strategy for each is roughly the same.
Thugs are the tall, hulking zombies that bellow in a low voice. Get too close to one and his flailing arms will send you sailing in the opposite direction with considerably less health than you had.
Floaters, on the other hand, are tubby, lumbering zombies that are typically found near water. They’ll flail if you get too close, but they’ve got a ranged spitting attack and a close-quarters vomit attack that you’ve got to watch for. That goo is flammable too, so avoid fire (or use it to your advantage!) when Floaters are nearby.
Both of these zombies are slow enough that you’ll generally want to keep circling around behind them and attack from there. Floaters will just keep soaking up damage until you bring them down; Thugs are a bit more fragile. Concentrate your attacks on their arms until you get critical Breaks on each one. Once you’ve broken both of a Thug’s arms, he can only use a much slower headbutt attack on you.
Wrestlers, encountered later in the game, behave much like Thugs do, only you can’t break their arms. With both of these enemies, just be sure to quickly jump backwards when you see them winding up to flail.
Butchers are a bit more problematic. They move around very quickly and attack with the pointed ends of their arms, where sharp bone protrusions can be found in place of hands. The real problem, however, is their healing ability. Butchers sap your health with each attack. The combined high damage-per-second potential and healing means that you should generally prioritize these guys over anyone else.
Screamers join Wrestlers in the late-game. If you’re familiar with the Witches of the Left 4 Dead series then you have a sense of what to expect here. The nimble Screamer does moderate damage with its melee attack, but the ability that it is named for is the one you need to watch for. When a Screamer lets out a shout, you are effectively barred from attacking or healing for a good five seconds.
The best tactic is to run in and dish out as much damage as you can before the first scream and then quickly back off while you’re stunned. Fortunately, Screamers are weak enough that they tend to go down rather quickly. Just aim for the head and whack away until they are no more. Like Butchers, consider Screamers a high-priority target when you’re facing a mix (which you generally will be).
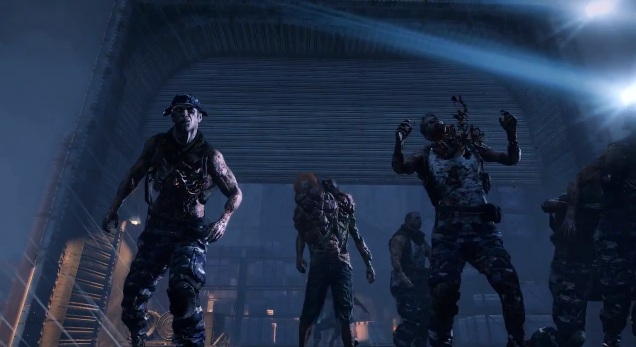
Ram and Suiciders: You’ll find a handful of other special zombie types scattered throughout the game – including Dead Island‘s Ram – but the only other one that you’ll see with any frequency is the Suicider. This gurgling, bloated bastard is a clearly a zombie you want to stay away from. They’re all red and puffy and shambling; it practically screams “Yes, I will explode on your face.” If you don’t have a gun or don’t want to waste the ammo, there’s actually a simple method for dealing with these things.
Here’s what you do: run in close, let loose with a single kick, and then immediately jump backwards twice. You’ll of course want to make sure before you do this that you’ve got enough room behind you to make those two jumps. Backward leaps are much quicker than spinning around and running away, and two put you just far enough away from a Suicider blast to leave you undamaged. A careful player with a lot of room to maneuver can generally save Suiciders for last too, since they move so slowly and have no other forms of attack.
A final word
This should go without saying for most fans of open world games, but it’s being put down here anyway: collect all of the quests that you can and try to clear out any sidequests you have queued up before you tackle each new story mission. Team quests can only be found and accepted in the pause menu under the Team tab, so be sure to accept everything there – and take on the next in a series as you complete each one – after you’ve saved the first camp in Paradise.
Team quests stand apart from sidequests. Since the former depends entirely on resource gathering, you’ll just find yourself completing Team tasks as you progress through the game and scavenge your little heart out. Finish those off as you can, but prioritize the proper sidequests ahead of the story. Note as well that there are random tasks scattered throughout the world; keep an eye on your minimap for white exclamation point markers to grab those.
Also be alert for any walled-in structures with the words “Dead Zone” painted on the outside. These discrete locations are generally home to a small horde, usually with multiple special zombie types in the mix. Get to know these well, as Dead Zones tend to contain a hefty assortment of rare loot and crafting items. You can farm them too; clear a Dead Zone, leave, and then go back inside immediately and you’ll find that everything – zombies and loot both – has respawned.