Ever since Facebook purchased Oculus VR in 2014, the Oculus Rift has been one of the most talked about virtual reality headsets in the world. It and the HTC Vive offer room-scale VR that allows you to move around in some of the most dazzling sights and sounds. The Rift also allows you to take a screenshot of a piece of those immersive experiences.
Taking a screenshot on the Oculus Rift is a bit similar to taking a screenshot on the Samsung Gear VR, but with its own set of wrinkles. Before we show you how to take a screenshot in VR with the Oculus Rift, you’ll need to get SteamVR.
Step 1 – Install SteamVR
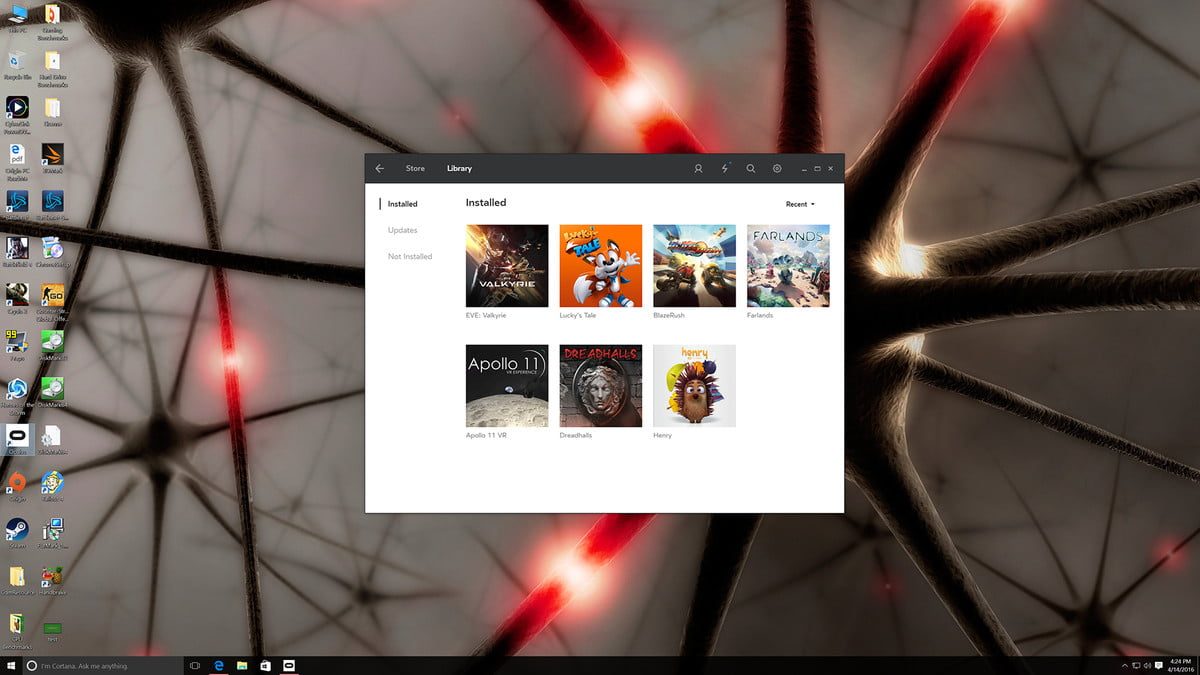
Open the Oculus desktop app and click on the gear icon at the top to enter the Settings section. On the left-side menu, select General. The first option at the top of the next screen says Unknown Sources with a switch next to it. Click on the switch, and then click the Allow button once prompted. Now, you can run apps from outside of the Oculus store ecosystem.
Do not close the Oculus desktop app, but instead open up your internet browser of choice. Go to the official Steam store and click on the Install Steam Now button to download the program. Once you are done installing Steam on your computer and have opened the program, a pop-up should appear giving you the option to install SteamVR. If that does not appear, click on the Library button at the top. Then type “SteamVR” into the the search box next to the phrase “Tools.” Once SteamVR appears in the search results, right-click on it and then click “Install.”
Once the installation process is over, you should see a “VR” icon at the top next to the game controller icon. Click on the VR icon and SteamVR will be launched.
Step 2 – Find something good to screenshot
Your SteamVR is all setup and now you’re ready to capture some VR goodness. But, first you have to find something to be the center of your screenshot. On the desktop Steam program, click on the magnifying glass icon next to the search box at the top. This will take you to the the library of everything available on Steam.
To find the right VR experience for you, scroll down until you see Narrow by VR support option. Click both the VR Supported and VR Only boxes, and then scroll down to Headsets and click the Oculus Rift box. From there you can sift through the pages of VR experiences and/or further narrow your search by types of content and other filters.
Once you’ve found something worthy of your eyes, click on your selection, launch the experience, and put your headset back on.
More guides and best-ofs
- How to record your computer screen
- How to take a screenshot on a Mac
- How to take a screenshot on an iPhone
Step 3 – Take the screenshot
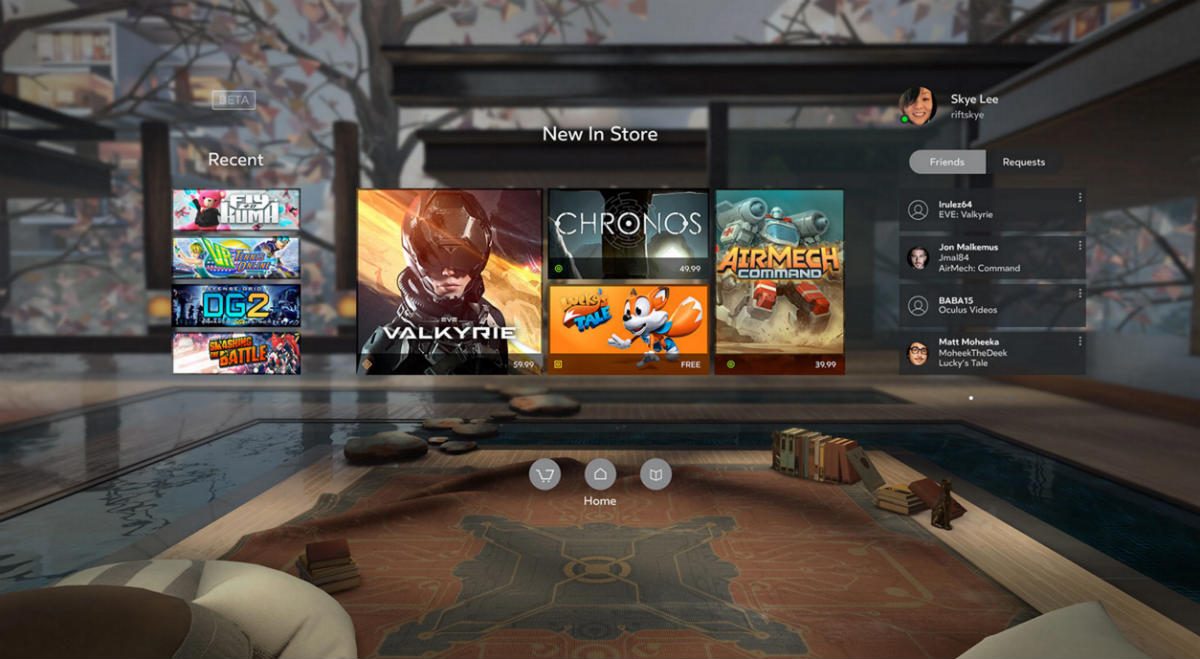
Okay — now that most of the heavy clicking is over, you’re almost ready to get a good screenshot in VR on your Rift. Once you find the part of your VR experience you wish to screenshot, simply hold down the menu button on your left-hand Touch controller, and quickly afterwards hold down the trigger button. Hold those two buttons together for a few seconds and a “screenshot taken” notification will appear on your desktop. Congratulations, you have now taken a piece of VR and made it a screenshot that you can share with the world.
Step 4 – Locating Your Screenshot
Taking a screenshot in VR on the Oculus Rift is relatively simple. Finding it? Not so much. You’ll need to click on the folder icon on you desktop toolbar to enter File Explorer. From there you click on the This PC option found on the left-side menu of options. This will take you to a collection of folders on your computer’s hard drive, you want to click on the Program Files(x86) folder. Afterwards, click on the Steam folder and then the userdata folder.
This is where things get complicated. The data from the SteamVR experiences are organized in folders with long strings of numbers. You will need to keep clicking through those folders until you find a screenshot folder. This is what the file path normally looks like: userdata > String of numbers (1) > String of numbers (2) > remote > String of numbers (3) > screenshots. But, once you find the folder, viewing your screenshot will be as easy as clicking on the image.