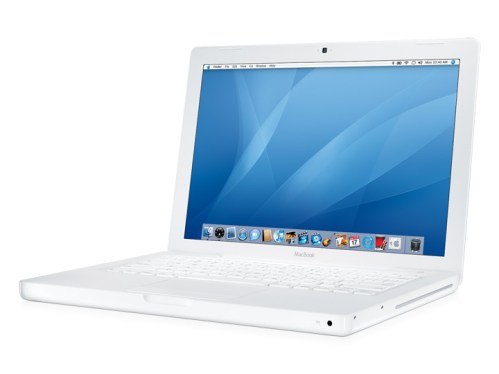
 Occasionally, you want a reset on your computer. You may want to do so to update your operating system or to help in installing new hardware.
Note: Before you start with your restore you’ll want to back up any information that you want saved to a flash drive or external hard drive. The install process for Macs allows you to transfer current files to the fresh OS. However, things do go wrong from time to time so we recommend that you back up just in case.
1. Insert the install CD or DVD of the operating system into your MacBook.
2. Restart your MacBook. When the computer starts to reboot immediately hold down the “C” key. This will cause the computer to boot from the CD or DVD that you put in earlier.
3. A “Welcome” screen will pop up. It will ask you to choose your preferred language. Do so. It may ask you to agree to Terms and Conditions as well. Depending on which OS that you’re installing you might see it perform a few system checks. If you don’t see this, don’t worry about it.
4. The next screen will ask you to choose where you want to install the new OS. Most likely this will be your primary hard drive. However, if you have partitions on the hard drive you can select one of those as long as there is enough room.
5. You’ll be present with three options for the install: “Upgrade”, “Archive and Install” and “Erase and Install”. Choose an option and select “OK”.
– Update: Choosing update will simply update the current OS install on your MacBook. Your data, files and programs should remain intact (if it doesn’t, as long as you backed up you should be fine).
– Archive and Install: Choosing this option is for when you need to back up the data on your system and import it into a fresh install of the software. Unfortunately, you will need to re-install most of your non-Apple software if you choose this option. If you choose this option make sure that you check the box to preserve your User and Network settings. This ensures that your previous profile data is installed in the new software install.
– Erase and Install: This option erases everything on your hard drive and install of fresh version of the OS. None of your data will remain if you choose Erase and Install. This is pretty much a factory reset of your MacBook, since none of your personal settings or data are kept.
6. From this point on the install should be pretty automatic. A couple of question might pop up along the way but you can sit back here. The MacBook will restart after the install is finished.
7. If you choose “Upgrade” or “Archive and Install” options from above you, the software will prompt you to move your data to the new system. Make sure that you follow the instructions to ensure that your old settings and programs are transferred to the fresh install.
Editors' Recommendations
- The Vision Pro is already in trouble. Here’s how Apple can turn the tide
- How to convert FLAC to MP3 on Mac, Windows, and web
- How to convert a PDF to JPG on Mac, Windows, and web
- How to factory reset Windows 10 or Windows 11
- How to find a Wi-Fi password on Mac


