
If friends say you can't cook, treat them to a beer cooler sous vide steak

Beer Cooler Steak - Cheap & Easy DIY Sous Vide Hack to cook the perfect Steak - COOK WITH ME.AT
Christian Winkler, the Austrian “Cook with Meat” chef, shared his newest way to make sous vide steak. Rather than use an official sous vide cooking appliance, Winkler decided to try a different method for his beer cooler do-it-yourself sous vide steak recipe. We have tweaked his idea just a bit. We called it Two Cooler Steak, for what we think are obvious reasons, but it’s still his recipe and we didn’t change his recipe or instructions.

“Sous vide” means “under vacuum.” When cooking sous vide style you put meat in a plastic bag, remove the air, and then slowly cook it in temperature-controlled hot water. The advantage is the meat is cooked evenly. Most people who cook sous vide use designed-to-task sous vide water immersion heaters that usually cost $100 to $200.

A while back, Winkler showed how to cook steak sous vide in a dishwasher while running a load of dirty dishes. Some thought that was a great idea, others pushed back on the aesthetics. So Winkler thought about the problem and came up with the beer cooler solution.

Not counting a beer cooler (we say two beer coolers) and some hot water, you only need four ingredients: Steak, salt and pepper, butter, and a ziplock bag. You will also need a hot skillet for a couple minutes at the very end.

Here is what you do.

Image used with permission by copyright holder

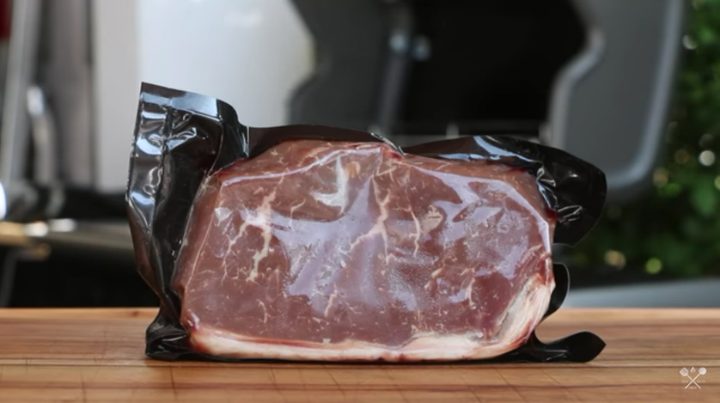
First, buy a good steak.

Image used with permission by copyright holder

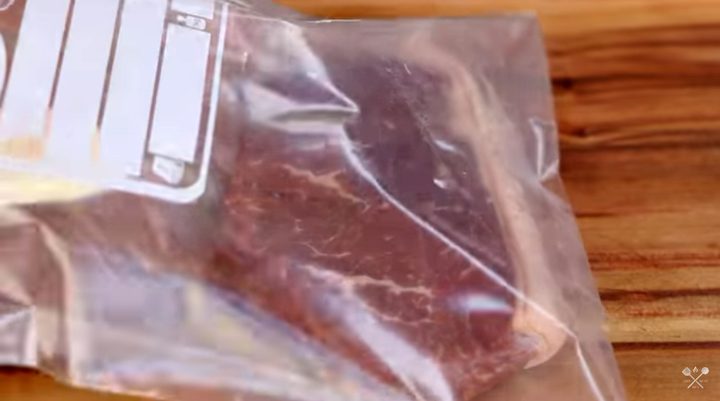
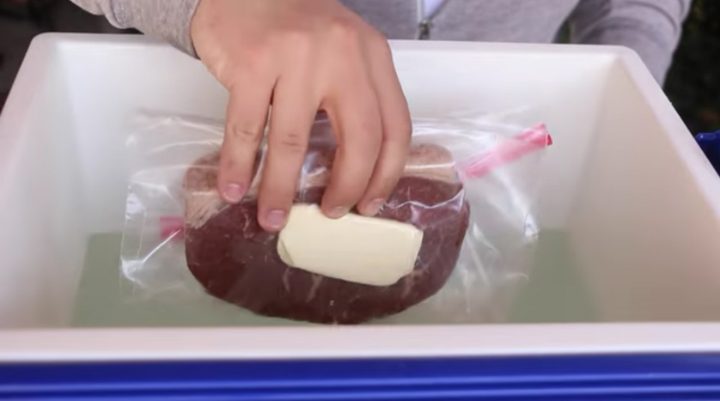
Put the steak in a heavyweight locking plastic bag.

Image used with permission by copyright holder

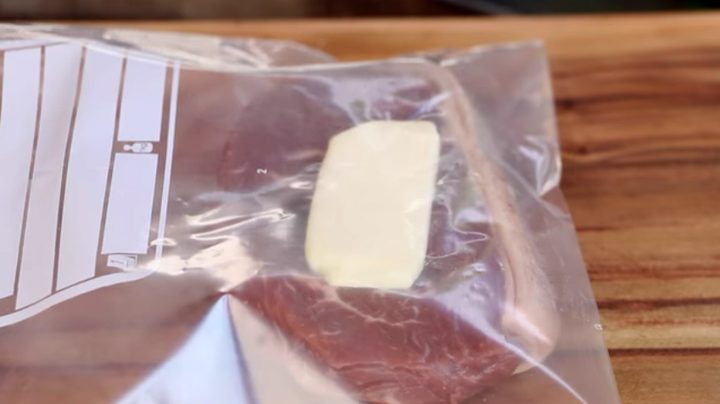
Add a hunk of butter.

Image used with permission by copyright holder

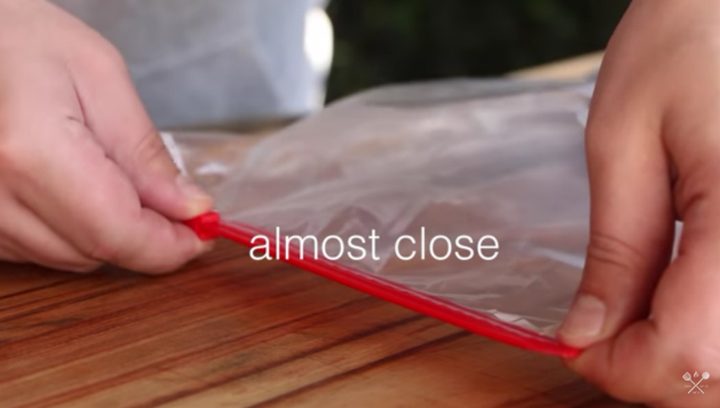
Almost close the bag, leave room on one end for a plastic straw (not paper).

Image used with permission by copyright holder

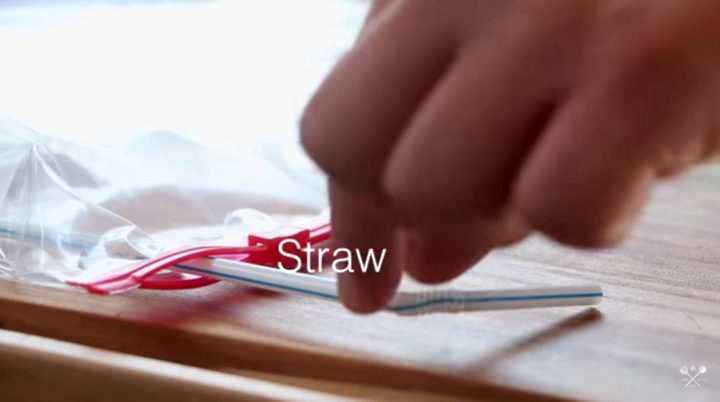
Use the straw to suck the air out of the bag and then seal the bag. Now you have a vacuum.

Image used with permission by copyright holder

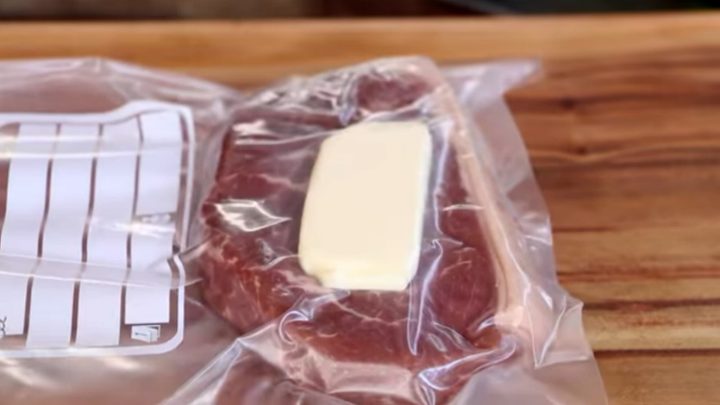
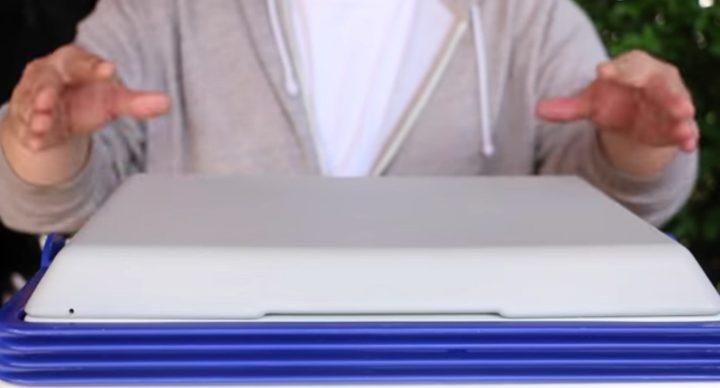
It should look something like this.

Image used with permission by copyright holder

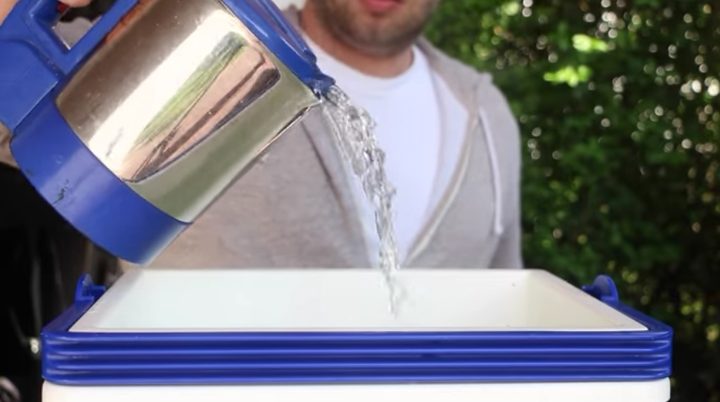
Put a bunch of really hot water in one of the beer coolers.

Image used with permission by copyright holder

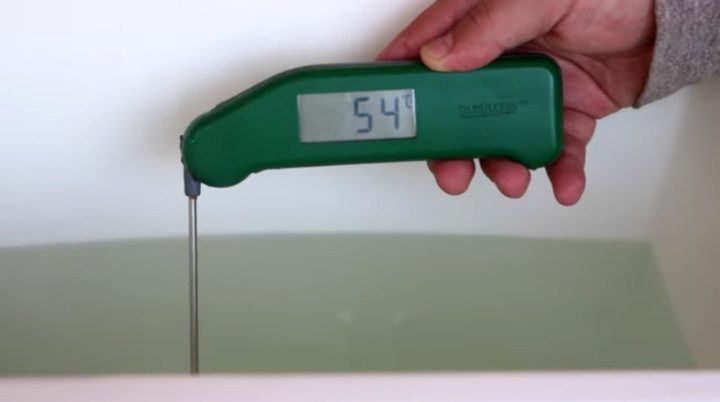
You want the water to be 54 degrees Centigrade (about 130 Fahrenheit). It is better if you get it 5 to 10 degrees hotter because of heat loss in the cooler.

Image used with permission by copyright holder

Put the lid on the cooler and, here is the hard part, wait for 50 minutes.

Image used with permission by copyright holder

After 50 minutes have passed, take the bag out of the cooler.

Image used with permission by copyright holder

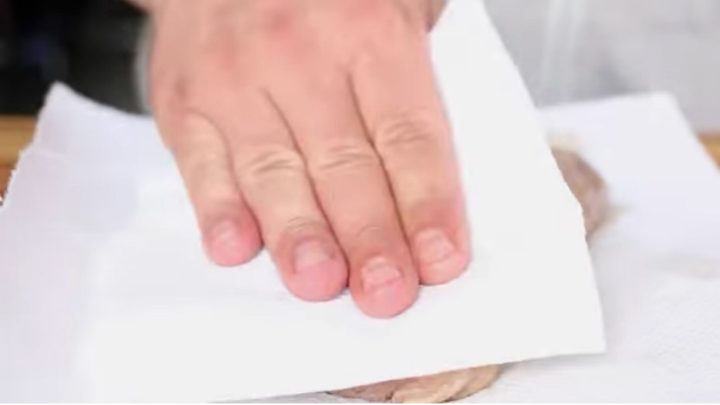
Pat it dry, preferably with paper towels or napkins.

Image used with permission by copyright holder

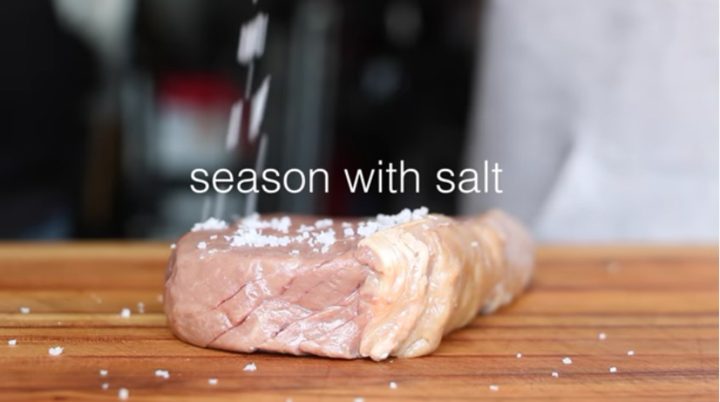
Season each side generously with coarse salt.

Image used with permission by copyright holder

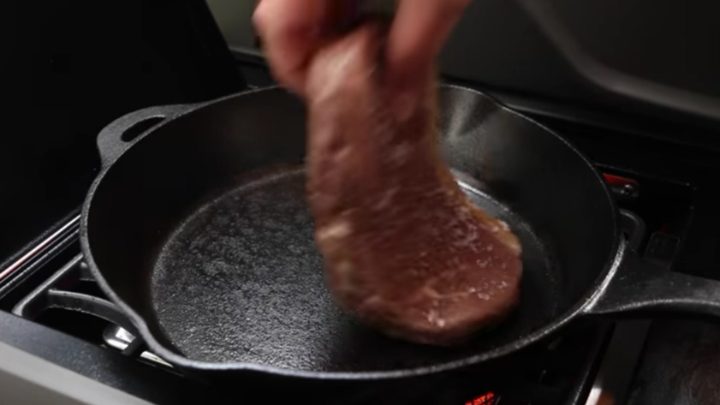
Put the salted steak in a pre-heated frying pan. Hot, not warm.

Image used with permission by copyright holder

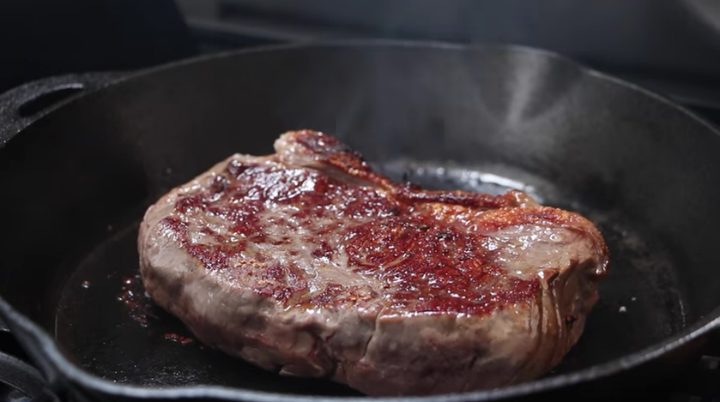
Sear each side of the steak for one minute. Chefs call this “finishing.”

Image used with permission by copyright holder

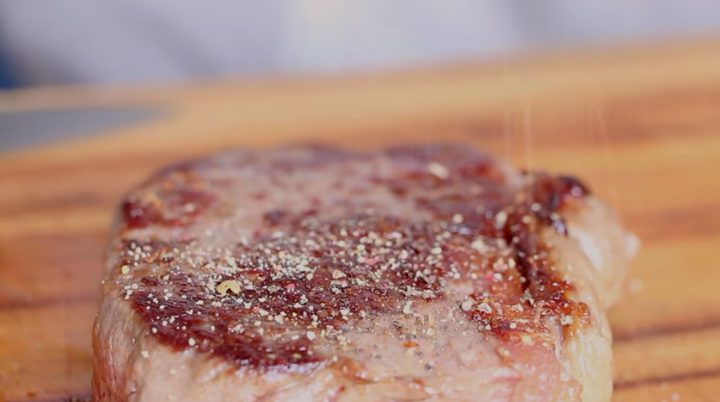
Pepper each side of the steak to taste.

Image used with permission by copyright holder

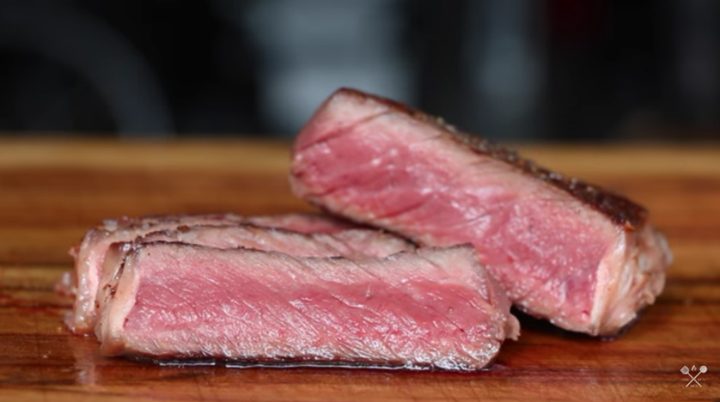
Slice, serve, and enjoy. Your friends will be impressed.

Oh, and the second beer cooler? Well, you are using your regular cooler to cook. You need the other one for beer. What else are you going to do while you wait 50 minutes?

Bruce Brown
Digital Trends Contributing Editor Bruce Brown is a member of the Smart Homes and Commerce teams. Bruce uses smart devices…
How to format the microSD card on Tapo security cameras
The Tapo C120 out in the rain.

One of the most compelling features of Tapo products (like the Wire-Free 2K Outdoor Cam and Indoor/Outdoor Cam) is support for local storage. Many Tapo security cameras let you install a microSD card, so you don't have to rely on cloud storage to save all your videos – instead, they're neatly stored right on your camera. Before you can start using local storage, however, you'll need to format your microSD card. Tapo has some pretty strict requirements for how this works, but the process itself is remarkably simple.

Ready to start saving all your video clips locally? Here's how to format the microSD card on your Tapo security camera.

Read more
Blink Mini 2 vs. Ring Stick Up Cam Pro: Which is the best security camera?
The Ring Stick Up Cam Pro on display the 2023 Amazon Fall Devices and Services event.

The Blink Mini 2 is one of the cheapest security cameras you can buy. It's pretty well-rounded too. It's capable of filming in HD and offering support for outdoor use when paired with an optional accessory, making it a great choice for shoppers on a budget. That makes it wildly different from the Ring Stick Up Cam Pro, which carries a hefty price tag and supports both indoor and outdoor use right out of the box without the need to purchase a secondary accessory.

But is the Ring Stick Up Cam Pro a better investment than the affordable Blink Mini 2? From pricing and video resolution to the installation process and additional features, here's a look at the Blink Mini 2 and Ring Stick Up Cam Pro to help you decide which is the best choice for your home.
Pricing and monthly fees

Read more
Apple’s Vision Pro headset can now be used to shop at Best Buy
Screenshots from Best Buy's new shopping app for the Vision Pro.

Previous

Next

Read more