Pick up your iPhone and choose a random picture from the Photo app. Do you look at it and think, “yes, that’s the very best it could look”? If so, then great, you’re Annie Leibovitz and don’t need to read any further. But for everyone else, it’s likely you look and think it could be brighter, more colorful, or cropped in a different way.

The temptation here is to hit Edit, then the Auto button and leave it at that. Or worse, do no edits at all. But you’re missing out on Apple’s vastly improved photo-editing suite if so, and it’s considerably easier to use than you may initially think. I’ve been enjoying its capabilities a lot.
Pro mode, without the learning curve
If you’re familiar with the intricacies of photography, you may take photos using the iPhone’s Pro Mode and then edit in specialist apps such as Lightroom for a startling final look. While the iOS editing suite can’t compete with this, it does provide a very simple way for the rest of us to change how a photo looks — sometimes dramatically. Best of all you need absolutely zero knowledge to get started, and the more you use it, the better you get.


- 1. iPhone 12 Pro before edits
- 2. iPhone 12 Pro after edits
Let’s take this photo as an example. Shot into the afternoon sun, the iPhone’s dynamic range and Smart HDR feature make it a decent photo, retaining both highlights and shadows, but I’d like to make it a little more hyper-real. Tap Auto in the editing suite and it brightens the image, but doesn’t really add much pop. Tap Auto again to disable the effect, and let’s get started with some manual changes.

Think it’s about to get technical? It’s not, unless you consider swiping your finger from side to side on the screen technical. To the right of the Auto button are different individual attributes of the photo, from exposure and contrast, to saturation and black point. Each one can be changed using the slider underneath. Just zip it back and forth to see live changes on your image.
After you’ve changed a few, tap the photo to see how it compares to the original. Despite how quickly they apply, the changes can be dramatic.

You don’t need to know how adjusting the tint, highlights, or shadows will affect the photo. Just use the slider to find out, and if you don’t like it and want to return to the default, the app gives a perfectly judged piece of haptic feedback to confirm the slider’s default center position. It’s incredibly user-friendly and entirely nondestructive. It’s a sandbox you can play in, with no consequences.
Amazingly, even if you edited a photo weeks ago, the app lets you revert to the original instantly — or tweak it further with fresh edits. It’s also fast, and basic edits can be finished in less than a minute.
Portrait power editing
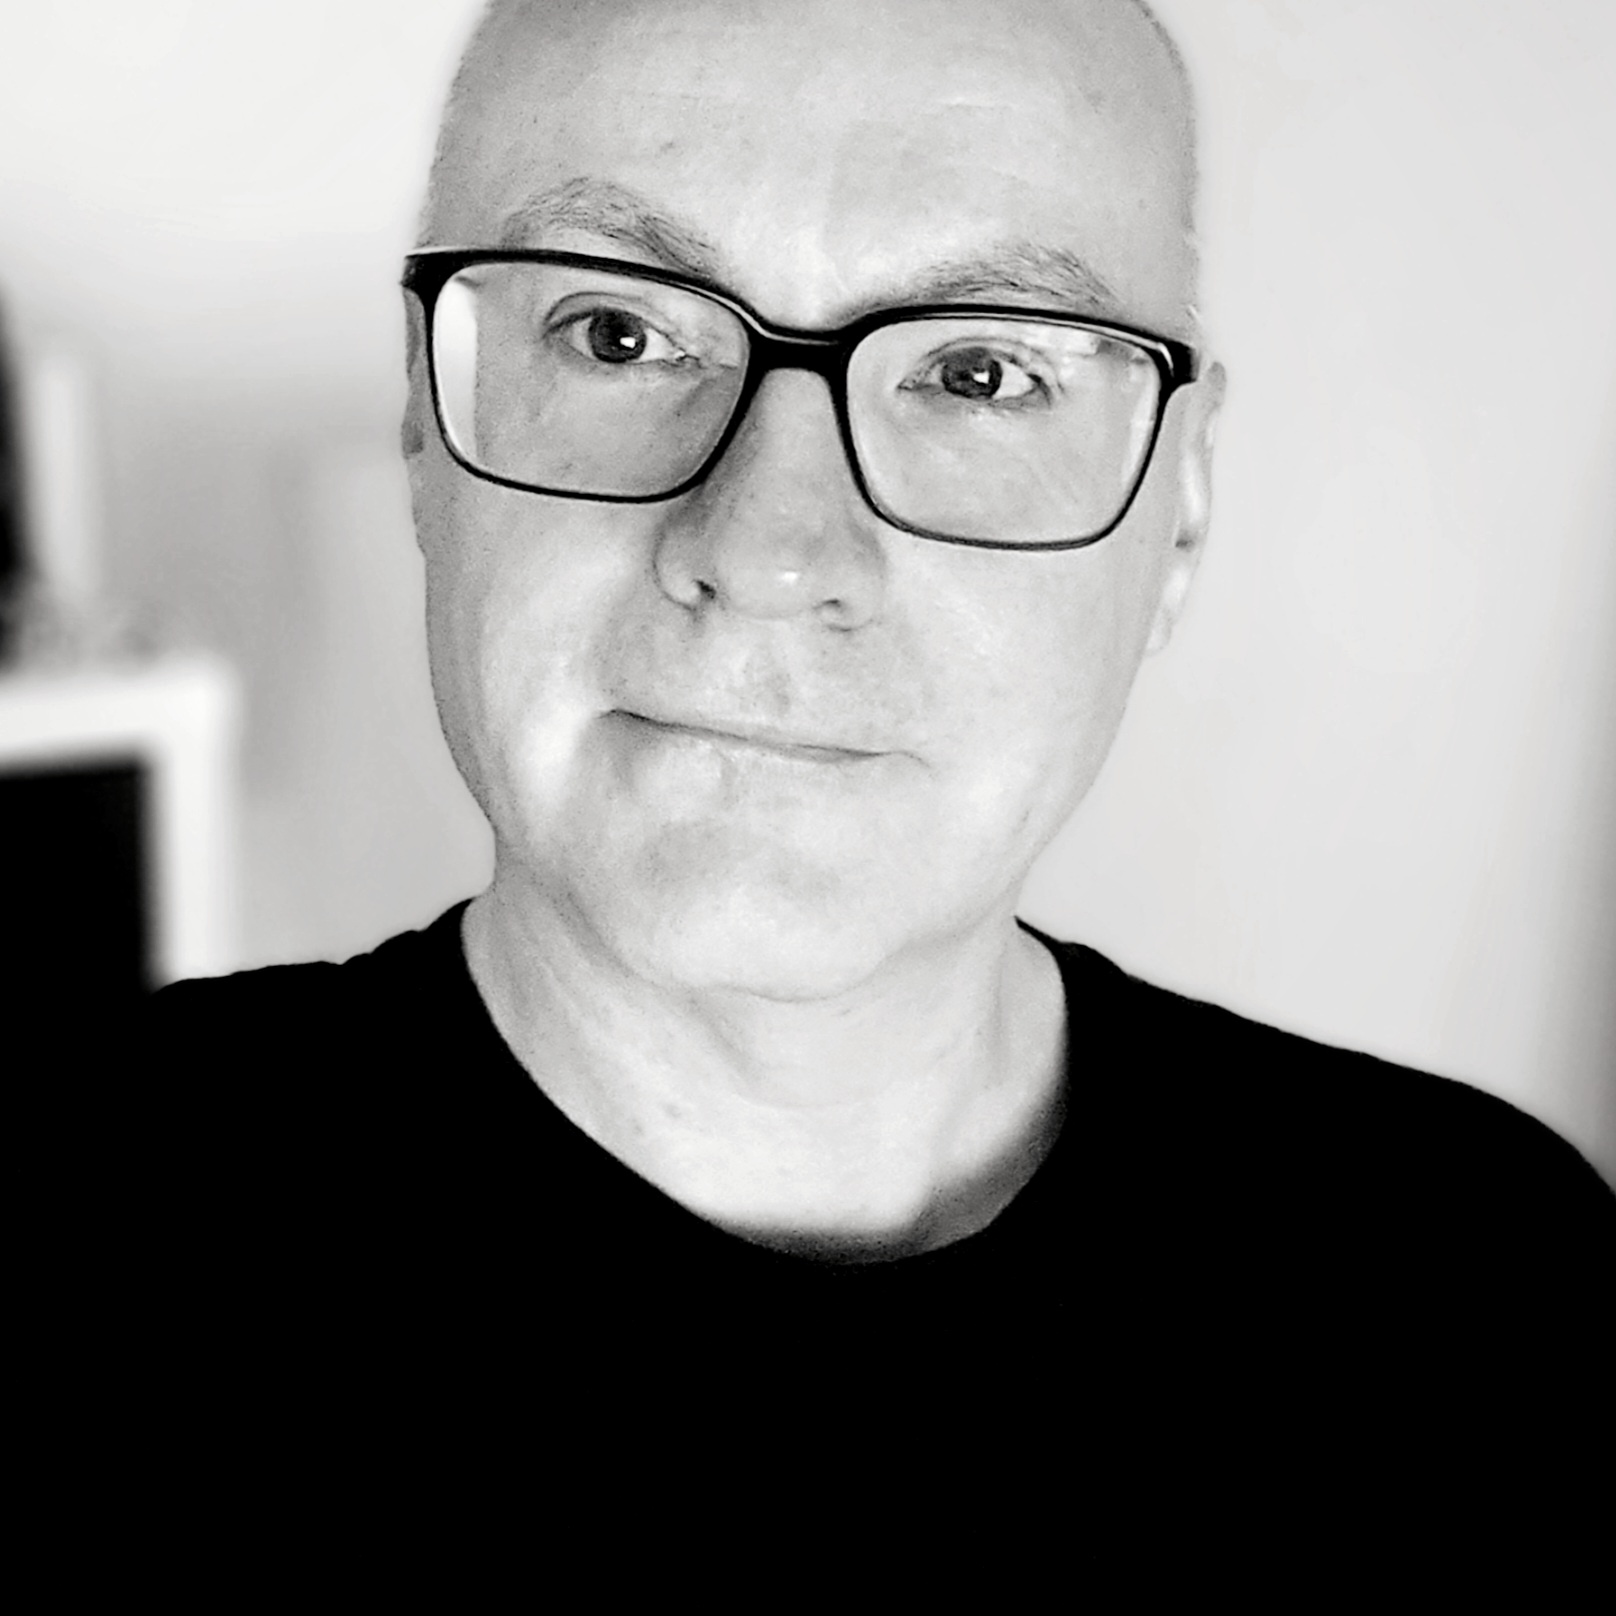
If you take portrait photos using the front or rear camera, more editing options appear. I used the iPhone 12 Pro to take selfies for my Huawei X Gentle Monster Eyewear 2 feature, because it produces better, more easily adjustable results than the Panasonic Lumix DMC-FZ1000 I use for product photos.


- 1. iPhone 12 Pro original
- 2. iPhone 12 Pro edited
Start to edit and the first option is to change the lighting mode, but the special part here is the slider below the Portrait options, which adjusts the degree of the chosen effect. Use this to find a more subtle look than the default. At the top of the screen, you’ll see another button with an “f” number inside. Tap this and use the new slider to set the amount of background blur you want. Helpful if the iPhone’s edge recognition hasn’t quite got it right — reduce the blur and it smooths out those harsh edge transitions.

At the bottom of the screen, alongside the Portrait, Edit, and Filter mode is an option to adjust the crop, orientation, and aspect of the photo. It’s perhaps the least intuitive mode in the editing suite, but is often essential. Apple’s Auto mode isn’t very good. You can tell if it’s active by the Auto button turning yellow. Just tap it to remove Apple’s changes. To the right of the Auto button is the crop tool. Tap it and select your preferred size from the options.

For the selfie above I applied the Noir filter and tweaked it a little further with the editing tool, and finally cropped it right down. The overall look is different here than on my phone, due to adjustments in resolution made for publication. I also added a slight vignette to soften the edges. To find this, swipe to the far end of the edit tool. Again, it doesn’t fit on all photos, but experiment to see how it changes your picture.
Give it a try
You’ve bought one of the best camera phones out there, so use its excellent editing software to make the great photos it takes a little more personal. I hesitate to use the word “improve,” because what I think looks better may not be to other people’s taste; but “enhance” is probably better, as tweaks can add more personal value. If you’re sharing photos, or displaying them in any form, the feature is definitely worth exploring. The fact it’s so easy to use, yet still very powerful, means everyone will find some benefit from it.

If the extent of your photo editing experience is applying a filter in iOS or Instagram, take a minute to investigate further. A minute really is all it takes too, as you’re not playing with clarity, the curve tool, or colors in Photoshop. Apple’s iOS has always been about accessibility, and the iOS editing tool is no different. It’s also likely I’m preaching to the converted, but the toolkit has been drastically improved since the release of iOS 13, so if you haven’t dug in recently, do so now.
There’s another aspect to all this, which I mentioned early on. The more you use the photo-editing suite, the better you get. Not just at understanding what needs altering, but also what each attribute does. It’s the first step to editing photos in a much more complex piece of software, and enjoying your photography even more. The iPhone 12 Pro is a powerful camera phone, so make the most of its abilities.