How to get the ‘Orange and Teal’ look in Adobe Lightroom

How to Create the Orange and Teal Look in Adobe Lightroom and Camera Raw
Editing images these days is not as simple as you may think. Sure, you can apply any filter you want in Instagram, but to really produce an image that will capture the attention of your audience you should really take some time to think about your color grading.

One popular method for color grading is by split toning complementary colors, this creates color contrast and visual interest that attracts your viewer’s attention. One popular color grade is known as the Orange and Teal look, and as you might have guessed, it features orange and teal.

Getting a color grade like Orange and Teal to work can seem much more complicated that it really is. YouTuber Denny’s Tips has produced this great video on how to achieve this look in Adobe Lightroom or Camera RAW very easily. In just a few minutes Denny walks you through the simple process of getting this color-graded look, but as you will see when you try it yourself, some tweaking will be required depending on the image you are attempting to do this with.

It all starts by jumping into the Camera Calibration section in Lightroom. You simply pull your blue hue slider all the way back to -100, then you can go to the red hue slider and bump it up to around 50. This is the basis for the majority of the look, the rest of this color grade, according to Denny, is tweaking your tone curve to fit your artistic vision for the shot.

What’s more, once you get this down you aren’t stuck going for orange and teal, you can totally try out some other color combinations like pink and cyan, or any other combination you can think of. So this technique gets more powerful the more you play around with it. Have fun!

Editors' Recommendations

Anthony Thurston
Anthony is an internationally published photographer based in the beautiful Pacific Northwest. Specializing primarily in…
Lightroom adds first new slider in 4 years and will teach you how to use it
lightroom texture slider may 2019 update contextual help  menu

1.
Adjusted with selective texture, reducecd from the waterfall and added to the trees and rocks.
2.
Image sample using the global texture tool.

While Adobe Lightroom sees an update every few months, the photo editing program’s selection of sliders hasn’t changed since the Dehaze tool in 2015. That’s changing with the May 2019 update, however, as Adobe brings the texture slider to all versions of Lightroom, including Lightroom Classic, Lightroom CC and Camera RAW. The tool allows photo editors to add or smooth out detail -- and new in-app learning tools will also help teach the different options. The updates begin rolling out Tuesday, May 14.

Read more
Fujifilm’s most-hyped camera has just started shipping
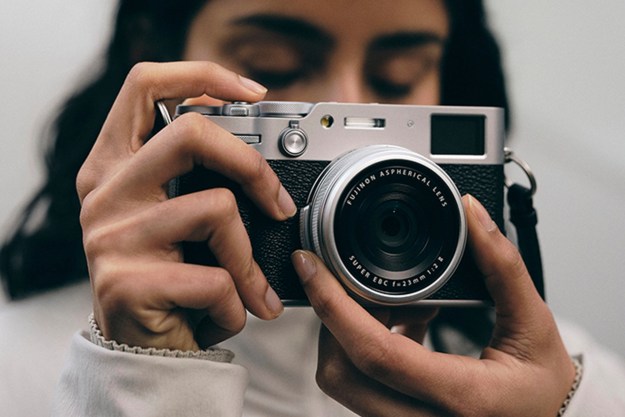
Fujifilm's X100VI camera, released in 2024.

The latest iteration of Fujifilm’s X100 camera started shipping on Wednesday.

The X100VI is -- as the name cleverly suggests -- the sixth in the series. Early reviews have been mostly positive as the camera builds on the successes of the already impressive earlier models going all the way back to the original X100, which launched in 2011.

Read more
How to resize an image on Mac, Windows, and a Chromebook
Windows 11 set up on a computer.

Resizing an image is something we’re all going to have to do at some point in our digital lives. And whether you’re using Windows, macOS, or you’re rocking a Chromebook, there are ways to scale images up and down on each PC. Fortunately, these are all relatively simple methods too.

Read more