One of the best parts of the Apple ecosystem is how neatly everything works together. Apple often gets flak for its "walled garden" approach, but when it works well, it enables the kind of productivity features that Android and PC rivals can only dream about. For example, you can use your iPad as a second screen for your Mac with minimal effort, and there's no need to fiddle with annoying cables and questionable software hacks.
Apple gives you three main ways to set up your iPad as a second display for your Mac: Universal Control, Sidecar and Stage Manager. They all have different uses and you might find that one is better for your uses than the others.
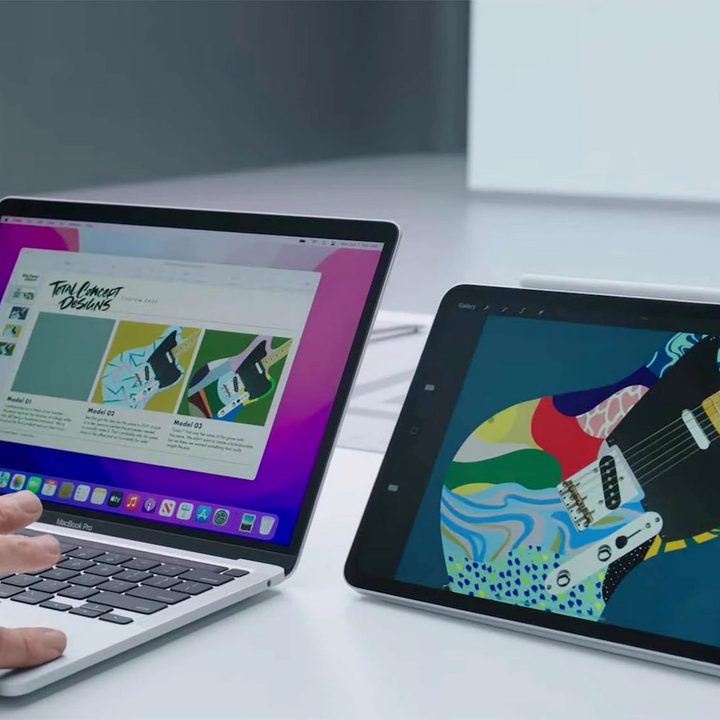
For example, Universal Control lets you seamlessly move your mouse or trackpad pointer across your devices and even drag and drop files between them. Sidecar, meanwhile, can be used to mirror your Mac’s content onto your iPad, which is helpful if you want to turn your iPad into a drawing tablet to be used with an Apple Pencil. The idea behind Stage Manager, meanwhile, is to enable better window management, and part of that involves moving windows between your displays.
Here, we’ve outlined how to use all three features, so you can decide which is best for you. Follow along and you’ll have a multi-device, multi-monitor setup in next to no time.
Be sure to check out Apple’s system requirements for Universal Control, Sidecar and Stage Manager for iPad. Stage Manager for Mac requires macOS Ventura or later before you get started.
How to use Universal Control to use an iPad as second monitor
Universal Control is a great way to use your iPad as a second display for your Mac. It lets you control both devices with one mouse or trackpad and one keyboard, enabling your mouse pointer to easily move between either device with minimal hassle.
Step 1: First, you’ll need to make sure both devices are on the same Apple ID. Your Mac needs macOS 12.4 (Monterey) or later, while your iPad needs iPadOS 15.4 or later. Apple has the full system requirements on its website.
Step 2: Now, open the Settings app on your Mac and find Displays in the sidebar. Select Advanced, then enable Allow your pointer and keyboard to move between any nearby Mac or iPad. Select Done. If you want to manually link another iPad or Mac to your setup, select the + button and pick your device from the options.
Step 3: Next, switch to your iPad. Open the Settings app and pick General > AirPlay & Handoff, then enable Cursor and Keyboard. Note that you will only see this option on an iPad that supports Universal Control.
Step 4: To connect your devices together, place them next to each other, ensuring they’re switched on and unlocked. Now move your mouse or trackpad pointer past the edge of the screen closest to the other device. So, if your iPad is placed to the left of your Mac, move your Mac’s pointer past your computer’s left-hand edge. As you do so, you’ll see the pointer begin to appear on your other device. Push it all the way through to connect.
Step 5: When you move your mouse or trackpad pointer beyond the screen edge closest to the other device, it will appear on that device. You can copy and paste files from iPad to Mac and vice versa, and even drag and drop items from one device to another. When using your keyboard, you will be able to type on whichever device your mouse pointer is on.
Step 6: To rearrange the position of your devices in the operating system, open the Settings app on your Mac and go to Displays > Arrange. Now drag and drop the windows where you want them.

How to use Sidecar to use iPad as second monitor
Step 1: First, ensure that both your iPad and your Mac are signed in with the same Apple ID. It’s not necessary to connect your iPad to your Mac using a cable, but you can do so if you want to charge it up.
Step 2: Now, open the Settings app on your Mac and select Displays in the left-hand sidebar.
Step 3: On the right, select the + button located underneath the name of your Mac, then pick your iPad from the list.
Step 4: Alternatively, instead of going through the Settings app, you can open Control Center from the top-right corner of your Mac’s menu bar, then pick Screen Mirroring and choose your iPad.
Step 5: Once Sidecar is set up, you’ll see a Screen Mirroring icon appear in the menu bar. Choose this to change how your iPad works as a second display, such as whether it mirrors your Mac’s content or extends it as a separate screen.
Step 6: For more fine-grained control, head to the Displays section in the Settings app on your Mac. Here, select your iPad. You can now decide whether to use your iPad to extend or mirror your Mac’s screen, enable the double-tap feature for the Apple Pencil, and more.

How to use Stage Manager to use iPad as a second monitor
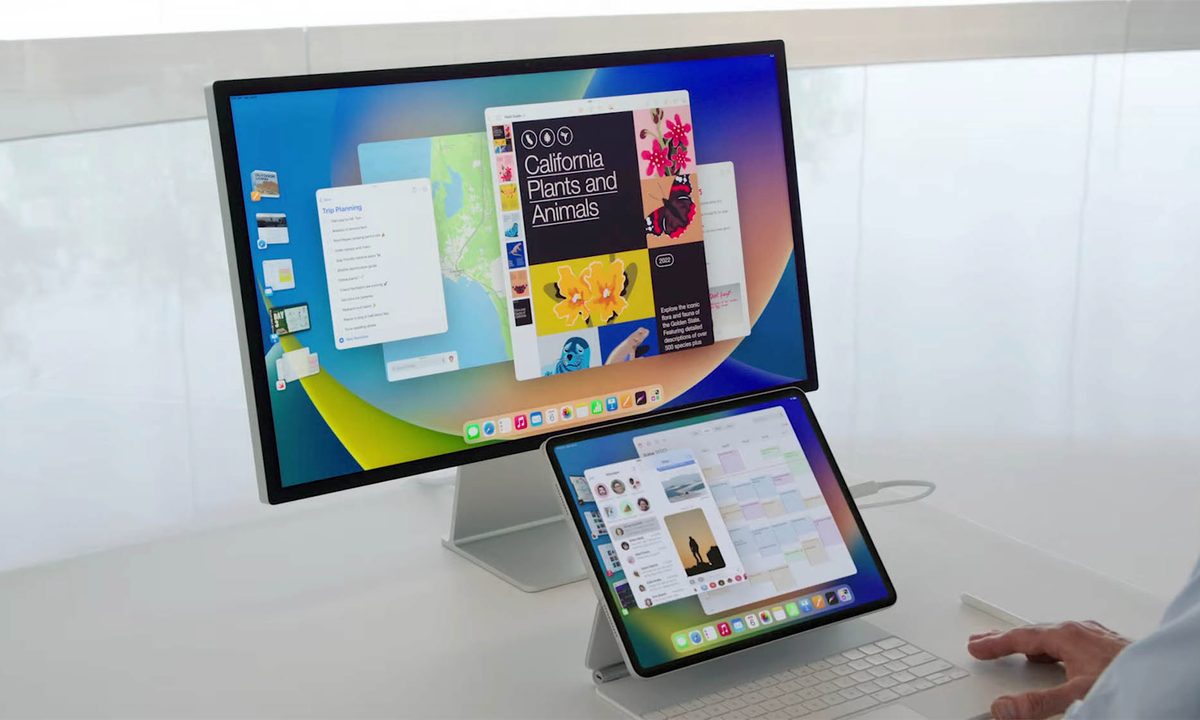
The final way to use an iPad as a second display for your Mac is by using Stage Manager. This is a feature that allows you to manage multiple app windows on your iPad or on your Mac, but it also lets you drag apps between your devices.
Step 1: To set up Stage Manager on your Mac, open the Control Center from your Mac’s menu bar and select the Stage Manager button. The feature is enabled when the button is highlighted and your app windows are shown on the left.
Step 2: On your iPad, open the Settings app and navigate to Multitasking & Gestures. Here, ensure the toggle next to Stage Manager is enabled, then turn on Recent Apps.
Step 3: Moving an app window between your Mac and your iPad is simple: just drag the top of the app window across to your other screen, or do the same with the app icon in the Dock.
With these three methods, you’ve got plenty of solid options for using your iPad as a second screen for your Mac. Try all three to see which one you prefer. As each method is intended for different situations, you might find one of them is more applicable to you. Whichever you settle on, you’ll have a handy way to get more from your Apple devices.