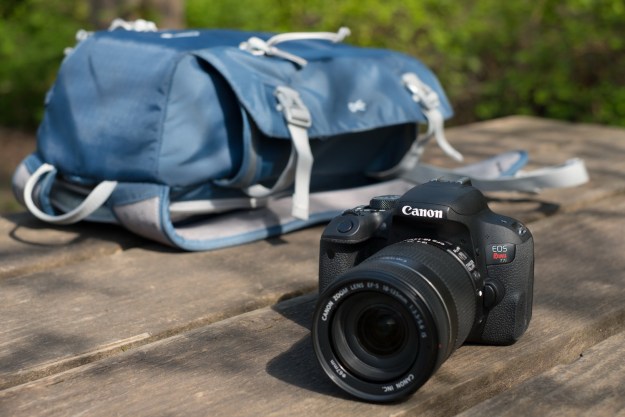
 Digital cameras have opened up photography to the masses, but do most of us think before we shoot? Even a beginner can make great pictures by following a few rules and being in the right place at the right time. We provide some simple tips to remember before you snap that next photo so you can set your pictures apart from run of the mill snapshots.
 Use the correct lighting – Soft or diffused lighting is best for photographs of people. Early morning and late afternoon are good times for nature shots.
 Know when to use flash – Outdoors: Turn your flash on in bright sunlight, it can be used as “fill-in light” outside to even out strong shadows from bright light. Indoors: Use flash as a last resort. Try to add more natural lighting by opening window shades. If you still need more light turn on as many lights as possible and adjust your white balance.
 Focus on your subject – Make sure your camera is focused on the subject and not the background. Do this by centering your subject and pushing the shutter down halfway to lock the focus. Now you can re-frame your picture while holding the shutter down to keep your subject in focus.
 Get close – Get up close and personal with your subjects, especially if they’re smaller. Fill the frame with the subject to eliminate background distractions and capture the richest details.
 Don’t center everything – The rule of thirds is possibly the most well know rule in photography and visual art. Keeping your main subject out of the center allows for greater movement in the photograph. Does that mean every photo with a centered subject is horrid or that you should never center a subject? No, but it’s something to keep in mind when shooting.
 Change your point of view – Don’t always shoot from your perspective. Instead position yourself on the level of your subject. Take photos of children, pets and other low to the ground subjects at their perspective or their eye level. You can also use your position to enhance subjects and make them more interesting. For example, shooting a tall tree or building from their base will help exaggerate their size.
 Don’t be afraid to go vertical – Many photographs can benefit from vertical framing. Don’t forget to rotate your camera before shooting a subject to see if a vertical shot would make for a better picture.
 Take lots of different shots – Taking extra pictures doesn’t cost you money like it did with film, so take advantage of it. Even if you like the photo when it’s viewed back on your camera’s LCD screen, take another, because they always look different when viewed at full size.
Editors' Recommendations
- Best GoPro deals: Save on action cameras and accessories
- How to transfer photos from an iPhone to a computer
- Crutchfield sale: Save on Canon, Sony and Nikon mirrorless cameras
- How to photograph April’s solar eclipse, according to NASA
- How to photograph April’s solar eclipse, according to Nikon