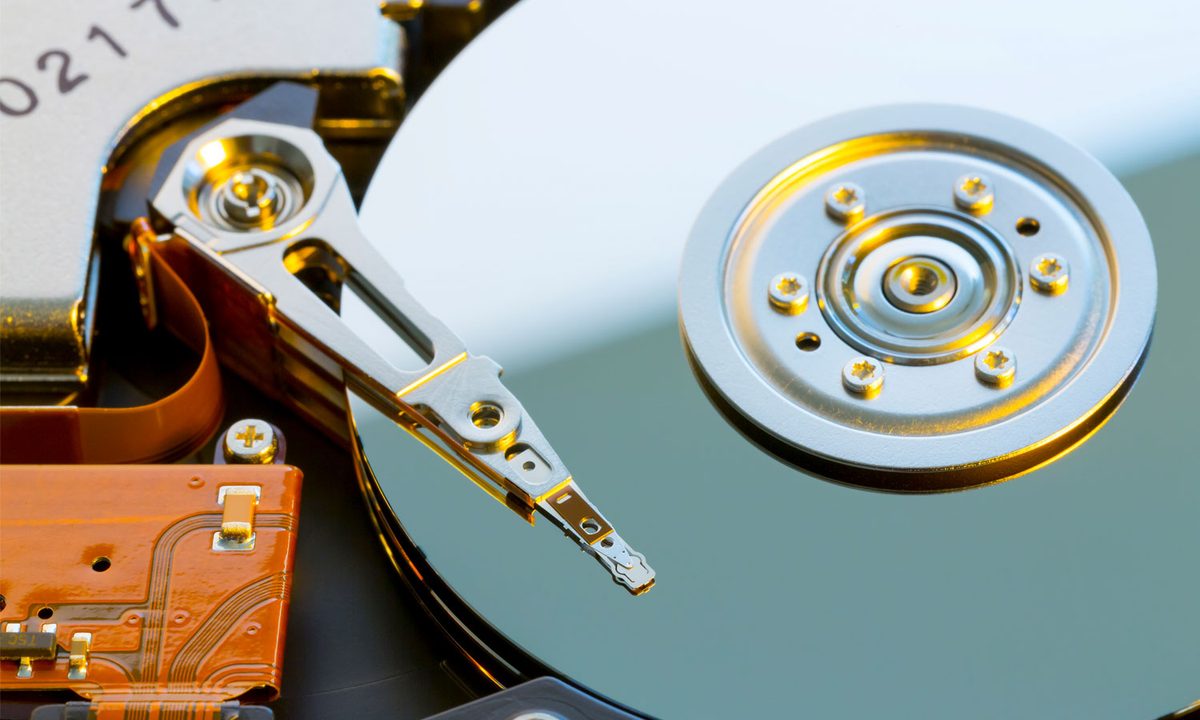
How to clone a hard drive on MacOS and Windows

Our PCs contain so many valuable files that a crash is catastrophic. They house our family pictures, our homework, digital art, work reports, and more. Losing all those hours of work and priceless memories is gut-wrenching and heartbreaking, to say the least.

Cloning your PC’s drive is an easy way to preserve all those essential files. You can create copies of all your files and clone your operating system, software, and more. It’s a good restoration plan for when your PC’s original drive begins to fail, as data recovery software may not be useful. It’s also a great way to upgrade from a hard drive to a solid-state drive without having to start over.

Here are the steps you should follow to clone a hard drive on Windows 10 or MacOS.

How to clone a hard drive on Windows 10

Part 1: Download Macrium Reflect 7 Free Edition

Image used with permission by copyright holder

Grab Macrium Reflect 7 from the official website. While there are many great cloning applications you can grab, this one is our current favorite. It has everything you need to clone a drive for the home or business, and it costs you nothing but time.

Macrium provides a stand-alone downloader file so that you’re not installing hacked software. Once the installer is on your PC, locate and install it like any other desktop program. It will then grab everything you need securely from Macrium and install a legit copy of Reflect 7 on your PC.

Part 2: Ready your drives

Image used with permission by copyright holder

Your “source” is the drive you want to clone — the one typically already installed inside your PC.  Your “destination” is the drive where the clone will reside — the one that will replace the installed drive.

Step 1: Make sure both drives are plugged into your PC and recognized by Windows. You can connect them internally or externally, or a mix of both. For instance, if you’re cloning a laptop’s drive, your destination drive will connect via an external USB-based adapter.

Step 2: Open Macrium Reflect 7. The landing page shows a collection of all drives connected to your PC and their respective partitions. Be sure Reflect 7 lists both drives before moving to the next step.

Step 3: Make sure the destination drive has enough space. It requires more free space than your source drive in order to receive all of the new information. If it doesn’t, you can use the native cleanup tools in Windows or those provided by third-party developers.

You can learn more about how to free system space with our guide how to clean your bloated hard drive in Windows 10.

Part 3: Manage partitions

Image used with permission by copyright holder

Now we need to deal with the partitions before we clone the source drive.

Step 1: Select the Source Drive.

Step 2: Click the blue Clone This Disk link listed underneath the drive in the main window. This opens the Clone Wizard window.

Step 3: Click the Select a Disk to Clone To link.

Step 4: In the pop-up window, select your Destination Disk in a list of drives.

Note: Reflect 7 will erase any existing data on the destination disk, so be sure to back up any information before proceeding further.

Step 5: Untick the boxes next to any partition on the source drive that you do not want to clone. However, if you’re making an exact clone, just leave them alone.

Step 6: Click the Copy Selected Partitions link when you’re ready to clone.

Note: You can manually delete existing partitions, but it’s not necessary.

Alternatively, you can drag and drop specific partitions you want to be cloned to the new drive. If you’re unsure, just clone all partitions and work out what you don’t need later.

Step 7: Increase the main partition’s size if you are moving to a larger drive so you can take advantage of the additional space. Just select the largest partition on your source drive (usually C:) and select Cloned Partition Properties.

Step 8: On the subsequent screen, select the box that says Maximum Size.

Step 9: Click OK.

Part 4: Start the cloning process

Once you’re ready to begin, double-check everything one more time — it never hurts. When you’re doubly sure everything is good to go, select Finish and then OK to start the cloning process.

Depending on the size, speed, and usage of your drives, this process can take quite some time. When it’s finished, your new drive should be just as functional as the old one.

How to clone your hard drive on MacOS

Cloning a hard drive on MacOS is a little easier than Windows because you can use its built-in Disk Utility tool to perform the same function. There are plenty of third-party alternatives, however, like the popular Carbon Copy Cloner, but Disk Utility does the job just fine. You don’t need the latest version of MacOS, but it’s never a bad idea to keep your Mac current.

Generally, instructions include booting into Recovery Mode and using the Disk Utility tool there. This is where you typically use external media to restore everything to an internal replacement drive. It’s also used to repair the OS. You obviously can’t carry out these tasks within MacOS itself.

However, you can clone your main drive to an attached external drive without booting into Recovery Mode. Disk Utility copies everything from the source drive so it’s bootable.

Note: If you’re running a Big Sur beta, you could encounter a “broken seal” bug. You may need to fall back on Carbon Copy Cloner until Apple resolves the issue.

Part 1: Open Disk Utility

MacOS Disk Utility Restore Drive
Image used with permission by copyright holder

Your “source” is the drive you want to clone. Your “destination” is the drive where the clone will reside. Make sure both are plugged into your PC and recognized by the system. You can connect them internally or externally, or a mix of both.

Step 1: With Finder selected, click Go on the menu bar followed by Utilities on the drop-down menu.

Step 2: Double-click to open Disk Utility.

All drives should appear on the left. Your source volume should read as Macintosh HD or OS X under Internal. Your destination drive will likely fall under External if it’s connected to a USB port. However, let’s make sure everything is visible.

Step 3: Click View on the menu bar.

Step 4: Select Show All Devices on the drop-down menu.

Part 2: Select the drives

Keep in mind that you need to select the Volume or Partition, not the drive itself, at least in Big Sur. The process will not succeed if you chose the destination drive.

Step 1:  Select the Target Volume or Drive listed on the left. In our example, it’s the External Drive volume on our connected Seagate SSD.

Step 2: Click the Restore button.

Step 3: The pop-up window will ask you to choose either Source Volume or Drive as your option to Restore From. In this case, the tool automatically chose Macintosh HD.

Part 4: Start the cloning process

Before you get started, make sure you have selected the right source drive and the correct final destination drive so there will be no errors. A common mistake is switching the positions of the destination and source drives.

Click the Restore button after you’ve confirmed, and then the cloning process will start. Each drive is a different size and will run at various speeds, so there is no set waiting time for this step; it will vary according to how big of a drive you have, as well as its age and velocity.

Once the cloning process is done, your device will function like it’s using the original system.

Editors' Recommendations

Topics
Jon Martindale
Jon Martindale is the Evergreen Coordinator for Computing, overseeing a team of writers addressing all the latest how to…
The best free parental control software for PC, Mac, iOS, and Android
Man using computer.

Everything in this world has gone digital, and that includes homework (if you have kids). If your children are young, you’re probably not giving them laptops or free rein of the family computer yet. You’re also probably not always able to monitor their screen activity, either.

That’s where parental control software comes in handy. Such software helps keep your kids safe from the dark web, and there are usually free options available for all operating systems. Keep reading to find out more.
Built-in OS features
Giving your kids technology designed for their age group is an excellent first step toward keeping them safe online. When they have access to more general computing devices, you can leverage parental control features built right into the operating system. The parental controls for both Windows and macOS provide a convenient and acceptable means for restricting web access and chat functionality, and give parents the ability to view detailed logs and monitor email exchanges.
Microsoft Family Safety

Read more
Is macOS more secure than Windows? This malware report has the answer
A person using a laptop with a set of code seen on the display.

It’s a long-held belief that Macs are less at risk of malware and viruses than Windows PCs, but how true is that? Well, a new report has shed some light on the situation -- and the results might surprise you.

According to threat research firm Elastic Security Labs, roughly 39% of all malware infections happen on Windows PCs. In good news for Apple fans, only 6% of breaches occurred on macOS, making Mac systems far less vulnerable than their Windows counterparts.

Read more
How to fix audio issues in macOS
Apple MacBook Gold 2015 speaker grill

If you have been particularly bugged by sound problems ever since upgrading to the latest version of macOS, this is the place to be. Let's go through the most common macOS audio problems and show you how a little tinkering with settings can typically set things right.

Related

Read more