Pi in your lap

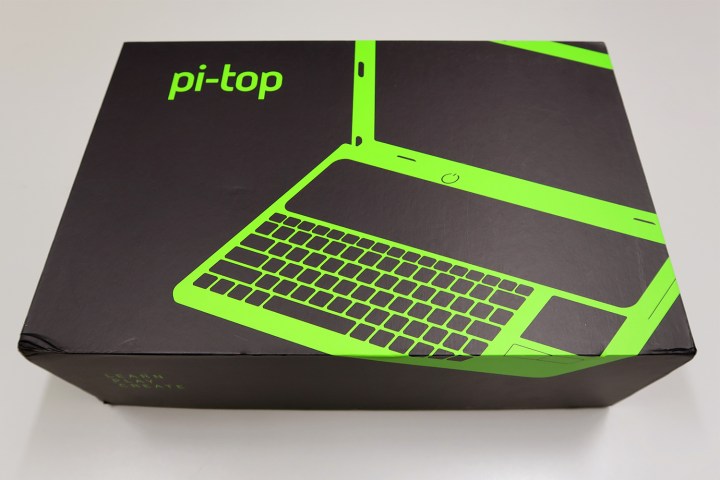
The Pi-Top is a DIY, Raspberry Pi laptop kit, and comes with all the components required to assemble a functioning portable computer. The goal of the pi-top is to put affordable technology into people’s hands while empowering individuals to learn, play, and create. The Pi-Top started off as a successful Kickstarter project and has matured into a full-fledged hardware/software start up with two unique kit-based products under its belt.
The unboxing begins

The packaging and components for the Pi-Top are relatively straight forward, but there are several of them which purchasers will need to keep track of as they assemble the hardware. A couple of the parts are fairly small, so we laid them out as precisely as we could so we could get a complete picture of what we were working with.
Bring a magnifying glass

The initial components (the laptop base and screen) went together quite easily, although we ran into a big snag right out of the gate. When we initially opened up the box, something small fell out. We didn’t think too much of it at the time, but we soon found ourselves crawling around the floor as we realized it was one of the tiny, tiny screws used to connect the case and the screen. We couldn’t locate it at first, and would have completely missed it if one of our staffers hadn’t seen it wedged in the sole of the shoe of another staffer crawling around the floor looking for the same screw. Yikes!
Lots of assembly required

Putting together the board requires one type of screw, while affixing the boards to the base (near the end of the build process) requires another. We had a start stop period early on as we used the wrong screws for the initial step. One thing to note is that the instructions make no real size differentiation between the two types of screws, which caused quite a bit of confusion and experimentation to figure out which was used where.
Finishing the build

Aside from the errant screw, we moved through the entire build rather quickly. There’s a lot of connecting and screw turning that went into the main part of the build. The instructions did a good job of keeping us on track one step at a time.
The biggest hurdle we ran into assembling the Pi-Top was not a hardware issue, but rather a size issue. Many of the parts we worked with were small–very small. Our hands, not so much. As a result, we generally needed someone to help hold various components in place while we worked on connecting wires and tightening screws.
The final hurdle we encountered in the build was one of our own making. We forgot to insert the micro SD card that houses the OS into the Raspberry Pi at the start of the build, which made things a bit difficult, but not impossible. It’s important to note, however, that the instructions did not document the SD card insertion either. We discovered it by doing a search for Raspberry Pi tutorials.
You love the laptop you build yourself

The assembly of the Pi-Top takes time, but is ultimately rewarding. Watching the laptop fire up that initial load screen is satisfying and empowering. The finished laptop is attractive and easy to use. Its overall weight is low and feels sturdy when toted around the office.
At under $300, the Pi-Top doesn’t line up well against Chromebooks and budget Windows laptops. It’s not nearly as expensive, and not an alternative for people who want a cheap, everyday PC. But it is a great educational tool. Building and using the device provides insight into the nitty-gritty of how a computer works, making it useful for entry-level hobbyists who want to learn more.


