Many American homes utilize a garbage disposal, as they rely on the machine to grind up food scraps. This helps avoid clogged pipes and damaged plumbing. A garbage disposal works by using centrifugal force to make food particles enter a grinder. Insinkerator explains how contrary to popular belief, a typical garbage disposal doesn’t use any blades, but rather a grinding ring that virtually liquifies foods. The liquefied food then flows through your waste pipe to a water treatment plant or to your septic system.
When you are accustomed to using a disposal, living without one can be tough. Sometimes garbage disposals die of old age, sometimes people put the wrong items down the sink and that kills the machine, and some units die for other reasons. Whatever the reason is that your garbage disposal needs replacing, we can help.
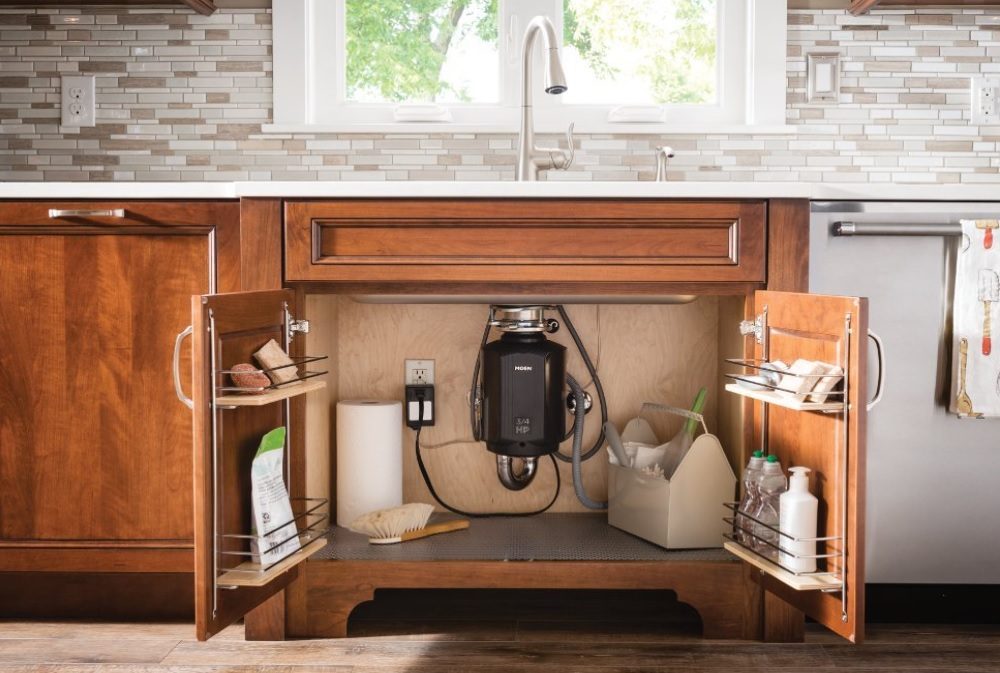
Our guide to how to install a garbage disposal includes instructions on how to replace a broken disposal, garbage disposal tips, as well as our picks for some of the best garbage disposals you can buy in 2018.
Things you will need
- New garbage disposal
- Plumber’s putty
- Hammer
- Screwdriver
- Exacto knife
- Bucket
- Rags
How to install a garbage disposal
Step 1a: Exam your old unit and choose a new disposal. Look under your sink and take note of the size and voltage of your current disposal, its horsepower, how it is connected, and how much space you have for a new unit. As you look at your old machine, it’s wise to also think about its performance (when it was functional), and ask yourself: Was this unit powerful enough, or do I need more power? If you think you need a more powerful machine, you may want to consider a unit with more horsepower. Plumbing Pro recommends a one-half horsepower (HP) unit for light use, three-fourths HP for normal home use, and one HP for heavy home use or light commercial use. If you have limited space or other limitations, make sure to consider those factors when shopping for a new garbage disposal.
Here are a few of the best disposals you can buy in 2018
- Waste King Legend Series Continuous Feed Garbage Disposal L-2600 1/2 HP: Buy Now
- Insinkerator Evolution Compact Garbage Disposal 3/4 HP: Buy Now
- Moen GXS75C GX Series Garbage Disposal 3/4 HP: Buy Now
- Insinkerator Evolution Excel Household Garbage Disposal 1 HP: $349 on Amazon
Step 1b: Turn off the electricity. Shut off the electricity at the circuit breaker to avoid electrical shock while you’re removing and installing your disposal.
Step 2: Disconnect the drain arm and dishwasher tube from the old unit. Disposal units are typically connected to two different “pipes” under the sink — the drain arm and the dishwasher tube. The drain arm is where the waste leaves the disposal, and it usually looks like plastic PVC pipe. The dishwasher tube is usually a thinner pipe. Place a towel or bucket under the area to catch any water that falls, and disconnect both of these pipes from your unit. Be sure to save any clamps or fasteners that you remove.
Step 3a: Remove the old unit. At this point, your old disposal should only be connected to the sink drain and the electrical. Support the unit with your hand from the bottom, and twist your machine counterclockwise until it disconnects from the mounting assembly. After you disconnect your unit from the sink, remove the electrical panel and disconnect the electrical wiring.
Step 3b: Disconnect the mounting assembly. Loosen the bolts or screws on the mounting assembly. Then, pry off the retaining ring with a screwdriver. Once you get the ring off, push the old drain up through the sinkhole and remove the old caulk with a butter knife or an Exacto knife.
Step 4: Prepare to install the new unit. Wipe up any water and clean the area under the sink. Read the manual instructions for your new garbage disposal thoroughly and carefully. Although most garbage disposals have similar installation instructions, each machine will have some differences. It’s also a good idea to organize and label the parts for your new machine, so you’re not frantically looking for a part while your halfway under the sink holding a garbage disposal.
Step 5: Install the hardware for the new disposal. First, roll out a “worm” of plumber’s putty that is about one-fourth of an inch wide and about one foot long. Carefully lay the putty around the perimeter of the sink drain, and then lay the new drain down on top of your putty. Lay a rag on top of your drain, and then set your new disposal on top of the rag to hold your drain in place while you connect the new mounting assembly.
The mounting assembly for your new unit should connect in a similar manner to the one you just removed. You need to put the washer and backup ring onto the drain, and then the retaining ring. Once you get the retaining ring in place (which can be difficult, see our tips if you have trouble), tighten the screws or bolts in place. Once the mounting assembly is nice and tight, take the rag and the disposal out of your sink and remove the excess putty from around the new drain.
Step 6a: Install the new electrical. Remove the electrical plate from your disposal and examine the wiring. Connect the matching wires (white to white, and black to black) and then secure them with wire covers. Connect the black wire to the green screw on the disposal, and then replace the electrical plate.
Step 6b: Prepare the disposal for connection. The area on your new disposal where your dishwasher tube connects may be blocked with rubber or plastic. This is because some people choose not to connect their dishwasher to their disposal. If you plan to connect your dishwasher, use a hammer and screwdriver to knock the blocker out.
Step 7: Install the new disposal. Hold the disposal securely, and screw it onto the mounting assembly in a clockwise motion until it is secure. You may have to fiddle with the assembly to get the until in place properly. Sometimes, it helps to use a screwdriver to hold the assembly in place while you turn the disposal. After you mount the disposal, reconnect the drain arm and then the dishwasher arm. Be sure to apply any clamps so your connections are secure.
Step 8: Test your connections. Plug your sink with the drain plug, turn on the water, and allow the sink to fill up. Then, remove the plug, and let all of that water drain and check for any leaks under the sink. Repeat this process at least once to make sure your connections are all secure and leak-proof. After that, turn the power back on and run the disposal.
Tips
- When you are connecting the retaining ring, try not to separate the ring because it may not return to its normal form. Instead, try to put the ring on one side at a time, and have another person help by holding the washer and backup ring in place while you install the retaining ring.
- Avoid putting grease or fat down your disposal, as this can damage your machine or your plumbing.
- Avoid using harsh chemicals in your disposal, like bleach or harsh drain cleaners. Baking soda, lemon, lime, and even ice cubes will help clean your machine without damaging it like a harsh cleaner can.
- If you are installing a new disposal from scratch, it is a good idea to contact an electrician for assistance with the electrical work. Depending on your area, you may also need to obtain permits.