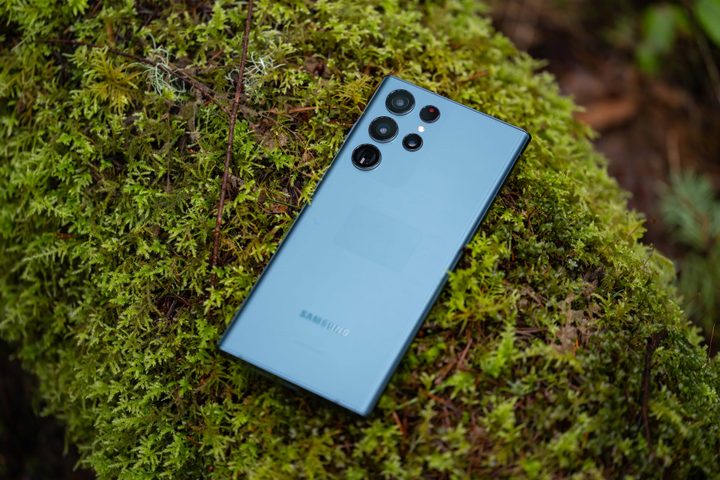
The Samsung Galaxy S22 Ultra has a prolific camera system that helps it compete with the best smartphones out there. This is because of the phone’s diverse — and what might seem grandiose to minimalists — camera rig, which includes a 108MP primary camera, a wide-angle sensor, a 3x telephoto, and a 10x periscope zoom camera.
But on a phone that appeals to power users, settling for the default settings won’t be enough. What you want is to try the Pro-grade settings and features, including RAW photography. If you’re intrigued, here’s what to expect from these powerful features.
What are the benefits of shooting in RAW?
The Galaxy S22 Ultra makes best use of the Qualcomm Snapdragon 8 Gen 1 chipset and its powerful image signal processor and AI engine, plus Samsung has specially tuned the 108MP”s camera software for great results in almost any conditions. But what we’re looking at here is the software.
Anyone who has spent sufficient time fiddling with cameras would have heard of the term “RAW.” A RAW file is the equivalent of the negative on a film roll. It is an unprocessed version of an image and is only minimally compressed. While RAW images take up significant amounts of storage, it also allows the picture to retain more detail than the type of JPEG or a PNG image the camera usually saves.
The details stored in a RAW file allow you to improve the image through editing, giving them a different mood or changing the ambiance dramatically. Simply put, RAW has the same effects on photographs as Red Bull has on your adrenal glands.
Next, I will take you through my experience shooting in RAW on the Galaxy S22 Ultra and why I would recommend it to everyone who finds themselves limited by the shooting capabilities of the phone’s stock camera mode.
How RAW improves photography on Galaxy S22 Ultra
I don’t mean to imply that images shot in JPEG are always bad — or at least worse than those caught in RAW. JPEGs are preprocessed images that look great for our smartphones, and are perfect to upload on social media. So if you want to quickly add a filter or do some minor editing, JPEGs are the best choice.
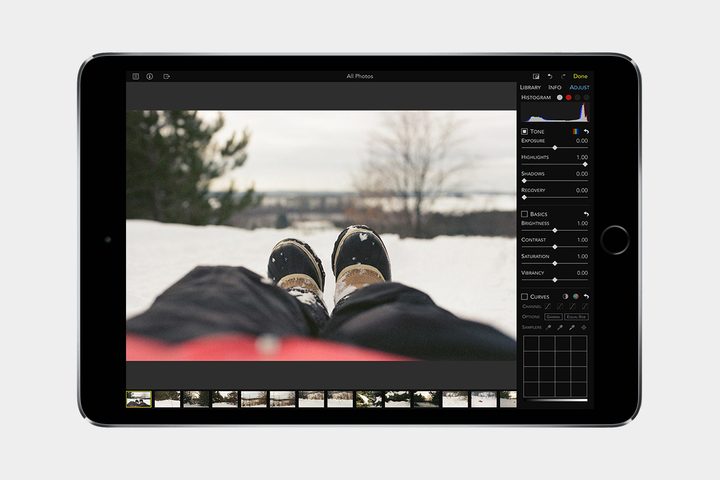
Images saved in JPEG format are compressed after being shot to preserve storage space. But in doing so, the camera compromises on details, especially in the areas of the image that are poorly lit or underexposed. However, many of those details are preserved in a RAW file, but to exploit them, you normally have to be adept at tools like Photoshop’s Camera RAW or Adobe Lightroom.
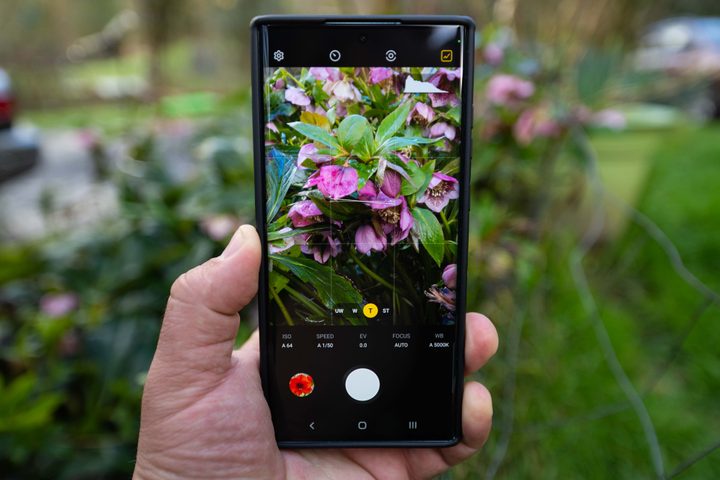
Thankfully, Samsung provides an additional camera app called Expert RAW, that’s exclusively available on only some of its top-tier devices. In the Expert RAW app, you get an interface identical to the stock Camera app’s Pro Mode, but instead of images saving as JPEG files, they’re saved as RAW files.
Stock Camera vs. Expert RAW on Samsung Galaxy S22 Ultra
I am using a set of comparable images I took using the stock Camera app and the Expert RAW app on the Galaxy S22 Ultra, while walking around an 800-year-old World Heritage Site — the Qutab Minar — in New Delhi, India. To demonstrate how RAW photographs give you the ability to transform an image significantly, I will use sets of at least three pictures. Each set includes one JPEG captured using the main Camera app, an unedited version of the photo taken with Expert RAW, and one or more edited versions of the same RAW file.
So that you can enjoy all the images without any compression, click on each photo in the gallery below. I have also included them in a Flickr gallery at the end of this section for a better overview.
Image 1: Seeking the sky
The first set of images taken with the primary camera on the Galaxy S22 Ultra capture the minaret and the surrounding landscape in its glory. Both images retain just enough details for you to view them on a phone screen and not witness any tearing. The tree’s twisty trunk is visible in both, and so are the bricks used in the structures far behind it. Admittedly, the unedited RAW appears relatively darker, with shadows blending the tree’s leaves into one while the contrast on the minaret gives it extra noise.


- 1. Unedited JPEG
- 2. Unedited RAW
- 3. Edited RAW
Now, look at the edited version of the same image. The sky has been highlighted beautifully, making the capital city’s gruesome pollution almost invisible. The brickwork on the minaret and the surrounding buildings have been highlighted well, whereas most of the details on the trees have been restored. In addition, the warmer greens and brighter yellows give the image a suitable summer afternoon look.
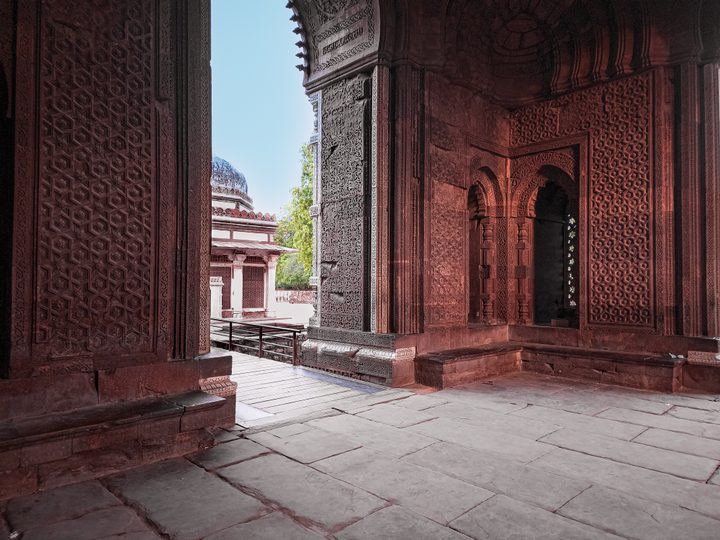
Image 2: Inside (to) out
The following set of images shows one of the entrances to the central complex of the tower. The intricate carvings on these red sandstone walls teleport you back to the 13th century.
The JPEG below uses HDR to retain the blue sky and some details on the domed structure outside but lacks details. It also appears pale and blanched in HDR compared to the RAW beside it. The latter retains more details and warmer tones on the stone wall from the golden hour sun, but the arch below the dome and the tree outside become merged with the overexposed sky.


- 1. Unedited JPEG
- 2. Unedited RAW
- 3. Edited RAW version 1
The third image is my first edit of the RAW file. The light has been purposefully reduced while retaining the warmth for a more dramatic effect. The dome outside has been restored to show its top. This has been achieved without any compromise in the details.
But then there’s an alternative approach to it, too. The below image is my second edit of the same RAW file, and this one focuses on a more vibrant look. This attempts to reverse what the centuries of oxidation have done to the red limestone wall. Meanwhile, the dome and the tree outside complement the blue sky without fusing it.
While I prefer the first edit, I believe the second will have its takers too.
Image 3: Reaching for the skies
The following set of images shows an intermingling of different cultures. The structures and the pillars in the foreground were built over 150 years before the minaret in the background.
The unedited JPEG and RAW, in this case, capture the structures in the front to near perfection while slightly washing out the colors on the brick wall behind. The tower in the background also appears slightly faded in both photos.


- 1. Unedited JPEG
- 2. Unedited RAW
- 3. Edited RAW
With minimal editing, the tower’s colors were restored, and its sharpness improved without substantially increasing shadows in the image. I must admit, Samsung’s stock camera also does an equally good job producing a well-defined image of the structure in the front. The choice of color temperature here will be subjective, so I will leave the decision to you.
Image 4: Relics
These images mainly focus on the sculpting on one of the pillars shown above. Both the unedited images capture good details. However, because the pillar faces westward, the camera naturally captures a warmer color than the original rust-like color.


- 1. Unedited JPEG
- 2. Unedited RAW
- 3. Edited RAW
In my choice of edits for the RAW file, I prioritize restoring the natural color of the pillar while choosing a cooler undertone to make the image look more palatable.
Image 5: Goodbye sun
My next set capitalizes on the camera’s ability to shoot straight into the sun. This was taken at almost 7 p.m. in the evening, and the rays from the setting sun soak everything that coincides with their path. The JPEG here compromises the sun’s visibility to light up the shadows, while the sun’s brightness also leads to the diffraction of the sun rays along the edge of the minaret behind the stone pillars.


- 1. Unedited JPEG
- 2. Unedited RAW
- 3. Edited RAW
The unedited RAW capture the sun relatively better but at the expense of dimmer shadows and a faded arch near the sun.
The edited RAW fixes that by increasing the shadows’ luminescence, improving the arch’s sharpness in the background and the leaves in the same area of the image. Not just that, but if you look closely, you can also see the inscriptions on the minaret more clearly in this version.
Image 6: The portrait
For this next set of images, I asked my wife to take portrait shots with the 3x telephoto camera on the Galaxy S22 Ultra. The first image in the set has a background blur as it complies with the default settings in the portrait mode. Notably, the blur feels too aggressive and almost as if I’m standing in front of a fake background — and I certainly do not like the result.
In addition, both the unedited versions have a significantly warmer tone in response to the bright sun.


- 1. Unedited JPEG
- 2. Unedited RAW
- 3. Edited RAW
For the edited image, I went for more neutral whites (see the text on the T-shirt), which also helped me reclaim the pillars’ color without affecting my skin tone. Lastly, I took the edited RAW image to Photoshop and added a background blur to make the portrait look more realistic and appealing — and I’m happy with the results.
Image 7: Lift-off
The following images capture the lit-up minaret from a far-off distance at dusk. The unedited JPEG brightens the tower to capture a brighter-than-actual sky while still darkening the shadows. The unedited RAW offers better contrast, but the sky looks too gray and glum because of the smog in the air. The yellows from the amber light on the ground are retained on the leaves, but it still needs some improvements.


- 1. Unedited JPEG
- 2. Unedited RAW
- 3. Edited RAW
This is one of my favorite shots, and that is why I went for a more dramatic look. In the edited RAW, I fixed the color of the sky and intentionally dulled the shadows to focus on the minaret. The saturated yellows give it a more attractive appearance, diluting the details. If you are wondering about my choice of the title Lift-off, the minaret looks like a rocket ship, with different galleries dividing it into sections.
Image 8: Sweet treat
After a day of walking, everyone is medically required to replenish their blood sugar — at least, that’s the excuse I gave myself to be able to cherish this delicious granita topped with a marshmallow. Notably, the restaurant’s warm mood lighting makes the actually-pink dessert look sand-like and unsavory.


- 1. Unedited JPEG
- 2. Unedited RAW
- 3. Edited RAW
To fix that, I restored the tones of the granita to its actual color while also adding a cooler undertone to the light-gray background to help its colors pop out while making the marshmallow look more natural.
If you wish to look at all of these images in superior quality, you can find them in this Flickr gallery.
Where Expert RAW on Galaxy S22 Ultra lacks
While I have sung praises of how well Expert RAW improves the quality of the images above, there are some limitations I must point out. First, the ISO scale is restricted to a minimum of 50, while the stock camera can capture images at much lesser ISO values. If you’re wondering why that matters, higher ISO translates to more noise in the darker parts of the picture. Increasing the ISO increases the exposure in the image, but it also comes at the expense of details. Further, lower ISO allows the stock camera to capture a higher dynamic range, especially when there is a significant difference in lighting between the bright and the dim parts of a frame.
The other limitation is that the only way to take noise-free images in low light is to decrease the shutter speed — or increase the time which the camera sensor is exposed to light. Unless you are using a tripod, even the slightest vibration can blur the image, jeopardizing your efforts. On the other hand, the stock camera app takes a series of images at high shutter speed, but different ISO levels and then superimposes them for a more precise night shot. So, unless you have the patience to take multiple images using a tripod and then superimpose them manually, you are at a disadvantage with the Camera RAW — or any app with a Pro mode, for that matter.
Conclusion
One perk of my job as a tech reviewer is that I get to try countless phones, and taking images with them is both a boon and a responsibility. Out of all the phones I have used in the last few months, I find the Galaxy S22 Ultra to be the best performer in most scenarios, clicking high-quality images that can go on my social media, often without any editing.
However, the millennial urge to outdo myself and brandish my skills keeps creeping in. That is when I turn to the RAW mode on the Galaxy S22 Ultra. I believe the examples I shared above are convincing enough to show that the Camera RAW on the Galaxy S22 Ultra makes a significant difference and helps images stand out, given you have the patience to sit through and edit them.