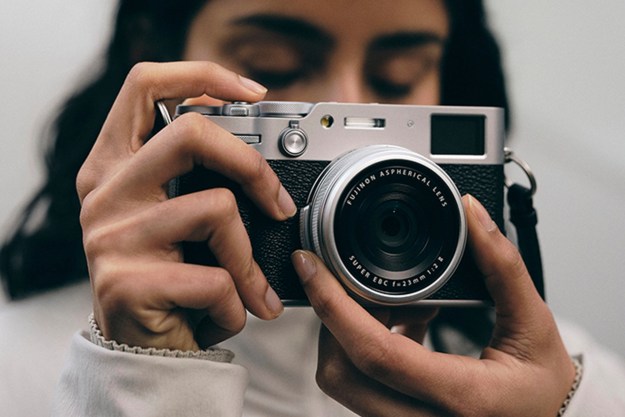
Camera shakes are a reason for blurry images. Even the steadiest hands could send vibrations to the the camera. Optical image stabilization systems compensate for hand shakes, but even the best systems aren’t always foolproof, particularly during low-light shooting. In this 7-minute video, pro photographer Karl Taylor (via Picture Correct) offers some great pointers for hand-held shooting at slow shutter speeds. With these techniques, Taylor shows you on how to get the best possible shots from your DSLR, even in low-light situations.
According to Taylor, the key to getting a steady shot is to properly support both your camera and lens; this can be accomplished by making your body into a tripod. No magic necessary here – you must realize just how sturdy your body is and how that can help steady your shooting. Taylor offers these tips:
- Get a firm grip on the camera with your right hand, then bring your right elbow down to your ribcage. You’ll notice that your elbow (along with your arm) is able to fit snuggly against the ribcage, creating a great support for the camera.
- Next, bring the viewfinder to your eye and press it firmly against your eyebrow. You won’t need to apply that much pressure on your eyebrow, thanks to the thick human skull. With your left hand, you’ll want to cup the camera right beneath its base and the base of the lens, which will help support the weight of both while giving your fingers the freedom to focus and zoom the lens. Finally, separate your legs by a shoulder’s length (or a bit smaller if you prefer) to form a stable base.
Taylor also shows other techniques in the video, such as sitting cross-legged, resting elbows on the ground, or bracing yourself against a fixed object like a tree.
According to Taylor, there are a few tips to determine shutter speed: “If the focal length of your lens – say, for example, you’re shooting at 200mm – then a good rule of thumb is don’t go lower than 1/200 of a second. Or, if you’re shooting with a 50mm lens, then don’t go slower than 1/50 of a second.”
Taylor also advises controlling your breathing to help you when shooting. “I recommend exhaling, pausing, and then shooting on the pause when you exhale. If you’re holding your breath, you get a little bit of vibration, but if you exhale, you’ve got a few seconds where you’ve got that bit of calmness where your body’s not moving quite as much.”
Give these practices a try, and you may start producing better images in no time – or, at least ones that aren’t so blurry. If you’re looking for more in depth instruction from Taylor, he offers various courses on his Photography Masterclass website.
(Via Picture Correct; images via Karl Taylor)


